
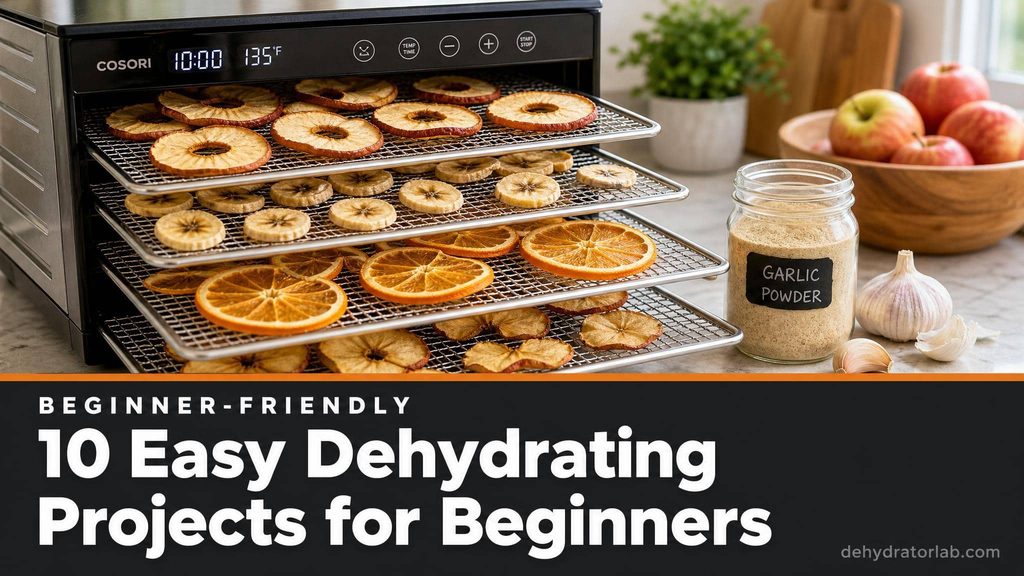
New dehydrator still in the box, or sitting on your counter with that “now what?” look? Every single person who’s good at this started exactly where you are — trays in hand, no idea what to slice first.
Let’s fix that with ten projects you genuinely can’t mess up.
I picked these ten because they’re forgiving. Cut a slice a little thick? Fine, it just runs longer. Forget to flip a tray? Also fine. These are the projects that build your instincts before you move on to trickier stuff like jerky marinades or fruit leather blends with five ingredients.
Every project below uses ingredients you can grab at any grocery store, and none of them need a special attachment or a second appliance. That’s on purpose — the goal is confidence, not a shopping list. If the machine itself is still the open question, my best dehydrator for beginners guide covers what’s worth paying for on a first buy and what you can skip.
As an Amazon Associate, I earn from qualifying purchases. If you make a purchase after clicking on a link I may earn a small commission at no extra cost to you if items are purchased.
In this article:
TL;DR: Key Takeaways
- 🍎 Start with fruit — apples, bananas, and oranges are the most forgiving projects for learning tray-loading and timing.
- 🥒 Zucchini chips teach you the case-hardening trap (crisp outside, damp inside) on a low-stakes vegetable.
- 🧄 Garlic powder and dried herbs turn pantry basics into shelf-stable seasoning for close to nothing.
- 🥩 Ground beef jerky is the easiest first meat project — no marinating logistics, just mix, spread, and dry.
- 🎒 The last project combines everything you just made into a trail mix — proof you built a real pantry, not just snacks.
Work through these roughly in order — each one adds a small new skill without throwing you into the deep end. Here’s where to start.
1. Apple Chips
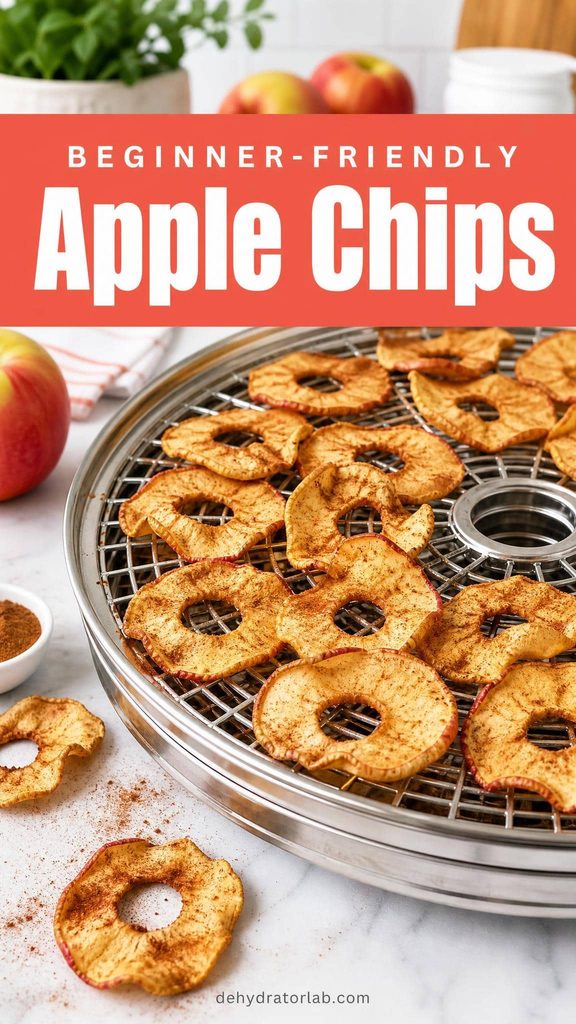
Apple chips are where almost everyone starts, and for good reason. Core the apple, slice it thin and even, and lay the rings in a single layer with no overlap. That’s genuinely most of the job.
Run them at 135–140°F (57–60°C) for roughly 6–10 hours, depending on slice thickness and your machine. Fruit fills trays faster than anything else you’ll dry, so a dehydrator that handles fruit well comes down to drying area and a thermostat that holds 135°F without drifting. A quick dunk in lemon water before loading keeps them from browning, though it’s cosmetic, not required. For consistent thin rounds, an adjustable mandoline makes uniform slices a non-issue.
Check the full apple variety breakdown if you want to know which apples crisp up best versus which stay chewy. Either way, you’ll pull out apple rings that snap instead of bend.
2. Banana Chips
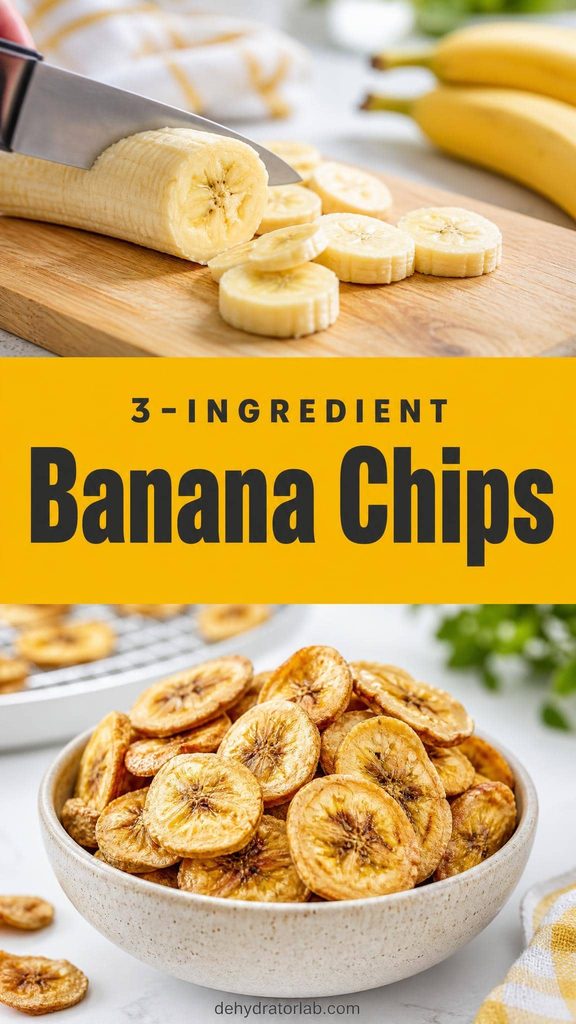
Bananas are almost as forgiving as apples, with one twist: they oxidize fast once peeled. Slice into rounds about a quarter-inch thick and get them on the tray quickly.
Dry at 135°F (57°C) for 6–12 hours. Ripe bananas turn chewy and candy-like; slightly underripe ones crisp up more. Neither is wrong — it’s just a texture preference you’ll discover on this exact batch.
Full method and four different prep options are in the complete banana dehydrating guide if you want variations later. For now, keep it simple and let ripeness do the work.
3. Orange Slices
Dehydrated orange wheels are the project that makes your whole kitchen smell like a candle store. Slice oranges crosswise, about an eighth-inch thick, seeds and all — you’ll pick the seeds out after drying if any linger.
Dry at 125–135°F (52–57°C) for 8–12 hours, flipping once around the halfway mark. The rind gets a little brittle before the flesh finishes, so judge doneness by the center, not the edges.
They’re edible as a snack, gorgeous in tea, and double as decor for holiday garlands. Full details are in the orange slice guide — this one’s genuinely a walk in the park.

4. Zucchini Chips
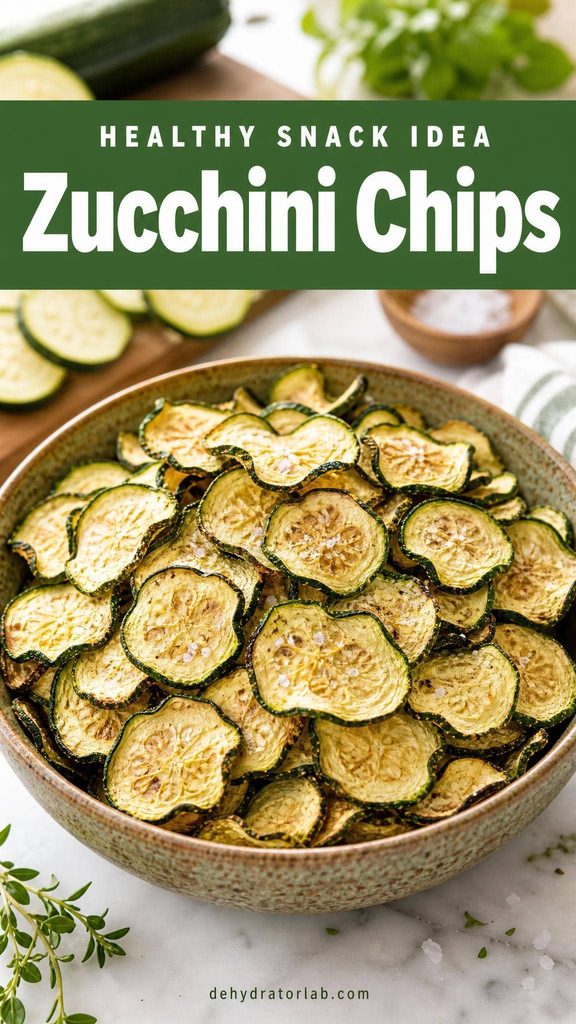
Zucchini is where you meet case hardening for the first time — a crisp shell forming over a still-damp center. It’s a low-stakes way to learn the lesson, since a mediocre batch just means a soft chip, not a spoiled dinner.
Slice thin and uniform (the same mandoline from the apple chips does double duty here), lightly salt to draw out moisture, pat dry, and load in a single layer with no overlap. Dry at 125–130°F (52–54°C) for 8–14 hours.
The enemy here is going too fast at too high a heat — the outside seals before the inside finishes. Slow and steady wins this one. Full walkthrough in the zucchini dehydrating guide. Aim for a chip that snaps clean, no chewy centers.
5. Fresh Herbs (Basil and Mint)
Herbs are the fastest win on this whole list. No slicing, no peeling — just rinse, pat dry, and lay leaves in a single layer with airflow between them. This is a great project to run alongside something else, since it takes so little tray space.
Dry at a low 95–115°F (35–46°C) for 1–4 hours. Herbs dry fast and scorch easily at higher heat, which flattens their flavor. If your dehydrator’s dial stops at 105°F or higher, that is a real limitation — a machine that goes low enough for herbs is worth having if this becomes a habit. You’ll know they’re done when leaves crumble between your fingers instead of bending.
Basil and mint are the two most beginner-proof herbs to start with. For deeper detail on a few other varieties, the mint drying guide and dill drying guide both cover the same basic method. Crumble into a jar and you’ve got homemade seasoning for months.

6. Garlic Powder
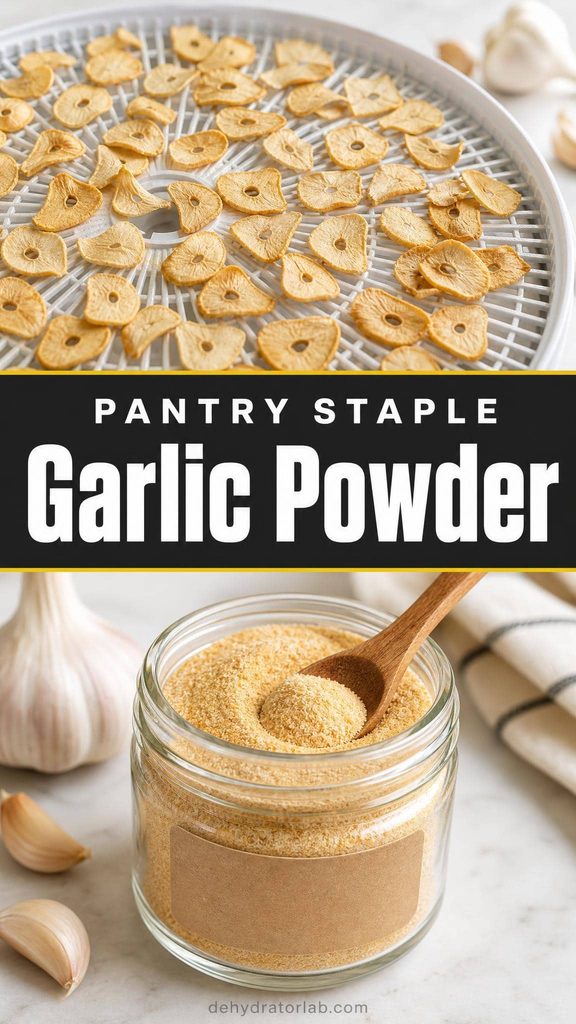
Garlic powder is the project that makes people realize a dehydrator isn’t just for fruit. Peel and thinly slice cloves (a mandoline again earns its keep here), spread in a single layer, and dry at 115–125°F (46–52°C) for 8–12 hours.
Once the chips snap clean and dry, blitz them in a spice grinder or blender until powdered. One thing worth knowing upfront: your kitchen will smell like garlic for a day. Crack a window and it’s a non-issue.
Full step-by-step is in the garlic dehydrating guide. Store it airtight and you’ve got seasoning that never goes bad.
7. Sun-Dried Tomatoes
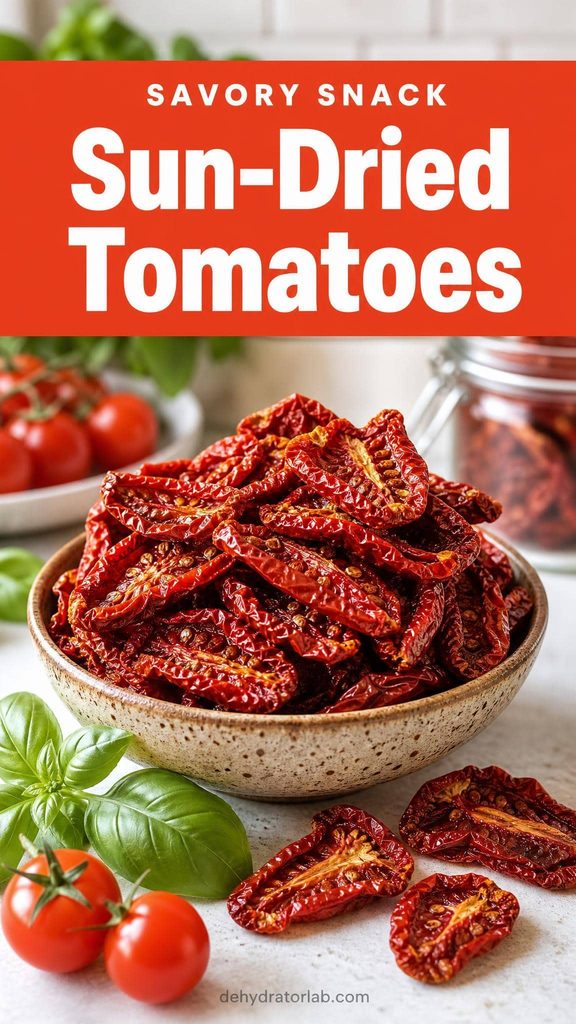
Homemade sun-dried tomatoes taste nothing like the pale, rubbery jarred version — and they’re one of the more satisfying beginner wins because the flavor concentration is so obvious. Halve small tomatoes (Roma or cherry both work well) and lay them cut-side up.
Dry at 135°F (57°C) for 8–14 hours, until leathery and deep red with no wet spots in the center. A light sprinkle of salt before drying pulls extra moisture and boosts flavor.
Store dry-packed in an airtight jar, or cover in olive oil in the fridge for a softer bite. Full method in the sun-dried tomato guide. This is the project that makes people stop buying the jarred kind.
8. Strawberry Fruit Leather
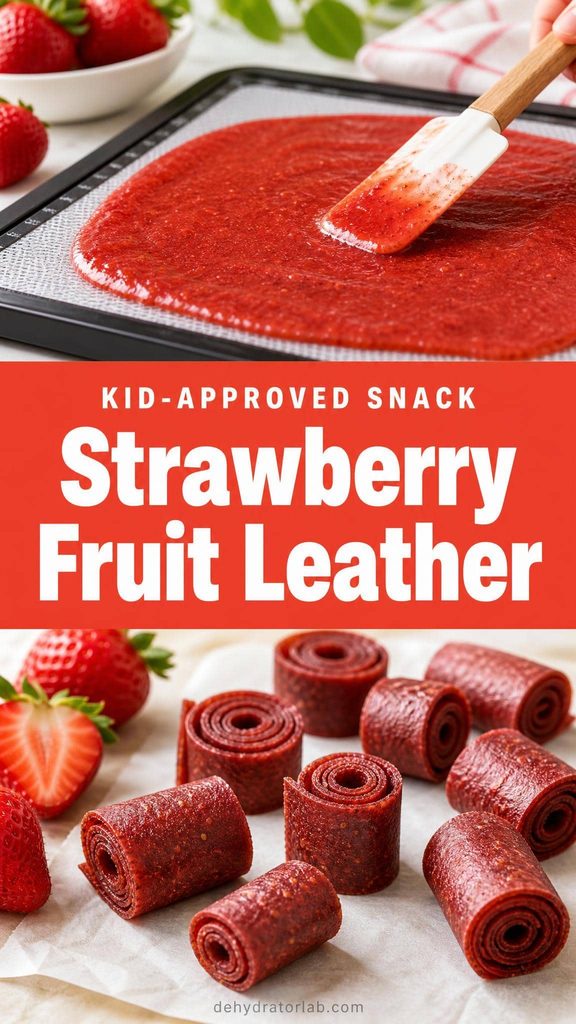
This is your first “processed” project — you’re not just slicing, you’re pureeing. Blend ripe strawberries until smooth, spread about a quarter-inch thick on a lined dehydrator sheet, and keep the edges slightly thicker than the center so they don’t over-dry first.
Dry at 135–140°F (57–60°C) for 6–10 hours. The finished leather should be leathery and pliable, not sticky, and it should peel off the liner in one piece. If it tears, it needs more time.
Roll it up in parchment paper and you’ve got a lunchbox snack with no added sugar. Want a fruit-picking guide first? The strawberry dehydrating guide covers ripeness and prep in more depth. Nail the thickness and this one’s impossible to rush.
9. Basic Ground Beef Jerky
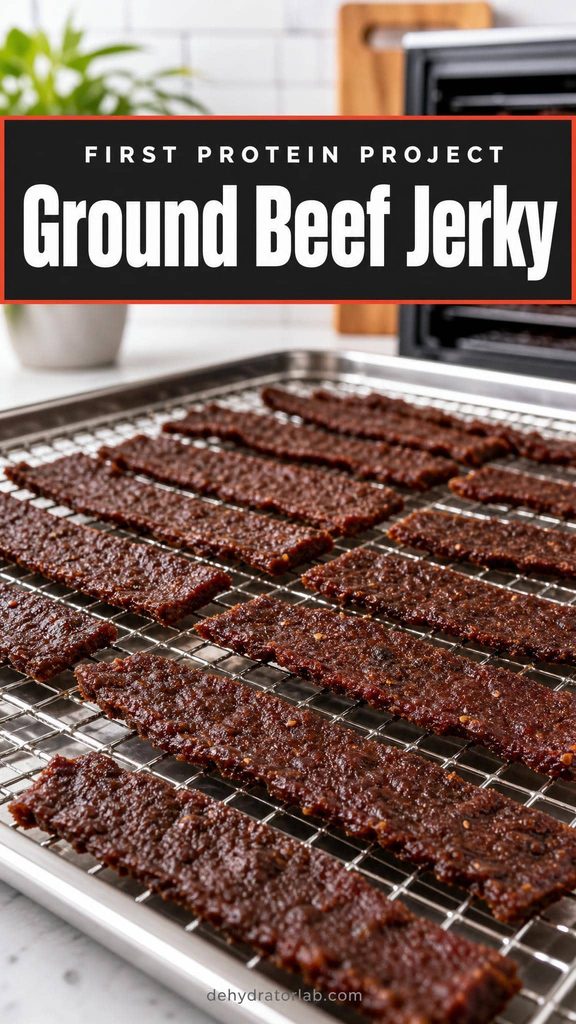
This is your first protein project, and ground beef is the easiest entry point — no slicing against the grain, no overnight marinade logistics. Mix lean ground beef (90/10 or leaner) with salt, pepper, and garlic powder, then press it thin between two sheets of parchment.
Peel off the top sheet, score into strips, and dry at 155–160°F (68–71°C). Blot the surface with a paper towel around the halfway point to pull off pooled fat, which slows drying and shortens shelf life.
Meat needs a real internal temperature check, not just a look — the USDA’s jerky safety guidance recommends heating meat to 160°F (71°C) before or during drying to kill bacteria, something a home dehydrator’s low airflow heat doesn’t reliably guarantee on its own. Once you’re comfortable with lean cuts and marinades, the best cuts for jerky guide and jerky marinade roundup are natural next steps. Done right, this is real trail food.
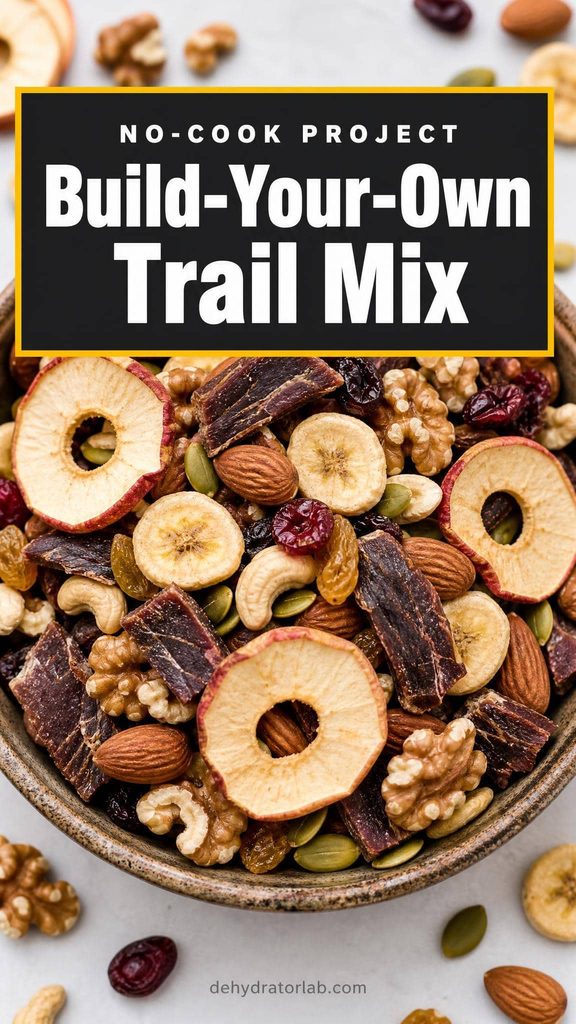
10. Build-Your-Own Trail Mix
No new drying skills here — this one’s the payoff project. Once you’ve got a few of the above in jars, combine them into a trail mix that’s genuinely yours: apple chips, banana chips, a handful of nuts or seeds, and a few pieces of the jerky broken into bits.
There’s no wrong ratio. Some people want more fruit, some want more crunch, some want it mostly jerky. That’s the whole point of making it yourself instead of buying a bag of whatever ratio a factory picked.
Store it in an airtight container and it travels well for hikes, road trips, or a desk drawer snack stash. If you want to go further into trail-specific dehydrating, the hiking food roundup is the natural next stop. You built this from scratch — that’s worth noticing.
Gear Check: What You Actually Need to Start
It’s tempting to buy every accessory the internet says you need before your first batch. You don’t. A dehydrator, a sharp knife or a mandoline, a cutting board, and airtight jars for storage will get you through all ten projects on this list.
A mandoline earns its keep fastest on apples, zucchini, and garlic, where slice thickness makes or breaks the drying time. A cutting glove is non-negotiable the moment that blade comes out — it’s a five-dollar habit that protects real fingertips.
Beyond that, resist the urge to overbuy. Parchment paper or reusable liners cover the fruit leather project, a spice grinder handles the garlic powder, and a kitchen scale is nice to have but not required for anything here. Start simple, add gear later.
Personal Tips You Can Steal
- I always run my very first batch of anything on the small side — half a tray, not a full load — so a bad guess on thickness or time doesn’t waste a week of groceries.
- I keep a cheap notebook next to the dehydrator and jot down slice thickness, temp, and total time for every new food. My future self stops guessing after the second attempt.
- I use the same cutting board for every project so cleanup is one habit instead of ten.
- I wear a cutting glove any time a mandoline comes out, no exceptions. It’s cheap insurance for a couple of fingertips.
Final Thoughts
None of these ten projects require special skills, just patience and a willingness to let the machine do its job while you walk away. Work through them in order and you’ll pick up doneness cues, tray-loading habits, and food safety basics without ever feeling overwhelmed.
For general storage guidance across all ten projects, the National Center for Home Food Preservation’s drying guide is a solid reference to bookmark. Pick one, start today.
Related reading: our 6 essential beginner tips for food dehydrating covers the process itself — patience, testing, and conditioning — while 10 useful tips for beginners and advanced users rounds out the gear side of things.
P.S. Don’t try to run all ten projects in one week. Pick one, nail it, then move to the next. Happy dehydrating! 🙂