Hey there, fellow food enthusiasts! Are you ready to unlock the secrets of food dehydration? I’ve got some fantastic tips lined up for you to ensure your dehydrating journey is smooth and successful.
In this article, we’ll cover everything from the importance of patience to proper food conditioning. So, strap in, and let’s dive into the world of food dehydration together – and remember, practice makes perfect!
From patience and proper testing to conditioning and the right equipment, we cover it all to ensure that you have a successful and enjoyable dehydrating experience.
Whether you’re a seasoned pro or just starting, these tips are sure to make the process easier and more efficient. So buckle up and let’s get dehydrating!

As an Amazon Associate, I earn from qualifying purchases. If you make a purchase after clicking on a link I may earn a small commission at no extra cost to you if items are purchased.
In this article:
Tip 1: Be Patient, It Takes Time
Expect longer drying times; use guidelines as opportunities.
The first and biggest tip I have is that dehydrating takes as long as it takes. When you read instructions from a website, book, or YouTube video, they will give you an estimated drying time. Use this time frame as a guideline or window of opportunity, but be aware that it will likely take longer than what is indicated.
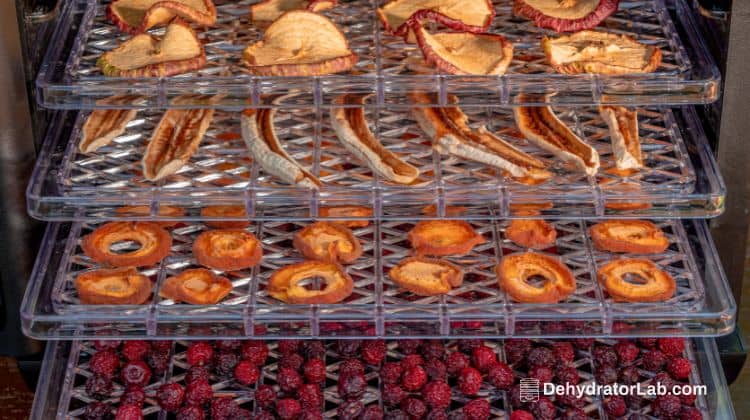
If your food isn’t dry within the 4 to 6 hours stated, don’t worry. Just keep drying it until it is completely dry. Fruits, in particular, can take a long time to dry. Bananas and berries can take anywhere from 2 to 3 days, depending on factors such as the humidity in your home, the moisture content of the food, how it was prepared, the power of your dehydrator, and its placement.
Keep in mind that there could be many variables that impact the drying time. So, always view the drying time frame as a guideline, but don’t be disappointed if it takes longer.
Remember, the dehydrating process is passive.
It’s important to remember that dehydrating is a passive process, not an active one like canning. You don’t have to constantly monitor your machine as you would with canning, checking for the right pressure or gauge. Instead, you can set up your dehydrator and walk away, letting it do its job. If the food isn’t completely dry, give it more time. It’s okay.
Tip 2: Wait for Food to Cool Down Before Testing for Dryness
When it comes to testing the dryness of food you’ve just dehydrated, it’s important to wait until it has cooled down before conducting your test. Don’t be tempted to test the dryness right after taking the food out of the dehydrator while it’s still warm, as the sugars and fibers inside may still be active and giving you a false reading of the dryness.
To properly test for dryness, take a few samples of the food and let them come to room temperature, which can take anywhere from 5 to 10 minutes. If you’re looking for a leathery texture, test for stickiness and moisture by placing your hand on top of the food. It should not feel sticky or moist. If the food is meant to be crisp, it should break easily without bending.
For some fruits and vegetables, you can also test for dryness by listening for a “plink” sound rather than a “thud” sound when you drop the food onto a surface. This higher-pitched sound indicates that the food is fully dried and ready to be stored.
Remember again, the drying process is passive, so it’s important to take your time and wait for the food to cool down before conducting your dryness test.
Tip 3: Conditioning is Critical!
The next tip I have to share is all about conditioning. Conditioning is a crucial step that is often overlooked, and if not done correctly, can lead to disappointment. People often assume that once they’ve dehydrated their food, it’s ready to be stored. However, if you want to store your dehydrated food for an extended period, conditioning is a must.
If you’re planning to consume your dehydrated food within the next few days, you don’t need to condition it. But if you’re storing it, you must condition it to ensure that the moisture level is equal in all pieces of food. This way, you can prevent one piece from being too moist while the others are too dry.
To condition your dehydrated food, you can place it in a jar and shake it daily. This helps distribute the moisture evenly. If you hear a higher pitched sound (plink) when you shake the jar, it means the food is properly dehydrated. But if you hear a lower pitched sound (thud), it means there’s still some moisture left, and you need to dehydrate it again.
When conditioning, it’s essential to make sure that there’s no moisture on the jar or the food itself. If you see moisture droplets or if the food sticks to the jar or to each other when you shake it, it means there’s still too much moisture. In this case, you must put the food back in your dehydrator to dry it again.

Once your food is properly conditioned, you can store it in airtight containers for about a year to 18 months. However, you may be able to store it for an additional year or two, or even three, depending on the type of food.
It’s crucial to note that if you see mold growing on your dehydrated food, you must throw away all the food in the jar. This is because once mold has formed a colony that you can see, there are likely many other tendrils of mold hidden within the food, which you don’t want to ingest or let continue to grow. This can result in food waste, but it’s better to be safe than sorry.
Tip 4: Equipment is Not Essential
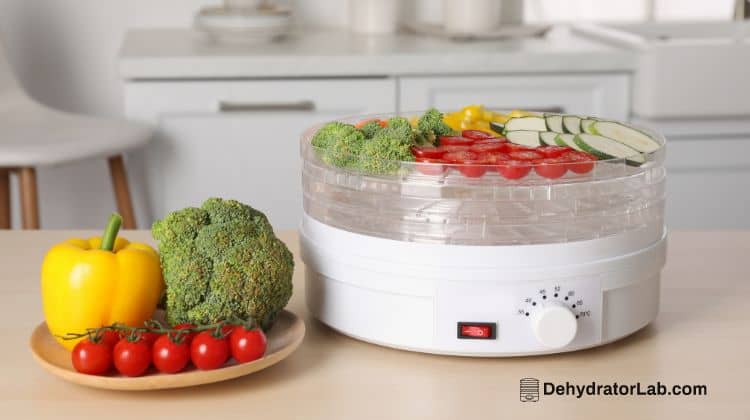
When I say the equipment is not necessary, I mean that all you need to dehydrate food is a dehydrator, a knife, a cutting board, and an airtight container. You can opt for solar or air dehydrating, but for most people, a dehydrator will do the job.
You don’t need a lot of additional gear or fancy cutting tools, although they can be helpful. Don’t let other people’s setups influence your thinking – you only need these basic items to get started.
Next, if you choose to use a mandolin to cut your food, please be careful. Always wear a good quality cutting glove, even if you use the guard that comes with the mandolin. Your hands can still slip, and sometimes the food doesn’t fit on the guard.
Don’t use a cheap cloth glove – it will eventually wear out and expose your hand to the blade. I once cut the tip of my glove, and if I had gone one more time, I would have cut myself. So, always use a good glove when using a mandolin.
Tip 5: View Dehydrated Items as Ingredients, Not Food
A common confusion among beginners is how to approach dehydrated ingredients, especially vegetables. Instead of viewing them as standalone side dishes, think of them as ingredients to be used in other dishes.
For example, while some may find rehydrated broccoli palatable, many would not. When dehydrating broccoli, consider using it as an ingredient in a dish like broccoli soup, a casserole for added nutrition, or beef and broccoli stew or stir-fry.
The dehydrated broccoli will mix in with the meat and sauces, making it easy to incorporate into a one-pot dish on your stovetop.
The same principle applies to a variety of dehydrated foods, including fruits. However, fruits can be a bit different as you may not have the ability to add the same softening additives that store-bought dehydrated foods have.
When looking at dried bananas, for example, keep in mind that they may have been freeze-dried, dried, or even plantains, not regular bananas. These differences will affect how the fruit tastes when rehydrated at home, so don’t be surprised if it tastes different from store-bought options. It’s okay, you’ll just have a unique version.
Tip 6: It’s Okay to Make Mistakes
The final tip I have for you is to remember that it’s okay to make mistakes. As a beginner, you will likely make many mistakes, and even as an experienced dehydrator, I still make mistakes occasionally. The important thing is to embrace this learning process and try your best.
Just like when you start learning to cook, paint, do carpentry, sew, or quilt, you will make mistakes in the beginning. This is how we learn and improve.
In terms of food waste, the only time you should waste food while dehydrating is if you have left food at room temperature that should not be left there, such as protein. If you encounter mold, you’ll need to throw it away.
But, if you dry something and don’t like the outcome, turn it into a powder and add it to another dish. The powder will likely not affect the taste of the dish, but you’ll still be getting the added nutrition.
There are many more tips I could share, but this article is already quite long. If you have any questions or tips that I haven’t covered, feel free to leave a comment below. Experienced dehydrators have a lot of great ideas to share, so make sure to read the comments section for additional tips and insights.
Conclusion
In conclusion, dehydrating is a passive process that takes time and patience. It’s important to use drying time frames as a guideline and wait for the food to cool down before testing for dryness. Proper conditioning is critical to ensure the equal distribution of moisture in all pieces of food for long-term storage.
A dehydrator, a knife, a cutting board, and an airtight container are sufficient. By following these tips, you can ensure that your dehydrating experience is a success.
Printable Recipe Card
Want just the essential recipe details without scrolling through the article? Get our printable recipe card with just the ingredients and instructions.