Ever watched a bag of produce go soft in the fridge and wished you could press pause?
A dehydrator is that pause button. Here are seven practical reasons to start drying your own food at home, and none of them lean on health claims. If you want the nutrition side, my guide to the health benefits of dehydrating food covers it. Here’s why the machine earns its counter space.

As an Amazon Associate, I earn from qualifying purchases. If you make a purchase after clicking on a link I may earn a small commission at no extra cost to you if items are purchased.
In this article:
TL;DR: Key Takeaways
- 💰 University of Minnesota Extension lists saving money as an advantage of drying, and REI says home-dried food can be cheaper and lighter than prepackaged food.
- 🍎 Utah State Extension says 25 pounds of apples yields about 4 pounds dried, so plan on roughly 6 pounds of fresh fruit per pound of dried (my arithmetic).
- ♻️ The USDA estimates food waste at 30 to 40 percent of the US food supply, and drying rescues food before it turns.
- 📦 UMN says you can store more dried food in far less space than canned or frozen food.
- 🎒 REI says lighter food helps backpackers conserve space and cut down on weight.
- 🛠️ Dehydrators run from $30 (REI) to $350 (Clemson) and up, and capacity is the main limit, so start small.
Every claim below traces to a source I name, or I tell you it’s my own opinion. Where a number is old, I say so. Prices and yields shift with your produce, your machine, and your kitchen, so treat my examples as starting points.
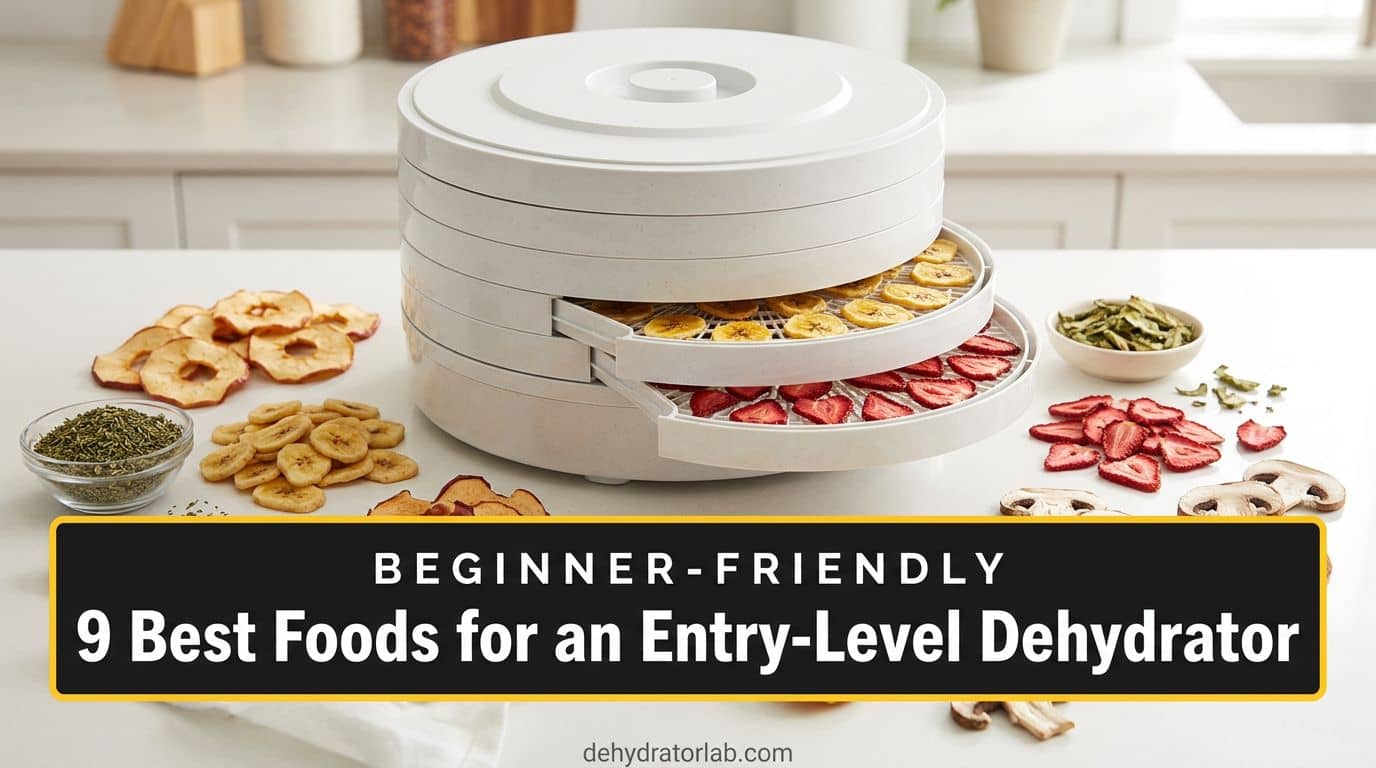
If you’re curious what a mid-size machine looks like, the five-tray Excalibur below is one example.

- CAPACITY: The 3526TB 5-tray dehydrator equaling 8 square feet of drying space is perfect space for preserving extras fro…
- EVEN DRYING – The 5-inch fan heating element and thermostat are in the back of the unit so cool air is drawn in heated a…
- TIME AND TEMPERATURE – Convenient 26-hour timer and adjustable thermostat The thermostat ranges from 105 degrees Fahrenh…
The Honest Cost of Getting Started
Before the reasons, the fine print. REI says dehydrators typically cost anywhere from $30 to several hundred dollars, depending on tray space and features. Clemson Extension puts them at $50 to $350 or above. Clemson also calls limited capacity the major disadvantage of a dehydrator, and says 12 square feet of drying space dries about a half-bushel of produce.
I haven’t pinned down a verified electricity cost, so I won’t guess one. Check the wattage label on your machine and your utility rate before you trust anyone’s math, mine included. With that out of the way, let’s get into it.
1. You Can Save Money
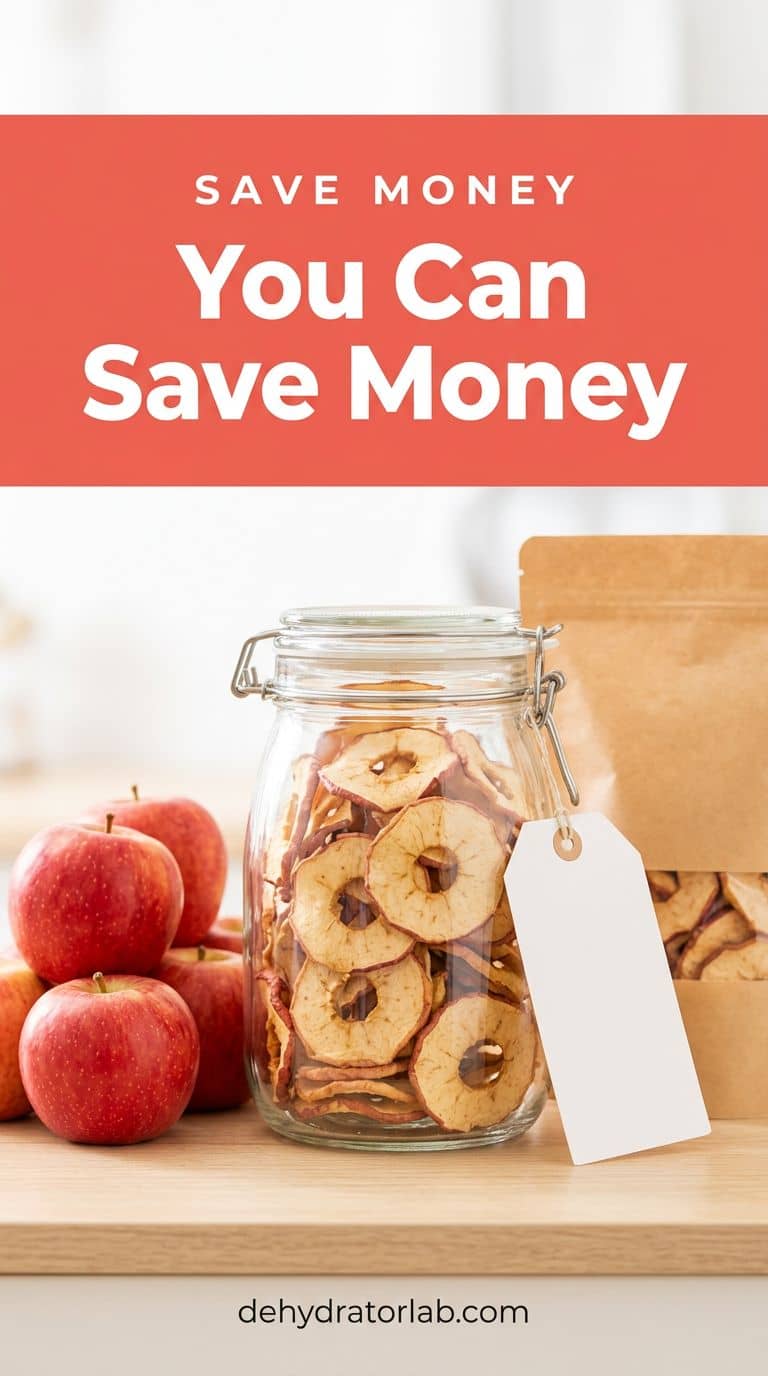
University of Minnesota Extension lists “Save money” among the advantages of drying, and REI says home-dried food, compared with prepackaged food, “can be cheaper and lighter too.” The catch is that the savings depend on what you buy and what you pay.
Here’s a way to check it yourself. Utah State Extension says 25 pounds of apples yields about 4 pounds of dried apples. That’s roughly 6 pounds of fresh fruit for every pound dried. REI says a pound of apples yields about a cup of dried slices. So if apples cost $2 a pound, one pound of dried apples starts at about $12 of fruit, before your time and power.
That $2 price is only an example, so plug in your own. Fruit on sale, from a tree, or from the discount bin tips the math your way. My 10 surprising foods worth dehydrating has more ideas for where to start. Do the pound math.
- Check your price per pound of fresh fruit.
- Multiply by about 6 for dried apples.
- Compare it with the store’s dried bag.
2. You Waste Less Food
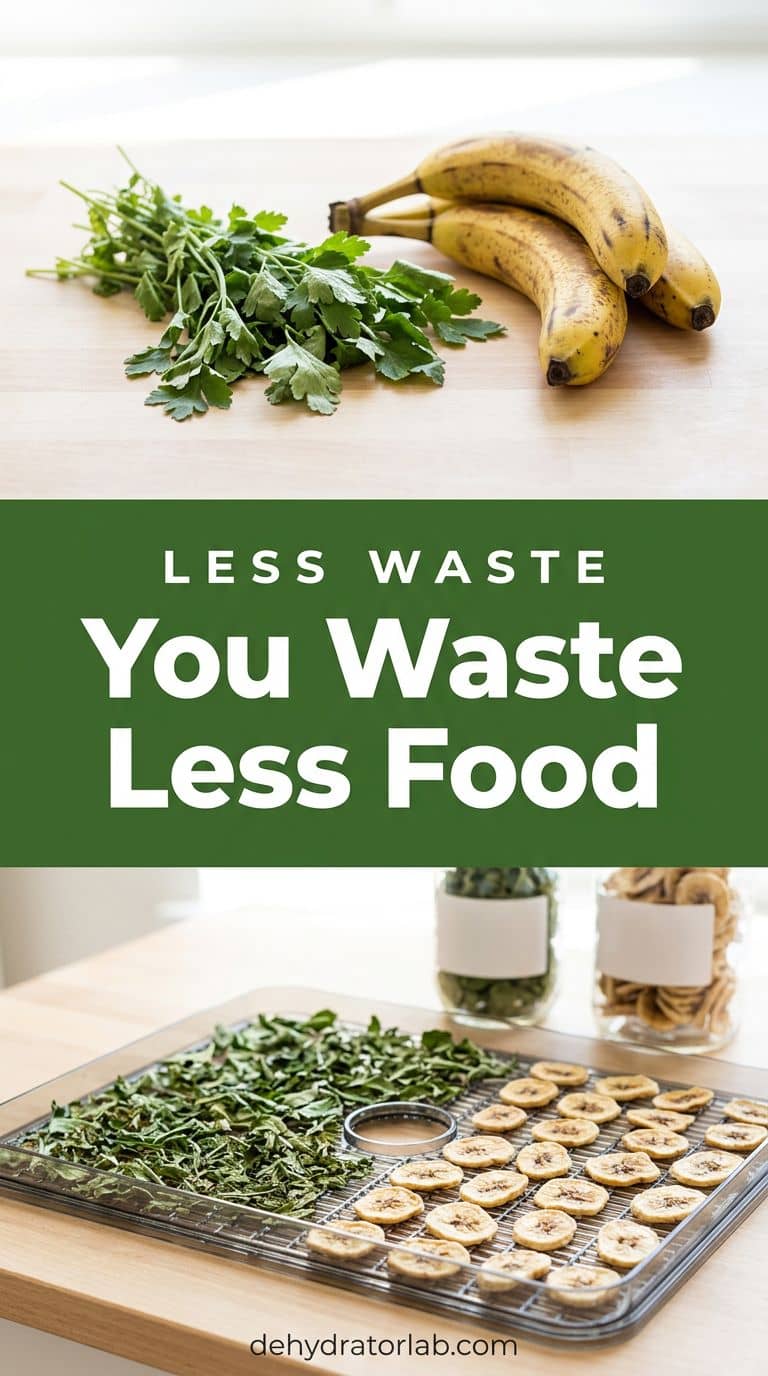
The USDA estimates food waste at 30 to 40 percent of the US food supply, and says the Economic Research Service figure was 31 percent at the retail and consumer levels in 2010. That number is old, and the page itself says neither estimate is a complete picture. It also notes that consumers contribute to loss when they buy or cook more than they need. UMN Extension lists “Less waste” as an advantage of drying too.
What does that look like in a real kitchen? It looks like the herbs, onions, and ripe fruit that were about to turn. I dry them instead of tossing them, and my leftover herb recipes show how. A tray beats a trash can. Dry it before it dies.
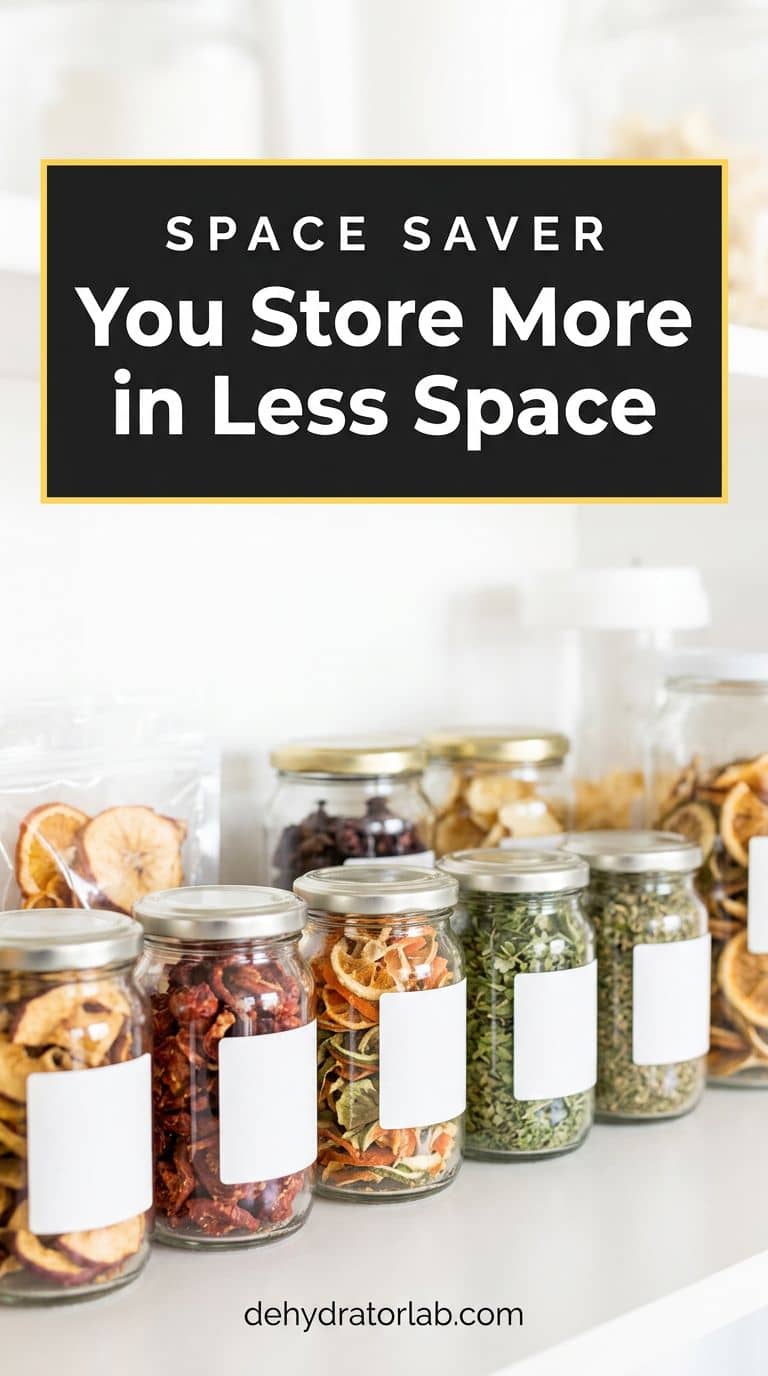
3. You Store More in Less Space
UMN Extension says you can store more food in “far less space than canned or frozen food.” Clemson says dried foods are “lightweight, take up little space, and do not require refrigeration.” Clemson adds that fruit dried at home has normally lost 80 percent of its moisture, and vegetables 90 percent. Utah State Extension says the food shrinks, so it needs less storage space.
That means a shelf of jars can hold what once filled a freezer drawer. Dried food doesn’t need the fridge, but it still wants a cool, dark spot and a tight lid. My notes on how long dehydrated food lasts and my Mylar bag picks cover the storage side. Jars, not freezer shelves.
4. Your Pack Gets Lighter
REI says making your own backpacking food can be cheaper and lighter than prepackaged meals, and that lighter food helps backpackers “conserve space and cut down on weight.” Water is heavy, and drying leaves it at home. Pack each meal in its own bag, so you only add water at camp.
Start with things you already cook, like soup, pasta, and rice. My dehydrated foods for hiking list is a good first read, and my one-pot trail meals and hiking soup recipes turn them into dinners. If you’re choosing a machine for trips, see the best dehydrators for backpacking meals. Carry the meal, not the water.

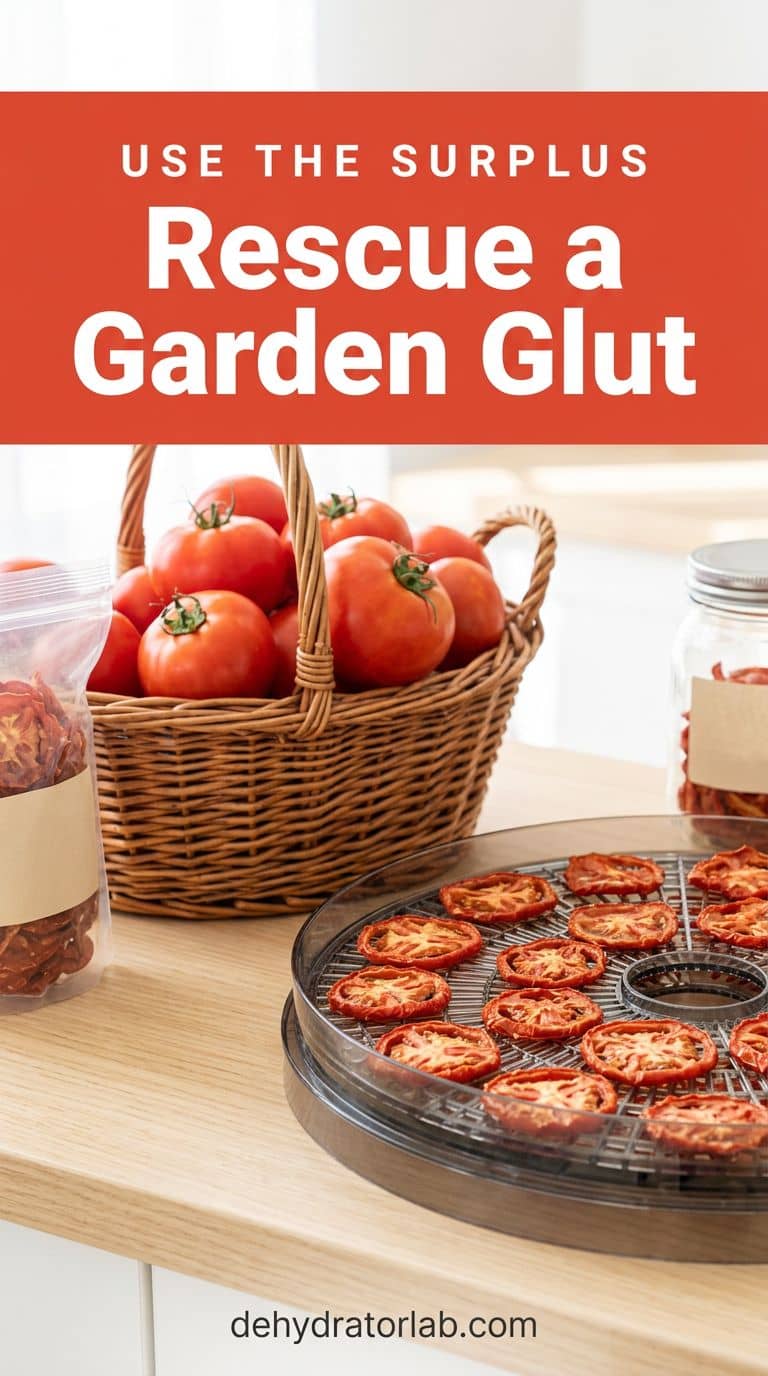
5. You Can Rescue a Garden Glut (or a Sale)
UMN Extension says drying lets you “reap the rewards of your garden.” The reality check is capacity. Clemson says 12 square feet of drying space handles about a half-bushel, so a big harvest means several rounds. Clemson also says an oven is a poor fit for abundant garden produce, because you may need it for cooking.
I treat grocery sales the same way as a garden glut. When tomatoes or onions are cheap, I buy extra and dry them in batches. Want ideas for what to dry in autumn? See my fall foods for dehydrating, my sun-dried tomatoes, and my guide to dehydrating onions. Plan in half-bushels.
6. You Control the Flavor and the Variety
Utah State Extension points out that drying provides variety in the diet. That part matches my experience. You choose the slice thickness, how chewy or crisp the result is, and what goes on it. You can make things the store doesn’t carry, like a seasoning blend built around your favorite herbs.
My dehydrated seasoning recipes, herb blends, and meal prep recipes show how far that goes. No two jars have to taste alike.
- Pick the slice thickness.
- Choose chewy or crisp.
- Add your own seasoning.

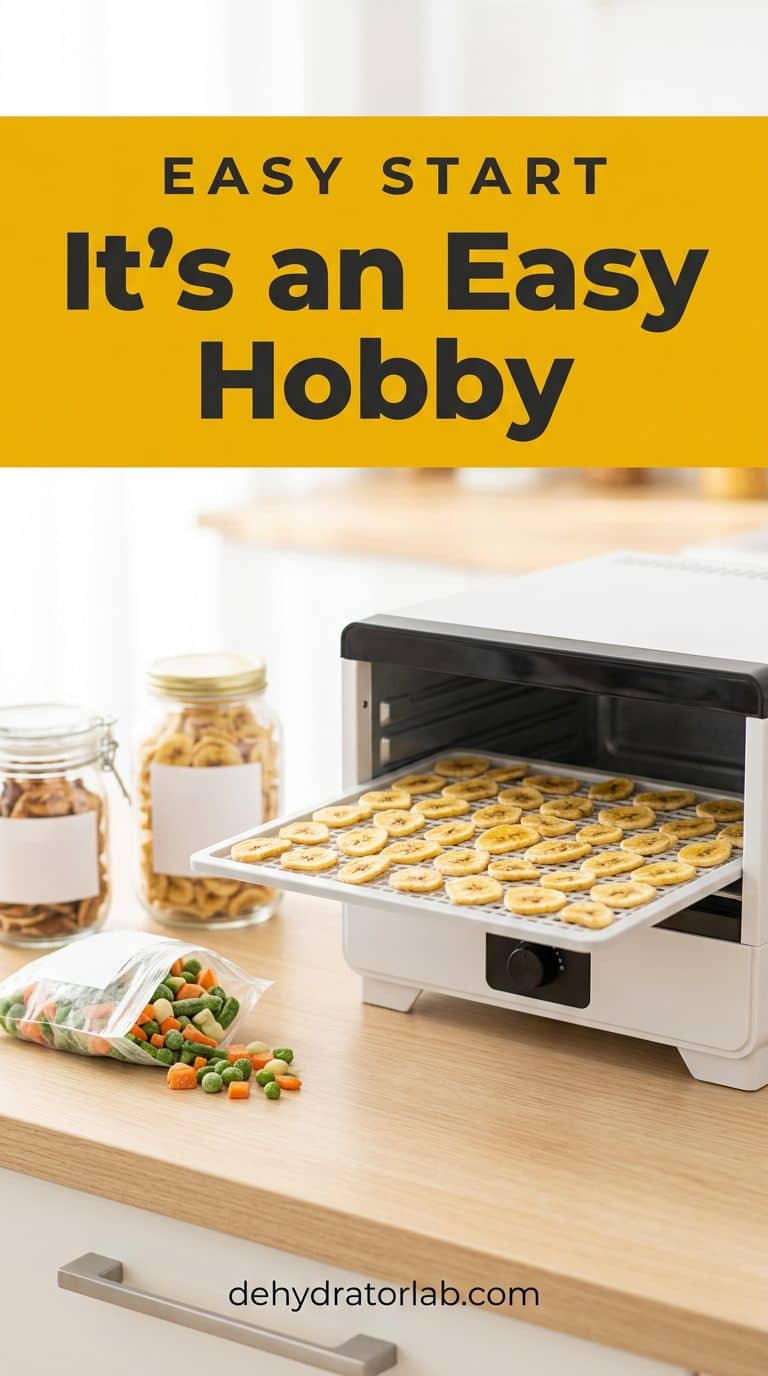
7. It’s an Easy Hobby to Start
Utah State Extension calls drying “a comparatively simple process, requiring little outlay of equipment, time and money.” REI calls dehydrating your own food “easy and rewarding.” I agree, as long as you start with forgiving foods.
A bag of frozen vegetables is the easy first tray, and my frozen veggies guide walks you through it. My easy dehydrating projects and best dehydrator for beginners picks are good next stops. Read my beginner mistakes guide before your first batch, and you’ll skip a few of the usual ones. Dry until brittle, and test one cooled piece before you jar the batch. Start with one tray.
Quick Reference: Seven Reasons at a Glance
| Reason | What the source says | My take |
|---|---|---|
| 1. Save money | UMN lists it, REI says cheaper and lighter than prepackaged | Do the pound math: about 6 lb fresh apples per 1 lb dried |
| 2. Waste less | USDA estimates 30 to 40 percent of the food supply is wasted | Dry it before it spoils |
| 3. Store more in less space | UMN: far less space than canned or frozen food | Jars on a cool, dark shelf |
| 4. Lighter pack | REI: lighter food conserves space and cuts weight | Pack single-meal bags |
| 5. Garden or sale surplus | UMN and Clemson: about a half-bushel per 12 sq ft | Plan batches, not one big load |
| 6. Flavor and variety | USU: variety in the diet | Make your own blends |
| 7. Easy start | USU: little outlay of equipment, time and money | One tray of frozen veggies first |
The money, space, waste, and garden statements follow University of Minnesota Extension. The dehydrator price range, the 80 and 90 percent moisture figures, the capacity figure, and the oven note follow Clemson Extension. The 25-pound apple yield, the shrinking food, the variety point, and the “simple process” quote follow Utah State Extension.
The cheaper-and-lighter statement, the weight and space statement, the dehydrator price range, and the apple-slice yield follow REI. The 30 to 40 percent waste estimate follows the USDA. The 6-pound apple ratio, my $2 price example, and my habits are my own. I couldn’t verify an electricity figure, so I don’t give one.
Personal Tips You Can Steal
I keep finished batches in glass jars, so I can see moisture early. I weigh fresh produce and finished batches on a kitchen scale, so I learn my own yields. I write the food and the date on every jar. I plan one drying day a week for whatever is about to turn. I start new foods with a half-full dehydrator. I check my machine’s wattage label before I trust any cost estimate.
Final Thoughts
You don’t need all seven reasons to start, because one is enough. Pick the one that fits your kitchen, whether that’s the grocery bill, the garden, or the trail, and load a single tray. For a first food list, my 9 best foods for an entry-level dehydrator is a friendly place to begin.
Related reading: 4 health benefits of dehydrating food, dehydrating food without electricity, how long dehydrated food lasts, and 10 easy dehydrating projects for beginners.
P.S. Your first tray doesn’t have to be perfect. It just has to be dry. 🙂