Ever opened the dehydrator after a long day and found slices that are crisp on the edges, damp in the middle, and a little too onion-flavored?
Almost every first-year problem I hear about traces back to the same handful of habits. Fix them and your batches get better right away. Here are eight beginner dehydrator mistakes, and how to dodge each one.
As an Amazon Associate, I earn from qualifying purchases. If you make a purchase after clicking on a link I may earn a small commission at no extra cost to you if items are purchased.
In this article:
TL;DR: Key Takeaways
- 🍽️ Give every piece its own space. Crowded trays are the top cause of damp spots.
- 🔪 Cut pieces the same size so they finish at the same time.
- 🌡️ Don’t crank the heat. Too much heat can seal the surface and trap moisture inside.
- 🍋 Treat the food first: acid for browning fruit, blanching for dense vegetables.
- 🥩 Meat needs a heat step to 160°F (71°C), and a thermometer is the only way to check it.
- 📦 Cool, test, and condition before you store anything.
This list is about what goes wrong, not how to get started. My 6 essential beginner tips cover patience, cooling, and conditioning in detail, and my best foods for an entry-level dehydrator list shows what to dry first. If you haven’t bought a machine yet, start with the best dehydrator for beginners guide.
I lean on university extension guides for the safety-critical points below, and I label my own habits as habits. Times and temperatures from me are home estimates, so adjust for your machine and your kitchen.
A mandoline fixes mistake number two for good. My mandoline picks for even slices explain what to look for. I use one like the model below, along with a cut-resistant glove.

- Easily create precise slices for professional-quality results
- Create up to 21 different cuts with thickness settings in 0.5-mm intervals, straight and crinkle/waffle blades, and buil…
- Angled Japanese stainless steel blade
1. Overloading the Trays
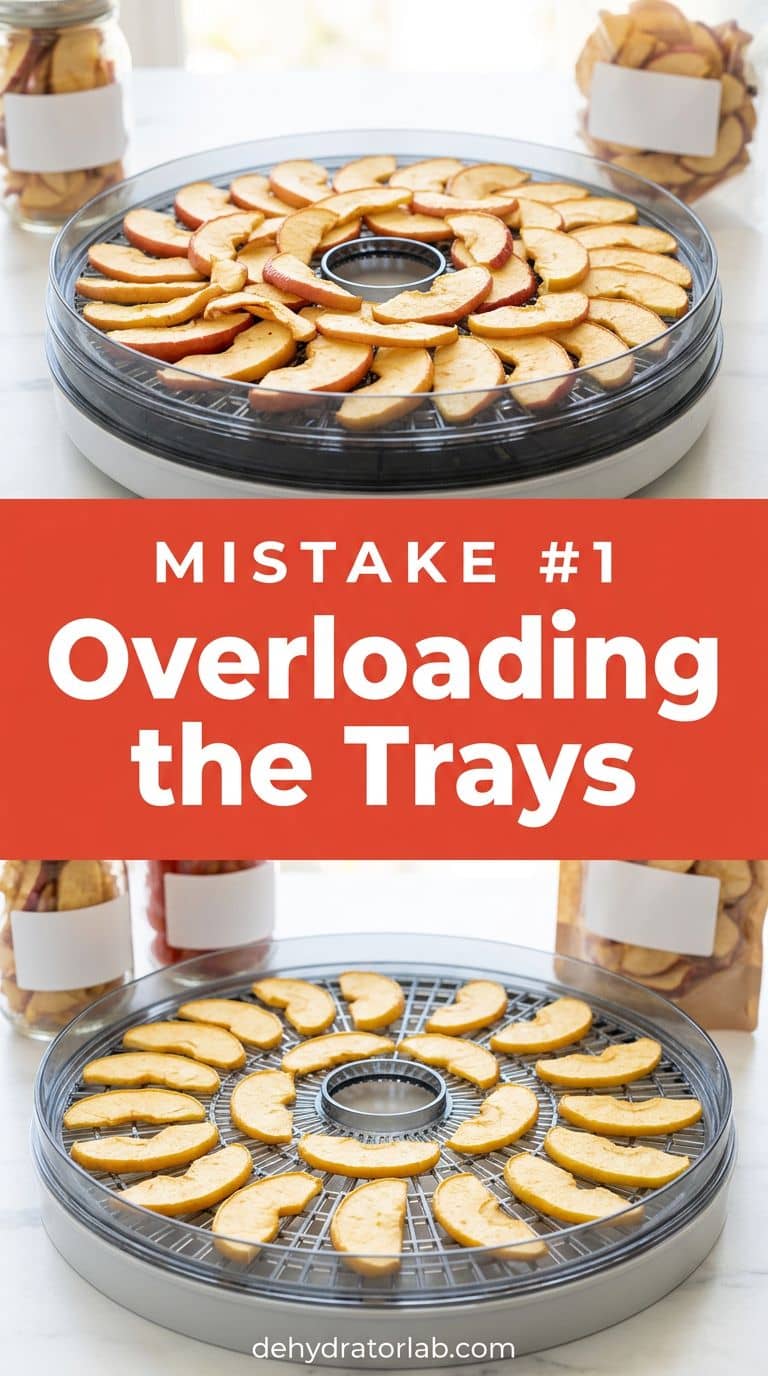
It’s tempting to pile in a whole bag of apples. But a full tray with overlapping pieces blocks the airflow, and the pieces that touch stay wet. The result is a tray with crisp spots, tacky spots, and a few slices that stick together.
The Clemson extension says to arrange vegetables in a single layer. Fruit works the same way. Leave a small gap, about the width of your finger, between pieces, and don’t stack slices on top of each other.
On stackable models I also rotate the trays every few hours, as I describe in my entry-level dehydrator foods list. I run my first batch of anything new at half capacity, so mistakes don’t hide in a crowd. Airflow is the engine.
- Single layer, no overlap.
- Leave a gap between pieces.
- Run half-full the first time and rotate the trays.
2. Cutting Pieces Different Sizes
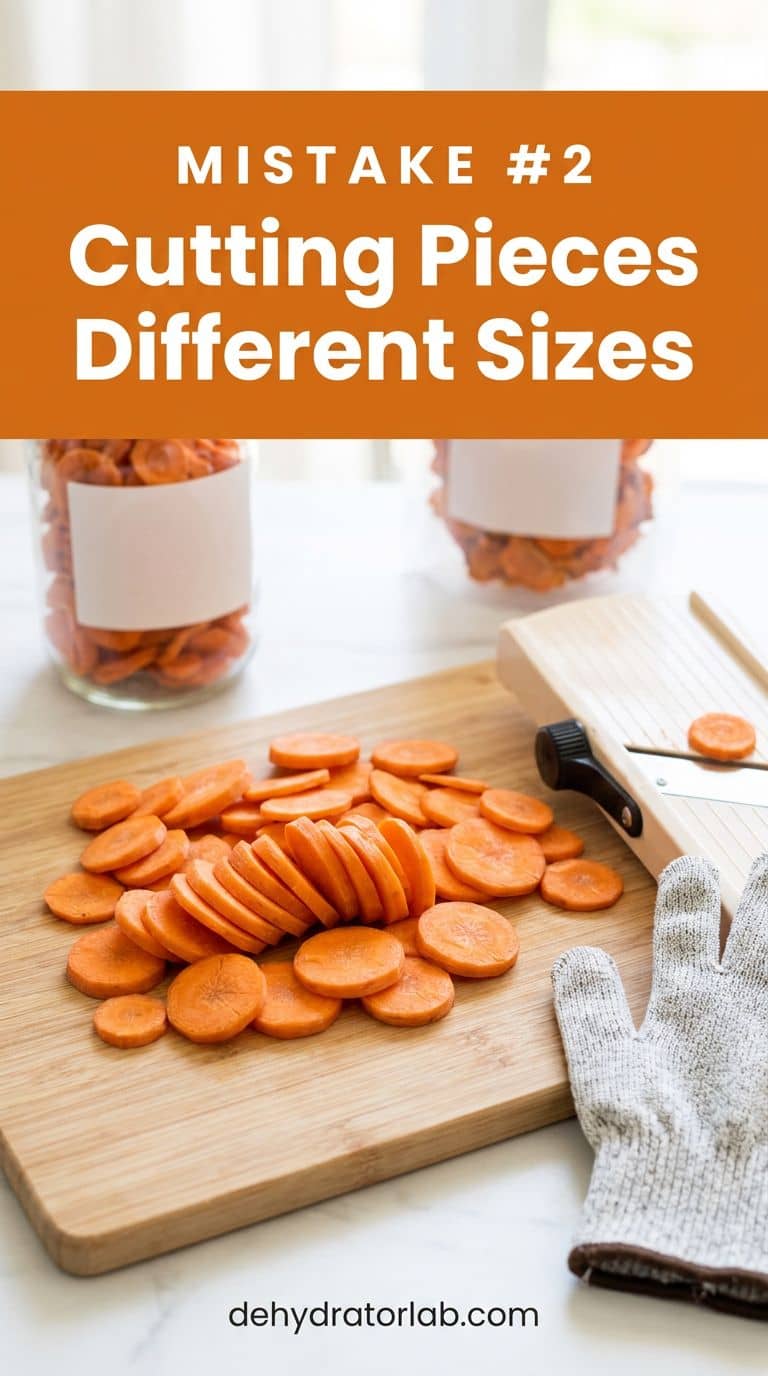
Thin slices dry fast and thick slices drag. When one tray has both, the thin pieces turn brittle while the thick ones stay damp. The Clemson guide says to keep pieces uniform in size so they dry at the same rate, and the same advice holds for fruit. For apples it suggests rings about 1/8 inch (3 mm) thick, as in my guide to the best apples to dehydrate.
A mandoline makes cuts the same thickness every time. Wear a cut-resistant glove and use the guard, even if you feel confident, because food slips. If you’d rather use a knife, slow down and trim each piece to match the first one.
When a tray finishes unevenly anyway, don’t wait for the thickest piece. Pull the done ones and give the stragglers more time. Finish together.
3. Turning Up the Heat to Rush
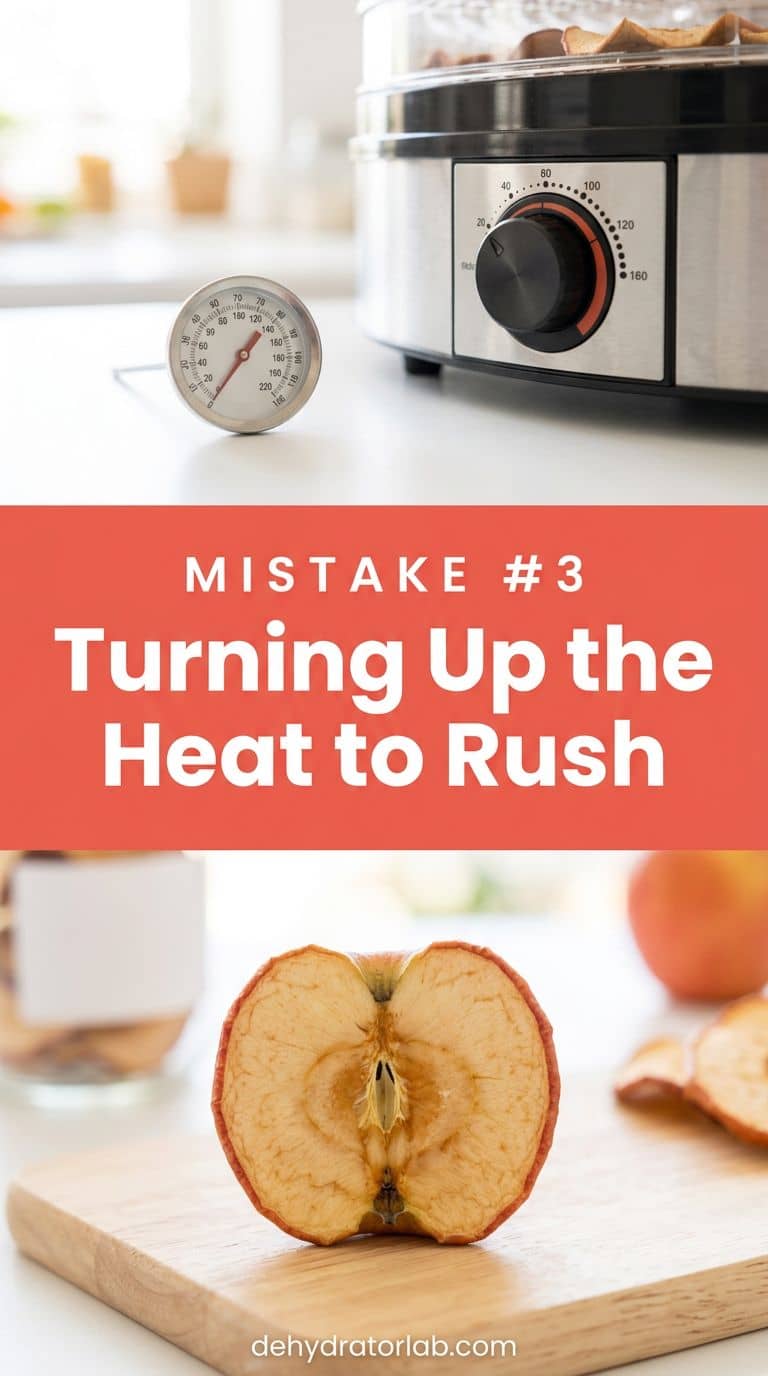
More heat does not mean faster drying. The K-State dry meat guide warns that higher heat can cause case hardening, where the surface dries and seals while moisture stays trapped inside, which invites spoilage. Cut a piece open to check. If the outside is crisp and the middle is soft or damp, the surface set too fast.
For fruit, the Penn State extension describes starting at 145°F (62°C) for the first hour while the surface is wet, then lowering to 135–140°F (57–60°C). I keep most vegetables a little lower, in the 125–135°F (52–57°C) range. Don’t raise the temperature mid-batch to catch up.
If your machine has no thermostat, a cheap oven thermometer on the tray tells you what it really runs at. That matters most on the fixed-temperature machines under $50, where a preset or a three-zone dial is all you get. Slow and steady wins.
4. Skipping Pretreatment and Blanching
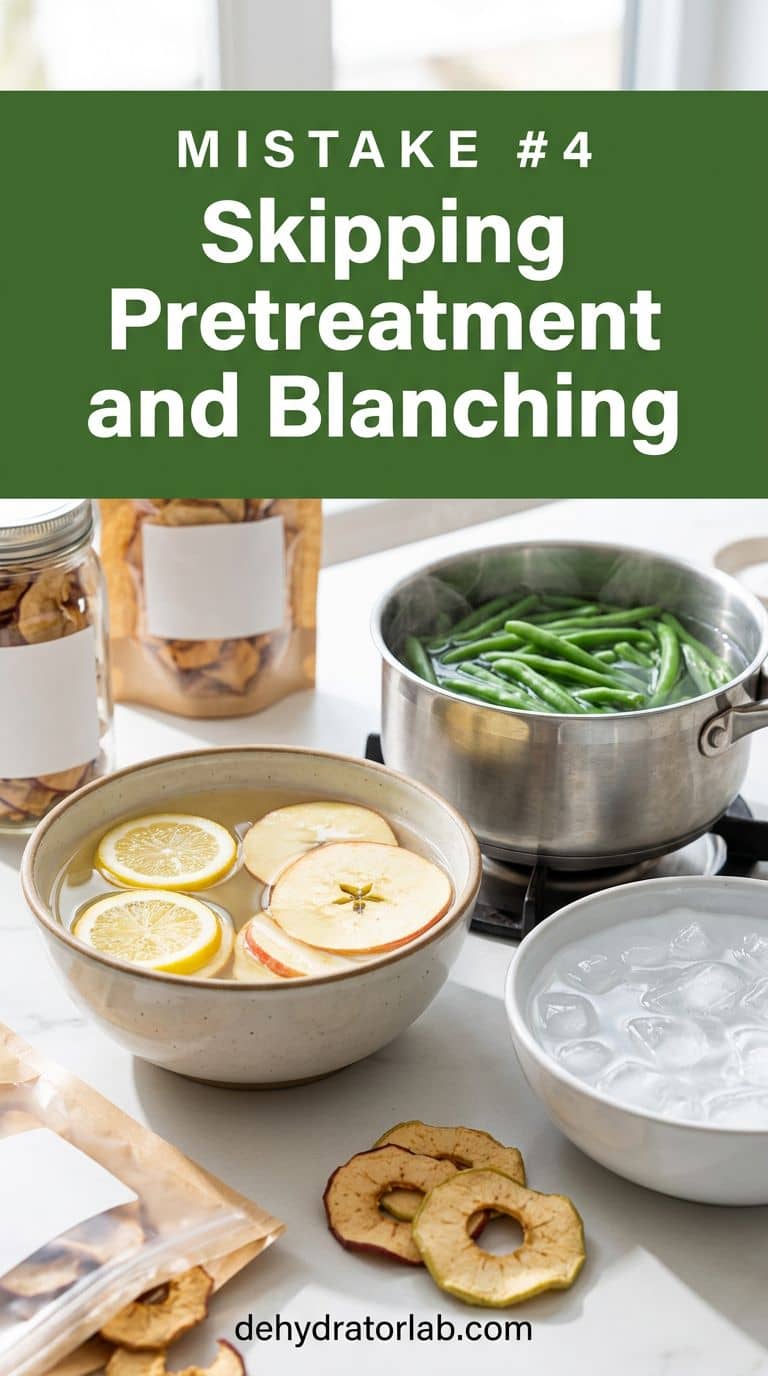
Cut apples, pears, and bananas turn brown fast. Penn State lists an acid pretreatment of 1/2 teaspoon of powdered citric acid in 2 cups of water, soaked for 10 minutes. It also says equal parts bottled lemon juice and water can substitute. Pat the fruit dry before it goes on the trays.
Dense vegetables need a different step. The Clemson guide explains that blanching heats vegetables enough to destroy enzymes that cause color and flavor loss during drying and storage, and it shortens drying time. Its steam times include 3 to 3-1/2 minutes for carrots, 2 to 2-1/2 minutes for green beans, and 6 to 8 minutes for potatoes. Onions, green peppers, and mushrooms need no blanching.
My guides to dehydrating carrots, potatoes, and mushrooms show each in detail. Blanch the dense ones.
5. Drying Strong-Smelling Foods Together
Foods share flavors in a closed machine. The Clemson guide says to avoid drying strong-smelling foods together because their flavors will blend, and it notes that onion and garlic odors can linger in a home. A tray of apples next to a tray of onions gives you onion-flavored apples.
I run onions, garlic, and peppers on their own day, with a window open or the machine in the garage. Fruit goes in a separate batch from savory foods. My dehydrating onions guide has more tips. Wash the trays well between batches, because oils from strong foods can stick to the plastic. One scent per batch.

6. Putting Meat In Without the Heat Step
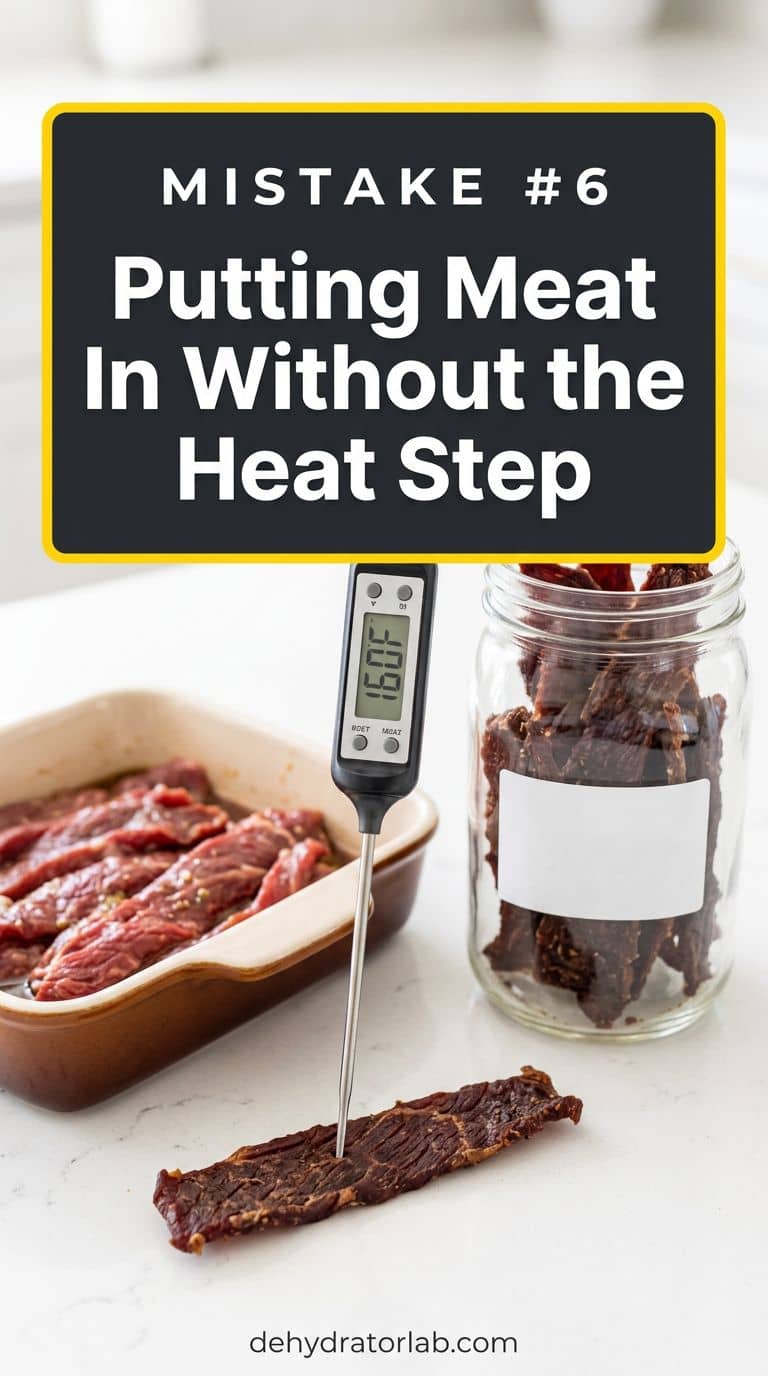
This is the one mistake that can make you sick. The K-State guide says the USDA recommends heating meat to 160°F, and ground meat needs 160°F too. Poultry needs 165°F, though the guide doesn’t recommend raw poultry for jerky at all. Many home dehydrators don’t reach those temperatures on their own.
The guide gives two heat steps. Boil the strips in their marinade for 5 minutes before drying, or heat the dried strips for 10 minutes in a 275°F (135°C) oven. It also says the dehydrator should hold a steady 130–140°F (54–60°C) and never run below 130°F. Slice strips no thicker than 1/4 inch (6 mm), trim off all the fat, and keep the meat cold until it goes in.
Check with a metal stem thermometer on several strips, not by eye. For recipes, see my ground meat jerky recipes and my guide to the best cuts of beef for jerky. Thermometer, not eyeballs.
7. Trusting the Timer Instead of the Test
Recipe times are ranges, not promises. Humidity, thickness, tray load, and your machine all move the real number. I’ve seen the same apple ring take 6 hours one day and 10 the next.
Test instead. Pull a few pieces from different trays and let them cool for a few minutes, since warm food always feels softer. Penn State describes dry fruit as pliable with no beads of moisture when pressed between your fingers. The Clemson guide says vegetables should be brittle or crisp, at about 10 percent moisture. Cut a piece in half and look for wet spots.
For more on testing, see my beginner tips and my answer on whether you can over dehydrate food. Cool, then test.

8. Packing Warm Food and Skipping Conditioning
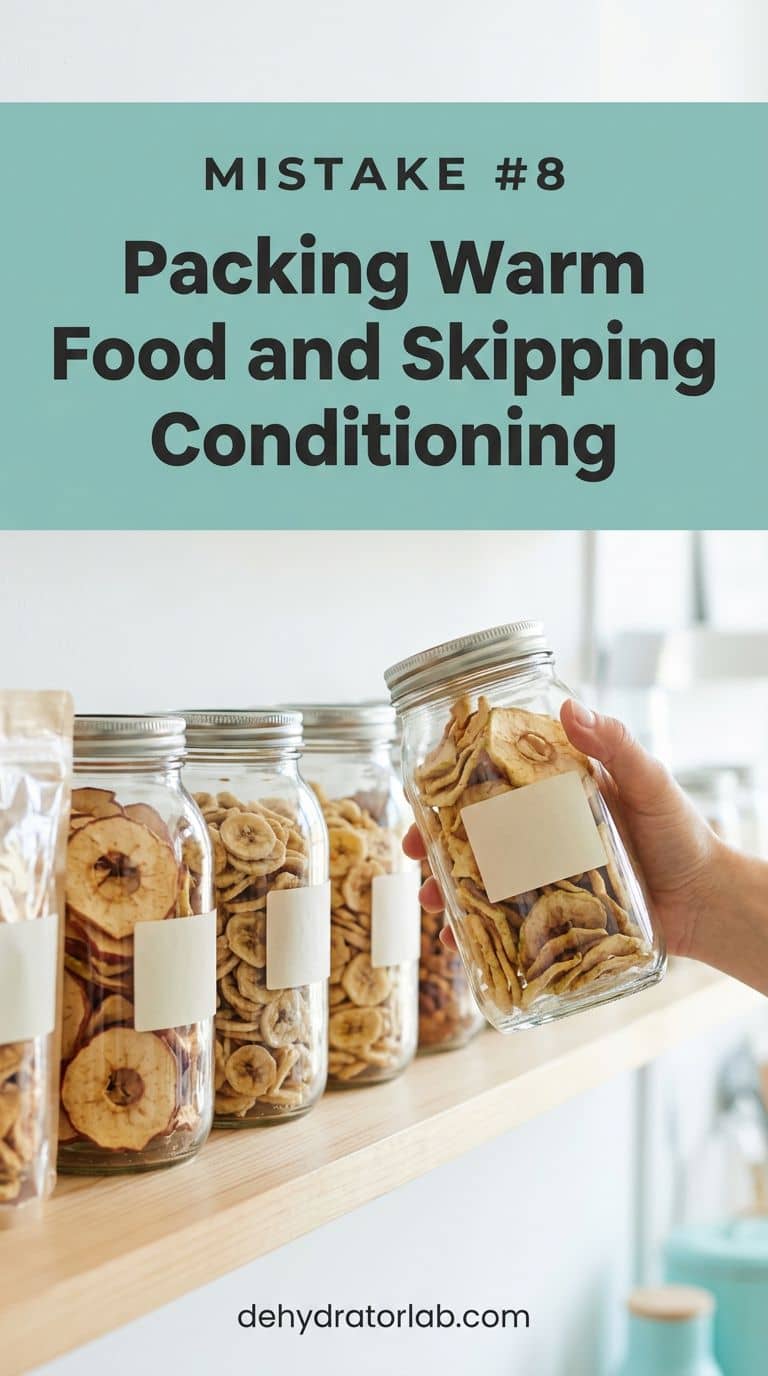
Food that goes in a jar warm will sweat. The National Center for Home Food Preservation says to cool dried food completely before packaging, because warm food sweats and can leave enough moisture for mold to grow.
For fruit, the same guide says to pack it loosely in clean jars and let them stand for 7 to 10 days, shaking daily and watching for condensation. If you see any, the fruit goes back in the dehydrator. It describes dried fruit at about 20 percent moisture, and says vegetables dry brittle and don’t need conditioning.
Storage matters too. Most dried fruit keeps about 1 year at 60°F (16°C) and about 6 months at 80°F (27°C), per NCHFP. I use airtight glass jars and keep them in a cool, dark cupboard. For more, see my notes on how long dehydrated food lasts and moisture absorbers versus oxygen absorbers. Cool, jar, shake.
Quick Reference: Mistake, Sign, and Fix
| Mistake | Sign | Fix |
|---|---|---|
| 1. Overloaded trays | Damp spots, pieces stuck together | Single layer, small gaps, rotate trays |
| 2. Uneven cuts | Some brittle, some soggy | Mandoline or matched cuts; pull done pieces early |
| 3. Too much heat | Crisp outside, soft inside | Steady 135–140°F (57–60°C) for fruit |
| 4. No pretreatment | Brown fruit, dull vegetables | Acid dip for fruit; blanch dense vegetables |
| 5. Mixed smells | Apples that taste like onion | One scent per batch |
| 6. Meat without heat step | Not visible; use a thermometer | Heat to 160°F (71°C); poultry 165°F (74°C) |
| 7. Trusting the timer | Chewy, sticky, or over-dry | Cool a few pieces and test |
| 8. Warm packing | Condensation in the jar | Cool fully; condition fruit 7–10 days |
Temperatures for fruit and meat come from the extension guides linked above. Vegetable ranges and gap sizes are my own habits, so adjust them for your machine.
Personal Tips You Can Steal
I label every batch with the food and the start time on a strip of masking tape. I keep an oven thermometer on the middle tray, because the dial on a budget machine isn’t always honest. I cool my test pieces on a plate for five minutes before I judge them. I run one flavor family per batch, with fruit on one day and savory foods on another. I make a half batch the first time I try a new food. I write the jar date on the lid before the food goes in, so I never forget.
Final Thoughts
Every one of these mistakes is easy to fix, and most cost you nothing. Start with spacing and slice size, then add the testing habit, and your batches will improve fast.
Related reading: 10 easy dehydrating projects for beginners, dehydrators under $100, how to dehydrate bananas, and 5 marinade mistakes to avoid.
P.S. If a batch comes out a little too dry, don’t toss it. Grind the crisp pieces into powder and stir it into soup. 🙂