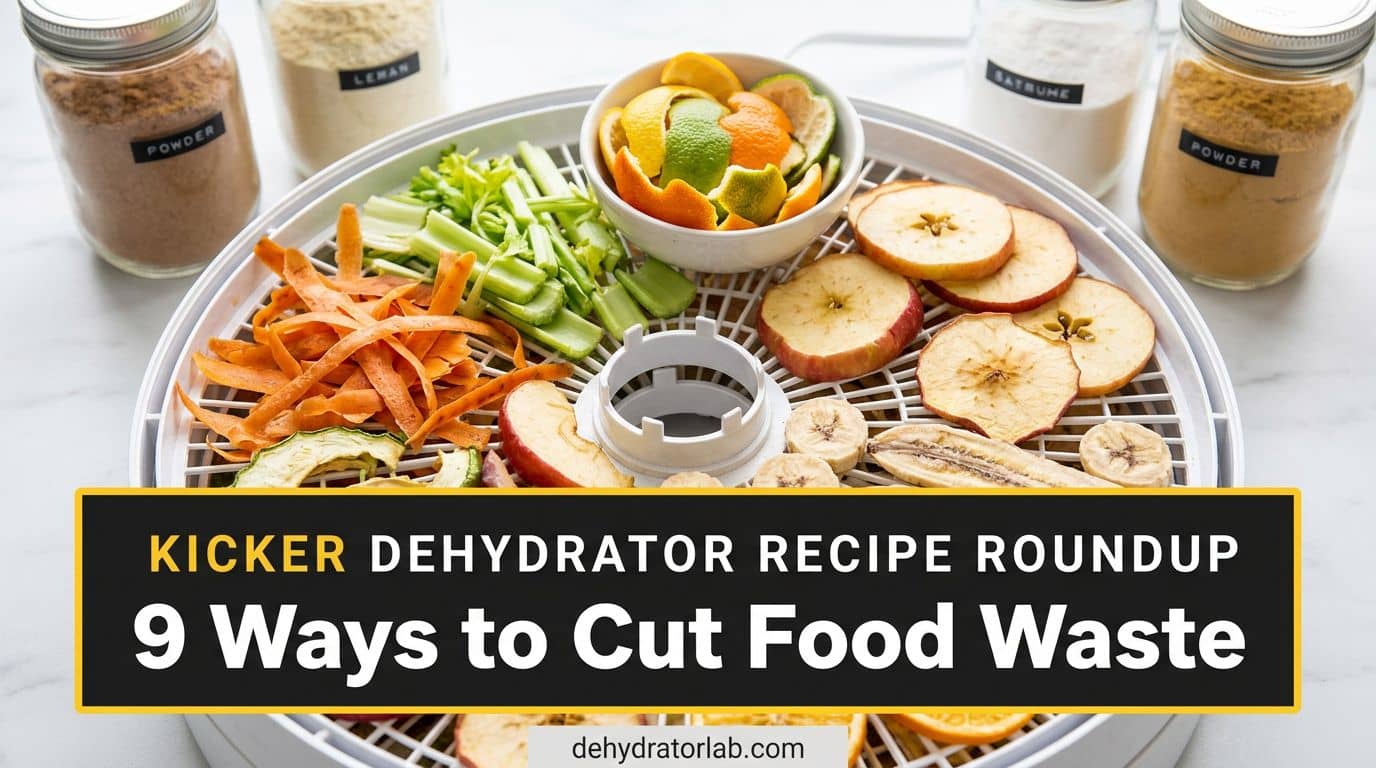
Just unboxed your first dehydrator and staring at five empty trays, wondering what to load first?
Good news: a basic machine with a fixed temperature and a stack of round trays handles a lot more than the box lets on. The trick is picking foods that forgive the limits of a budget unit, like no thermostat, uneven airflow, or a heater that runs a little hot.

Here are nine that I’ve seen work on simple machines, ranked roughly from “can’t mess this up” to “pay attention here.” Let’s fill those trays.
As an Amazon Associate, I earn from qualifying purchases. If you make a purchase after clicking on a link I may earn a small commission at no extra cost to you if items are purchased.
In this article:
TL;DR: Key Takeaways
- 🍎 Apples, bananas, and strawberries are the safest first batches because sugar and thickness forgive uneven heat
- 🔄 Rotate trays and check early, since budget stackable machines dry the bottom and top trays at different speeds
- 🥒 Even slices matter more than the model you own, so a cheap mandoline pays for itself fast
- 🍅 Tomatoes, zucchini, and mushrooms reward patience and teach you what “bone dry” feels like
- 🌿 Herbs dry fast on a hot fixed-temp machine, so pull them the moment they crumble
- 🥩 Ground beef jerky is doable on a basic unit only if you heat the meat to 160°F (71°C) first
Not sure your machine is the right fit yet? My best dehydrator for beginners guide covers the cheaper end of the market. Already own one? Start at number one and work down.
1. Apple Rings
Apples are the training wheels of dehydrating. They hold their shape, they don’t care much about timing, and they taste like something you’d actually buy. Even a no-frills machine turns them into chewy rings or crisp chips depending on how long you leave them.
Core and slice 1/4 inch thick, then dip the rings in lemon water for a few minutes to slow browning. An apple corer-slicer makes the slicing quick and even. Dry at 135°F (57°C) for 6–10 hours, depending on how chewy you like them. If your machine runs at a fixed higher temperature, check at the 4-hour mark. Uniform slices dry evenly.
Want to know which varieties hold up best? My guide to the best apples to dehydrate ranks twenty of them.

2. Bananas
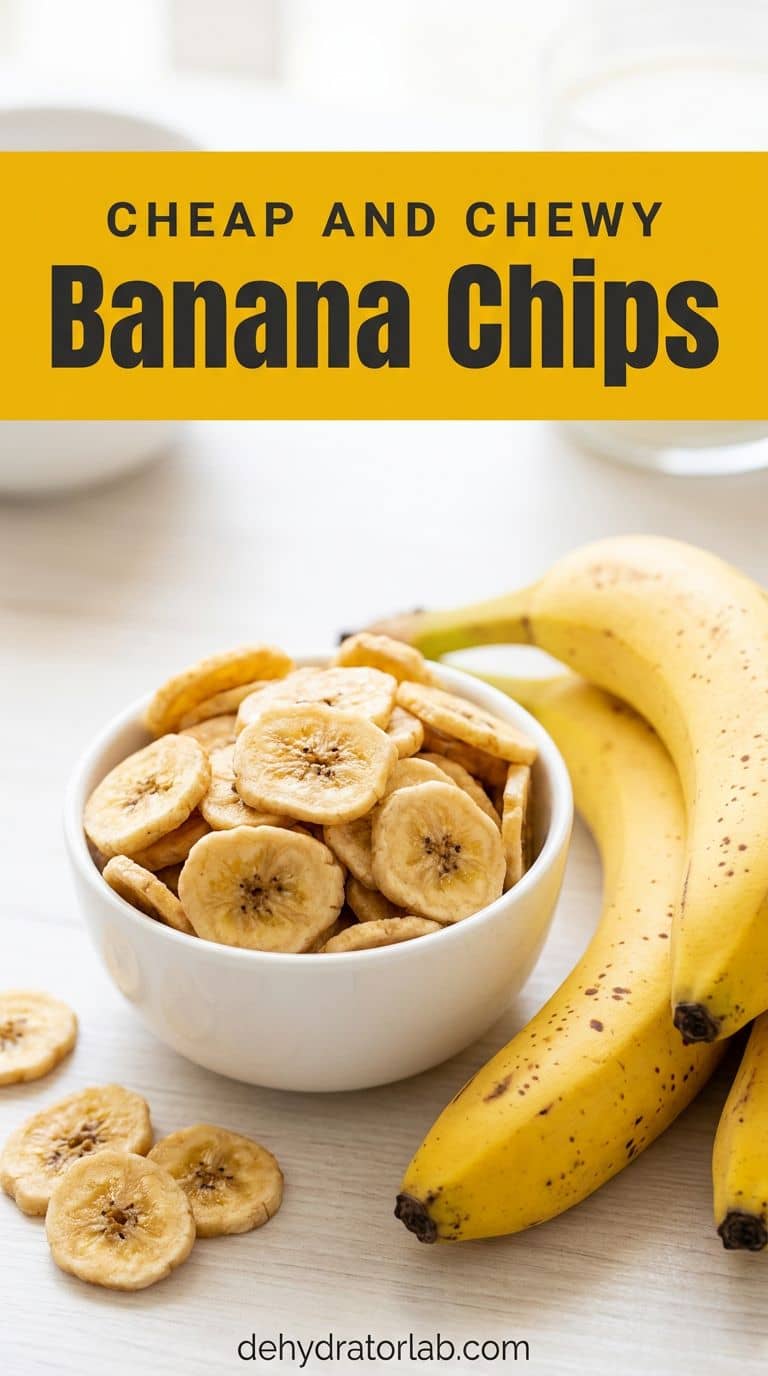
Bananas are cheap, available year-round, and nearly impossible to ruin. They go from soft and sweet to chewy candy to crunchy chips depending on how long they stay on the tray.
Pick bananas that are yellow with a few brown freckles. Green ones stay starchy, and mushy ones fall apart on the slicer. Cut 1/4-inch coins and dry at 135°F (57°C) for 8–12 hours. They’re done when they bend without leaving a wet spot, or snap if you want chips. My full guide to dehydrating bananas walks through four different methods. Ripeness is the whole game here.
3. Strawberries
Strawberries look fussy but behave well on a basic machine. The cut surface does the work, so a simple fan and heater are plenty.
Hull the berries and slice them 1/4 inch thick. Lay them in a single layer with no overlap, because they’re juicy and will stick if they touch. Dry at 135°F (57°C) for 8–12 hours until they feel leathery and leave no wet spot when you snap one in half. Smaller berries can go in halved. Pull a slice, let it cool for a minute, and then judge it, since warm fruit always feels softer. My strawberry dehydrating guide has more tips on picking and slicing.

4. Applesauce Fruit Leather
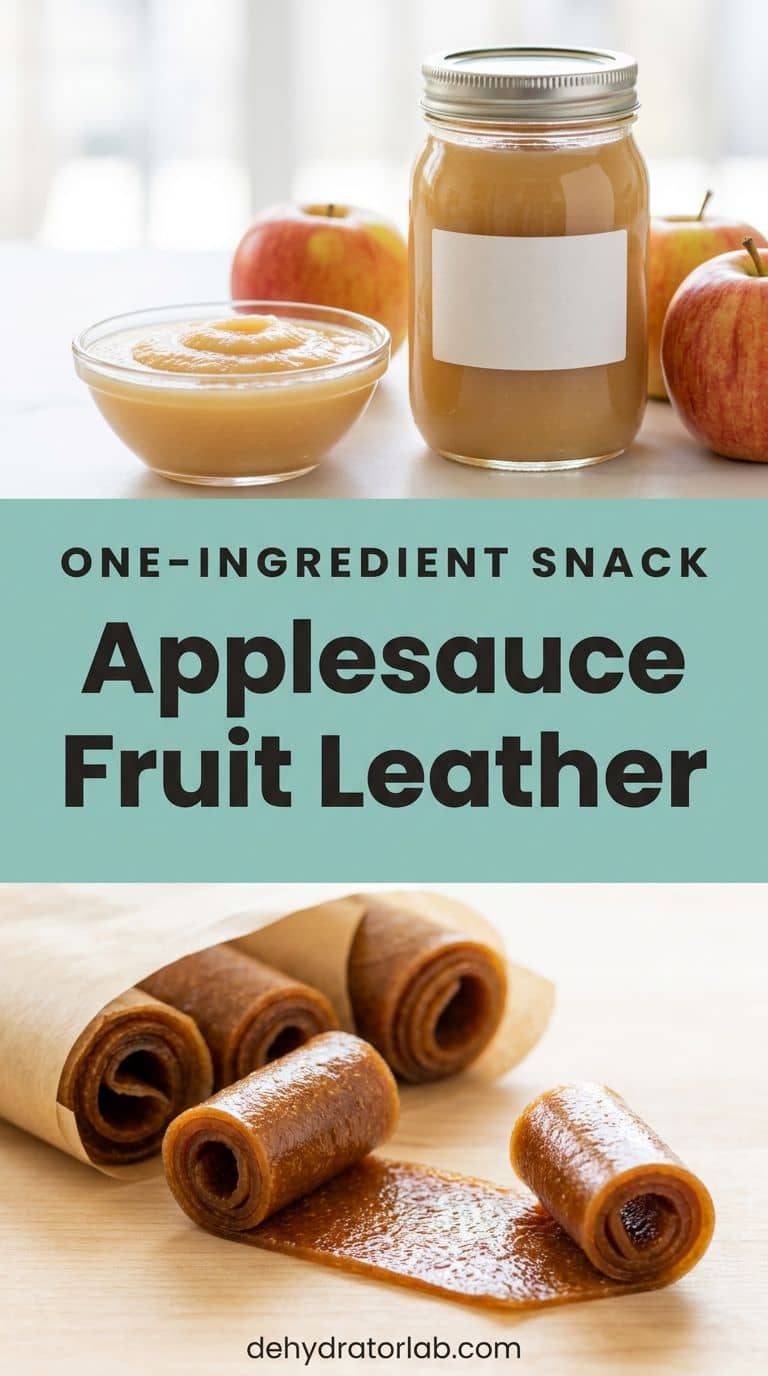
Fruit leather is where a basic machine earns its keep. You don’t need precise temps, just a puree you can spread evenly. And the easiest puree to start with is a jar of unsweetened applesauce.
Spread about 1/8 inch thick on a lined tray, leaving a small border so it doesn’t spill. A silicone dehydrator sheet keeps the puree from dripping through the mesh and sticking to the tray. Dry at 135°F (57°C) for 6–8 hours until it peels cleanly off the liner and feels tacky-dry, never wet. Thick spots in the middle are the usual culprit when it stays sticky, so spread a little thinner near the center. Even thickness beats everything.
For flavor ideas, my apple cinnamon fruit leather recipe is a good first stop, and the fruit leather roundup has nine more.
5. Roma Tomatoes
Ever wonder why dried tomatoes cost so much at the store? It’s the drying time, and your dehydrator does that part for free.
Romas are the right pick for a basic machine because they’re meaty with fewer seeds, which means less water to remove. Halve them or cut 1/4-inch slices, and place them cut-side up. Dry at 135°F (57°C) for 8–12 hours for slices and up to 18 for halves. They should feel leathery with no wet pockets, and they’ll keep getting drier while they cool. Start here once the fruit batches feel easy:
- Cut every tomato the same thickness so slices finish together
- Rotate trays every few hours on stackable models
- Pull a piece, cool it, and squeeze, because no moisture means no mold
My dehydrated sun-dried tomatoes post covers storage and a few ways to use them.

6. Zucchini Chips
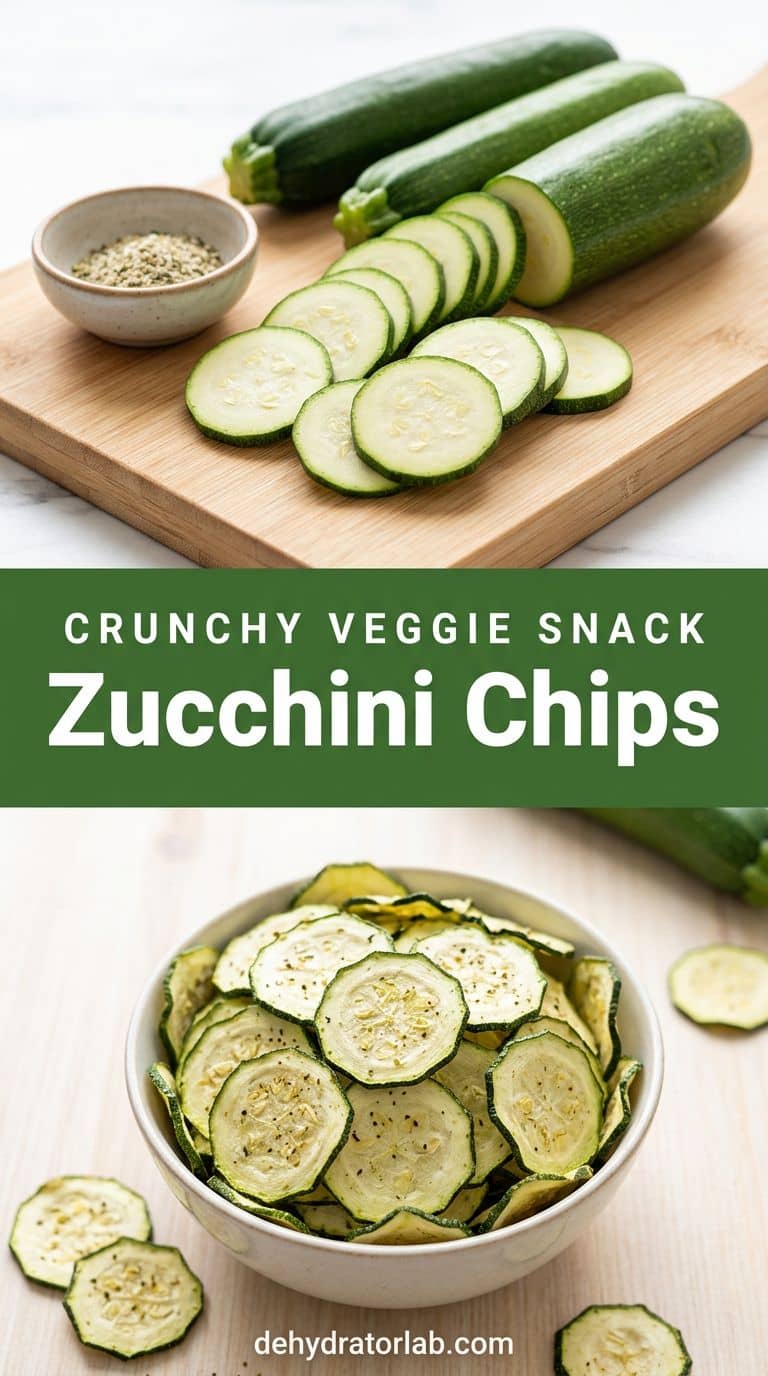
Zucchini is the vegetable that teaches you slice thickness. It’s mostly water, so thick pieces stay limp while thin ones turn crisp and snappy.
Slice 1/8 inch thick. A mandoline makes that thickness the same on every slice, which a knife can’t promise. Toss with a little oil, salt, and your favorite seasoning, then dry at 125–135°F (52–57°C) for 6–10 hours until they snap. If a few slices stay bendy, pull the finished ones and give the stragglers another hour. Thin is the whole trick.
Want more seasoning ideas? My dehydrated vegetable chip recipes roundup has fifteen flavors to try.
7. Mushrooms
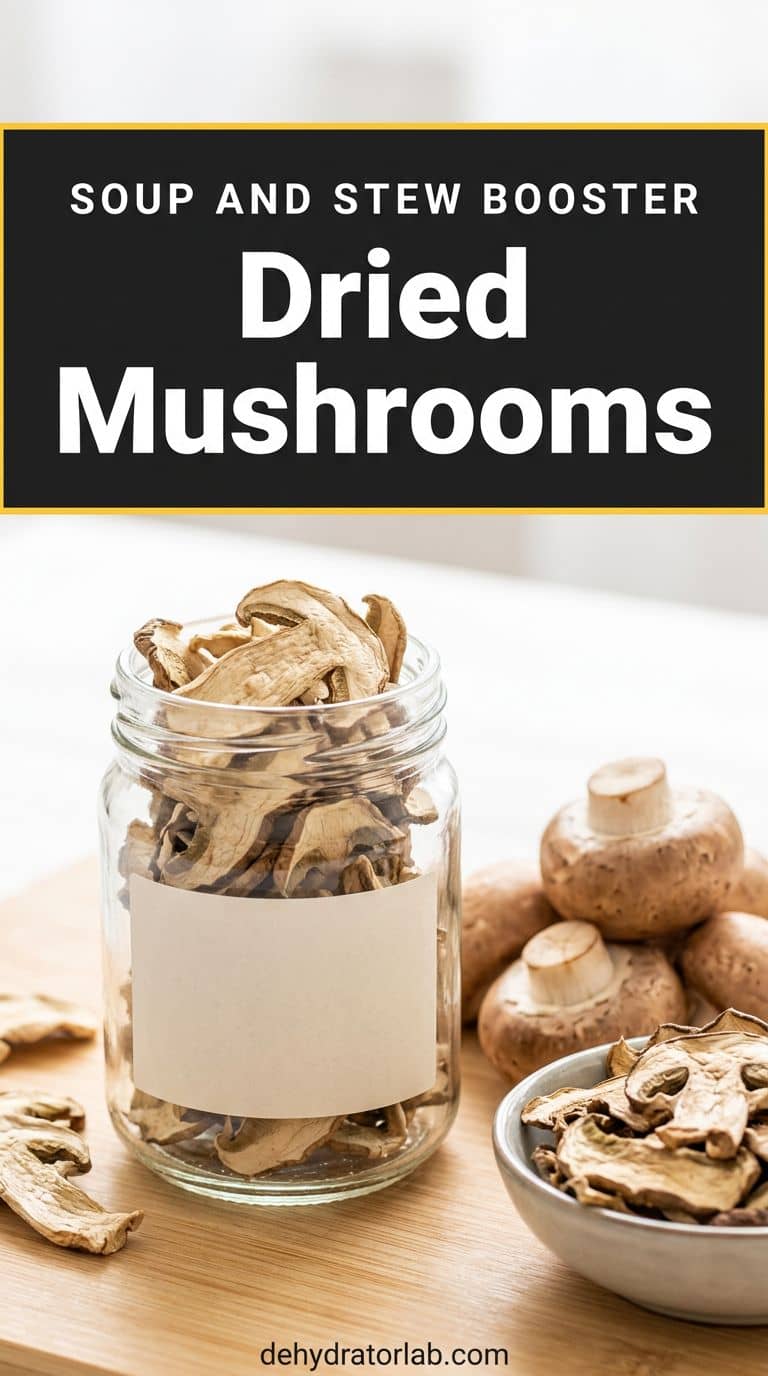
Mushrooms shrink to almost nothing, which makes them a smart use of a small machine. A tray of sliced button mushrooms becomes a handful of intensely savory pieces that rehydrate into soups, stews, and sauces.
Wipe them clean with a damp cloth instead of soaking them, since they drink water like sponges. Slice 1/4 inch thick, lay them in a single layer, and dry at 125–135°F (52–57°C) for 4–8 hours until they snap. Store them airtight, and grind a handful into powder when you want a flavor boost. Check these first when you open the lid:
- Slices that bend instead of snap need another hour
- Keep gills facing up so liquid doesn’t pool
- Check the jar after a day, because soft pieces mean more drying
My full how to dehydrate mushrooms guide has the details, and my dehydrated mushroom powder recipe shows what to do with a full jar.
8. Fresh Herbs (Parsley and Oregano)
Herbs are the one food on this list where a basic machine can work against you. Many fixed-temperature units run hotter than herbs like, and the flavor fades if you leave them in too long.
The fix is simple: dry small batches and check often. Rinse, pat the leaves completely dry, and spread them in a single layer. If your machine has an adjustable setting, use 95–115°F (35–46°C) for 2–4 hours. On a fixed hot unit, start checking at 30 minutes and pull them the second they crumble between your fingers. My guides to dehydrating parsley and dehydrating oregano cover the timing in more detail. Pull early, not late.
Once you have a few jars, mix them. My dehydrated herb blends post has seven combinations that make good gifts.

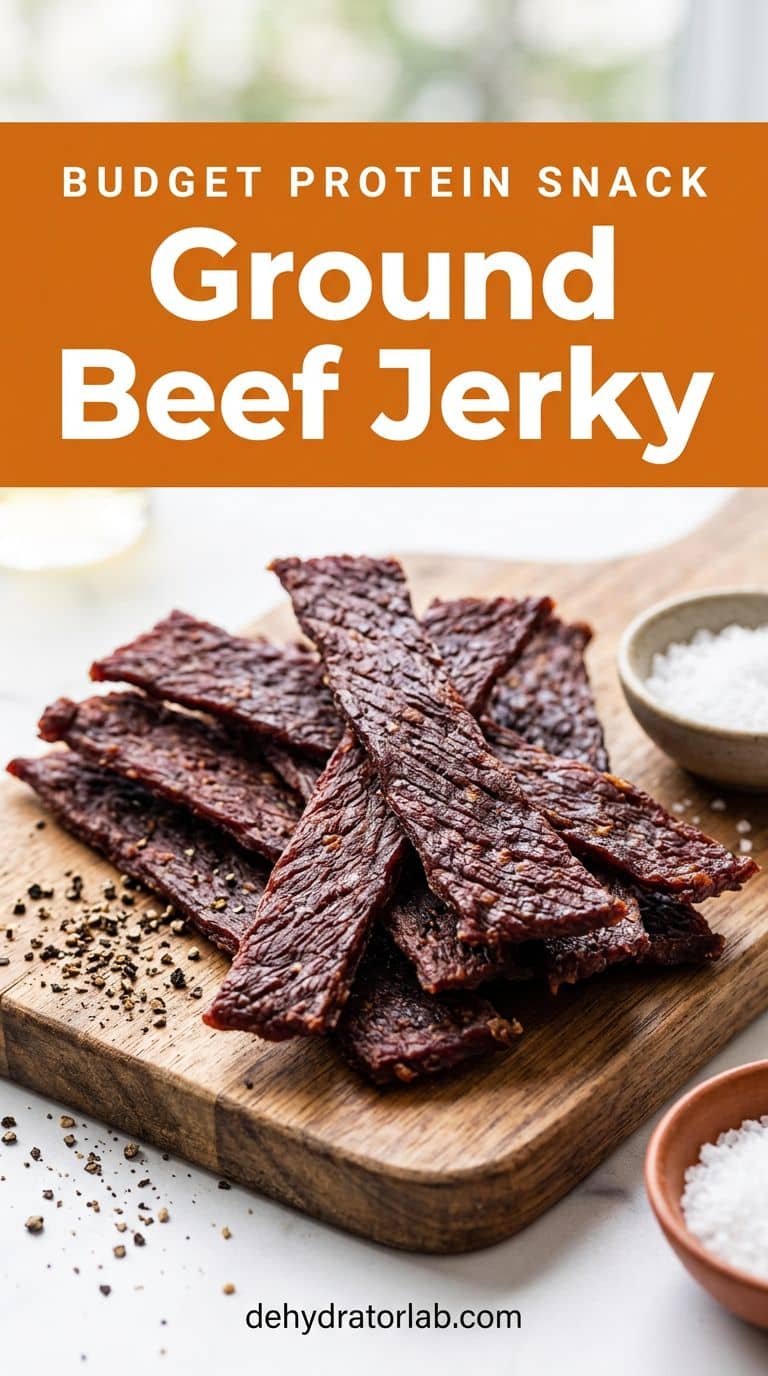
9. Ground Beef Jerky
Ground beef jerky is cheap, forgiving, and easy to shape. It also comes with the one real food-safety catch on this list, so read this one slowly.
Ground beef needs to reach 160°F (71°C) internally, per the USDA’s safe minimum internal temperature chart. Many entry-level dehydrators don’t get there on their own. The safe route is to heat the strips to 160°F first, either in a 275°F (135°C) oven or in a skillet, and then finish drying them in the dehydrator at 135–145°F (57–63°C) for 3–5 hours. Check a strip with a thermometer, not by eye. Use 90% lean beef or leaner, since fat goes rancid in storage.
- Use the leanest ground beef you can find
- Heat the meat to 160°F (71°C) before it goes on the trays
- Blot fat droplets during drying, because fat is the shelf-life enemy
My 8 ground meat jerky recipes have flavor ideas, and the best cuts of beef for dehydrator jerky guide helps if you move on to sliced meat.
Personal Tips You Can Steal
I always run a half-full dehydrator on the first batch of anything new, because crowded trays hide mistakes. I rotate the trays every couple of hours on stackable machines, since the bottom tray almost always finishes first. I write the food and the date on a piece of tape before the batch goes in, which saves me from guessing later.
I cool every batch completely before judging it, because warm food always feels softer than it is. And I keep a cheap oven thermometer next to the machine so I know what my unit actually runs at, not what the box says.
Final Thoughts
You don’t need a fancy machine to get good results, just foods that fit its limits. Start with apples and bananas, graduate to tomatoes and mushrooms, and save the jerky for when you’re ready to use a thermometer.
Related reading: for a deeper look at the basics, check out 6 essential beginner tips for food dehydrating, and if you’re worried about drying too long, my guide on whether you can over dehydrate food puts that fear to rest.
P.S. If you’re only going to try one thing this weekend, make it the apple rings. Your kitchen will smell amazing, and you’ll have a jar of proof by Sunday night. 🙂