Think dehydrating means washing, slicing, blanching, and babysitting trays all weekend?
Not always. Plenty of foods arrive already prepped by a freezer bag, a can, or last night’s dinner. Here are nine that are easy to dehydrate, and a few of them will surprise you. Let’s load the trays.

As an Amazon Associate, I earn from qualifying purchases. If you make a purchase after clicking on a link I may earn a small commission at no extra cost to you if items are purchased.
In this article:
TL;DR: Key Takeaways
- 🧊 REI says frozen vegetables don’t need thawing before they go in the dehydrator, and canned beans only need draining and a rinse.
- 🍚 Cooked rice, pasta, and quinoa all dry well, at 125°F (52°C) for rice and 135°F (57°C) for pasta and quinoa, per REI.
- 🥫 REI also says canned vegetables are generally too saturated to dry, with one exception: beets.
- 🧅 Clemson says onions and green peppers can be dried without blanching.
- 📅 The sources disagree on conditioning and shelf life, so I plan on up to 6 months in a cool pantry, then the freezer.
- 🥣 Dry until hard or brittle, cool a piece before you test it, and store everything airtight.
I dry most of these at 125°F (52°C) or 135°F (57°C), the settings REI uses for vegetables and for higher-moisture foods. Times, yields, and flavor tips are my own unless I name a source, because tray load, humidity, and your machine all move them. If you’re still shopping for a machine, my best dehydrator for beginners picks are a good start, and my beginner mistakes guide can save you a few ruined batches.
Sauce, cooked rice, and cooked pasta are sticky or fine enough to slip through mesh trays. REI says nonstick sheets are required for drying sauces, and a silicone sheet like the one below handles all three.
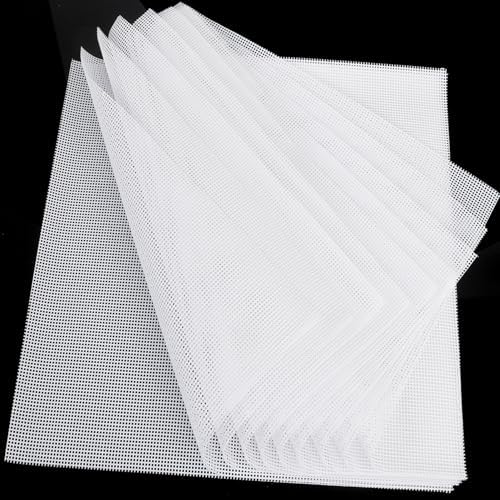
- STOP SMALL FRUIT FROM FALLING – Our ultra-fine 1mm mesh structure ensures tiny berries, sliced herbs, and seeds stay on …
- SAVE 60 MINUTES ON CLEANUP – High-release silicone coating makes these 100% non-stick. Meat oils and fruit sugars slide …
- PROFESSIONAL GRADE & BPA-FREE – Made from premium food-grade silicone, certified safe for temperatures up to 450°F. Enjo…
Why Fresh Vegetables Get Blanched, and Why These Don’t
Clemson calls blanching “a necessary step in preparing vegetables for drying” because it stops the enzyme action that costs you color and flavor in storage, and it shortens drying and rehydration time. That’s the work a freezer bag lets you skip. REI says to opt for frozen vegetables because they don’t need to be thawed before they go in your dehydrator, and as my frozen veggies guide explains, most bagged vegetables were blanched before freezing. Clemson also says onions, green peppers, and mushrooms can be dried without blanching, which is why two of them made this list.
How Do You Know It’s Dry?
Clemson says vegetables should be brittle or crisp, with about 10 percent moisture left. UAF adds a rule I follow: remove a piece, cool it completely, then test it. Warm food always feels softer than it is. Brittle vegetables like peas and carrots should shatter if you hit them with a hammer, says UAF, and leathery foods should be pliable and spring back when folded. Leathery is the goal for the sauce sheet in recipe 6.
Conditioning and Storage: The Sources Disagree
Here’s the honest part. Clemson says vegetables don’t need conditioning like fruit does, while UAF says to pack the dried food loosely in an airtight container and shake it daily for two to four days, returning it to the dehydrator if condensation shows up. I condition anyway, because it costs nothing and catches damp spots early. That’s my habit, not a rule from either page.
Shelf life is just as split. Clemson says vegetables keep about six months at 60°F (16°C) or three months at 80°F (27°C). UAF says most dried foods keep one year, with strong-flavored vegetables like onions at six months. REI says dried vegetables can last up to 10 years, and that vacuum-sealing with an oxygen absorber is best. I plan on the cautious end: up to 6 months in a cool pantry, then the freezer. That rule is my own. For more detail, see how long dehydrated food lasts and my Mylar bag picks. If a jar ever shows mold, Clemson says to discard it.
Let’s get into it.
1. Frozen Mixed Vegetables
A bag of frozen vegetables is the easiest first batch on this list, and it’s cheap.
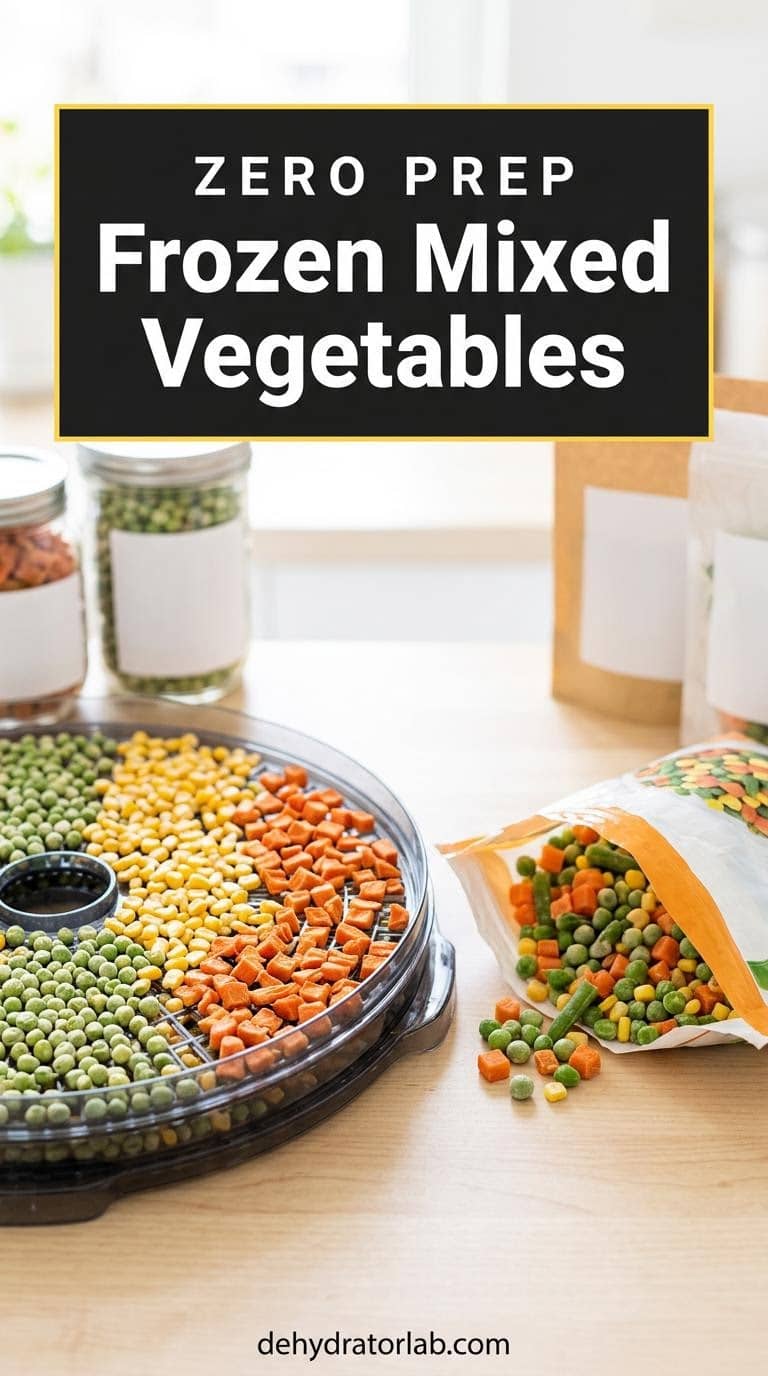
REI says frozen vegetables don’t need to be thawed, and it dries frozen mixed vegetables at 125°F (52°C) for 6 to 8 hours, with 1 pound yielding about 3/4 cup dry. My own frozen veggies guide runs about 12 hours at the same temperature, so start checking at 6 hours and expect some batches to need more. Spread the vegetables in a single layer, break up clumps once they soften, and dry until they’re brittle. Peas, corn, and carrots all work well, and my list of the best vegetables to dehydrate for soups shows where to use them.
No chopping and no blanching. The bag already did the work.
2. Canned Beans
Canned beans are the sleeper hit of the pantry shelf.
REI says canned beans rehydrate much better than home-cooked beans, unless you pressure cook your own. Drain them, rinse them if the canning liquid is heavy, and spread them in an even layer on the trays. REI dries them at 125°F (52°C) for 6 to 8 hours, and says a 15-ounce can makes about 1 cup of dried beans.
Dry until they’re hard all the way through, and bite one to be sure. I drop the dried beans straight into a simmering soup or stew, where they soften as it cooks. My dehydrated black beans post goes deeper on one variety, and the bean and lentil stew roundup gives you places to use them.
The can is already cooked.

3. Cooked Rice
Cooked rice sounds like it should spoil, but dried properly it turns into a pantry staple.
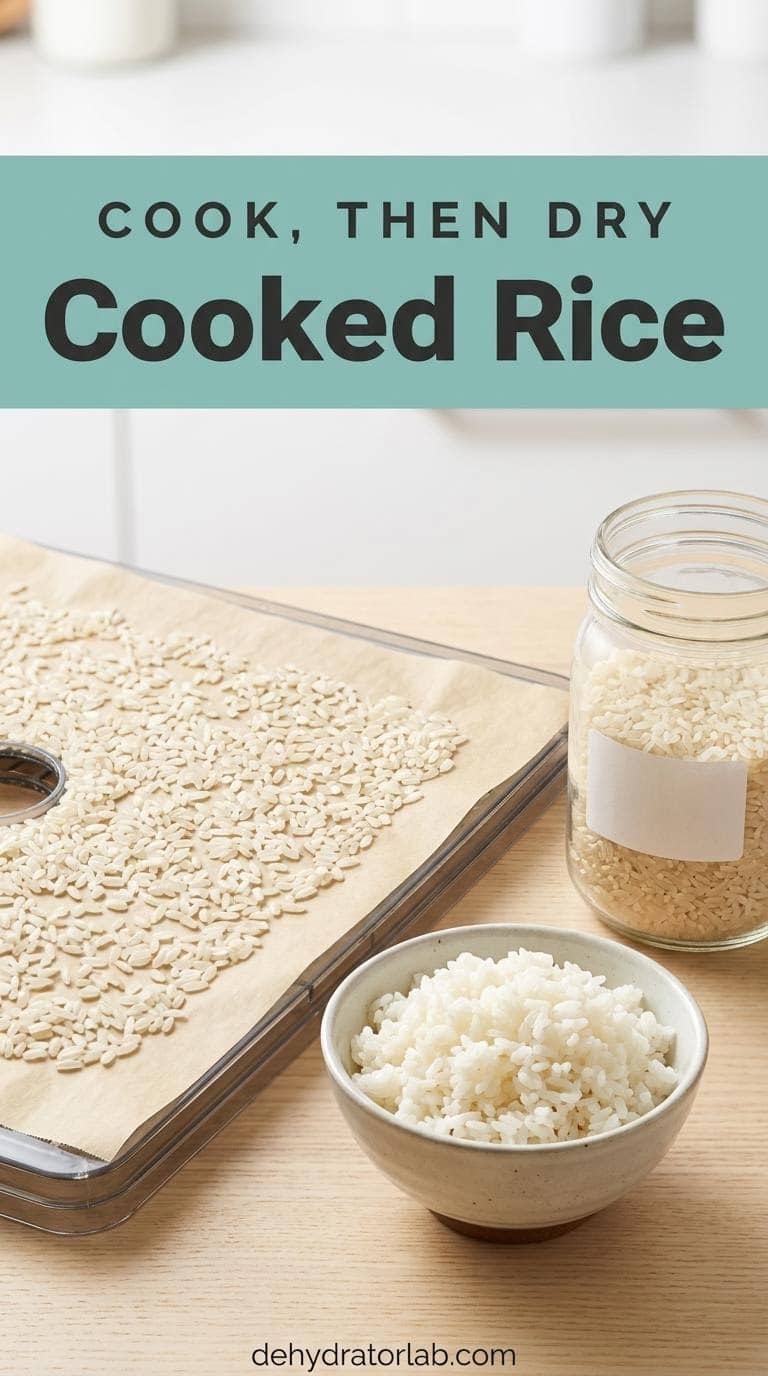
REI cooks rice as usual and dries it at 125°F (52°C) for about 5 hours, or until hard. Two cups of cooked rice make about 1 to 1 1/2 cups dry. My dehydrated white rice guide dries a little hotter, at 135–145°F (57–63°C) for 4 to 6 hours, so both ranges work and your machine decides. Cook the rice slightly firm, spread it thin, and cool it fast before it goes on the tray. Stick to plain rice, because oily or sauced rice dries poorly and keeps worse. That last bit is my own rule.
Plain rice only. Hard grains mean done.
4. Cooked Pasta
Cooked pasta sounds silly until you see how fast it rehydrates.
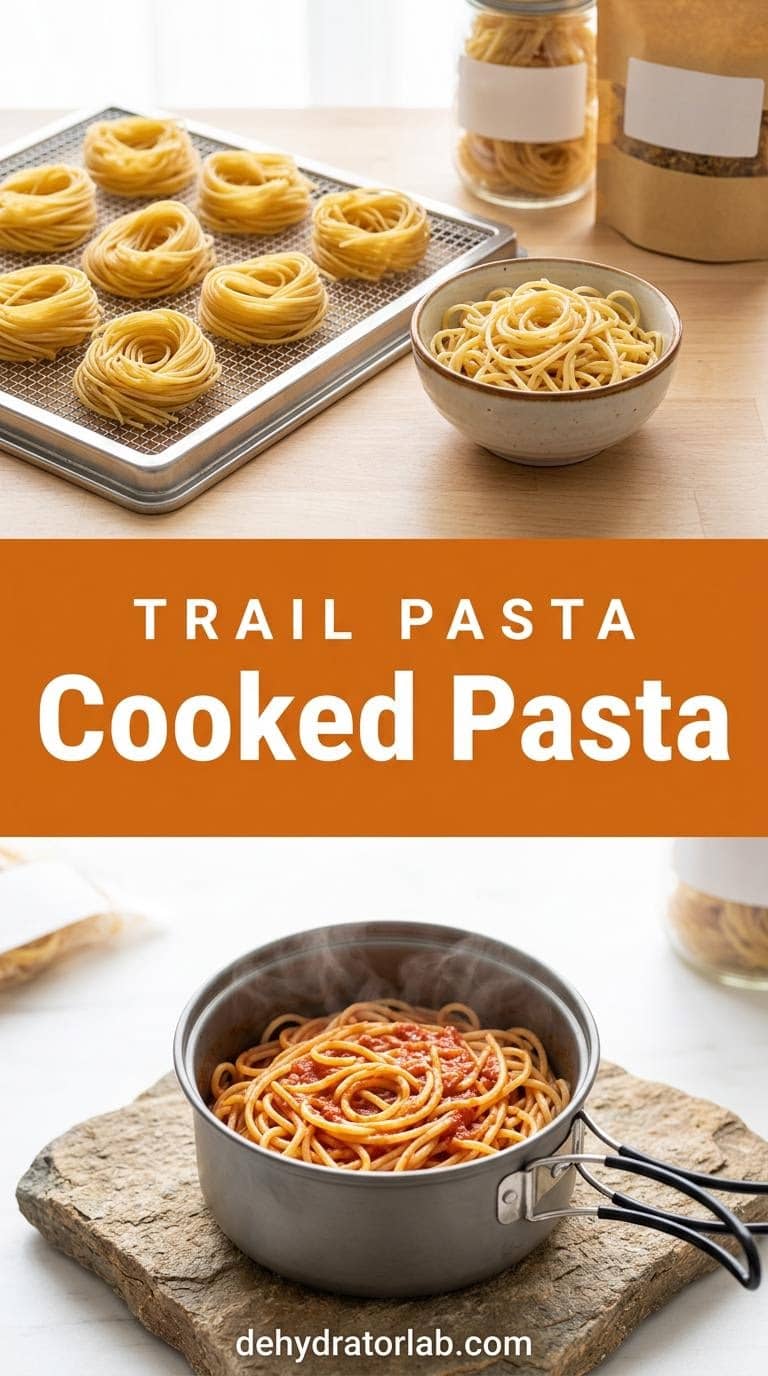
REI says to cook pasta al dente, drain it, and dry it at 135°F (57°C) for 2 to 4 hours, until hard. It curls spaghetti into little nests before drying. Other pasta-drying guides I’ve read run 6 to 12 hours for dense shapes, so check by feel and not by the clock.
To rehydrate, follow REI’s spaghetti recipe: soak the noodles for 5 minutes, simmer, then let them sit for another 5 to 10 minutes. Dried cooked pasta saves you cooking time on the trail, not shelf life, since plain dry pasta already keeps for ages. That’s my take. Build a full bag with my one-pot trail meals.
Cook it al dente.
5. Cooked Quinoa
Quinoa is the one most beginners never think to dry.
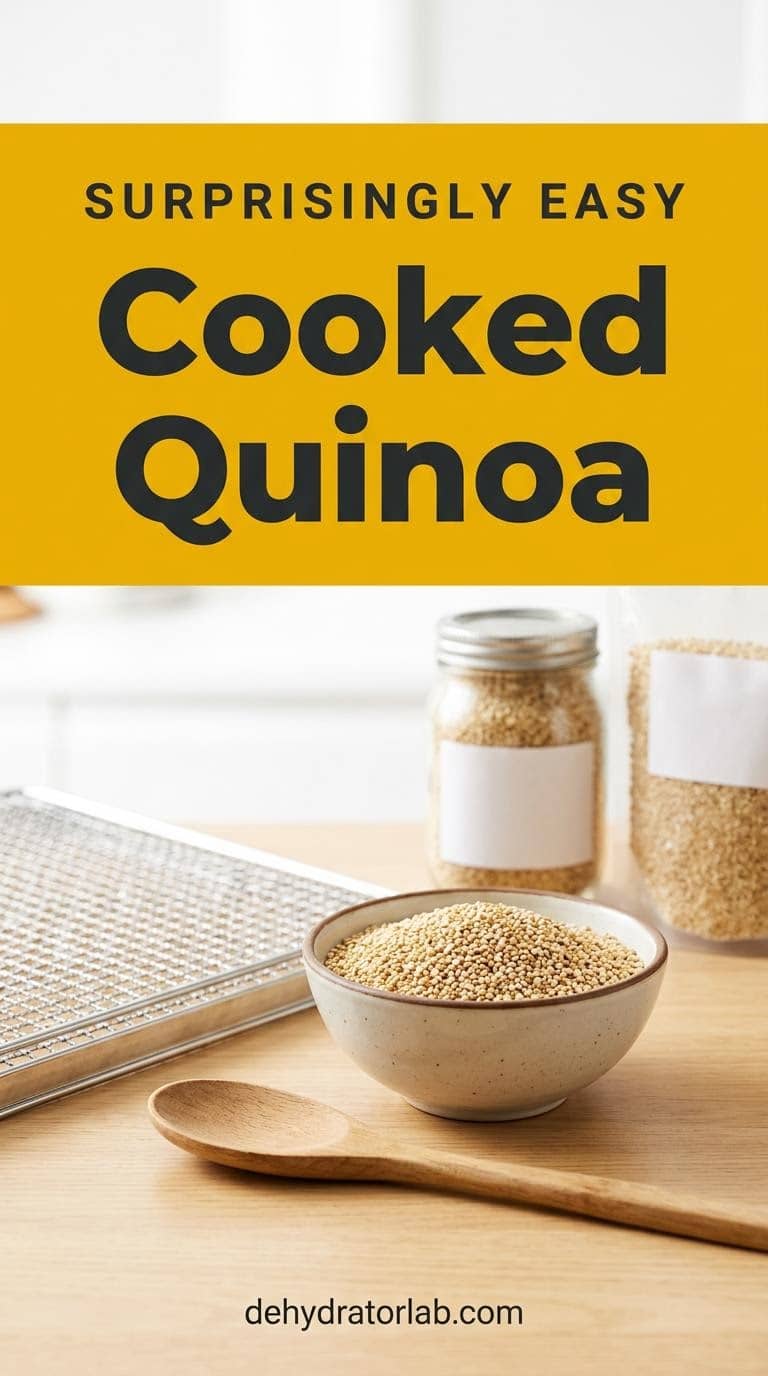
REI says to cook quinoa as you usually would and dry it at 135°F (57°C) for 8 to 10 hours. It gives no dryness test, so I borrow the one for rice: the grains should be hard, dry, and snap between your fingers.
Rinse the quinoa before cooking, and cool the cooked grains before they go on the tray. Stir the dried quinoa into soups, or cover it with just-boiled water for a quick grain base. My dehydrator meal prep recipes show more ways to batch grains.
Test one grain. Hard and brittle wins.
6. Jarred Pasta Sauce
Jarred pasta sauce turns into a chewy red sheet that melts back into sauce.
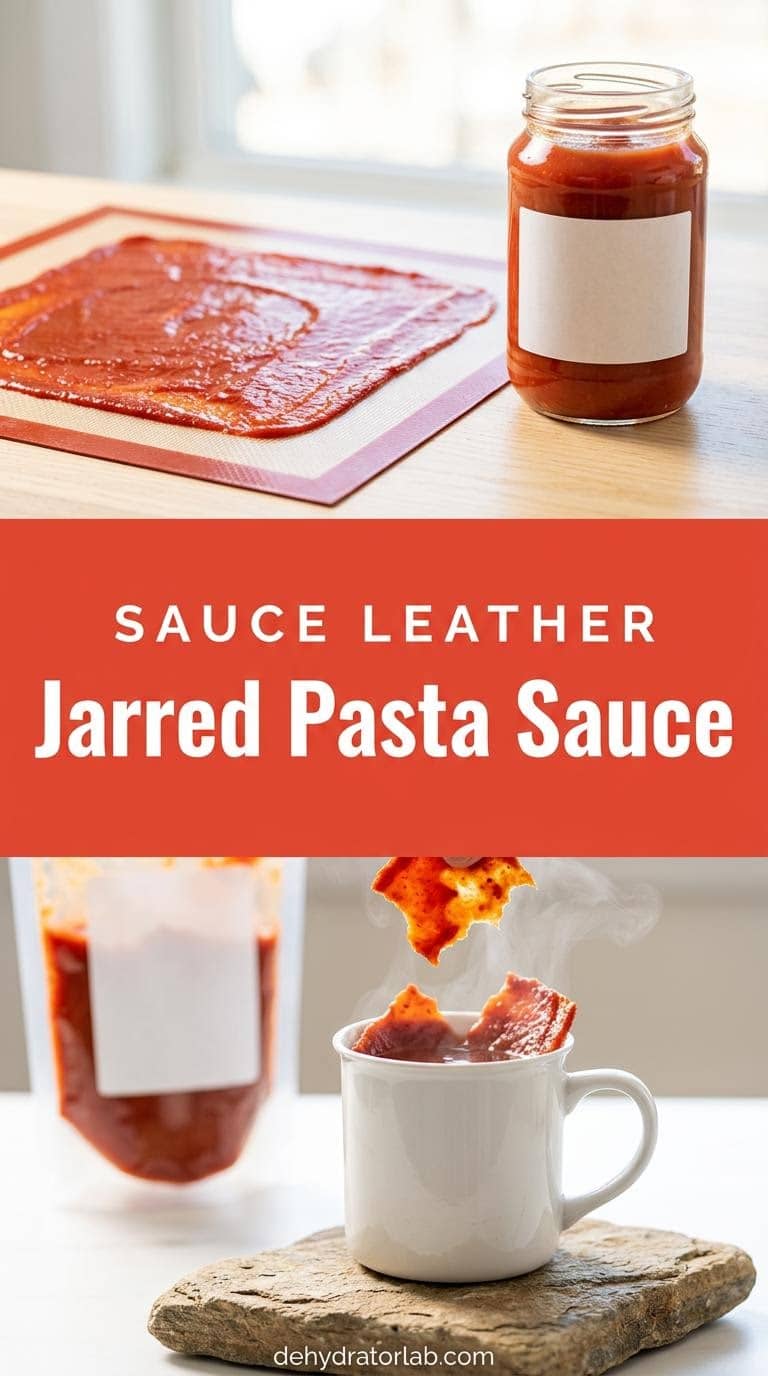
REI says to pick a sauce without large chunks of tomato, or to blend it smooth, and to avoid cheesy or creamy sauces. Spread it thinly on nonstick sheets or parchment and dry at 135°F (57°C) for 6 to 8 hours, flipping at about 5 hours. It’s done when it’s pliable and not sticky.
To use it, tear the sheet into pieces, cover them with just-boiled water, and stir until they melt into sauce. That rehydration method is my own, so try it at home first. If you’d rather start from powder, my dehydrated pasta sauce recipe uses tomato powder instead.
Smooth sauce, thin layer. No chunks, no cheese.
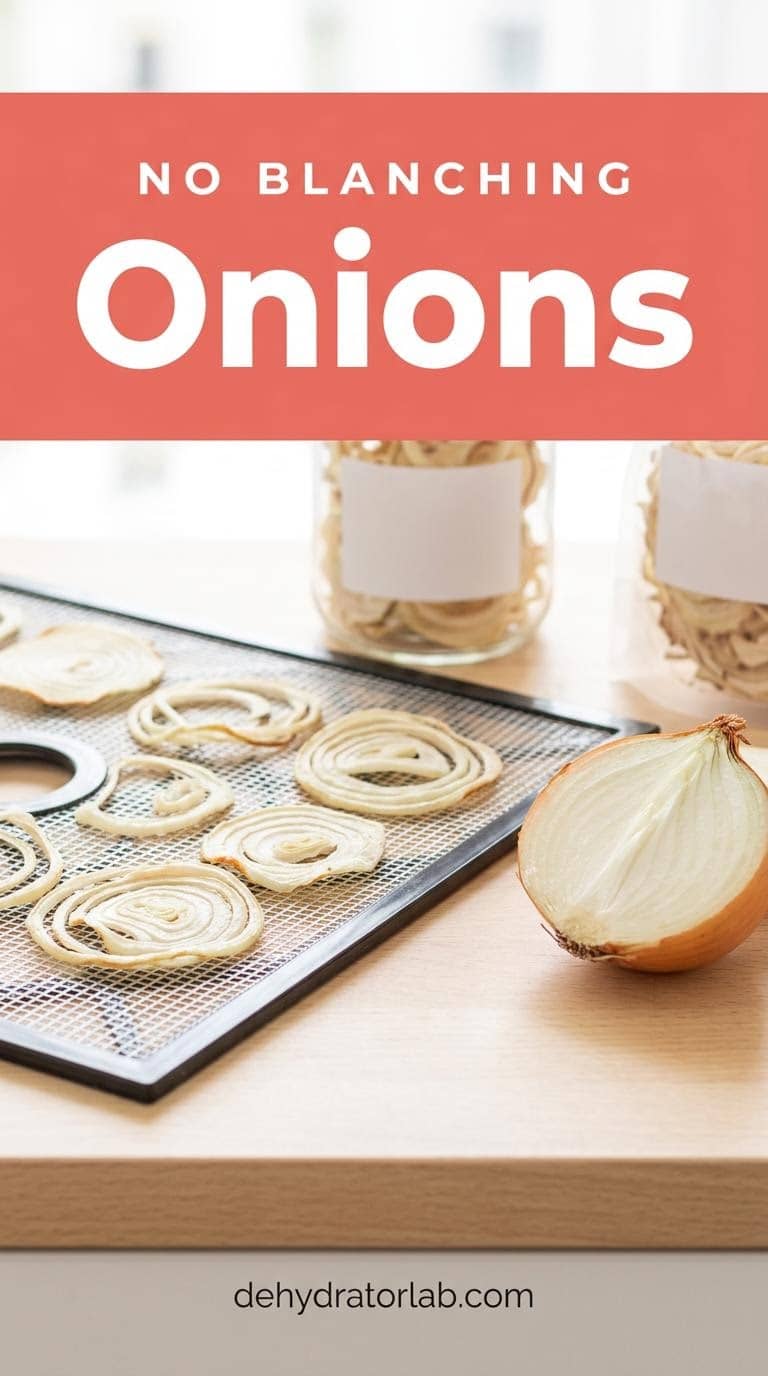
7. Onions
Onions skip the blanching step, which makes them easier than most vegetables.
Clemson says onions can be dried without blanching, and REI dries most vegetables at 125°F (52°C). Michigan State University Extension lists onions at 3 to 9 hours in a dehydrator, which is a wide window, so slice them evenly, about 1/4 inch (6 mm) thick, and check often. Pull them when they’re brittle.
Warn the household first, because the smell fills the kitchen, so I run onions in a well-ventilated spot. My how to dehydrate onions guide and my onion, garlic, and shallot powder recipes cover what to do next. UAF says strong-flavored vegetables like onions keep top quality for about six months, so label the jar.
Skip the blanch, but mind the smell.
8. Green Peppers
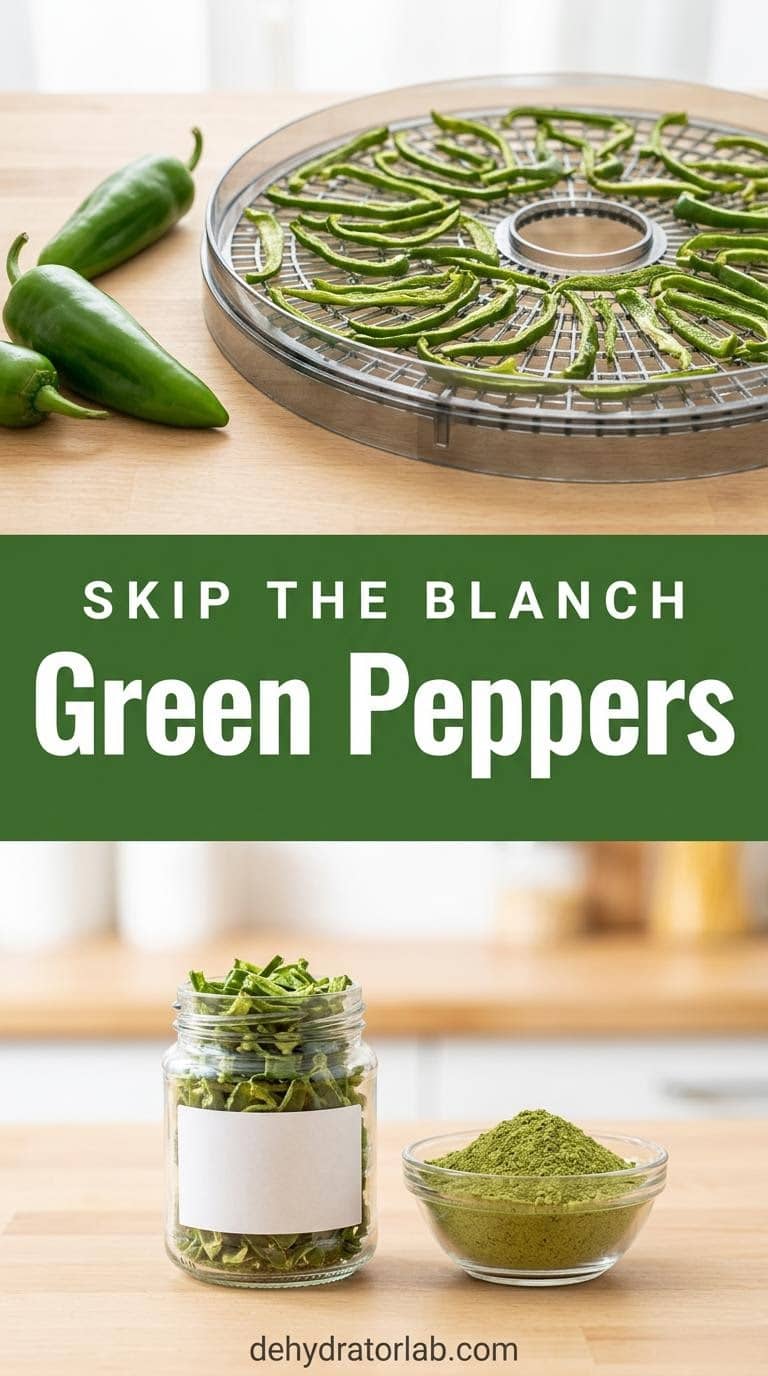
Green peppers are another no-blanch vegetable, and they dry into light, colorful pieces for soups and sauces.
Clemson lists green peppers with onions and mushrooms as vegetables that can be dried without blanching. Michigan State University Extension gives peppers 8 to 12 hours in a dehydrator. Core them, cut them into 1/4 inch (6 mm) strips or dice, and dry at 125°F (52°C), the REI setting for most vegetables, until brittle.
One catch: UAF’s text lists peppers as no-blanch, but its table says to steam them for 3 minutes. Clemson is clear that none is needed, so I follow Clemson and test a small batch first. Grind a jarful into bell pepper powder, or follow my how to dehydrate bell peppers guide.
Slice, spread, and dry until brittle.
9. Canned Beets
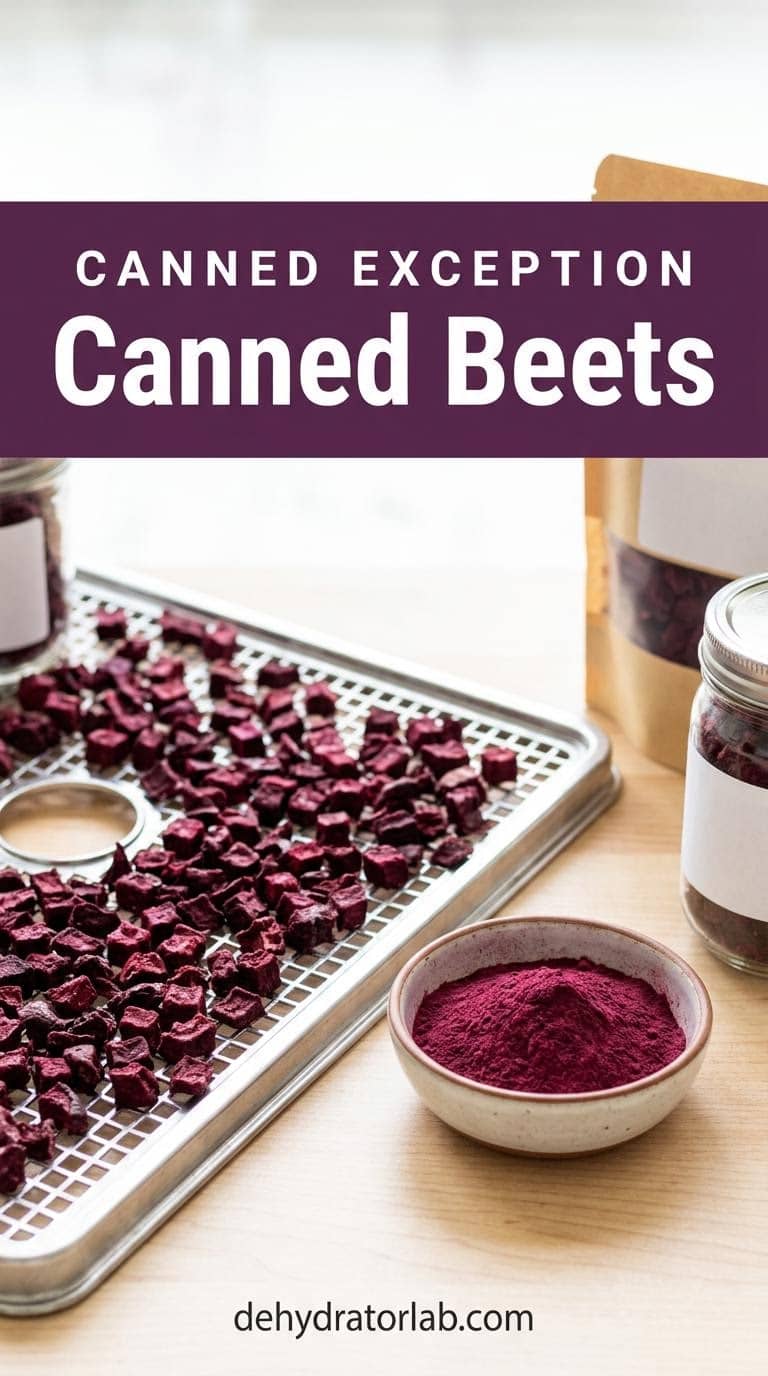
Here’s the surprise: canned beets work, even though canned vegetables usually don’t.
REI says canned vegetables are generally too saturated to dry well, “with the exception of beets.” It gives no method for them, so the rest is my own. Drain the beets very well, pat them dry, cut them into 1/4 inch (6 mm) dice or thin slices, and dry at 125°F (52°C), the REI setting for most vegetables.
I’d expect 8 to 12 hours, close to the 10 to 12 hours Michigan State lists for fresh beets, but that’s an estimate, so cool a piece and check it. Wear gloves, because beets stain. Ground up, they become beet powder, and my vegetable powder recipes show where it goes.
The exception that works.
Quick Reference: Nine Easy Foods at a Glance
| Food | Prep | Dry at | Time |
|---|---|---|---|
| 1. Frozen mixed vegetables | None, no thawing (REI) | 125°F (52°C) | 6–8 h per REI, up to 12 in my guide |
| 2. Canned beans | Drain, rinse if needed | 125°F (52°C) | 6–8 h per REI |
| 3. Cooked rice | Cook firm, cool fast | 125°F (52°C) per REI | About 5 h per REI |
| 4. Cooked pasta | Cook al dente | 135°F (57°C) | 2–4 h per REI, longer for dense shapes |
| 5. Cooked quinoa | Cook as usual, cool | 135°F (57°C) | 8–10 h per REI |
| 6. Jarred pasta sauce | Smooth, no cheese | 135°F (57°C) | 6–8 h, flip at about 5 h |
| 7. Onions | Slice, no blanching | 125°F (52°C) | 3–9 h per Michigan State |
| 8. Green peppers | Core, slice, no blanching | 125°F (52°C) | 8–12 h per Michigan State |
| 9. Canned beets | Drain well, pat dry | 125°F (52°C) | My estimate: 8–12 h |
The 125°F (52°C) and 135°F (57°C) settings, the drying times and yields for frozen vegetables, beans, rice, pasta, quinoa, and sauce, the canned-vegetable exception, and the 10-year vegetable storage figure follow REI. The blanching rules, the no-blanch list, the brittle test, and the six-months-at-60°F figure follow Clemson.
The cool-before-testing rule, the conditioning steps, the one-year storage figure, and the peppers table note follow UAF. The onion, pepper, and fresh beet hours come from Michigan State University Extension. Every other time, every rehydration note, my beet estimate, and my 6-month pantry rule are my own.
Personal Tips You Can Steal
I store finished batches in glass jars, because Clemson points out that you can see moisture on the glass early. I weigh a bag of frozen vegetables on a kitchen scale before drying and again after, so I know how much I’ll get back. I start every new food with a half-full dehydrator, so I can see how it behaves. I cool one piece completely before I judge dryness.
I shake each jar daily for a few days, even for vegetables. I write the food, the date, and the water amount on every label. I run the onion batch in a well-ventilated spot.
Final Thoughts
You don’t need all nine. Start with a bag of frozen vegetables and a can of beans, add rice or pasta once you trust the dryness test, and save the beets for when you’re curious. For fresh favorites like apples and bananas, my 9 best foods for an entry-level dehydrator is the next stop, and my beginner tips cover the basics.
Related reading: how to dehydrate frozen veggies, dehydrated cooked white rice, how to dehydrate onions, and 10 dehydrated foods to always have stocked.
P.S. Start with the frozen bag. It’s the closest thing to a free win. 🙂