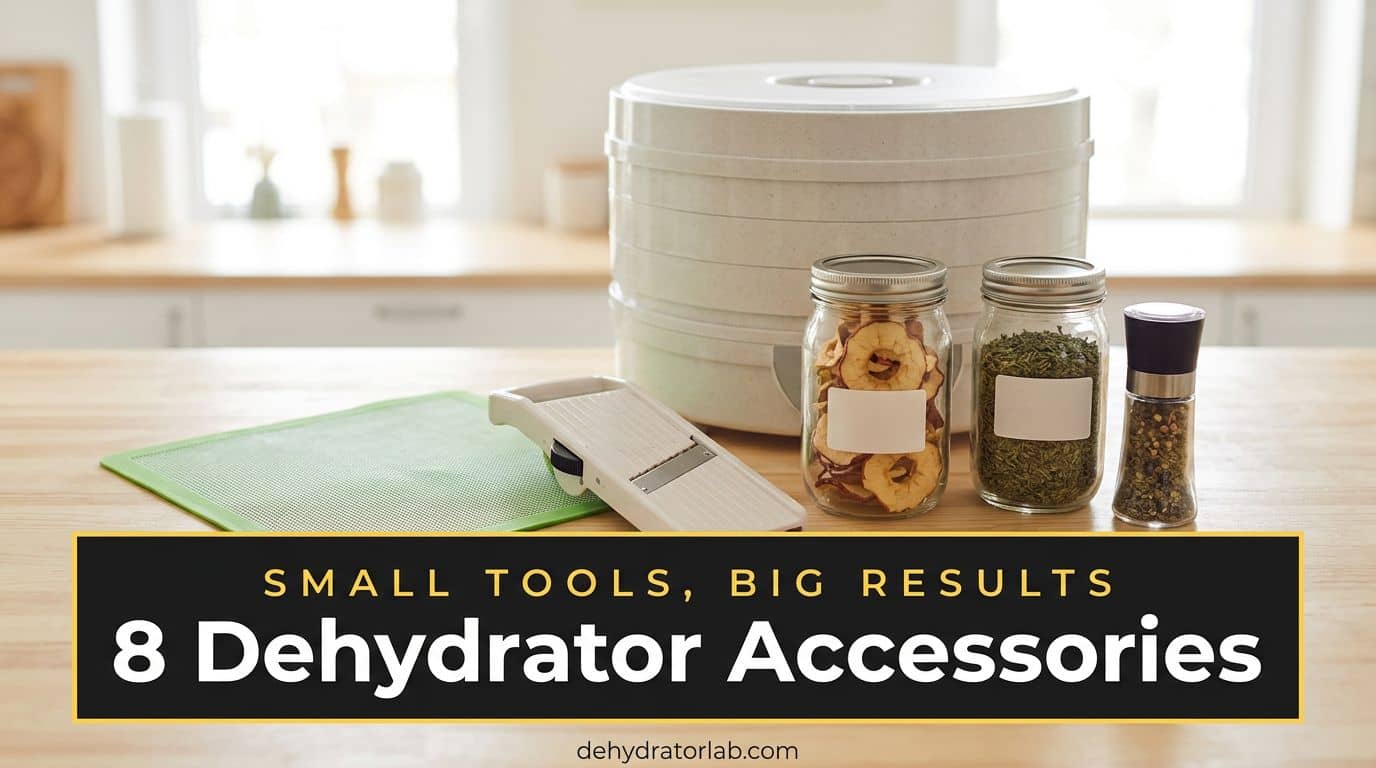
Ever notice that the best dehydrator on the shelf still can’t slice an apple, line its own trays, or tell you when the jerky is safe?
The machine does the drying. A few cheap add-ons do everything around it. Here are eight dehydrator accessories that earn their space in your kitchen.
As an Amazon Associate, I earn from qualifying purchases. If you make a purchase after clicking on a link I may earn a small commission at no extra cost to you if items are purchased.
In this article:
TL;DR: Key Takeaways
- 🧰 Eight add-ons: mesh sheets, solid sheets, a mandoline, an apple slicer, a spice grinder, glass jars, a vacuum sealer, and a meat thermometer.
- 📏 Most of them fix one of four problems: pieces falling through trays, uneven slices, damp storage, and guessing at doneness.
- 📐 Check your tray shape first, because 14 × 14 inch square sheets won’t fit round trays.
- 🔍 Uniform slices dry at the same pace, so a mandoline saves more time than it costs.
- 🫙 Glass jars show moisture right away, and a vacuum sealer only helps when the food is already dry.
- 🌡️ A stem thermometer is the one accessory that matters for safety, since jerky needs to reach 160°F (71°C).
Quick note before the list. Product details below come from the Amazon listings and from my own reviews on this site, and I only recommend what fits a common setup.
Check the size of your trays before you buy anything that sits on them. My dehydrator sheets guide and my first-dehydrator buying checklist both walk through tray sizes.
Start with the slicer, since slicing is where most batches go wrong. Even pieces dry at the same pace, so you pull the whole tray at once instead of babysitting it. Let’s get into it.

- Unmatched Quality & Functionality – The latest Mandoline model from Mueller offers superior functionality and value. Wit…
- Fast Healthy & Easy Meals – We designed 5 new blades – Thin Julienne, ideal for making perfect French cuts with any vege…
- Goodbye To Messy Countertops – We specially designed a non-slip food container providing you with a sturdy grip during m…
1. Mesh Silicone Sheets
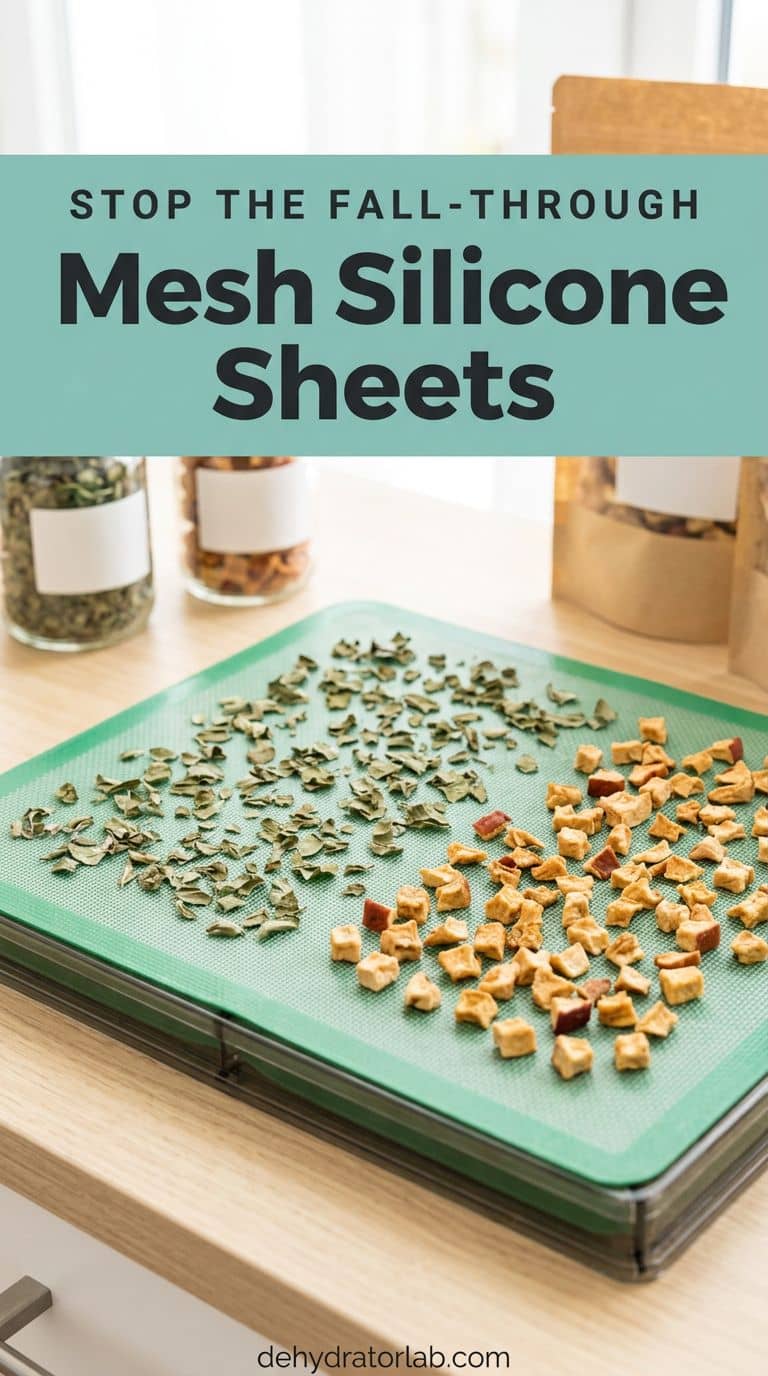
Small pieces fall through tray gaps, and herbs, diced fruit, and berries are the worst offenders. A mesh silicone sheet sits on the tray, holds the food up, and still lets air through. I like a 10-pack of 14 × 14 inch mesh sheets, because a full machine needs a lot of liners.
Check your tray shape. Square 14 × 14 inch sheets fit square trays, and round trays need round sheets. If you’d rather not buy any, my DIY cloth covers are a cheap workaround, and my post on keeping food from sticking covers the rest. Mesh for small stuff.
2. Solid Silicone Sheets for Fruit Leather
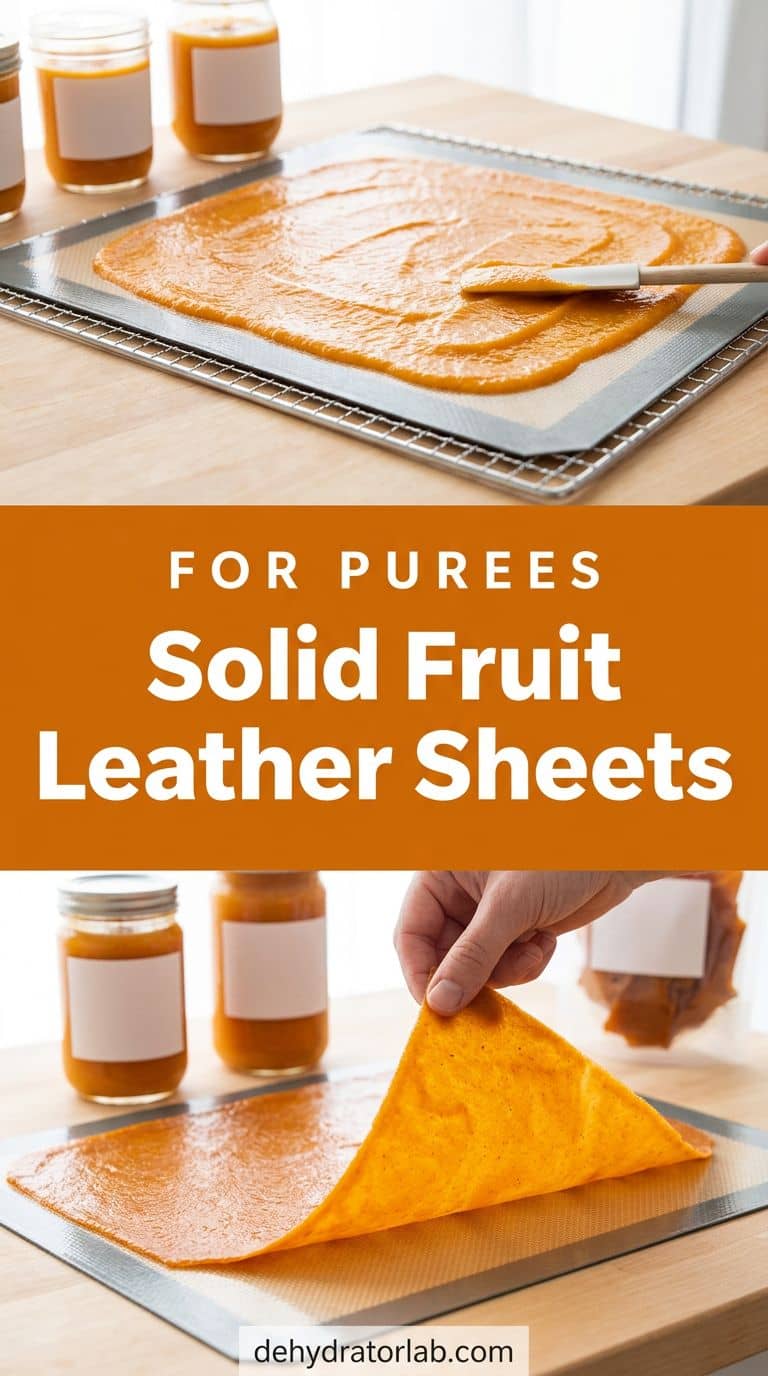
A mesh sheet lets liquid run through, so purees need a solid one. I use a solid ParaFlexx-style sheet for fruit leather and anything else that pours, since it keeps the puree on the tray and peels off clean when it’s dry.
I spread leather puree about 1/8 inch (3 mm) thick, my own rule of thumb. A solid sheet makes that easy to hit, because the puree has an edge to stop at. My fruit leather recipes put it to work, and the best dehydrator for fruit leather guide covers which machines suit it. Solid for anything that pours.
3. Mandoline Slicer
Uneven slices are a common reason a tray finishes in pieces. Clemson gives thicknesses you can match: apple slices about 1/8 inch, bananas 1/4 to 3/8 inch, and its vegetable guide puts summer squash at 1/4 inch. A mandoline gets you there in far less time than a knife, and the slices come out the same, so the tray dries at one pace.
I use a Mueller V-Pro five-blade mandoline for zucchini, apples, and potatoes. Use the guard every single time, since mandoline blades are sharp. My zucchini guide and vegetable chip roundup show the slicer in action. Same thickness, same finish time.

4. Apple Corer and Slicer
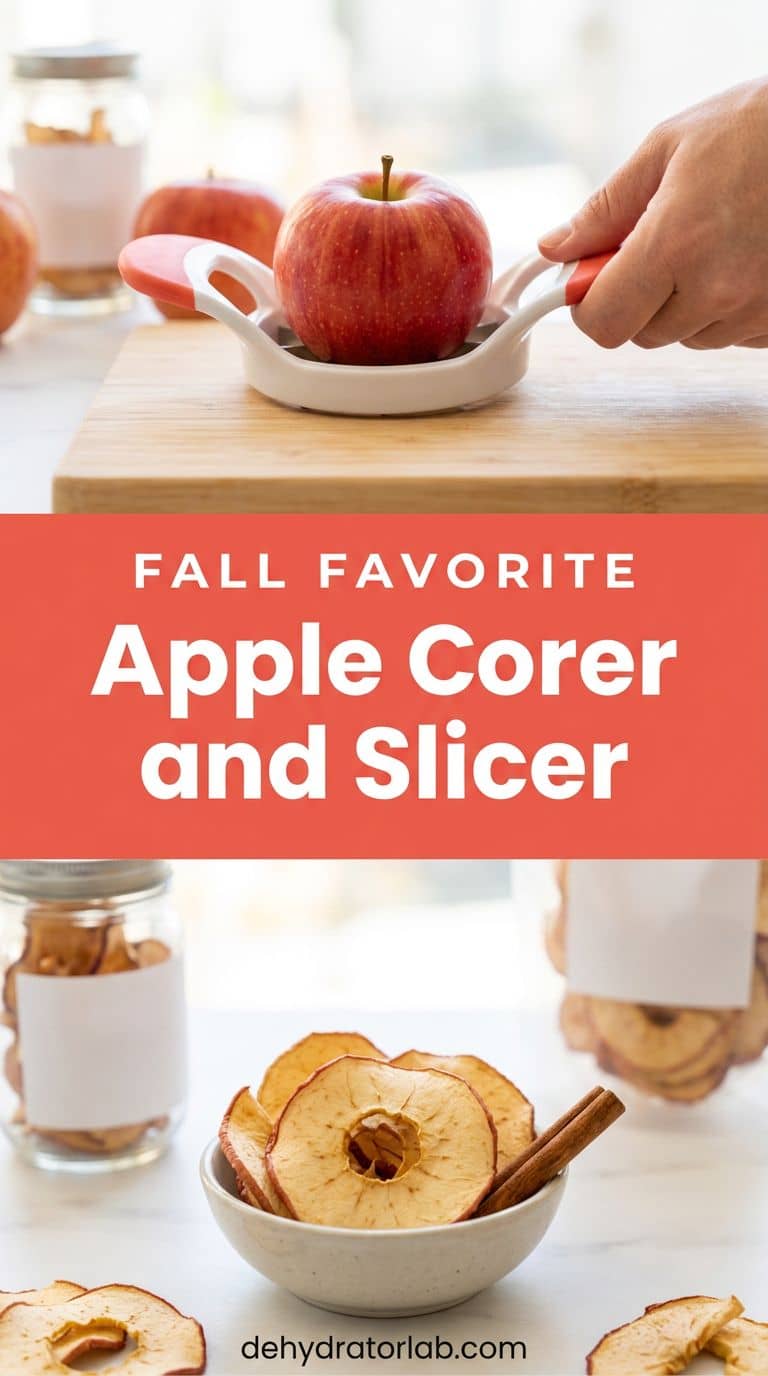
Apples are the easiest fruit to dry and the most work to prep. An OXO apple slicer, corer, and divider cores and divides an apple in one push, which saves a lot of knife work when you have a bag to get through.
It cuts wedges, and wedges are thicker than the 1/8 inch Clemson gives for apple slices, so I run the wedges through the mandoline or slice them again by hand. That second pass is my own habit. My apple guide shows what a finished tray looks like. Core first, slice second.
5. Spice Grinder
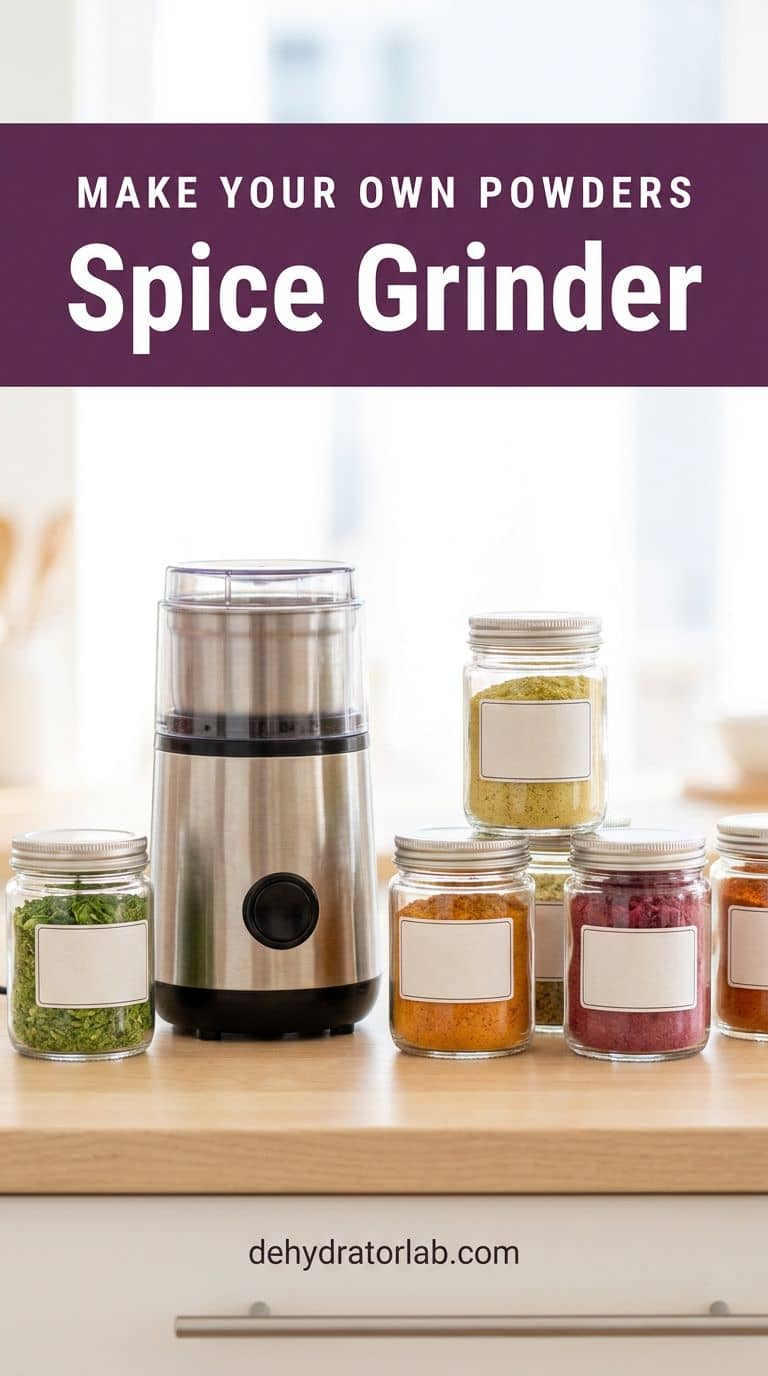
Dried herbs, vegetables, and fruit turn into pantry powders with the right grinder. A small spice and nut grinder does it in short pulses, and fine powder blends smoothly into drinks, sauces, and baking. The food has to be brittle first, because chewy pieces turn to paste.
I grind only what I’ll use soon and keep the rest whole, since whole leaves keep their aroma longer. My smoothie booster powders and vegetable powder recipes show what to make. Brittle first, grind second.
6. Glass Storage Jars
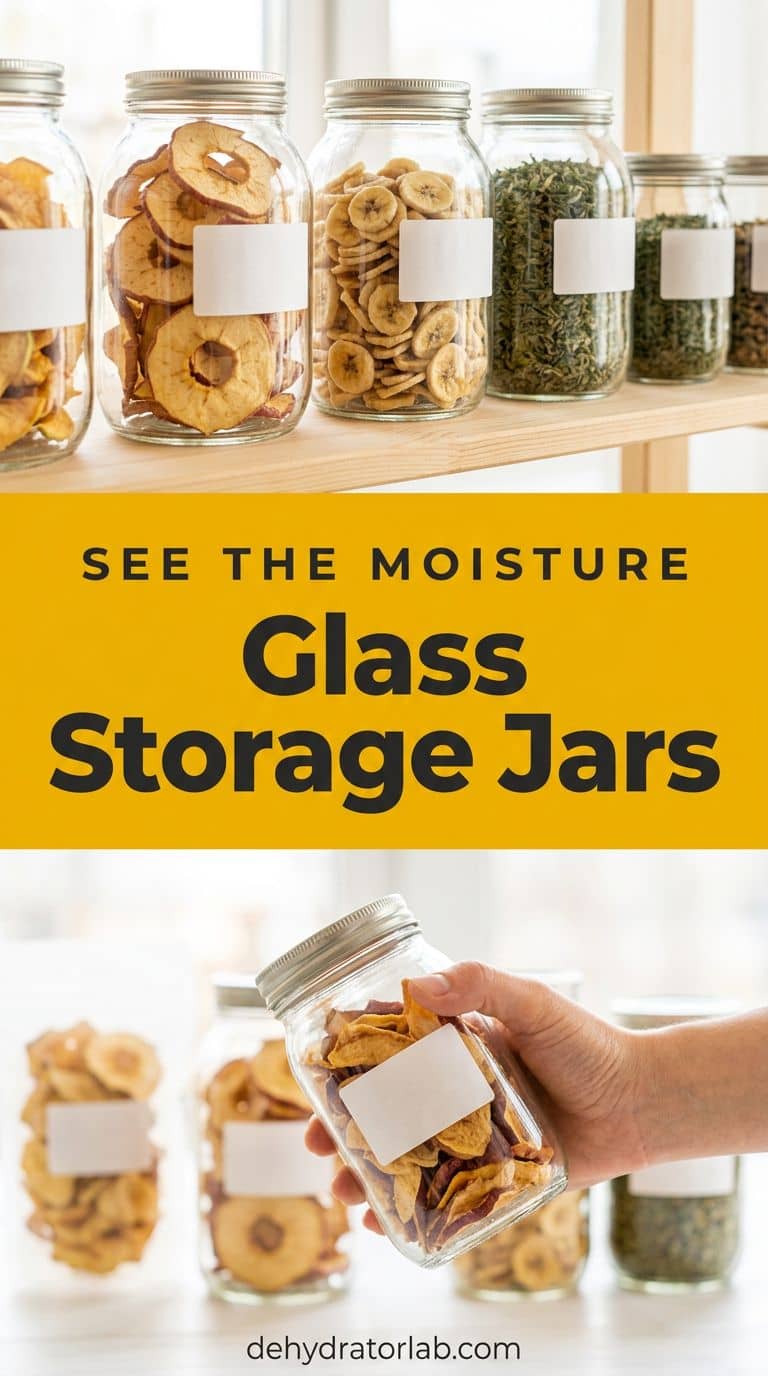
Glass is my first pick for storing dried food, and it also helps you catch problems. The National Center for Home Food Preservation recommends clean, dry glass jars, and glass lets you see moisture on the inside. It also says to pack dried food in amounts you can use at once, since reopening lets in air and moisture.
The same page conditions dried fruit by packing it loosely in jars for 7 to 10 days and shaking the jars daily. If condensation forms, the fruit goes back in the dehydrator. A set of airtight glass jars makes that routine. My guides on how long dried food lasts and moisture versus oxygen absorbers go deeper. Glass shows you the trouble.
7. Vacuum Sealer
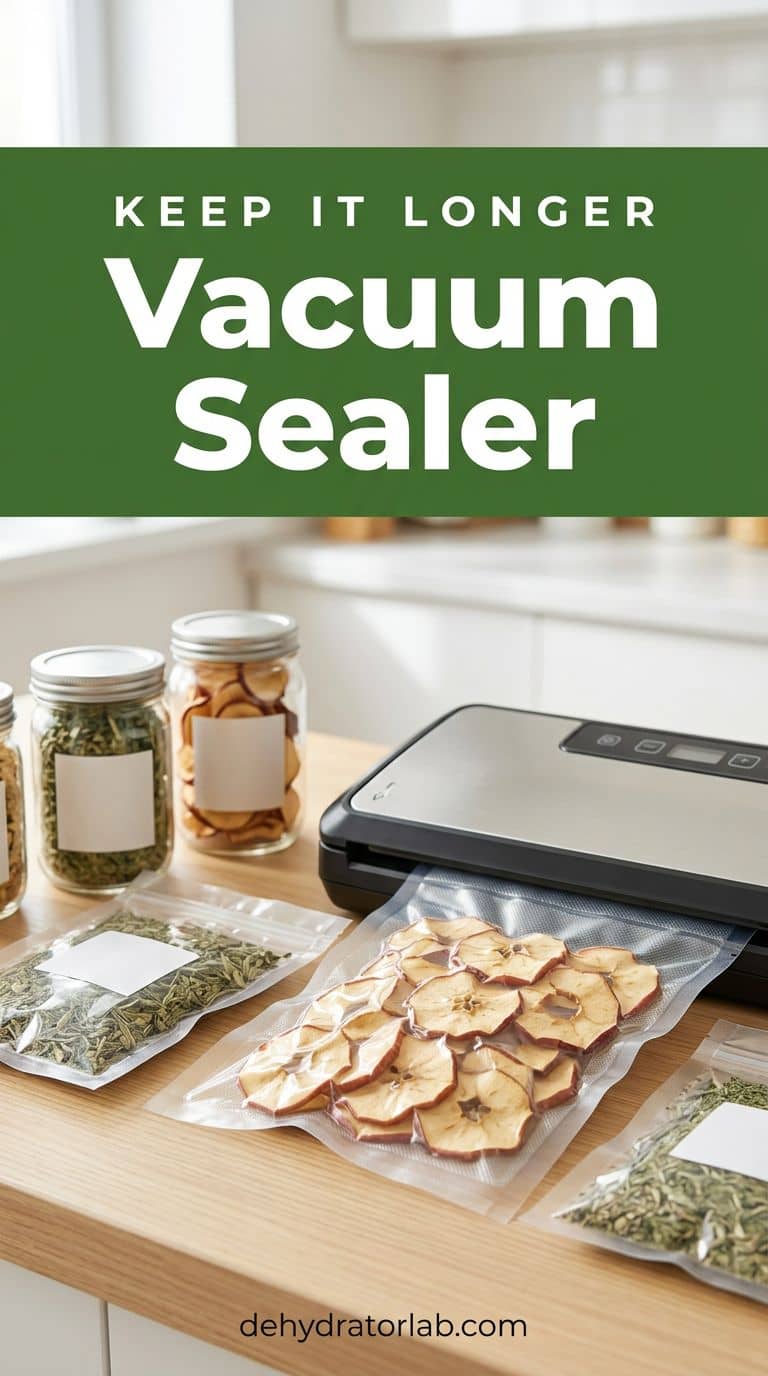
A vacuum sealer helps once you have more dried food than a few jars can hold. The NCHFP lists vacuum packaging among the ways to store dried food, and I use a FoodSaver 4800 Series for jerky and dried fruit I want to keep for months. My vacuum sealer reviews compare more models.
A sealer locks in whatever moisture is in the bag, so only seal food that has passed the brittle or conditioned test. NCHFP also says to cool dried food completely before it goes into packaging, since warm food can sweat. And if you’re weighing oxygen absorbers instead, my absorbers explainer has the differences. Dry first, seal second.
8. Meat Thermometer for Jerky
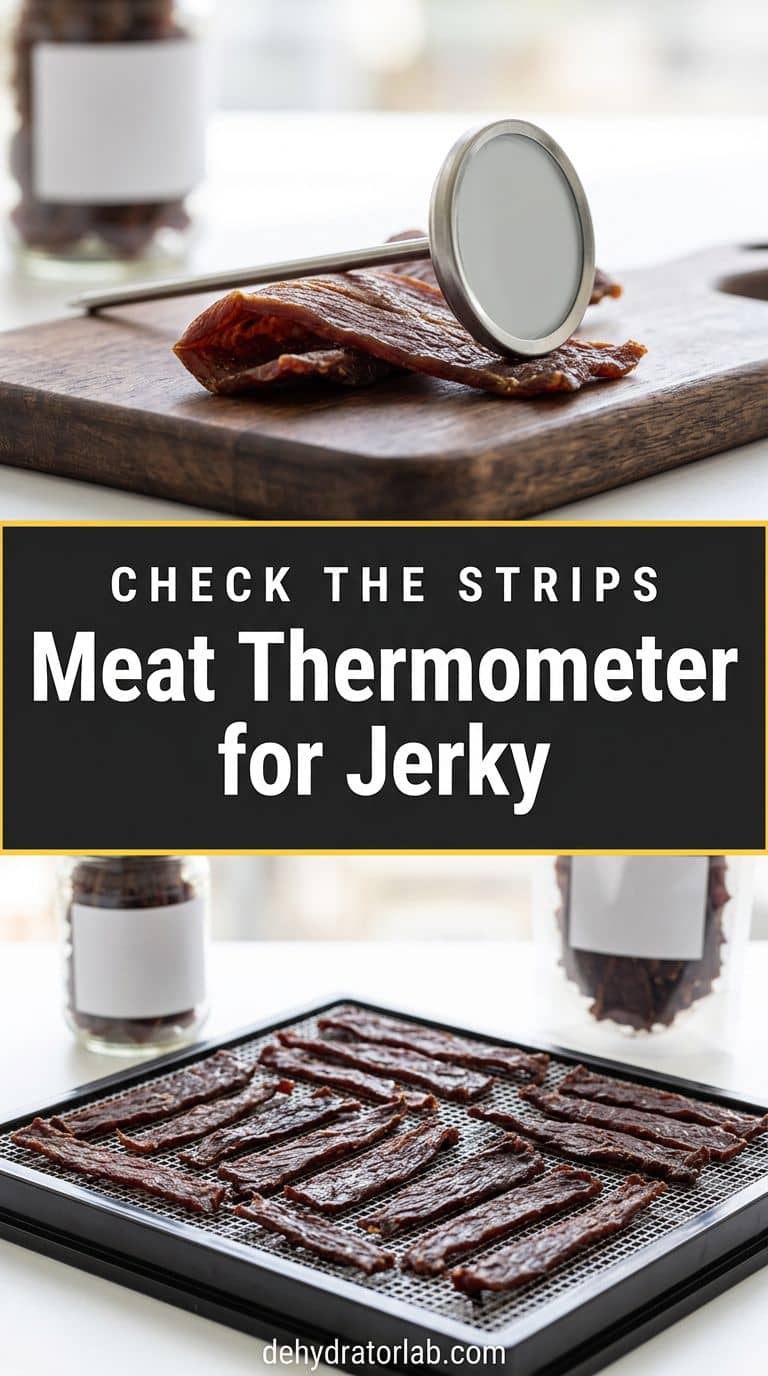
This is the one accessory I’d call a safety tool. The NCHFP jerky guide says an internal temperature of 160°F (71°C) is needed to eliminate disease-causing bacteria in jerky made from ground meat, and it suggests checking several strips with a metal stem-type thermometer. It also slices strips no thicker than 1/4 inch and preheats the dehydrator to 140°F (60°C).
Thin strips are tricky to measure, so I fold a strip over before I push the probe in. That trick is my own habit. I’m not linking one model here, since any accurate stem-type thermometer does the job. My jerky dehydrator guide, beef jerky recipes, and ground meat jerky recipes are the next stops. Check the strips, not the clock.
Quick Reference: Accessories at a Glance
| Accessory | What it fixes | Best for |
|---|---|---|
| 1. Mesh silicone sheets | Small pieces falling through trays | Herbs, diced fruit, berries |
| 2. Solid silicone sheets | Puree and liquids running off | Fruit leather, sauces |
| 3. Mandoline | Uneven slices | Apples, bananas, zucchini |
| 4. Apple corer and slicer | Slow, messy apple prep | Apple rings and wedges |
| 5. Spice grinder | Chunky powders | Herbs, vegetables, fruit |
| 6. Glass jars | Hidden moisture | Conditioning and storage |
| 7. Vacuum sealer | Air in long-term storage | Dry jerky and fruit |
| 8. Meat thermometer | Guessing at jerky safety | Beef, venison, and ground meat jerky |
The jerky temperature and thermometer advice follow NCHFP’s jerky guide. The jar, conditioning, and cooling advice follow NCHFP’s packaging page, and the slice thicknesses follow Clemson. Product details come from the listings and from my own reviews on this site. The folded-strip trick, the double-slicing of apple wedges, and how I choose my sheet counts are my own habits, so adjust them for your machine.
Personal Tips You Can Steal
I buy the sheets and jars first, since they fix the most common problems for the least money. I check my tray size before I order anything that sits on it.
I always slice the whole batch before I load a single tray, so nothing sits out and browns. I label every jar with the food and the date. I keep a stem thermometer in the same drawer as the dehydrator cord, so jerky day never starts with a search.
Final Thoughts
You don’t need all eight on day one. Start with sheets, a slicer, and a few glass jars, and add the sealer or the thermometer when your batches call for them. If you’re still choosing a machine, my beginner dehydrator guide is the place to begin.
Related reading: best dehydrator sheets, 9 best vacuum sealers, how long dehydrated food lasts, and how to keep food from sticking to trays.
P.S. If you only buy one thing this week, buy the sheets. Your herbs will thank you. 🙂