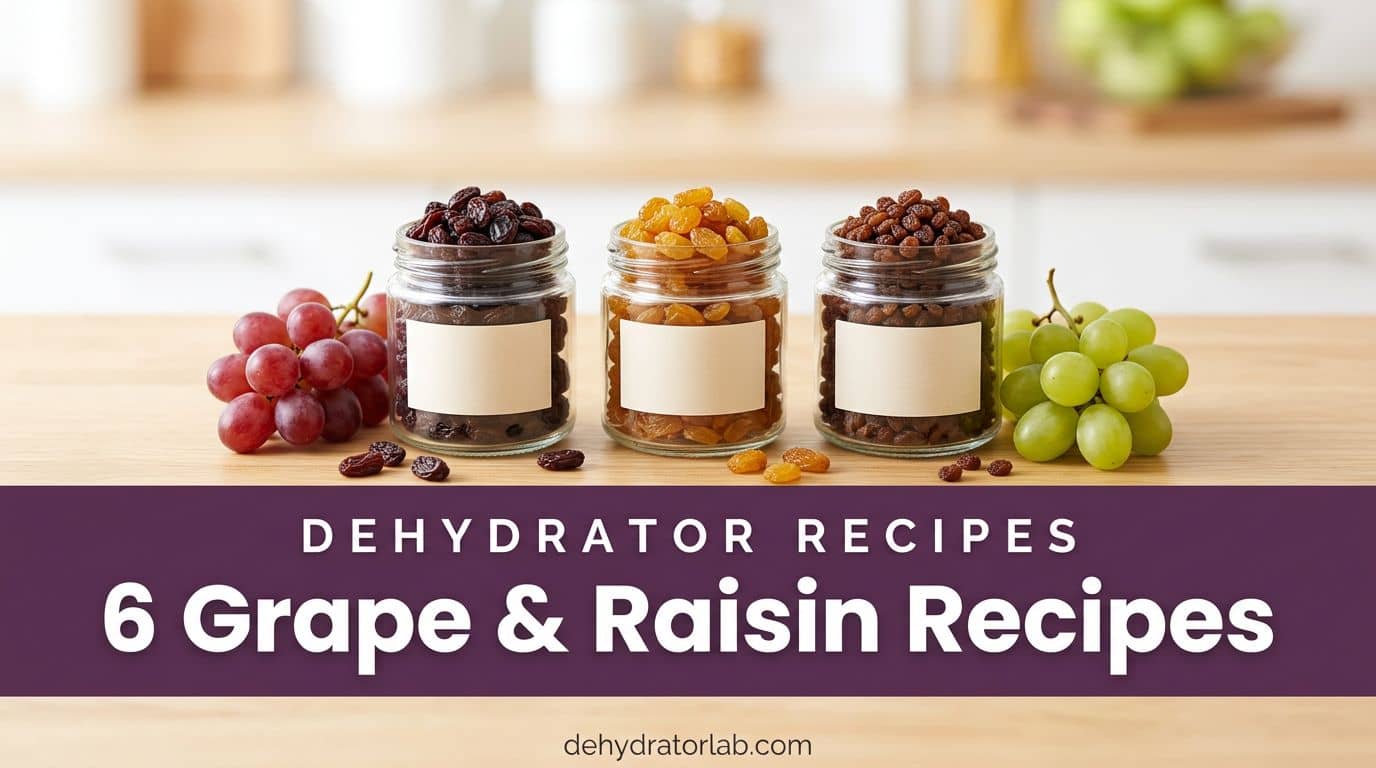
Ever bitten into a store-bought raisin and wondered where the grape went?
Homemade raisins taste like fruit, not like something that sat on a pantry shelf. With a dehydrator and a few bunches of grapes, you can make six different versions, from classic to golden to cinnamon-orange. Let’s fill some jars.
As an Amazon Associate, I earn from qualifying purchases. If you make a purchase after clicking on a link I may earn a small commission at no extra cost to you if items are purchased.
In this article:
TL;DR: Key Takeaways
- 🍇 Six recipes: classic raisins, golden raisins, frozen-crack candy bites, cinnamon-orange raisins, mini raisins, and a baker’s mix.
- 💧 Crack or cut the skins first, or moisture stays trapped and the grapes harden on the outside.
- 🌡️ Dry at 135–140°F (57–60°C) until the grapes are wrinkled and leathery with no wet center.
- 🧊 Freezing the grapes first is an easy way to crack the skins without boiling water.
- 📦 Condition the raisins in loose jars for about a week before you seal them.
- 🐕 Keep every batch away from pets, because grapes and raisins are toxic to dogs.
Every recipe below shares the same backbone. Pick ripe, sweet, seedless grapes, wash and stem them, and break or cut the skins so moisture can escape. Colorado State University Extension dips whole grapes in boiling water for 30 seconds, chills them in ice water, and dries them at 140°F (60°C) until leathery and pliable. Save Concord grapes for juice, jelly, and my fruit leather recipes, since seeded, thick-skinned grapes make poor raisins.
I already have the full walkthrough in my guide to how to dehydrate grapes, so here I focus on the variations: which grape, which prep, and where each batch ends up. You’ll also want jars with tight lids for conditioning, and the box below has the ones I use.

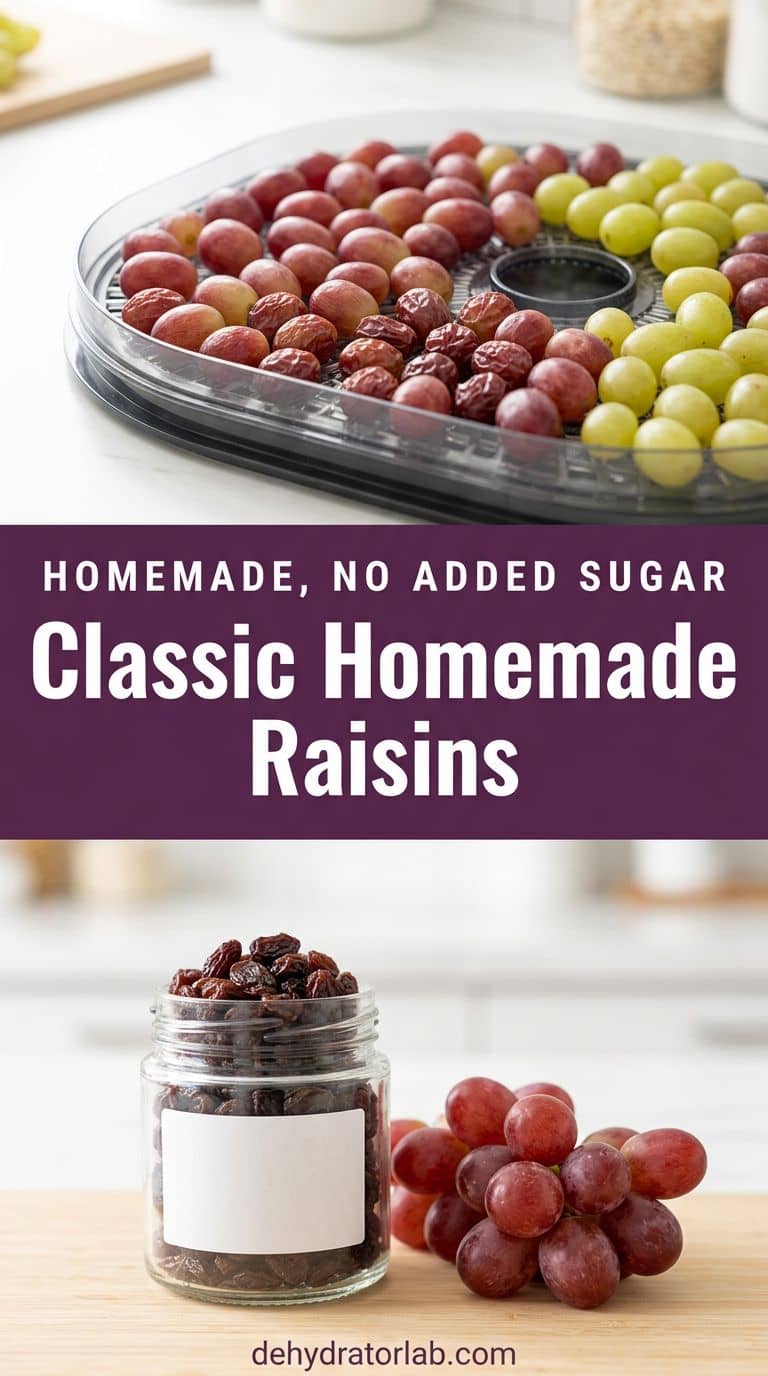
1. Classic Homemade Raisins
This is the one to master first. Thompson Seedless and Crimson Seedless are my picks, because there are no seeds to fight and the flavor concentrates beautifully. Wash and stem the grapes, drop them into boiling water for 30 seconds to crack the skins, and chill them right away in ice water. Pat them dry before they go on the trays.
Spread them in a single layer and dry at 135–140°F (57–60°C). CSU Extension lists 12 to 20 hours, my guide runs 18 to 48, and UC Master Gardeners report about two days at 135°F with a tray rotation every 8 hours. Grape size, humidity, and tray load explain the spread, so go by feel and not the clock.
- Pull a test grape and let it cool for 10 minutes.
- Cut it open and look for wet pockets.
- Squeeze it and look for wrinkled and leathery.
Other pretreatments, like piercing or halving, are covered in the guide. No wet center, ever.
2. Golden Raisins
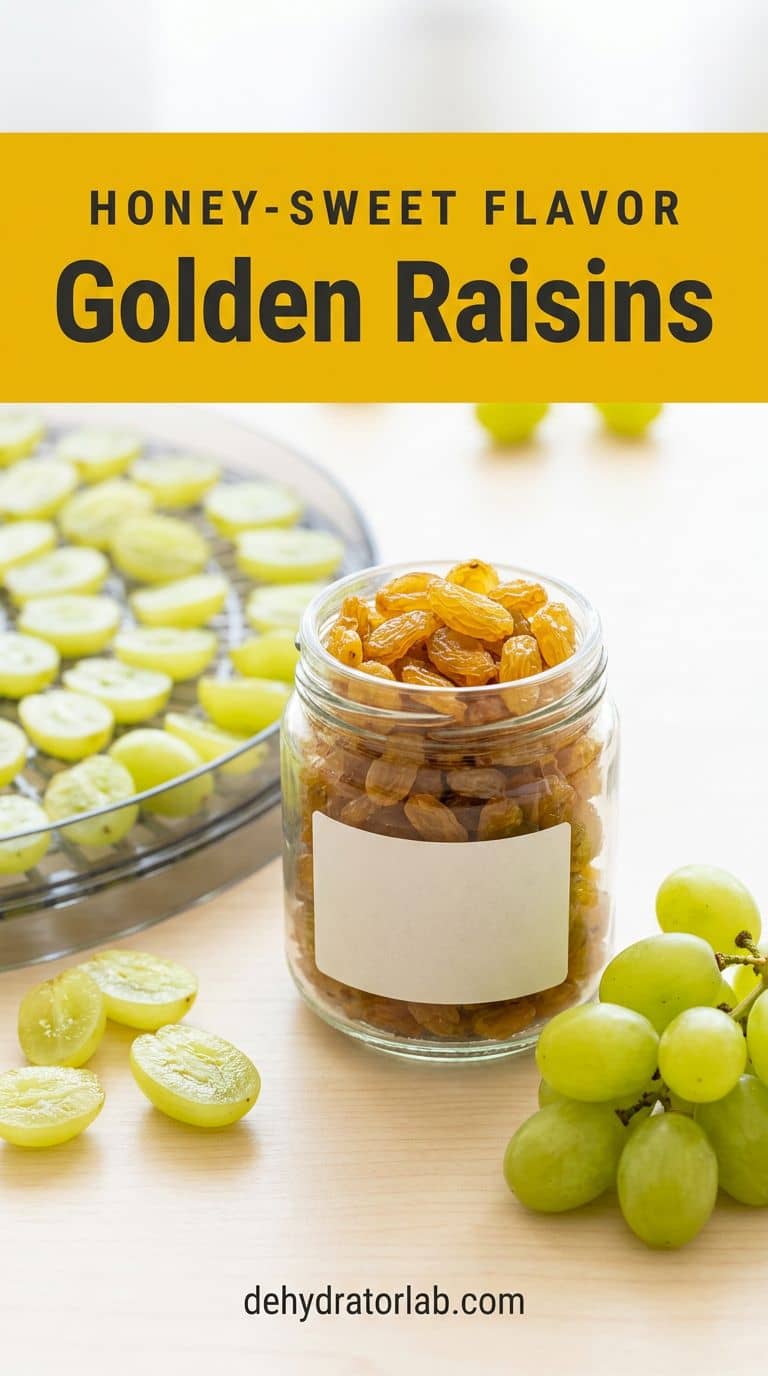
Golden raisins are the mild, honey-sweet cousin of the classic. Start with green seedless grapes, halve them, and soak the halves for 3 to 5 minutes in lemon water or a vitamin C solution, which CSU Extension uses to keep cut fruit from darkening. Drain them well.
Dry the halves cut side up at 135–140°F (57–60°C) until pliable. Halves finish sooner than whole grapes, so start testing early. Store-bought golden raisins often get a sulfite treatment to hold that bright color, so mine come out a deeper amber. That’s the trade for skipping sulfites, and I’ll take it every time.
They shine in rice pilaf, chicken salad, and scones. Amber, not neon.
3. Frozen-Crack Candy Bites
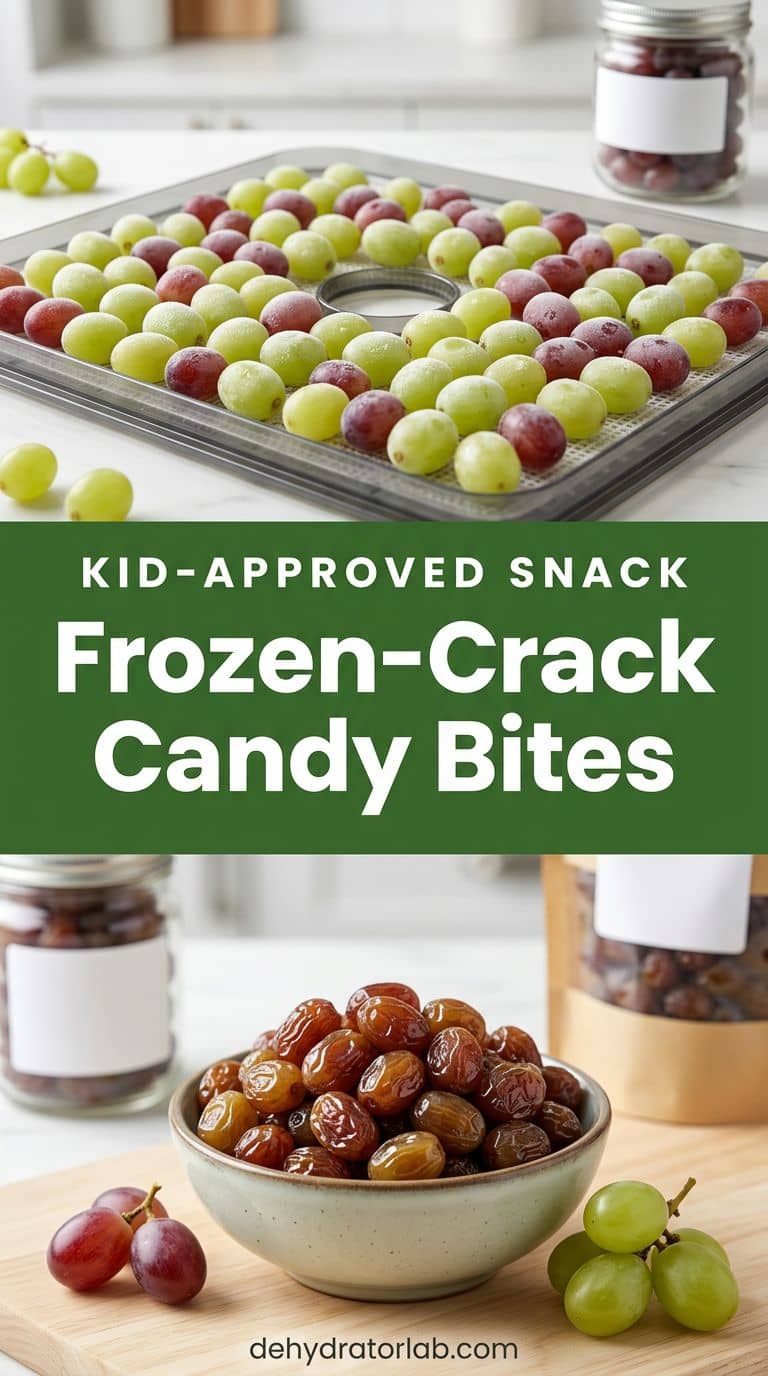
This is the no-boiling-water version. Freeze washed, stemmed grapes in a single layer, then move them straight onto the trays. Ice crystals crack the skins from the inside, so you skip the pot and keep the grapes whole.
Dry at 135°F (57°C) for 18 to 48 hours, depending on grape size. The result is plump, chewy, and candy-like, closer to a gummy than a classic raisin. Red grapes taste jammy, and green ones stay bright. My kid-friendly fruit snack roundup has more ideas like this one.
Serve these halved to small children, since whole grapes are a classic choking hazard. Freeze first, then dry.
4. Cinnamon-Orange Raisins
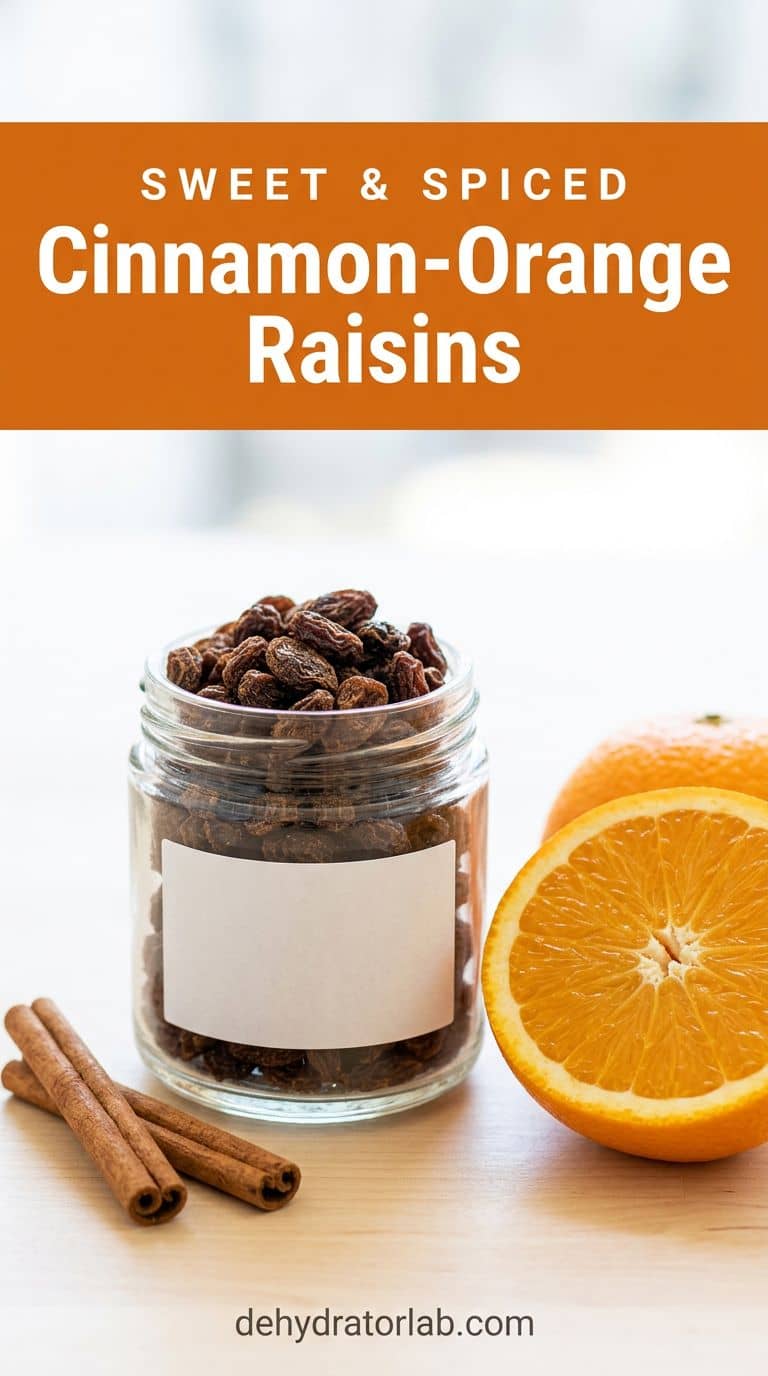
This one is my own twist, so treat the timing as a starting point. Halve seedless grapes and soak them for 10 minutes in orange juice with a good pinch of cinnamon. Drain them, pat them dry, and spread them cut side up.
Orange juice leaves a little sugar on the surface, so these dry stickier and need a few extra hours compared with plain halves. Dry at 135°F (57°C) and use the same wrinkled, leathery test as in the classic batch. Once they cool, toss them with a light dusting of cinnamon before conditioning.
Stir them into oatmeal, spoon them over yogurt, or tuck them into a lunch box. Sticky means keep drying.
5. Mini Currant-Style Raisins
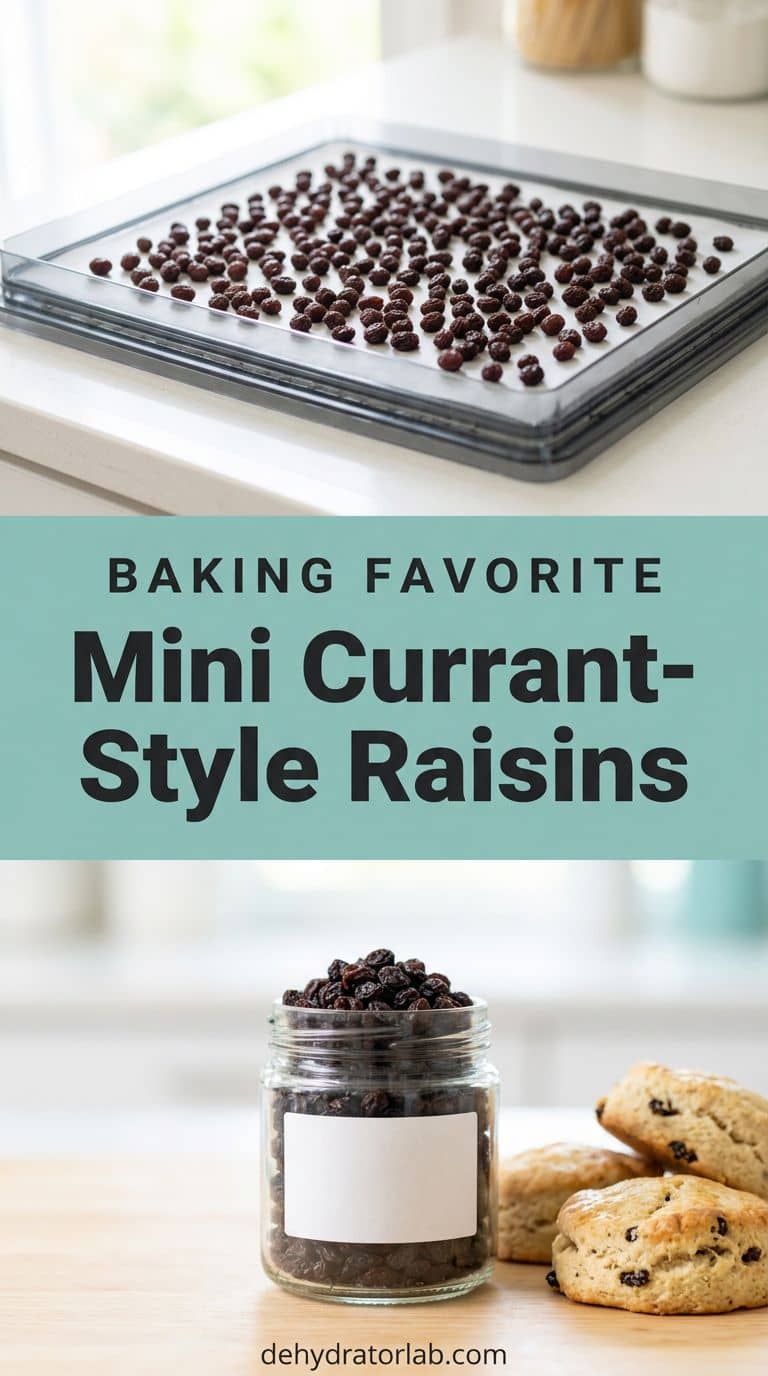
Small grapes make tiny raisins that behave like currants. Look for Champagne grapes, often sold in small clusters, or any tiny seedless variety. Smaller fruit dries faster and more evenly, so there’s no need to cut anything.
Blanch them for 30 seconds, chill them, and pat them dry. They’re so small that they roll around and drop through mesh trays, so I line the trays with silicone dehydrator sheets. Dry at 135°F (57°C) and start checking early, because small fruit goes from pliable to hard quickly.
Tiny raisins disappear into scones, soda bread, and muffins without taking over. Small grape, quick finish.
6. The Baker’s Raisin Mix
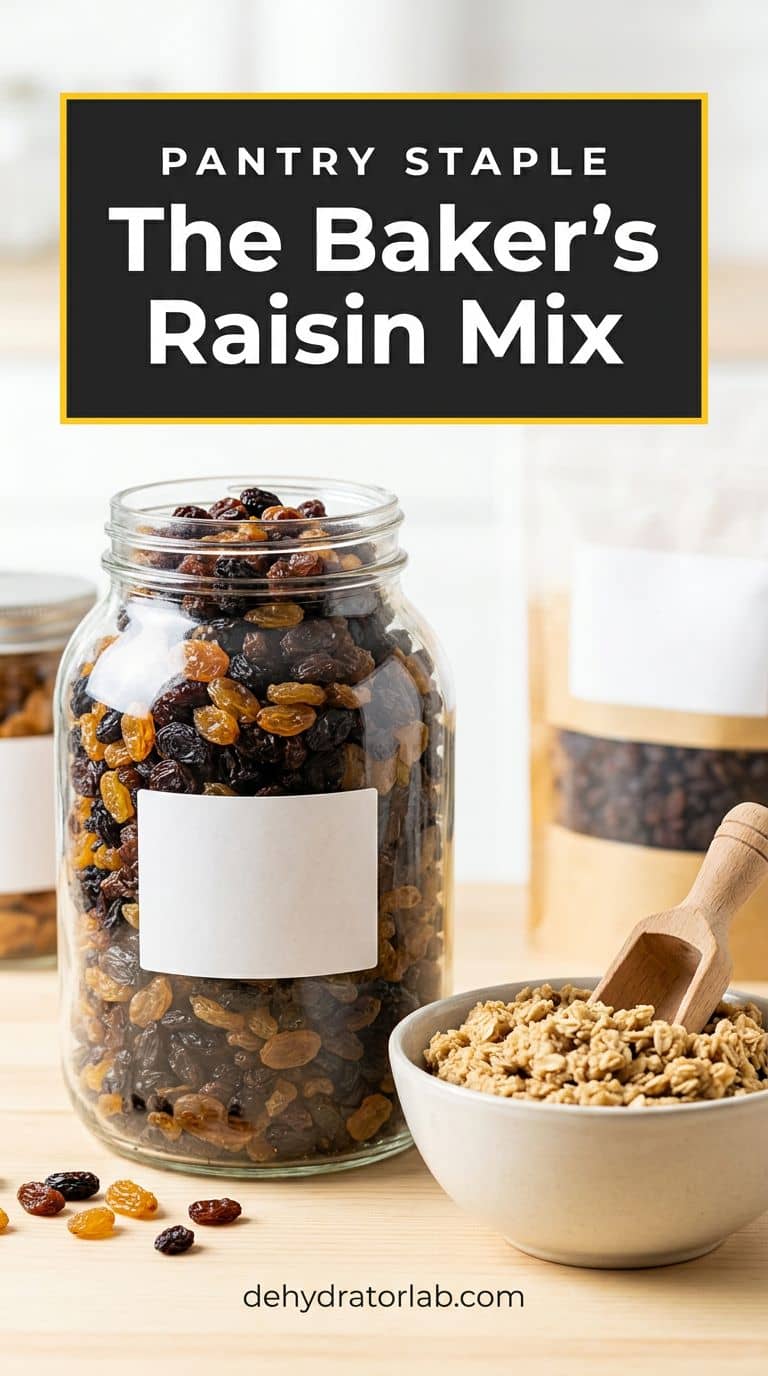
Once you have a few jars going, the last recipe is a blend. Combine 2 parts classic raisins, 1 part golden raisins, and 1 part mini raisins for a house mix with mixed color, size, and sweetness. It beats any single batch in baking, because every bite tastes a little different.
- Fold it into oatmeal cookies, muffins, and scones.
- Stir it into homemade granola or trail mix.
- Keep a jar by the oatmeal and use it daily.
For a dessert-style mix, my sweet trail mix recipes are a great home for it. Label the jar with the date and the blend. One jar, three raisins.
Quick Reference: Grape and Raisin Settings
| Recipe | Prep | Temp | Time | Done when |
|---|---|---|---|---|
| Classic raisins | Whole seedless, blanched 30 seconds | 135–140°F (57–60°C) | 12–48 hours | Wrinkled, leathery, no wet center |
| Golden raisins | Green halves, lemon or vitamin C soak | 135–140°F (57–60°C) | Less than whole grapes | Pliable, deep amber |
| Frozen-crack candy bites | Whole, frozen first | 135°F (57°C) | 18–48 hours | Plump and chewy, no wet center |
| Cinnamon-orange raisins | Halves, 10-minute orange soak | 135°F (57°C) | A few hours more than plain halves | Leathery, not sticky |
| Mini currant-style raisins | Tiny grapes, blanched 30 seconds | 135°F (57°C) | Less than classic | Pliable, then stop |
| Baker’s raisin mix | Classic, golden, and mini | No drying needed | Mix and jar | Evenly blended |
Times are ranges. Grape size, humidity, and tray load always change the clock.
Personal Tips You Can Steal
I rotate trays every few hours, because almost every dehydrator has a hot corner. I sort the finished raisins by size and pull the small ones first, since they always finish early. I condition every batch in loose jars for about a week and shake them daily, because CSU Extension calls for 4 to 10 days and says to re-dry the fruit if moisture beads form.
I label each jar with the grape and the date, and I plan to finish them within 6 to 12 months, the range CSU gives for properly stored dried grapes. I add a packet from my moisture absorbers vs oxygen absorbers guide when humidity runs high.
I also keep every batch well out of reach of pets, because Cornell University says grapes and raisins can cause kidney injury in dogs and no amount is known to be safe.
Final Thoughts
Raisins are the easiest way to see what a dehydrator does to fruit you already love. Start with the classic batch, then branch out into golden raisins, candy bites, and the mixed jar once you trust the leathery test.
Related reading: 15 best fruits to dehydrate, 7 overripe fruit recipes, and 10 fruit leather recipes.
P.S. Keep a few warm raisins for yourself before they hit the jar. Quality control is a real job. 🙂