Craving granola that actually tastes like the ingredients you put in it, not a sugar-glazed mystery from a plastic tub?
Oven granola has a timing problem: the edges of the tray scorch before the middle even toasts. A dehydrator skips that fight entirely. Low, steady heat over several hours toasts oats and nuts evenly, sets a chewy binder without burning it, and lets you build genuine clusters instead of loose crumbs.
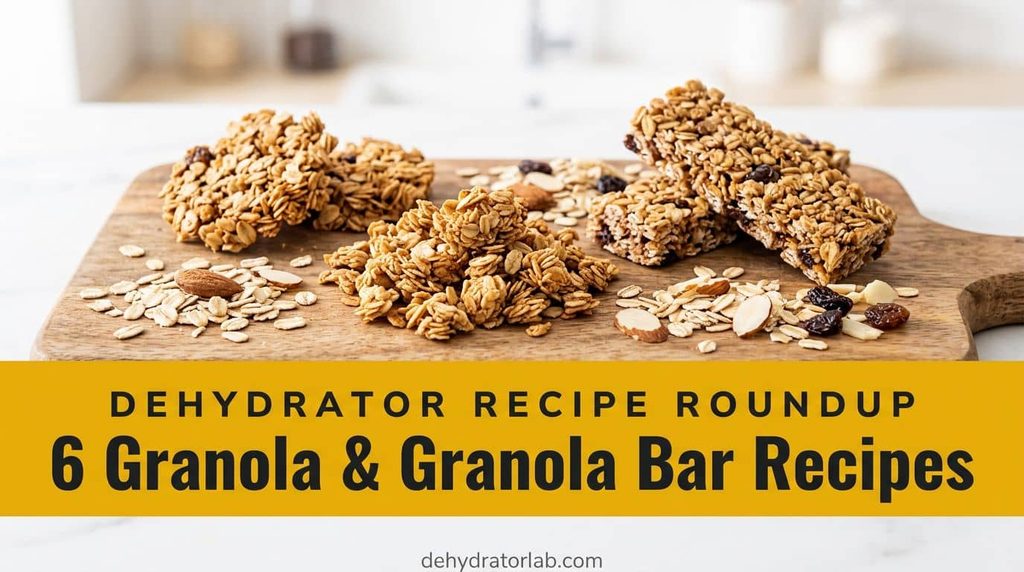
Same goes for the bars – no oven, no dry-out-the-kitchen heat, just patient drying that holds everything together. Let’s get six batches going that’ll actually outlast the week.
As an Amazon Associate, I earn from qualifying purchases. If you make a purchase after clicking on a link I may earn a small commission at no extra cost to you if items are purchased.
In this article:
TL;DR: Key Takeaways
- 🥣 These 6 recipes cover both textures — crunchy cluster granola and chewy pressed bars, no oven required for either.
- 🌡️ Toasted/dried granola runs 135–150°F (57–66°C) for 2-4 hours; raw no-bake bars stay lower, around 115–125°F (46–52°C), just long enough to set the surface.
- 🍯 Honey, maple syrup, or blended dates all work as the binder — pick based on how sticky-chewy you want the final texture.
- 🔪 Break up cluster granola every 60-90 minutes for a mix of fine crumble and big chunks; leave bars untouched until fully set, then slice.
- 🥜 Add chocolate chips and other heat-sensitive mix-ins after drying, never before — melted chocolate turns into a greasy mess on a warm tray.
- 📦 Fully cooled and stored airtight, granola keeps its crunch 3-4 weeks; bars keep 2-3 weeks and travel better wrapped individually.
Six recipes, two textures, zero oven time. Let’s get into it.
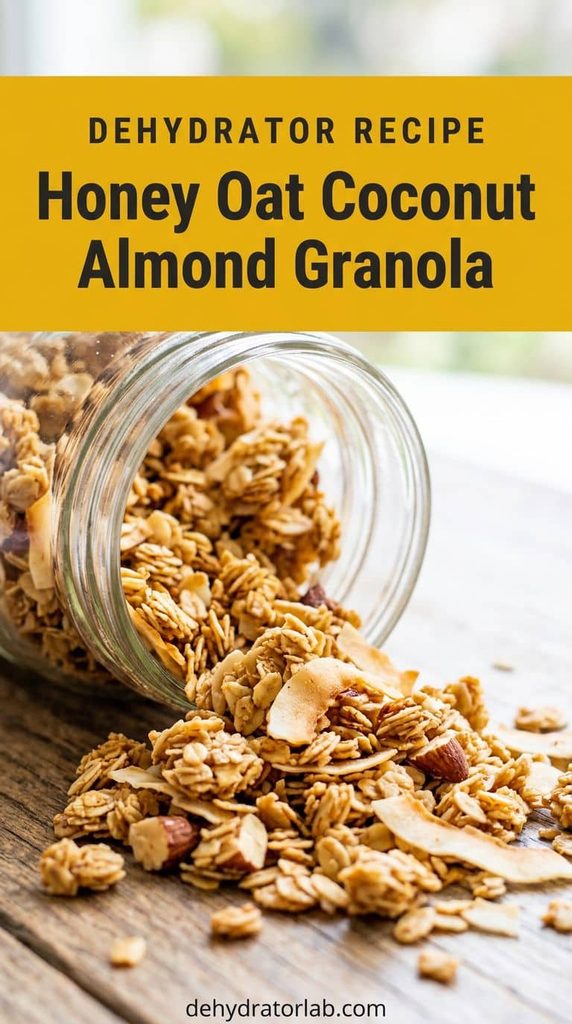
1. Classic Honey Oat Granola with Toasted Coconut & Almonds
This is the one to master first — it’s the base every other cluster granola on this list riffs on. Toss 3 cups rolled oats, 1 cup dehydrated coconut flakes, and 1 cup chopped raw almonds with ⅓ cup melted honey and 2 tablespoons melted coconut oil until every oat is coated.
Spread it thin on a lined tray and dry at 135–150°F (57–66°C) for 2-4 hours, breaking it up with a spatula every 60-90 minutes. That break-up step is what separates good granola from great granola — leave it alone, and you get one solid sheet; work it a few times, and you get a mix of fine crumble and satisfying chunks.
Swap in raw activated almonds instead of plain for a nuttier, less bitter bite if you’ve got the time to soak and dry a batch ahead.
The base recipe every other granola here borrows from.
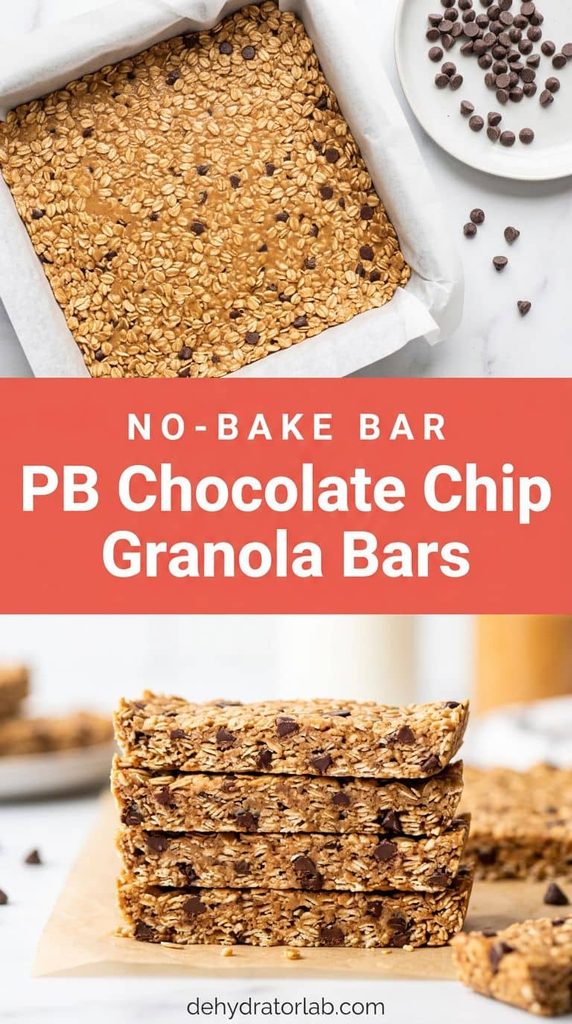
2. Chewy Peanut Butter Chocolate Chip Granola Bars
Ever wonder how store-bought granola bars stay soft for months on a shelf? Mostly corn syrup and preservatives. This version gets its chew from real peanut butter and a short, low dry instead. Whisk ⅓ cup dehydrated peanut butter powder with 3 tablespoons warm water into a thick paste, then stir in ¼ cup honey and 2 cups rolled oats until fully coated.
Press the mixture firmly into a lined 8×8 pan — really pack it down; loose bars fall apart later — and dry at 115–125°F (46–52°C) for 3-5 hours, just until the surface is set but the center still gives slightly. Cool completely, then fold in ⅓ cup mini chocolate chips before pressing back into the pan and slicing into bars.
- Add the chocolate chips after the pan comes out of the dehydrator, never before.
- A pinch of flaky salt on top before slicing balances the sweetness.
- Wrap bars individually for lunchboxes — they hold together far better than the crumbly store-bought kind.
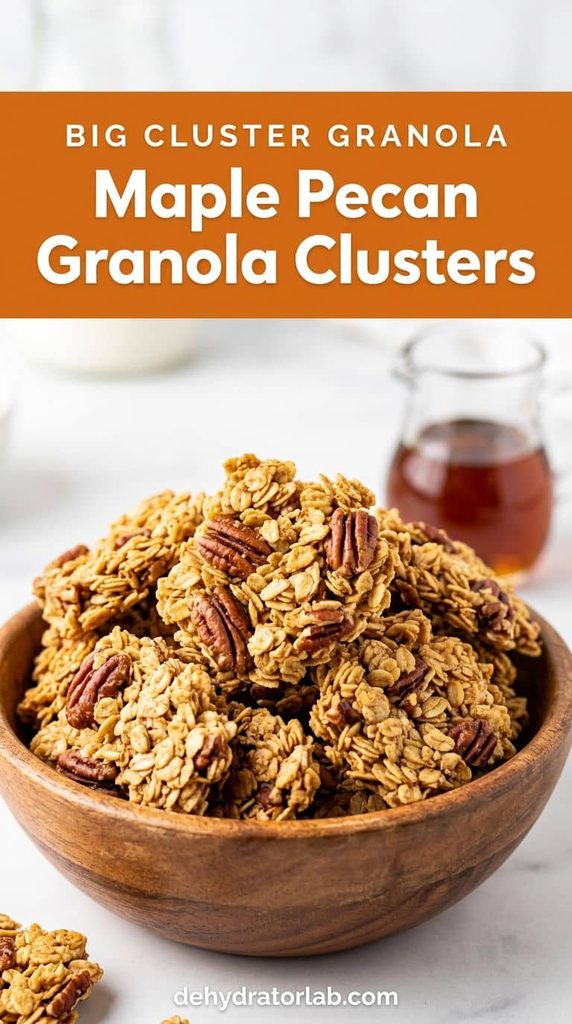
3. Maple Pecan Granola Clusters
This one’s for people who pick through the crumbs to get the big clusters at the bottom of the bag. Combine 3 cups rolled oats, 1 cup roughly chopped pecans, ⅓ cup maple syrup, 2 tablespoons melted butter or coconut oil, and ½ teaspoon cinnamon, mixing until every piece is glossy.
Instead of spreading it thin, press the mixture into loose, fist-sized mounds on the tray and dry at 135–150°F (57–66°C) for 3-4 hours. Resist the urge to break it up like the classic version — leaving it in mounds is exactly what builds the big chunky clusters. If you’d rather candy the pecans first for extra crunch, my seasoned pecans method works as a quick pre-step.
Maple burns easier than honey once it concentrates, so keep the temperature at the lower end of that range if your machine tends to run hot. Once cooled, break the mounds into cluster-sized pieces by hand rather than cutting — a clean break holds together better than a knife cut.
The one worth doubling because it disappears first.
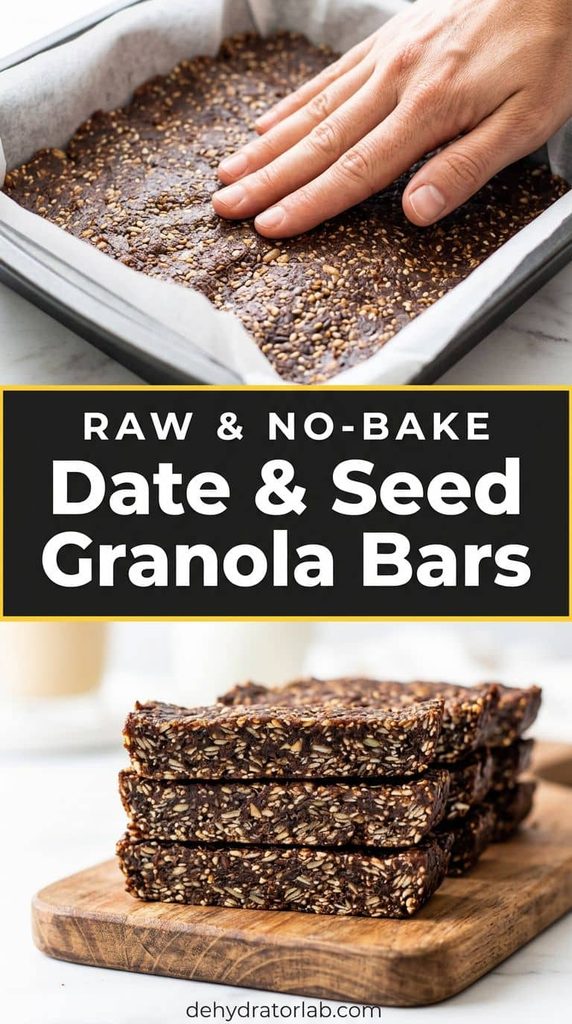
4. Raw Date & Seed No-Bake Granola Bars
No oats toasted, no sugar added, nothing above 118°F the whole way through — this one’s for the strict raw-food crowd. Pulse 1½ cups pitted Medjool dates in a food processor until they break down into a sticky, coarse paste, then work in 1 cup mixed raw pumpkin and sunflower seeds and 2 tablespoons chia seeds by hand.
Press firmly into a lined pan — the dates alone are the entire binder here, no honey or syrup needed — and dry at 115–118°F (46–48°C) for 4-6 hours, just enough to set a firmer surface without cooking anything. The center stays soft and fudgy by design; that’s the texture this recipe is going for, not a flaw to fix.
- Sticky food processor blade? A few drops of water loosen the date paste without thinning it too much.
- Soak the seeds 4-6 hours first, and pat dry if you want them fully “activated” per raw-food tradition.
- Keep these refrigerated if your kitchen runs warm — the only bar on this list that needs the fridge.
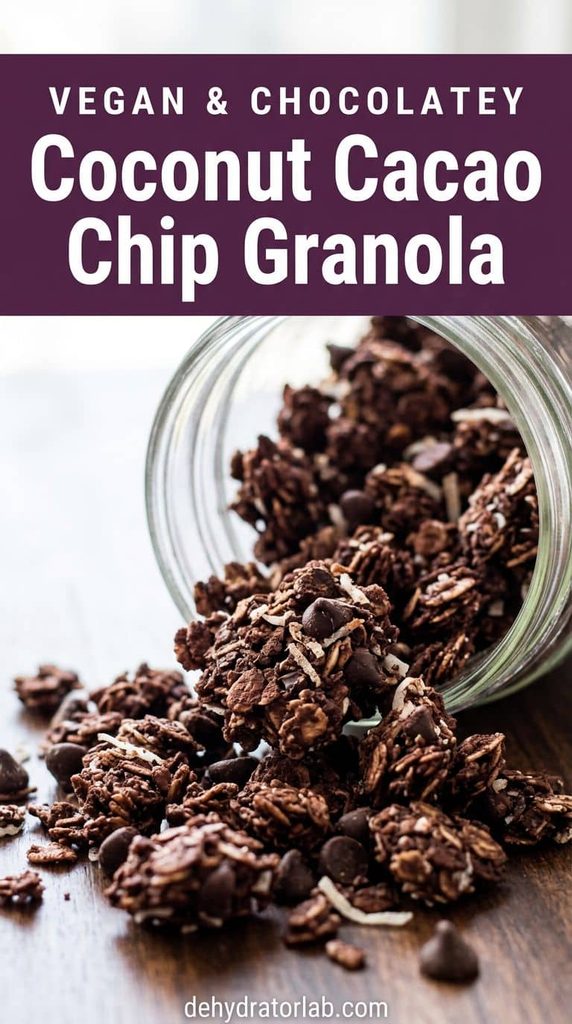
5. Coconut Cacao Chip Granola
The enemy of good chocolate granola: melted, greasy chocolate that turns the whole batch into a clump. This recipe sidesteps that completely by keeping the cacao flavor in powder form during drying and saving the actual chocolate for after. Mix 3 cups rolled oats, 1 cup dehydrated coconut flakes, 3 tablespoons unsweetened cacao powder, ⅓ cup maple syrup, and 2 tablespoons melted coconut oil.
Spread thin and dry at 135–150°F (57–66°C) for 2-4 hours, breaking it up every 60-90 minutes, same as the classic version. Once fully cooled, fold in ½ cup dark chocolate chips. If you want the deeper, more complex chocolate flavor my vegan dehydrator recipes roundup uses in its raw cacao treats, swap the maple for a spoonful of date paste instead.
Chocolate granola that doesn’t turn into a chocolate brick.
6. High-Protein Almond Chia Granola Bars
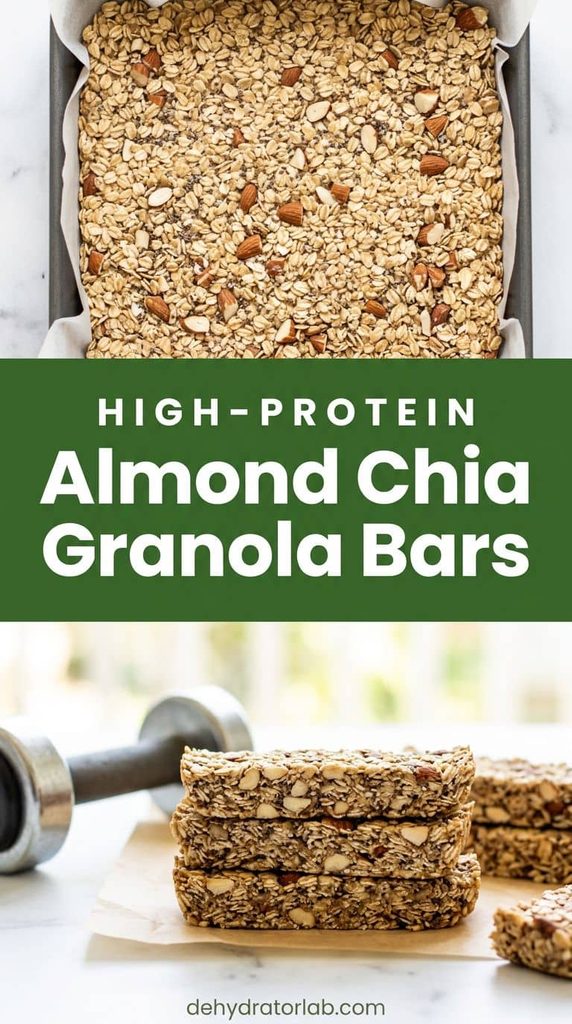
If the plan is a granola bar in a gym bag instead of dessert in a lunchbox, this is the one. Whisk ⅓ cup vanilla protein powder with ¼ cup water and 3 tablespoons honey into a smooth paste, then stir in 2 cups rolled oats, ½ cup chopped raw almonds, and 2 tablespoons chia seeds until every bit is coated and sticky.
Press firmly into a lined 8×8 pan and dry at 115–125°F (46–52°C) for 3-5 hours — the same gentle range as the peanut butter bars, since protein powder toughens up and turns chalky if it dries too hot or too fast. Cool completely in the pan before slicing, or the bars crumble at the edges instead of cutting cleanly.
For a fruit-and-nut version built around the same higher-protein idea, my high-protein trail mix recipes roundup covers snacking without a binder at all — worth a look if bars aren’t your thing.
Gym-bag fuel that doesn’t taste like a supplement.
Personal Tips You Can Steal
I always weigh out my mix-ins before I start rather than eyeballing them straight into the bowl – chocolate chips and dried fruit are easy to overdo, and a scale keeps every batch consistent. I run a rubber spatula, not a spoon, when I’m coating oats in syrup or peanut butter paste; it scrapes the bowl clean instead of leaving half the binder stuck to the sides.
I always let cluster granola cool fully on the tray before touching it – warm granola feels soft and bendy, and you’ll break clusters you meant to keep whole. And for the no-bake bars, I press the mixture with the bottom of a flat measuring cup instead of my hands — it packs tighter and slices cleaner every time.
Final Thoughts
Six recipes, two completely different textures, and not one of them needs an oven running for an hour. Start with the classic honey oat version to get a feel for your dehydrator’s timing, then branch out to whichever bar fits your week — chewy, raw, or protein-packed.
For general guidance on safe drying temperatures and times across ingredients, the National Center for Home Food Preservation’s drying guide is a solid, evidence-based reference.
For gear, I blend the date paste and protein mixtures in the same food processor every time, press bars into pans lined with silicone dehydrator sheets, and store the finished batches in airtight storage containers to keep everything crisp through the week.
Related reading: for more seed-based snacking from the same category, see 8 homemade dehydrated cracker recipes, and for nuts and dried fruit without a binder, check out 10 trail mix recipes with dehydrated fruit and nuts.
P.S. Start with the classic honey oat batch before you branch out — once you’ve got the break-it-up-every-hour rhythm down, the rest of this list is just a flavor swap. Happy dehydrating! 🙂