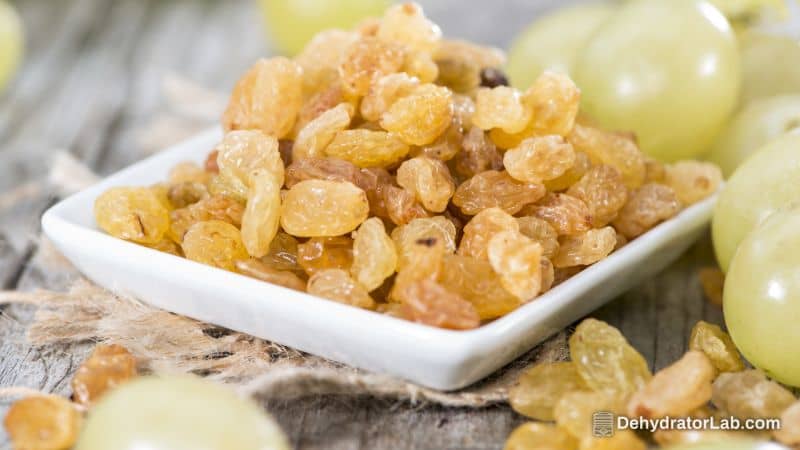
Want raisins that actually taste like grapes? Same. Dehydrating grapes at home gives you chewy, fragrant little gems with zero mystery additives and tons of control over texture and sweetness.
Grab a dehydrator, a couple of simple tools, and a smidge of patience, and you turn a basic bunch into something snack-worthy and bake-friendly in one go.
Here’s the game plan that works every time, with practical options if you like your raisins soft and jammy or firm and snappy. Ready to make your kitchen smell like a fruit stand in summer? Thought so.
In this article:
Why Dehydrate Grapes at Home
Homemade raisins taste brighter, cost less over time, and let you choose the grape and texture you love, from tiny currants to fat Thompsons or Crimson Seedless. You also skip sulfites unless you intentionally add them, which helps if you avoid those for flavor or sensitivity reasons, IMO.
Ever noticed how store raisins sometimes taste flat? You fix that by drying fully ripe grapes you actually like to eat fresh, which locks in better flavor and aroma.
The Short Version: Time and Temp
- Target dehydrator temp: 135°F / 57°C for most of the run for balanced speed and quality.
- Total time: 18–48 hours, depending on grape size, pretreatment, and your dehydrator’s airflow.
- Doneness: dry, leathery, and not sticky inside; they should “plink” when dropped on a plate and not squish moisture.
Want to shave hours off? Break the skin first – blanch, cut, pierce, or freeze-crack—and you speed evaporation and prevent case hardening (that annoying dry shell with a wet core).
Gear You Actually Need
- Food dehydrator with trays and good airflow.
- Colander, bowl, towel, and a pot for optional blanching.
- Knife or skewer for cutting or piercing skins if you skip blanching.
- Jars or airtight containers for conditioning and storage.
FYI: You don’t need fancy screens unless your trays have wide holes; parchment can block airflow, so use it only if the grapes fall through.
Pick the Right Grapes
Go for ripe, sweet grapes without soft spots – seedless if you want classic raisins, seeded if you don’t mind popping seeds for bigger, more complex flavor. Red and black grapes dry into deeper flavors and look gorgeous; green grapes stay lighter and clean-tasting.
Ever wonder if tiny grapes dry better? Smaller grapes dry faster and more evenly, but cutting larger grapes in half evens the field.
Prep: Wash, Destem, and Pretreat
- Wash and dry the grapes well; remove any stems or debris.
- Decide how you’ll break the skins to help moisture escape and avoid case hardening.
Here are solid options that all work:
- Blanch: Dip grapes in boiling water for 30–60 seconds, then shock in ice water to crack skins without cooking the fruit through.
- Halve or slit: Cut large grapes in half or make a shallow slit to expose the interior for faster drying and a firm, classic raisin texture.
- Pierce: Prick each grape with a skewer or fork; it’s tedious but effective for keeping a whole-grape look.
- Freeze-crack: Freeze grapes in a single layer, then dehydrate; ice crystals rupture skins for a similar effect to blanching, with zero hot water.
Want a brighter color or more shelf life? Soak blanched or cut grapes for 10 minutes in lemon water or an ascorbic acid solution; sulfite dips work best for long-term color, but use with caution if sensitive.
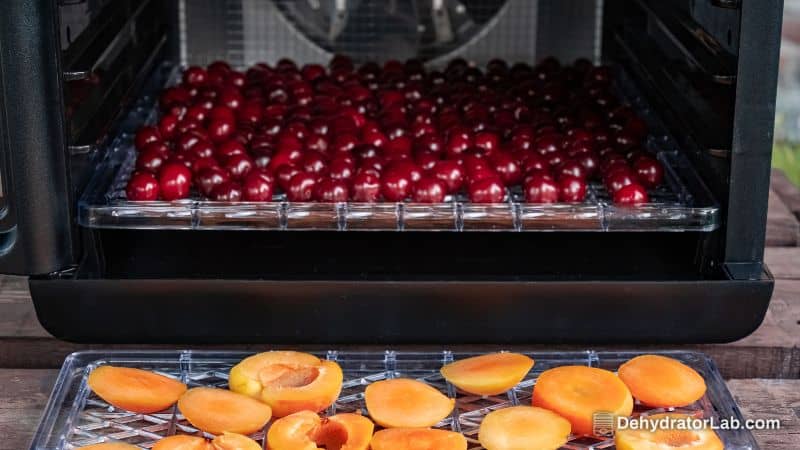
Tray Setup and Loading
- Place the grapes skin-side down if cut, spaced so air can move around each piece.
- Avoid pile-ups; crowded trays slow the process and cause sticky spots.
- If your dehydrator has hot spots, rotate trays every few hours for consistency.
Wonder why spacing matters so much? Better airflow equals even drying and fewer surprises during conditioning.
Temperature and Timing Strategy
- Start at 135°F / 57°C and keep it there until done for a reliable, hands-off approach.
- If your unit runs hot, you can start briefly at 145°F / 62°C to push surface moisture, then drop to 125–135°F; this helps, but don’t cook the skins hard.
- Expect 18–48 hours, depending on grape type, pretreatment, and whether you halve them.
If you love a softer, chewier finish, pull them when pliable and leathery without any wet centers; for firmer “trail mix” raisins, go a touch drier.
How to Test for Doneness
- Cool a few grapes for 10 minutes, then cut one open: no visible moisture or glossy pockets inside.
- Squeeze test: they should feel leathery and bounce back without oozing.
- Sound test: drop onto a plate—dry ones give a little “plink,” not a dull thud.
Pull a little early? No worries – put them back and continue until they meet these checks.
Conditioning: The Step Everyone Skips (Don’t)
Conditioning evens out moisture so your entire batch stays safe and consistent in storage. Here’s how:
- Once cool, place raisins loosely in large jars about two-thirds full.
- Shake daily for 7 days and watch for condensation or clumping; if you see any, return to the dehydrator to finish.
- When they pass a week without moisture signs, seal for storage.
Ever wondered why some jars mold while others don’t? Uneven moisture is the culprit; conditioning fixes that before it bites you later.
Storage and Shelf Life
- Store in airtight containers in a cool, dark place; use glass jars, vacuum bags, or Mylar with oxygen absorbers for long-term storage.
- Properly dried and conditioned raisins last 1–2 years in cool, dark storage; flavor slowly softens over time, but they remain excellent in baking and snacks.
Label with date and grape variety so you can recreate hits and avoid misses next time, because yes, your future self will forget which batch blew your mind 🙂
Flavor Upgrades and Fun Variations
- Lemon dip: a quick soak in lemon water brightens flavor and helps color; it adds a subtle citrus note that plays well with oatmeal cookies.
- Red vs. green: red and black grapes make jammy, berry-like raisins; green grapes keep things clean and classic.
- Half vs. whole: halves dry faster and chew firmer; whole grapes (with skins cracked) give plumper, more candy-like results.
Want to get fancy? Mix varieties on one tray and create a “house blend” for snacking and cheese boards – your friends will assume you own a vineyard, which you can neither confirm nor deny.
Troubleshooting Like a Pro
- Case hardening: tough shell with a wet center means skins dried too fast; next time, crack skins and keep temps around 135°F.
- Sticky after cooling: under-dried; return to the dehydrator and retest after a few hours.
- Condensation during conditioning: red flag; re-dry immediately and re-condition.
- Uneven batches: rotate trays, space pieces better, and keep grape size consistent per tray.
Ever feel like your dehydrator has a “rogue hot corner”? You’re not wrong—rotate trays to even things out.
Safety and Pretreatment Notes
- Sulfiting and sulfuring keep color bright and extend storage, but they can trigger sensitivity in some folks; use alternatives like ascorbic acid or lemon if you prefer.
- If you store for months in warm climates, pretreatments help preserve color and flavor; if you devour them in a few weeks (relatable), you can skip this.
Yes, you can skip pretreatments entirely if you don’t mind a little color change and plan a faster turnover.
Step-by-step Recipe
- Prep
- Wash and dry grapes; remove stems and discard damaged fruit.
- Choose a skin-breaking method: blanch 30–60 seconds and ice-bath, halve, slit, pierce, or freeze-crack.
- Optional: soak 10 minutes in lemon water or ascorbic acid solution; drain and pat dry.
- Load
- Arrange on trays cut-side up or skin-side down; space pieces for airflow.
- Preheat dehydrator to 135°F / 57°C.
- Dry
- Dehydrate 18–48 hours, rotating trays if needed.
- Check periodically; adjust time by grape size and your preferred texture.
- Test
- Cool samples for 10 minutes, cut open, and verify no wet center; aim for leathery and pliable.
- Condition
- Jar loosely and shake daily for a week; re-dry if you see condensation.
- Store
- Seal air-tight in a cool, dark place; plan for 1–2 years of shelf life under good conditions.
Dehydrator Comparisons (Quick Takes)
- Basic fixed-temp models: cheap and fine for raisins, but slower and less even; rotate trays more often.
- Models with temp control and strong fans: faster, more consistent, and easier to hit that 135°F sweet spot.
- Large-capacity stacks: great for big batches, but manage spacing and rotate for uniformity.
If you ever thought your dehydrator was “too slow,” check the grape size and skin prep first—tech helps, but technique wins.
FAQ speed round
- Can I dehydrate whole grapes without pretreatment? Yes, but it takes longer and risks case hardening; at least blanch, pierce, or freeze-crack.
- What’s the fastest method? Halve large grapes and dry at 135°F with good airflow; it cuts hours off.
- Do I need sulfites? No; they help with color and storage, but lemon or ascorbic acid work well and avoid sensitivity issues.
- How do I know they’re dry enough? No wet center, leathery feel, and no condensation during conditioning.
Personal Tips That Save Time
I blanch big grapes when I want whole, plump raisins; I halve them when I want dense, bakery-style raisins for cookies and granola, and they dry faster too. I also condition every batch, because that one time I skipped it, the jar turned into a science project—learned the hard way so you don’t have to :/
If you love baking, keep a jar of super-dry raisins and one jar slightly chewier; you get better texture control in recipes without rehydrating on the fly, IMO.
Wrap-up
You now have a simple, repeatable method: choose great grapes, crack those skins, dry at 135°F, test for leathery doneness, then condition for a week before storage.
You get better flavor, better texture, and a stash of raisins that make trail mix, salads, and baking feel a little extra special—without mystery additives and with bragging rights baked in.
Ready to load that first tray and make your kitchen smell amazing? Your future self is already reaching for the jar—don’t leave them hanging 🙂