Ever peeled open a fruit roll-up and wished it came with a second flavor hiding inside?
Layering turns a plain puree into something that looks like it came from a candy shop, and it uses the same dehydrator and the same blender you already own. Here are six layered fruit leather combos worth the extra pour.

As an Amazon Associate, I earn from qualifying purchases. If you make a purchase after clicking on a link I may earn a small commission at no extra cost to you if items are purchased.
In this article:
TL;DR: Key Takeaways
- 🍓 Six two- and three-layer combos made from fruit only, with no dairy to worry about.
- 📏 Spread each layer thin so the finished stack stays near 1/8 inch (3 mm).
- 🌡️ Dry at 135–140°F (57–60°C) and check by touching the center.
- ⏱️ Let each layer dry 2–3 hours until tacky before you pour the next one.
- 🍋 Add 2 teaspoons of lemon juice per 2 cups of light-colored fruit to stop browning.
- 🧊 Rolled leather keeps about a month at room temperature and up to a year in the freezer.
A quick word on method. A layered leather is just a regular leather poured in stages, so my fruit leather basics guide covers the foundation. The NCHFP fruit leather guide calls for pouring puree about 1/8 inch thick and drying at 140°F (60°C), and I use 135–140°F (57–60°C). The staged pouring itself is my own method, not from NCHFP, so treat my times as starting points.
Here’s the routine. Pour the first layer thin, dry it until it’s tacky and no longer wet, then ladle the next puree over it and keep going. I already have rainbow, candy cane, and candy corn layered twists in my dehydrated candy recipes for kids, so these six are all new combos. Purees blend smoothest in a high-speed blender.
You’ll also want solid sheets for this, because puree runs straight through mesh. My dehydrator sheets guide explains which ones hold up. Let’s get into it.
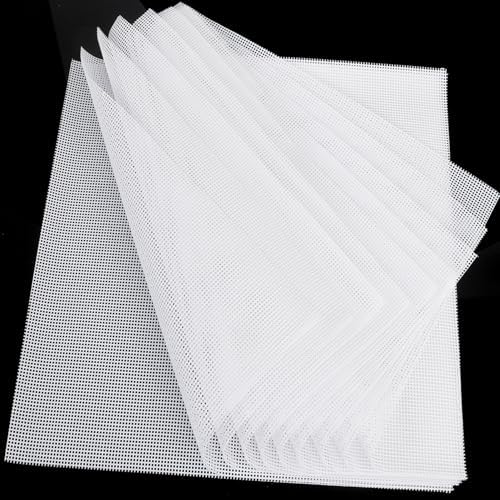
- STOP SMALL FRUIT FROM FALLING – Our ultra-fine 1mm mesh structure ensures tiny berries, sliced herbs, and seeds stay on …
- SAVE 60 MINUTES ON CLEANUP – High-release silicone coating makes these 100% non-stick. Meat oils and fruit sugars slide …
- PROFESSIONAL GRADE & BPA-FREE – Made from premium food-grade silicone, certified safe for temperatures up to 450°F. Enjo…
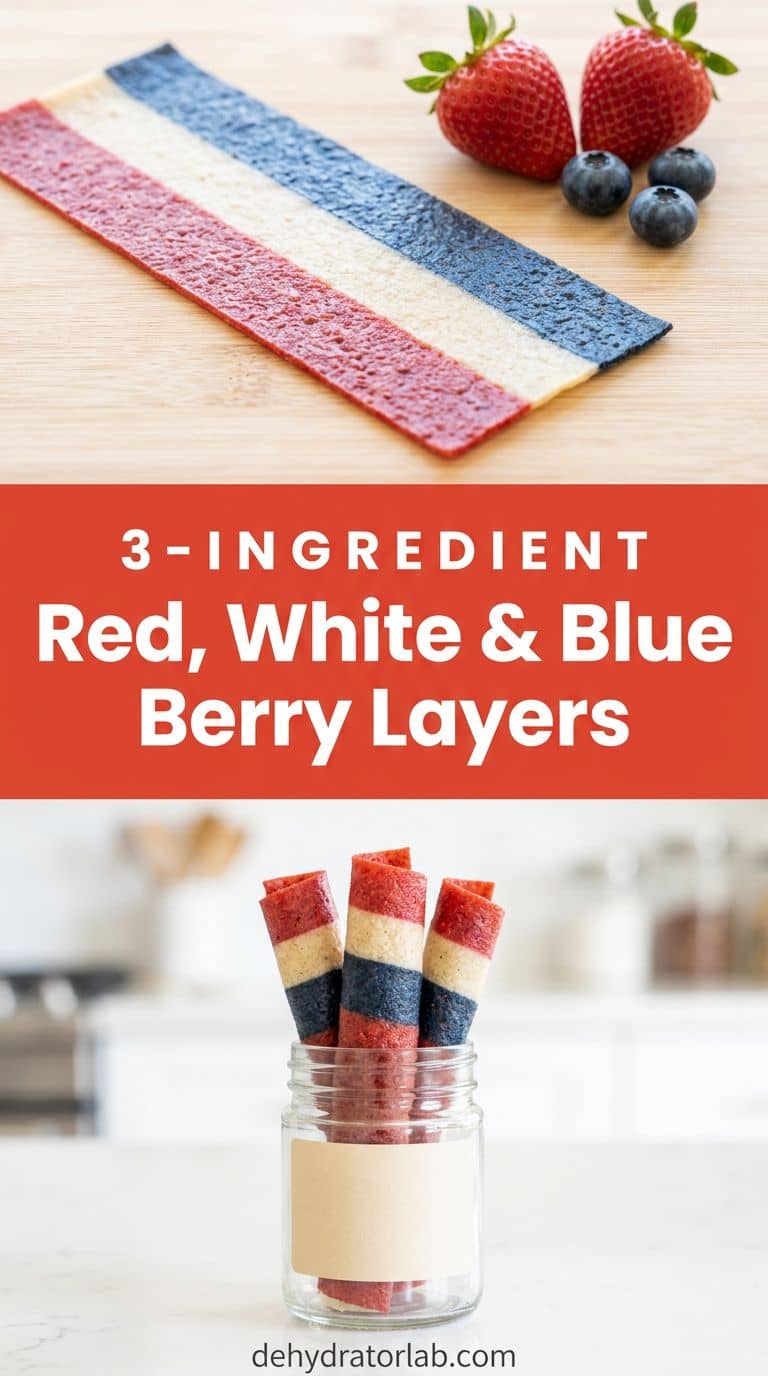
1. Red, White & Blue Berry Layers
This is the showstopper for summer picnics. The bottom layer is strawberry puree, the middle is mashed banana, and the top is blueberry. The banana layer reads as a creamy white stripe, and it adds body so the layers hold together.
Blend each fruit separately with 2 teaspoons of lemon juice per 2 cups of fruit, and keep each layer thinner than you’d spread a single-layer leather. Dry the strawberry layer for 2 to 3 hours until tacky, spoon the banana over it, dry another 2 hours, then add the blueberry and finish the whole stack. Plan on roughly 10 to 12 hours total, depending on humidity and tray load.
- Strain the strawberry puree if the seeds bother you.
- Pour gently from a spoon, so the layers don’t mix.
- Pull it when the center shows no fingerprint dent.
Want to try banana on its own first? My banana dehydrating guide has the basics.
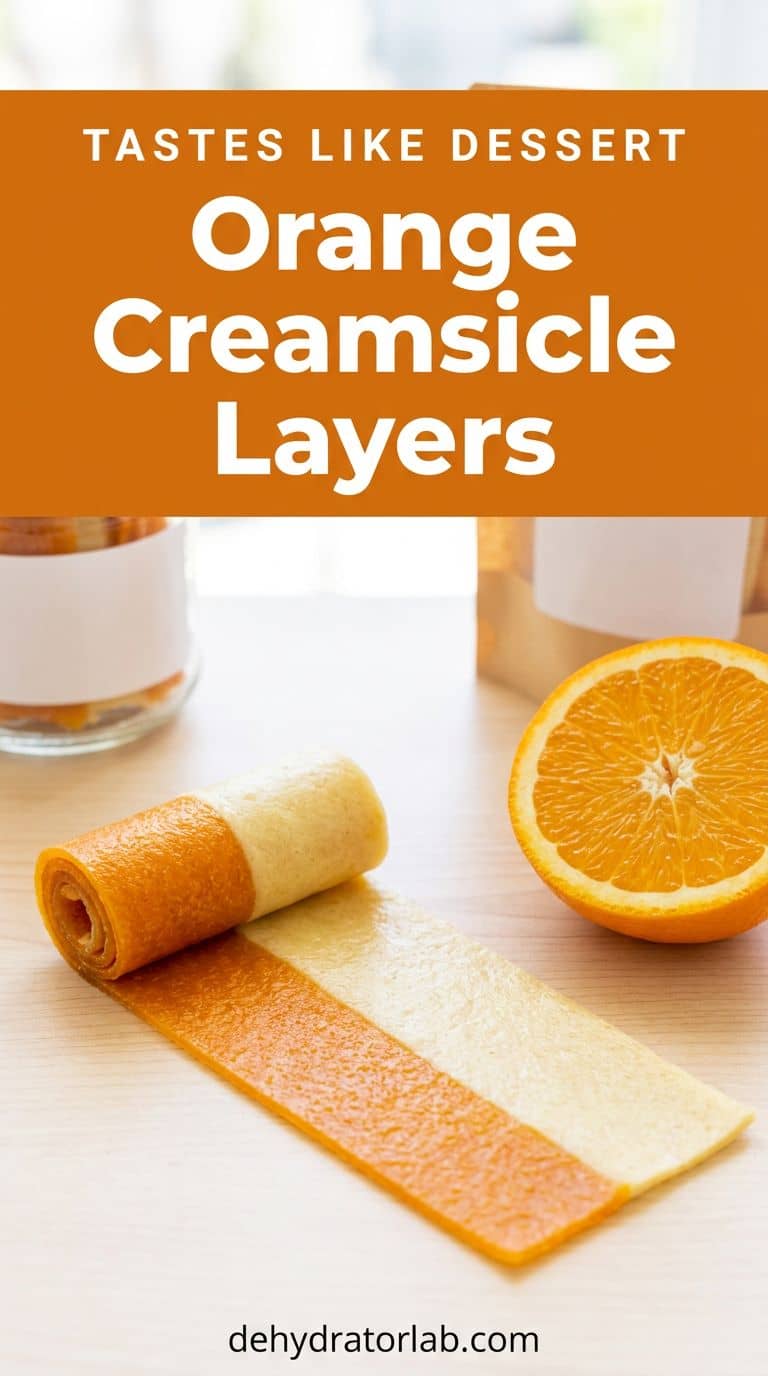
2. Orange Creamsicle Layers
Orange on the bottom, banana-vanilla on top, and you get the flavor of an ice cream truck treat. The trick is the orange layer. Fresh orange puree is very watery and slides off the tray, so cook it down first.
Blend peeled orange segments (pith removed), then simmer the puree for 5 to 10 minutes until it thickens a little. Cool it, spread it thin, and dry about 3 hours until tacky. Then pour mashed banana mixed with a splash of vanilla extract over the top and finish drying, roughly 8 to 10 hours in total.
Banana mellows the orange’s sharp edge, and the two together taste like dessert. Cook the orange down first.
3. Pink Lemonade Layers
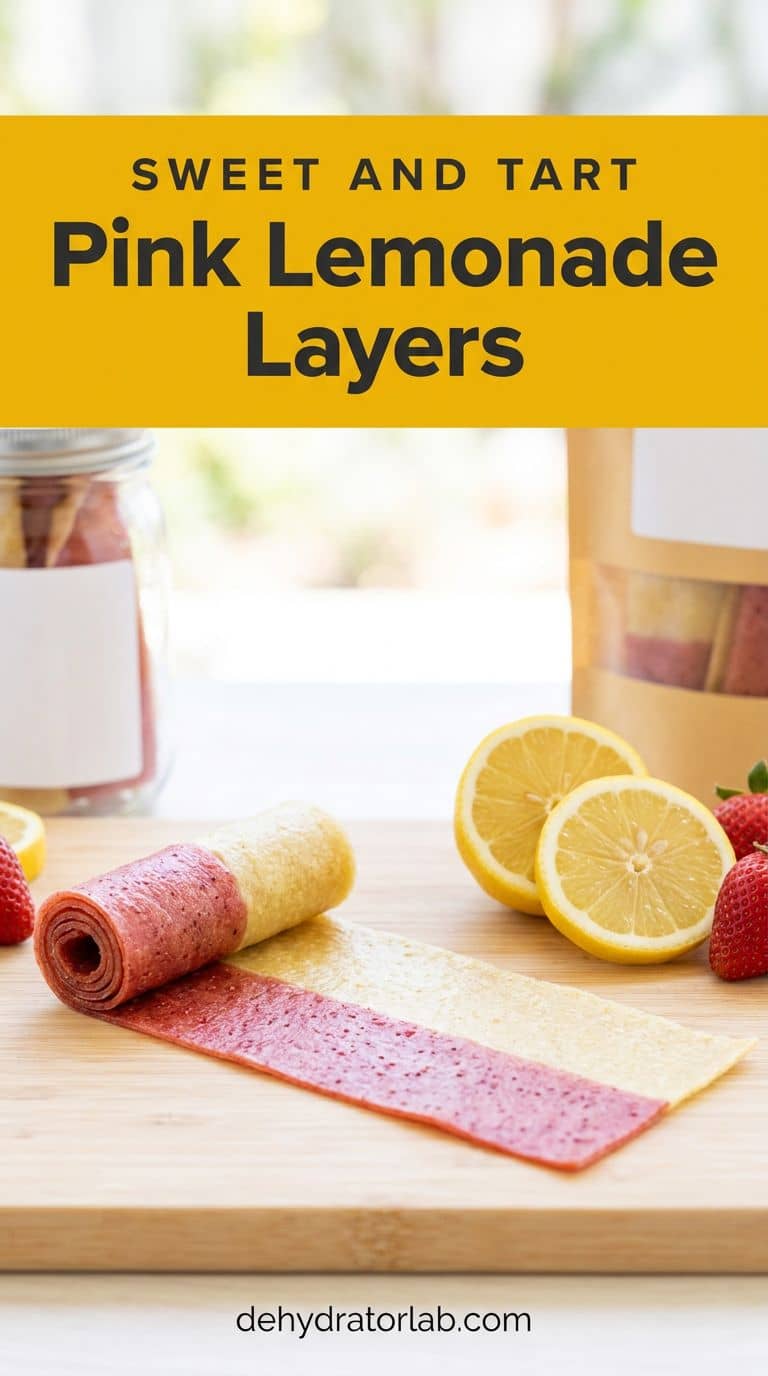
Sweet strawberry meets sharp lemon in a two-tone leather that looks as good as the drink. The pink layer is just strawberry puree with a pinch of honey. The yellow layer is unsweetened applesauce brightened with lemon juice and zest.
Apple does the heavy lifting here because it dries into a firm, even layer that doesn’t fight the strawberry. Dry the pink layer 2 to 3 hours until tacky, then pour the lemon-apple layer over it and finish, about 8 to 10 hours total. If you’d rather make a plain strawberry batch first, my air fryer strawberry fruit leather is a quicker way in.
Go easy on the zest, since a little goes a long way. Sweet berry, sharp lemon.
4. Chocolate-Strawberry Layers
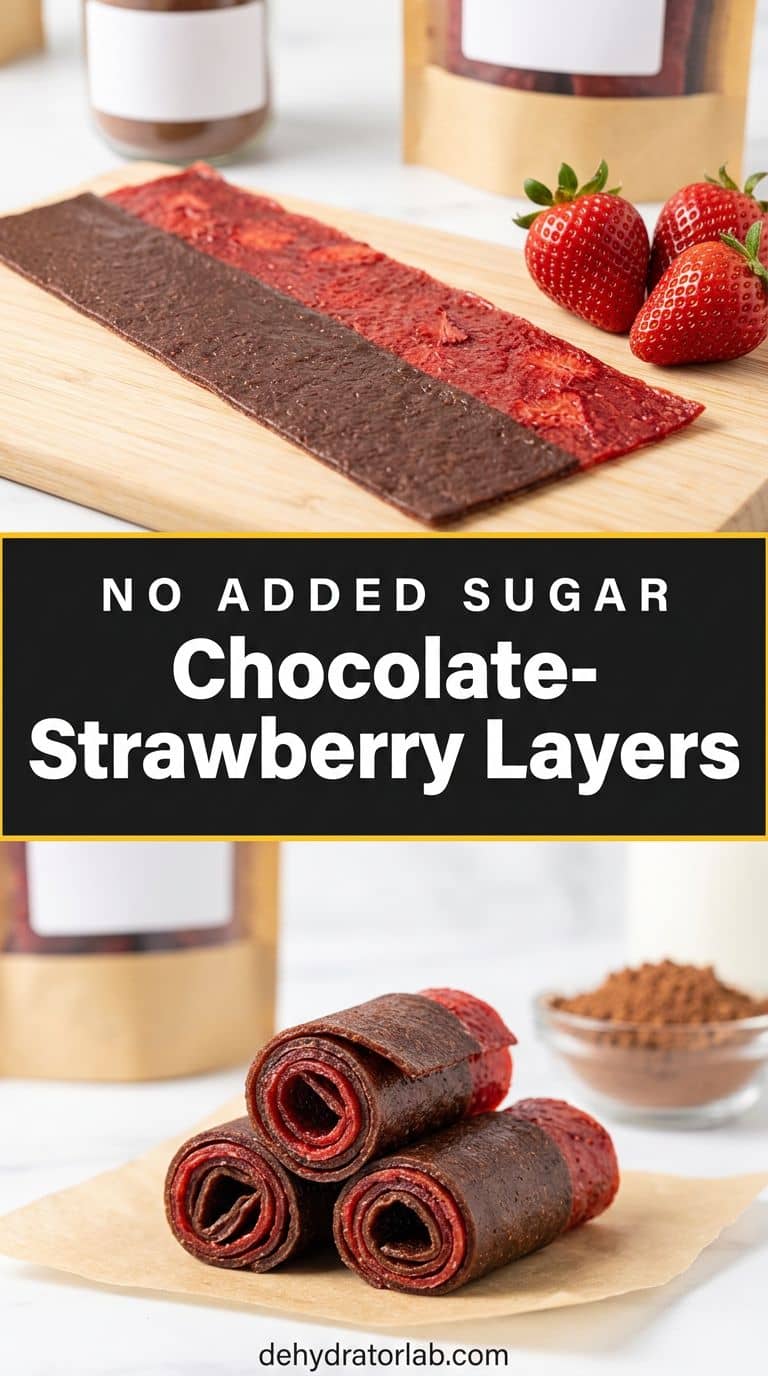
This one tastes like a chocolate-covered strawberry, without the chocolate coating. The chocolate layer is mashed banana whisked with sifted unsweetened cocoa powder, and the strawberry layer goes on top.
Use about 1 to 2 tablespoons of cocoa per banana or two, and sift it in so you don’t get dry pockets. Spread the cocoa-banana layer first, dry it for 2 to 3 hours until tacky, and then pour the strawberry puree over it. Total time runs around 8 to 10 hours.
- Sift the cocoa before you whisk it in.
- Taste the banana layer and add a little honey if it needs it.
- Dry until the center is smooth, set, and dent-free.
Cocoa deepens the color, so you’ll get a rich brown stripe under a bright red one.
5. Spiced Pear & Plum Layers
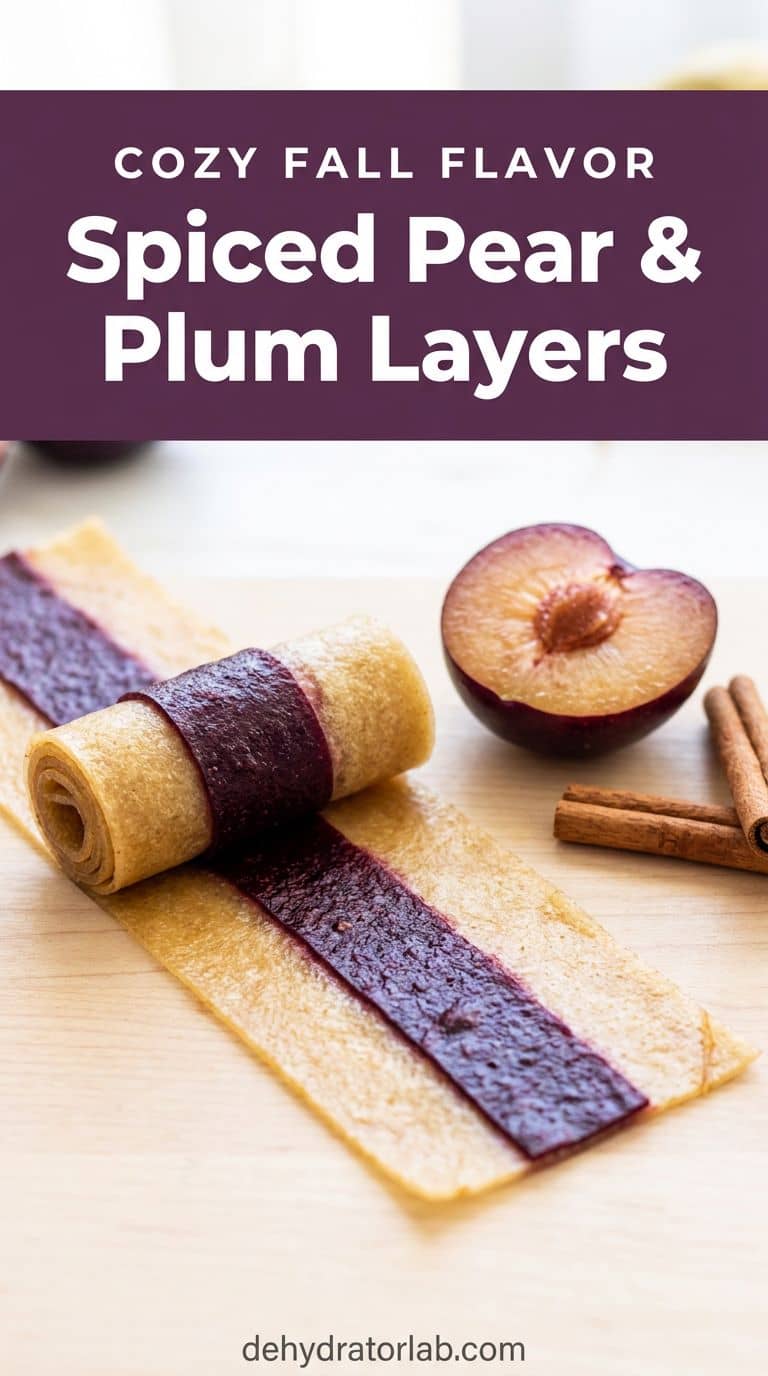
For cooler months, this pairing is hard to beat. The bottom layer is cooked pear with cinnamon and a pinch of cardamom, and the top is cooked plum. The plum layer dries deep purple, which makes a striking stripe against the pale pear.
Cook both fruits until soft, then blend and strain the plum so the skin doesn’t leave tough bits. Spread the pear first and dry it 2 to 3 hours until tacky, then add the plum. Total time is about 8 to 10 hours. If plums are new to your dehydrator, my plum dehydrating guide explains how they behave.
Plums run tart, so taste the puree and add a little honey if it’s sharp. Cook the fruit soft first.
6. Watermelon-Look Layers
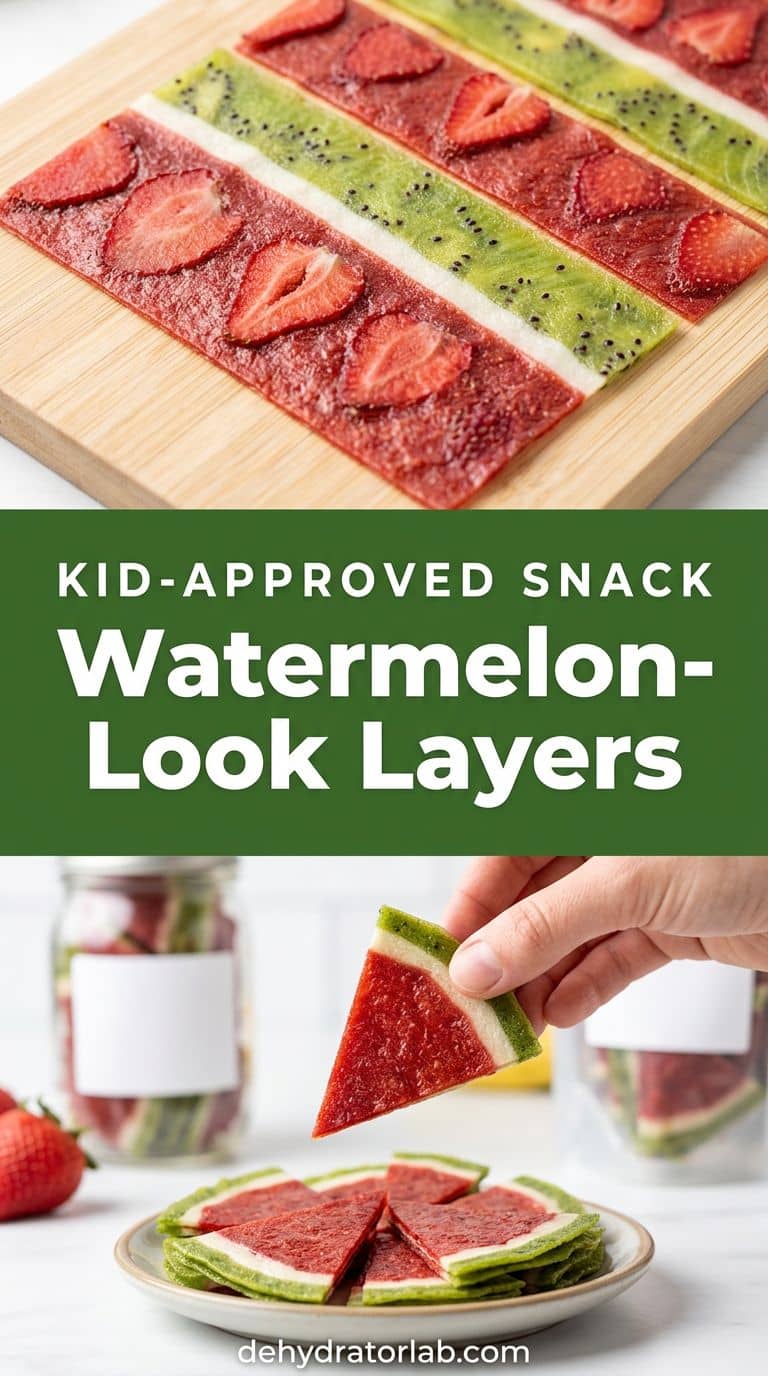
Here’s the fun one for kids. Strawberry puree makes the red flesh, a thin layer of unsweetened applesauce makes the white rind, and kiwi puree makes the green skin. The little black kiwi seeds even look like watermelon seeds. My kiwi dehydrating guide covers the base fruit if you want a closer look.
Keep the white layer very thin, almost a brush of applesauce, so it reads as a stripe and not a slab. Dry each layer 2 to 3 hours until tacky before the next, and expect about 10 to 12 hours for all three. Cut the finished leather into wedge-shaped strips and it looks like a tiny watermelon slice.
Kiwi can run bitter if it’s underripe, so pick soft, ripe fruit. The seeds play the part.
Quick Reference: Layered Leather Settings
| Recipe | Layers | Temp | Time | Done when |
|---|---|---|---|---|
| Red, white & blue | 3: strawberry, banana, blueberry | 135–140°F (57–60°C) | 10–12 hours | No dent in the center |
| Orange creamsicle | 2: cooked orange, banana-vanilla | 135–140°F (57–60°C) | 8–10 hours | No dent in the center |
| Pink lemonade | 2: strawberry, lemon-apple | 135–140°F (57–60°C) | 8–10 hours | Tacky, not wet |
| Chocolate-strawberry | 2: cocoa-banana, strawberry | 135–140°F (57–60°C) | 8–10 hours | Smooth and set |
| Spiced pear & plum | 2: pear, plum | 135–140°F (57–60°C) | 8–10 hours | Pliable, no wet spots |
| Watermelon-look | 3: strawberry, apple, kiwi | 135–140°F (57–60°C) | 10–12 hours | No dent in the center |
Times are my estimates for staged layers. Thickness, humidity, and tray load always change the clock.
Personal Tips You Can Steal
I level my dehydrator before every batch, because a tilted tray gives you a thick side and a thin side. I pour each new layer slowly over the back of a spoon so it doesn’t dig into the layer below. I use an offset spatula to spread, and I keep the puree away from the tray edge, as the NCHFP guide suggests.
I roll finished leather in parchment cut to size, and I keep rolls in a jar out of direct light. I also follow the NCHFP storage guidance and label every jar with the date.
Final Thoughts
Layering looks fancy, but it’s the same leather you already know with a little patience between pours. Start with the pink lemonade, since it only has two layers and forgives a wobbly spread, then work up to the three-layer stripes.
Related reading: 10 fruit leather recipes the whole family will fight over, 8 tropical fruit leather recipes, and 7 veggie-boosted fruit leather recipes.
P.S. Make a double batch of the base purées. Somebody will sneak a spoonful before they ever reach the tray. 🙂