
Ever lost power for three days and realized your “emergency stash” was two cans of beans and a jar of peanut butter? Same. That’s what got me building a real dehydrated emergency kit instead of just hoping for the best.
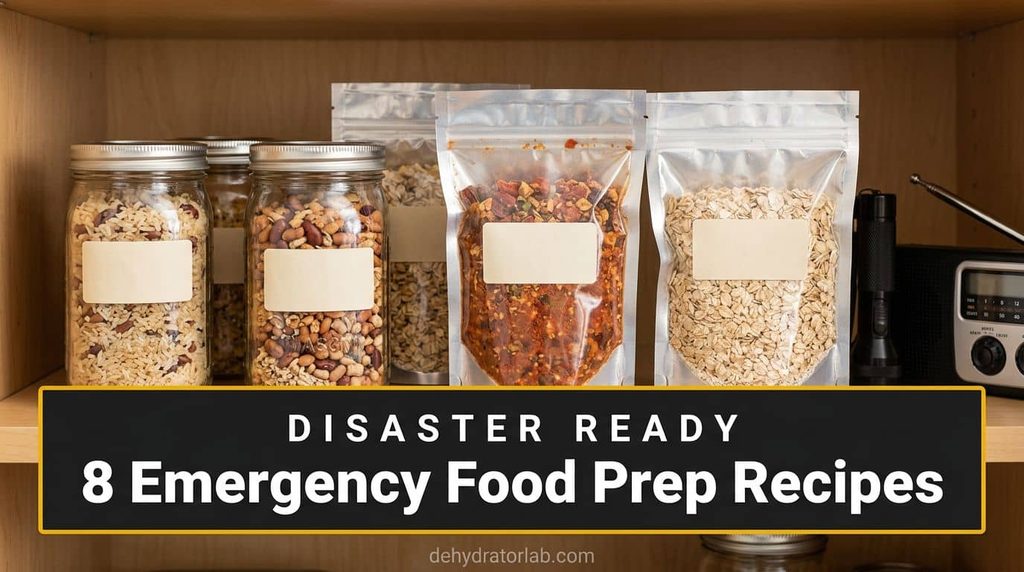
These eight recipes are built for the shelf, not the trail. Long storage life, real calories per ounce, and at least one meal you can eat cold if the power and the stove are both out. Let’s build a stash that actually gets you through.
In this article:
TL;DR: Key Takeaways
- 🪣 Eight emergency meals built for the shelf, not the summit — long storage, real calories, minimal fuss
- 🔥 One recipe needs zero stove and zero power — cold water, ready to eat
- 🥫 Mylar bags plus oxygen absorbers turn a 6-month pantry item into a 15-25 year one
- ⚖️ Every meal here runs 400-700 calories a serving, not a sad 150-calorie soup packet
- 🏷️ Date and rotate every jar — “emergency” food you forget about isn’t emergency food anymore
- 🌡️ Cool, dark, dry storage matters more than any fancy packaging
Quick note before we dive in: this list skips the recreational trail dinners — those live in my backpacking meal roundup. Everything below is built around long-term storage and worst-case-scenario calories, not flavor for flavor’s sake. Here’s the lineup.
1. Three-Day Bug-Out Rice & Bean Bucket Meal
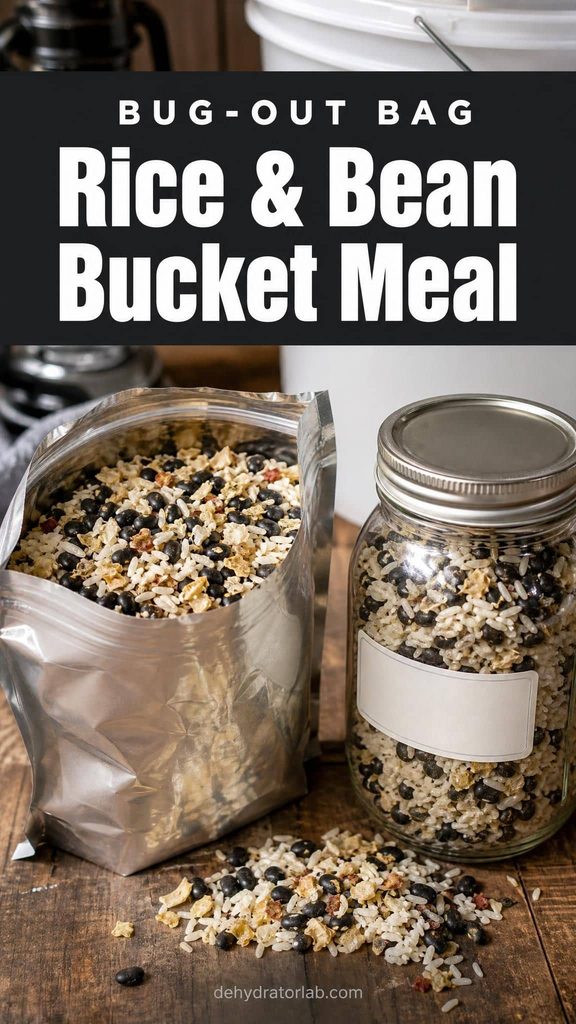
This is the meal I’d grab first. Dehydrated white rice and black beans, pre-cooked and pre-portioned, rehydrate in the same pot with nothing but boiling water and 15 minutes of patience.
I build mine from my own dehydrated cooked white rice and dehydrated cooked black beans, mixed in a 1:1 ratio with a spoonful of dehydrated onion and a pinch of cumin thrown in before drying. Portion it into single-serving bags before it goes in the bucket — you don’t want to be scooping from a five-gallon tub during a blackout.
- 1 cup dehydrated cooked white rice
- 1 cup dehydrated cooked black beans
- 2 tablespoons dehydrated onion, 1/2 teaspoon cumin, salt to taste
Rehydrate with 2 cups boiling water, cover, and let it sit off heat for 10-15 minutes. Simple, filling, and it packs 500+ calories a serving.
2. No-Cook Cold-Soak Emergency Meal
Here’s the one that earns its spot on this list: no stove, no power, no fire. Just cold water and time. If the grid’s down and you’re not willing to risk an open flame indoors, this is what you eat.
Dehydrated cooked lentils rehydrate the fastest of any legume in cold water — no presoak needed, no grit left behind. Pair them with instant-style couscous (already par-cooked) and a dehydrated vegetable blend, and you’ve got a meal that’s ready in an hour of soaking, not simmering.
- 3/4 cup dehydrated cooked lentils
- 1/2 cup dehydrated diced vegetables (carrot, celery, bell pepper)
- 1 tablespoon olive oil packet or powdered broth, added after soaking
Cover with cool water, seal, and let it sit 60-90 minutes, shaking occasionally. It won’t win a flavor contest, but it’ll keep you fed with zero heat source required.

3. Emergency Chili Mix in a Jar
Chili is basically the perfect emergency food: beans, tomato, meat if you’ve got it, and a spice blend that hides the fact you’re eating from a jar you packed eight months ago.
This isn’t the same build as my trail chili recipe — that one’s tuned for flavor on a one-night hike. This version leans shelf-stable first: extra tomato powder for a longer shelf life, a stronger dose of my homemade chili seasoning blend, and no fresh add-ins that shorten storage time.
- 1 cup dehydrated cooked ground beef or dehydrated cooked black beans (or both)
- 1/4 cup tomato powder
- 2 tablespoons chili seasoning blend, 1 tablespoon dehydrated corn
Add 2 cups boiling water, stir, and let it thicken for 10 minutes. Tastes like Tuesday night, not disaster rations — that’s the whole point.

4. Pemmican-Style Emergency Energy Bars
Pemmican’s been the go-to survival food for centuries for one reason: it’s calorie-dense, shelf-stable for years, and needs no rehydrating at all. You just eat it.
My version leans on dehydrated fruit for the sweetness and peanut butter powder for a shelf-stable fat-and-protein boost instead of the traditional rendered tallow, which spoils faster at room temp than most people expect. Blend it, press it into a pan, cut into bars, and dry them just enough to firm up.
- 1 cup dehydrated fruit, ground fine (dates, raisins, or a mix)
- 1/2 cup peanut butter powder, reconstituted with a little water into a paste
- 1/2 cup finely chopped nuts, 1 tablespoon honey or dehydrated honey crystals
Press into a lined pan, cut into bars, and dry at 135°F (57°C) for 4-6 hours until firm but not brittle. No cooking, no rehydrating — eat straight from the wrapper.

5. Emergency Oatmeal & Powdered Milk Porridge
Breakfast matters more than people plan for. A hot, filling bowl of something familiar does a lot for morale on day two of no power — and oatmeal is about as forgiving a rehydration job as it gets.
Instant rolled oats plus powdered milk plus a spoonful of dehydrated fruit powder (I like the berry blends from my fruit powder roundup) turns plain oats into something you’ll actually look forward to eating.
- 1/2 cup instant rolled oats
- 2 tablespoons powdered milk
- 1 tablespoon dehydrated fruit powder, pinch of cinnamon, pinch of salt
Stir into 1 cup hot or cold water and let it sit 5 minutes. It’s a small thing, but a familiar breakfast goes a long way.

6. Emergency Vegetable & Barley Stew Mix
Barley is criminally underused in emergency kits. It’s cheap, it’s filling, and unlike rice it holds up to a longer simmer without turning to mush — handy if your “stove” is a camp burner with unpredictable heat.
I pull from my soup vegetable guide for the blend here — carrots, celery, onion, and a handful of peas — plus quick barley, which cooks faster dried than the pearled kind you’d buy in a bag.
- 1/2 cup quick-cooking barley
- 1/2 cup dehydrated mixed vegetables (carrot, celery, onion, peas)
- 1 tablespoon dehydrated broth base, 1 bay leaf (optional)
Simmer in 2 cups water for 15-20 minutes, or cold-soak for 2 hours if you’re skipping heat entirely. Either way, it’s a real stew, not a soup packet.

7. Emergency Broth & Cracker Meal Kit
Sometimes the most useful emergency food isn’t a full meal — it’s something light that settles a stressed-out stomach or stretches a small portion further. That’s this kit.
A jar of dehydrated vegetable-broth base and a stack of my homemade dehydrated crackers covers that gap. The crackers keep for months sealed, and the broth rehydrates in under 5 minutes — good for kids, good for anyone whose stomach isn’t up for chili at 2 a.m.
- 2 tablespoons dehydrated vegetable broth base
- 1 cup hot water
- 4-6 homemade dehydrated crackers, for dunking or crumbling in
Stir the broth base into hot water, let it steep 5 minutes, and serve with crackers on the side. Light, fast, and surprisingly comforting.

8. Emergency Instant Mashed Potato & Gravy Packet
Potatoes rank near the top of my own list of essential pantry staples for a reason — they’re cheap, they dehydrate into flakes that rehydrate almost instantly, and they feel like a real dinner, not a ration.
Pair dehydrated potato flakes with a dry gravy mix (flour, dehydrated broth powder, a little dried onion) and you’ve got comfort food that costs pennies and takes up almost no space in the bucket.
- 3/4 cup dehydrated potato flakes
- 1 tablespoon powdered milk, 1 teaspoon butter powder (optional)
- Dry gravy packet: 2 tablespoons flour, 1 tablespoon broth powder, pinch of dried onion
Whisk potato flakes into 1 cup boiling water off heat, and whisk the gravy mix into a separate 1 cup boiling water until it thickens. Pour one over the other and you’ve got a plate that actually feels like dinner, not survival.

Storing These for the Long Haul
None of this matters if the food doesn’t survive to the moment you need it. A few non-negotiables for anything going into long-term storage:
- Cool and fully bone dry before packaging — any leftover moisture shortens shelf life fast
- Mylar bags with oxygen absorbers sized to the bag, sealed with a household iron or a proper impulse sealer
- Store in a cool, dark spot — a closet beats a garage every time, heat is the real enemy here
I lean on my own breakdown of moisture absorbers vs. oxygen absorbers to pick the right one for each jar — they solve different problems, and using the wrong one gives you false confidence. For a sense of realistic timelines once everything’s sealed properly, my guide on how long dehydrated food actually lasts is worth a read before you commit a whole shelf to this system.
Label every bag with the contents and the date, and rotate the oldest ones into regular meals every six months or so. Forgotten emergency food is just expired food.
Personal Tips You Can Steal
I keep a “eat this first” bin near the front of my stash with anything that’s within a year of its rotation date, so nothing quietly expires in the back. I always pack at least one meal per person that needs zero heat, because the year I actually lost power for four days, the stove wasn’t the problem – the matches were wet.
I write the rehydration ratio directly on the bag in permanent marker, because future-me during an actual outage is not going to want to do math. I test one jar from every batch about two months after sealing it, just to catch a bad seal early instead of finding out the hard way a year from now.
Final Thoughts
Emergency food prep doesn’t have to mean bland pouches and a five-year expiration date you’re secretly dreading. Build it yourself, dial in the calories and the flavor, and you’ll actually want to eat this stuff if you ever need to — no cardboard aftertaste required.
Related reading: if you’re building out a broader pantry alongside this kit, check out my pantry staples roundup and my backpacking meal recipes for the recreational-hike side of things.
P.S. Start with just two of these and build up — a full emergency shelf feels overwhelming until it’s suddenly not optional. 🙂