

Chili hits that perfect spot after a long day on the trail: warm, filling, and deeply satisfying. The problem is, canned chili is heavy and fresh chili takes forever to cook. This dehydrated version gives you the same comfort with a fraction of the weight and time.
You make a batch at home, dry it, and pack it into single servings. On the trail, just add hot water and wait a few minutes. It’s simple, budget-friendly, and tastes like a real meal, not a compromise.
In this article:
TL;DR: Key Takeaways
- 🌶️ Cook a big batch of chili at home, dry it at 135–145°F (57–63°C) for 8–12 hours, and you’ve got trail dinners that weigh a fraction of the canned stuff.
- 💧 On the trail, just add boiling water at roughly a 1:1 ratio, seal it up, and wait 10–15 minutes for a hot, hearty bowl.
- 🫘 Beans plus meat (or lentils) give you real protein and fiber, so this actually holds you over instead of just filling space in your pack.
- 🧊 Cool the chili completely before it ever touches a tray, and drain off excess fat first — both matter for shelf life and even drying.
What Makes This Recipe So Good
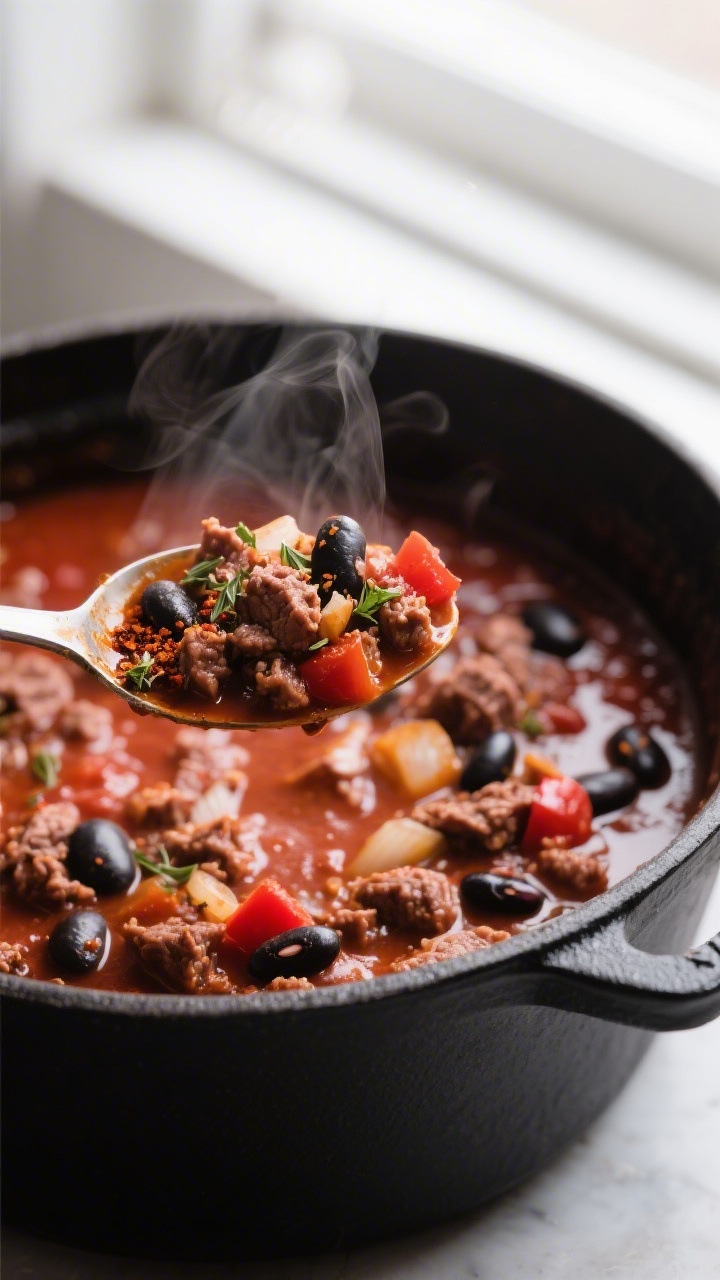
- Lightweight and Packable: Dehydrating removes the water weight while keeping the flavor and nutrients.
- Quick Rehydration: Add hot water, wait 10–15 minutes, and you’re eating a hot, hearty dinner.
- Balanced Nutrition: Protein from meat or beans, carbs from beans and veggies, and fiber to keep you full.
- Trail-Proof Flavor: Chili spices hold up well in dehydrated meals and taste great even at altitude.
- Customizable: Make it beefy, vegan, spicy, smoky—whatever fits your taste and diet.
Ingredients
- 1 pound lean ground beef or turkey (90%+ lean), or 2 cups cooked lentils for a vegetarian option
- 1 medium onion, diced
- 1 red bell pepper, diced
- 2 cloves garlic, minced
- 1 can (15 oz) black beans, drained and rinsed
- 1 can (15 oz) kidney beans, drained and rinsed
- 1 can (14.5 oz) diced tomatoes, drained well
- 1 small can (6 oz) tomato paste
- 2 cups low-sodium beef or vegetable broth (use less for thicker chili)
- 2 tablespoons chili powder
- 1 teaspoon ground cumin
- 1 teaspoon smoked paprika
- 1/2 teaspoon dried oregano
- 1/2 teaspoon salt, plus more to taste
- 1/4 teaspoon black pepper
- Optional add-ins: 1 tablespoon cocoa powder, 1 teaspoon chipotle in adobo (minced), corn kernels, or diced jalapeño
How to Make It
- Cook the Protein: In a large pot, brown the ground meat over medium heat until fully cooked.
Drain any excess fat. For a vegetarian version, skip this step or cook lentils until tender and drain well.
- Sauté the Veggies: Add onion, bell pepper, and garlic to the pot. Cook 5–7 minutes until softened and fragrant.
- Build the Base: Stir in diced tomatoes (drained), tomato paste, and broth.
Mix until the paste dissolves and the mixture is uniform.
- Add Beans and Spices: Stir in black beans, kidney beans, chili powder, cumin, smoked paprika, oregano, salt, and pepper. Add optional cocoa or chipotle if using.
- Simmer Low and Thick: Reduce heat and simmer 20–30 minutes, stirring occasionally. You want a thick chili with minimal excess liquid.
Adjust seasoning to taste.
- Cool Completely: Spread the chili in shallow containers or pans to cool quickly. Do not load a dehydrator with hot food.
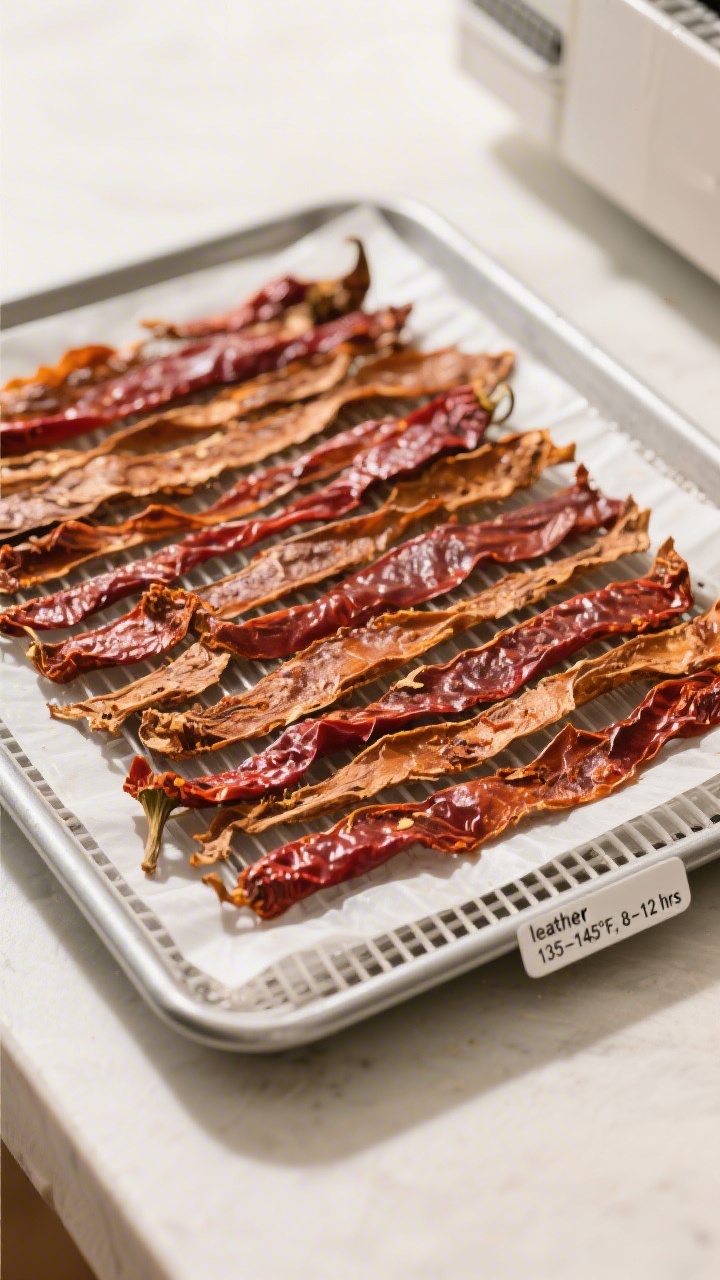
- Dehydrate: Line dehydrator trays with fruit-leather sheets or parchment. Spread chili in thin, even layers (about 1/4 inch). Dry at 135–145°F (57–63°C) for 8–12 hours, until completely dry and brittle in spots.
Break up any thick areas and continue drying as needed.
- Optional: Dehydrate Separately: For faster drying and better texture, dehydrate beans and sauce/meat on separate trays. Then combine once everything is fully dry.
- Condition the Batch: After drying, let the chili cool, then place loosely in a large jar or bag for 24 hours to “condition.” Shake occasionally. If condensation appears, it needs more drying.
- Portion and Pack: Divide into single servings (about 1–1.5 cups dry per meal, depending on appetite).
Vacuum-seal or store in freezer-grade zip bags with an oxygen absorber for longer shelf life.
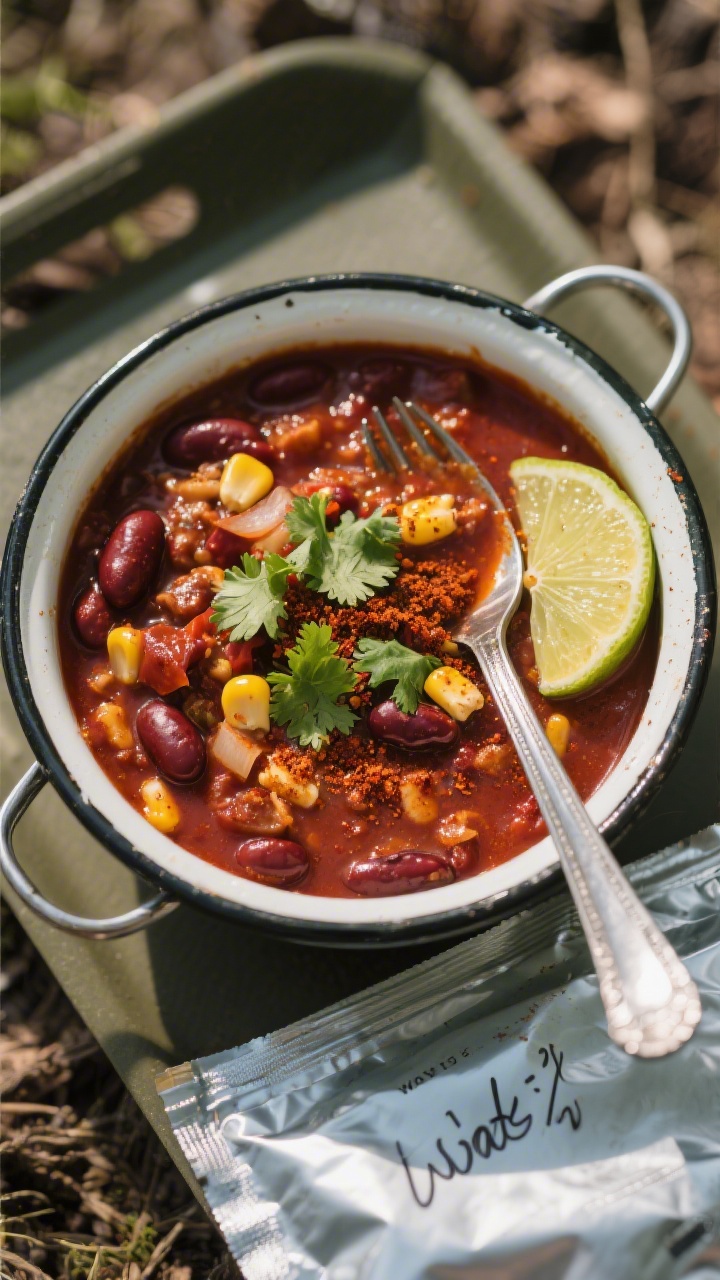
- On-Trail Rehydration: Add boiling water at a 1:1 to 1:1.5 ratio (by volume), stir, seal, and wait 10–15 minutes. Adjust water to reach your preferred thickness.
Keeping It Fresh
- Cool and Dry Storage: Keep sealed portions in a cool, dark place. A freezer extends shelf life up to 6–12 months.
- Use Oxygen and Moisture Barriers: Mylar bags with oxygen absorbers or vacuum-sealed pouches protect flavor and texture.
- Label Clearly: Note the date, serving size, and water ratio on each bag for easy trail prep.
- Avoid Fatty Cuts: Excess oil can go rancid.
Use lean meat and drain well before simmering.
Health Benefits
- Protein for Recovery: Meat or lentils plus beans deliver the protein you need to rebuild muscles after a tough hike.
- Fiber-Rich: Beans and veggies keep you fuller longer and support digestion on the trail.
- Balanced Energy: Complex carbs from beans provide slow, steady fuel without a sugar crash.
- Micronutrient Boost: Tomatoes, peppers, and spices add antioxidants like lycopene and capsaicin.
- Lower Sodium Control: Making it yourself means you can keep sodium reasonable compared to many store-bought meals.
What Not to Do
- Don’t Overload the Trays: Thick layers won’t dry evenly and can spoil. Keep it thin and uniform.
- Don’t Skip Draining: Extra grease shortens shelf life and affects rehydration.
- Don’t Pack It Warm: Trapping residual heat invites condensation and mold.
- Don’t Forget Altitude Adjustments: At higher elevations, water boils at a lower temperature. Plan for slightly longer rehydration times.
- Don’t Rely on Cold Soaking Without Testing: This recipe is best with hot water.
If you cold soak, test at home first and allow much more time.
Recipe Variations
- Vegan Chili: Skip meat and use extra beans and lentils. Add walnuts or TVP for a meaty texture.
- Smoky Chipotle: Add chipotle powder or minced chipotle in adobo and extra smoked paprika.
- Southwest Corn: Stir in corn kernels before dehydrating. Adds sweetness and texture.
- Sweet Potato Boost: Roast small-diced sweet potatoes and fold in.
Dehydrates well and adds carbs.
- Ultra-Light Sauce: Blend the cooked chili briefly to create a uniform, thinner layer that dries and rehydrates faster.
- No-Tomato Version: Use extra broth, a splash of vinegar, and roasted red pepper puree instead of tomatoes.
FAQ
How long does dehydrated chili last?
Stored in vacuum-sealed or Mylar bags with oxygen absorbers, it often lasts 6–12 months in a cool, dark place. In the freezer, it can go even longer while keeping flavor and texture.
How much water should I add on the trail?
Start with a 1:1 ratio by volume (one cup chili to one cup boiling water). Stir, seal, and wait 10–15 minutes.
If it’s still thick, add a little more water. Write your preferred ratio on the bag after your first test.
Can I dehydrate canned chili instead?
Yes, but check the fat content and sodium. Spread it thin and dry thoroughly.
Homemade usually tastes better and lets you control ingredients.
What if I don’t have a dehydrator?
Use an oven set to the lowest temperature (ideally 170°F/75°C) with the door cracked open for airflow. Spread on lined sheet pans. Rotate and monitor closely.
It may take longer than a dehydrator.
Will the beans get tough after drying?
If the chili is cooked until beans are fully tender and then dried thoroughly, they rehydrate well. Allow enough hot water and time, and stir halfway through the soak.
Is this safe to carry without refrigeration?
Yes, if dehydrated fully and stored airtight. Keep it dry, cool, and out of direct sun.
Avoid packing damp meals, and discard any bag with off smells or visible moisture inside.
How can I make it spicier without overpowering the group?
Pack a tiny bag of crushed red pepper, hot sauce packet, or chili oil to add heat per serving. That way everyone can customize.
Personal Tips You Can Steal
I dry the beans and the meat-sauce mixture on separate trays whenever I have the time — it cuts drying time by a couple hours and the beans come out less leathery than when they’re dried tangled up in thick sauce. When I pack for a group trip, I also portion by appetite instead of by cup measurement: the person who hiked 14 miles gets the 1.5-cup bag, everyone else gets 1 cup, and I mark it right on the bag so there’s no guessing at camp.
Wrapping Up
Dehydrated chili gives you a comforting, stick-to-your-ribs meal without hauling heavy cans or cooking for an hour at camp. Make a big batch once, dry it well, and pack trail-ready portions for easy dinners all season. My guide to the best dehydrator for backpacking meals covers the machines that dry a whole pot in one run.
It’s reliable, lightweight, and endlessly flexible. Add hot water, wait a few minutes, and enjoy a real meal with real flavor—right where you want it most.
P.S. Dry the beans and the meat-sauce separately if you have the time — it shaves hours off the drying and keeps the beans from turning leathery 🙂

Dehydrated Chili Backpacking Meal – A Hearty, Lightweight Trail Dinner
Ingredients
- 1 pound lean ground beef or turkey (90%+ lean), or 2 cups cooked lentils for a vegetarian option
- 1 medium onion, diced
- 1 red bell pepper, diced
- 2 cloves garlic, minced
- 1 can (15 oz) black beans, drained and rinsed
- 1 can (15 oz) kidney beans, drained and rinsed
- 1 can (14.5 oz) diced tomatoes, drained well
- 1 small can (6 oz) tomato paste
- 2 cups low-sodium beef or vegetable broth (use less for thicker chili)
- 2 tablespoons chili powder
- 1 teaspoon ground cumin
- 1 teaspoon smoked paprika
- 1/2 teaspoon dried oregano
- 1/2 teaspoon salt, plus more to taste
- 1/4 teaspoon black pepper
- Optional add-ins: 1 tablespoon cocoa powder, 1 teaspoon chipotle in adobo (minced), corn kernels, or diced jalapeño
Instructions
- Cook the Protein: In a large pot, brown the ground meat over medium heat until fully cooked.Drain any excess fat. For a vegetarian version, skip this step or cook lentils until tender and drain well.
- Sauté the Veggies: Add onion, bell pepper, and garlic to the pot. Cook 5–7 minutes until softened and fragrant.
- Build the Base: Stir in diced tomatoes (drained), tomato paste, and broth.Mix until the paste dissolves and the mixture is uniform.
- Add Beans and Spices: Stir in black beans, kidney beans, chili powder, cumin, smoked paprika, oregano, salt, and pepper. Add optional cocoa or chipotle if using.
- Simmer Low and Thick: Reduce heat and simmer 20–30 minutes, stirring occasionally. You want a thick chili with minimal excess liquid.Adjust seasoning to taste.
- Cool Completely: Spread the chili in shallow containers or pans to cool quickly. Do not load a dehydrator with hot food.
- Dehydrate: Line dehydrator trays with fruit-leather sheets or parchment. Spread chili in thin, even layers (about 1/4 inch). Dry at 135–145°F (57–63°C) for 8–12 hours, until completely dry and brittle in spots.Break up any thick areas and continue drying as needed.
- Optional: Dehydrate Separately: For faster drying and better texture, dehydrate beans and sauce/meat on separate trays. Then combine once everything is fully dry.
- Condition the Batch: After drying, let the chili cool, then place loosely in a large jar or bag for 24 hours to “condition.” Shake occasionally. If condensation appears, it needs more drying.
- Portion and Pack: Divide into single servings (about 1–1.5 cups dry per meal, depending on appetite).Vacuum-seal or store in freezer-grade zip bags with an oxygen absorber for longer shelf life.
- On-Trail Rehydration: Add boiling water at a 1:1 to 1:1.5 ratio (by volume), stir, seal, and wait 10–15 minutes. Adjust water to reach your preferred thickness.
Related reading: dehydrated greek yogurt chips, dehydrated poblano pepper strips, and best vacuum sealer.
Printable Recipe Card
Want just the essential recipe details without scrolling through the article? Get our printable recipe card with just the ingredients and instructions.