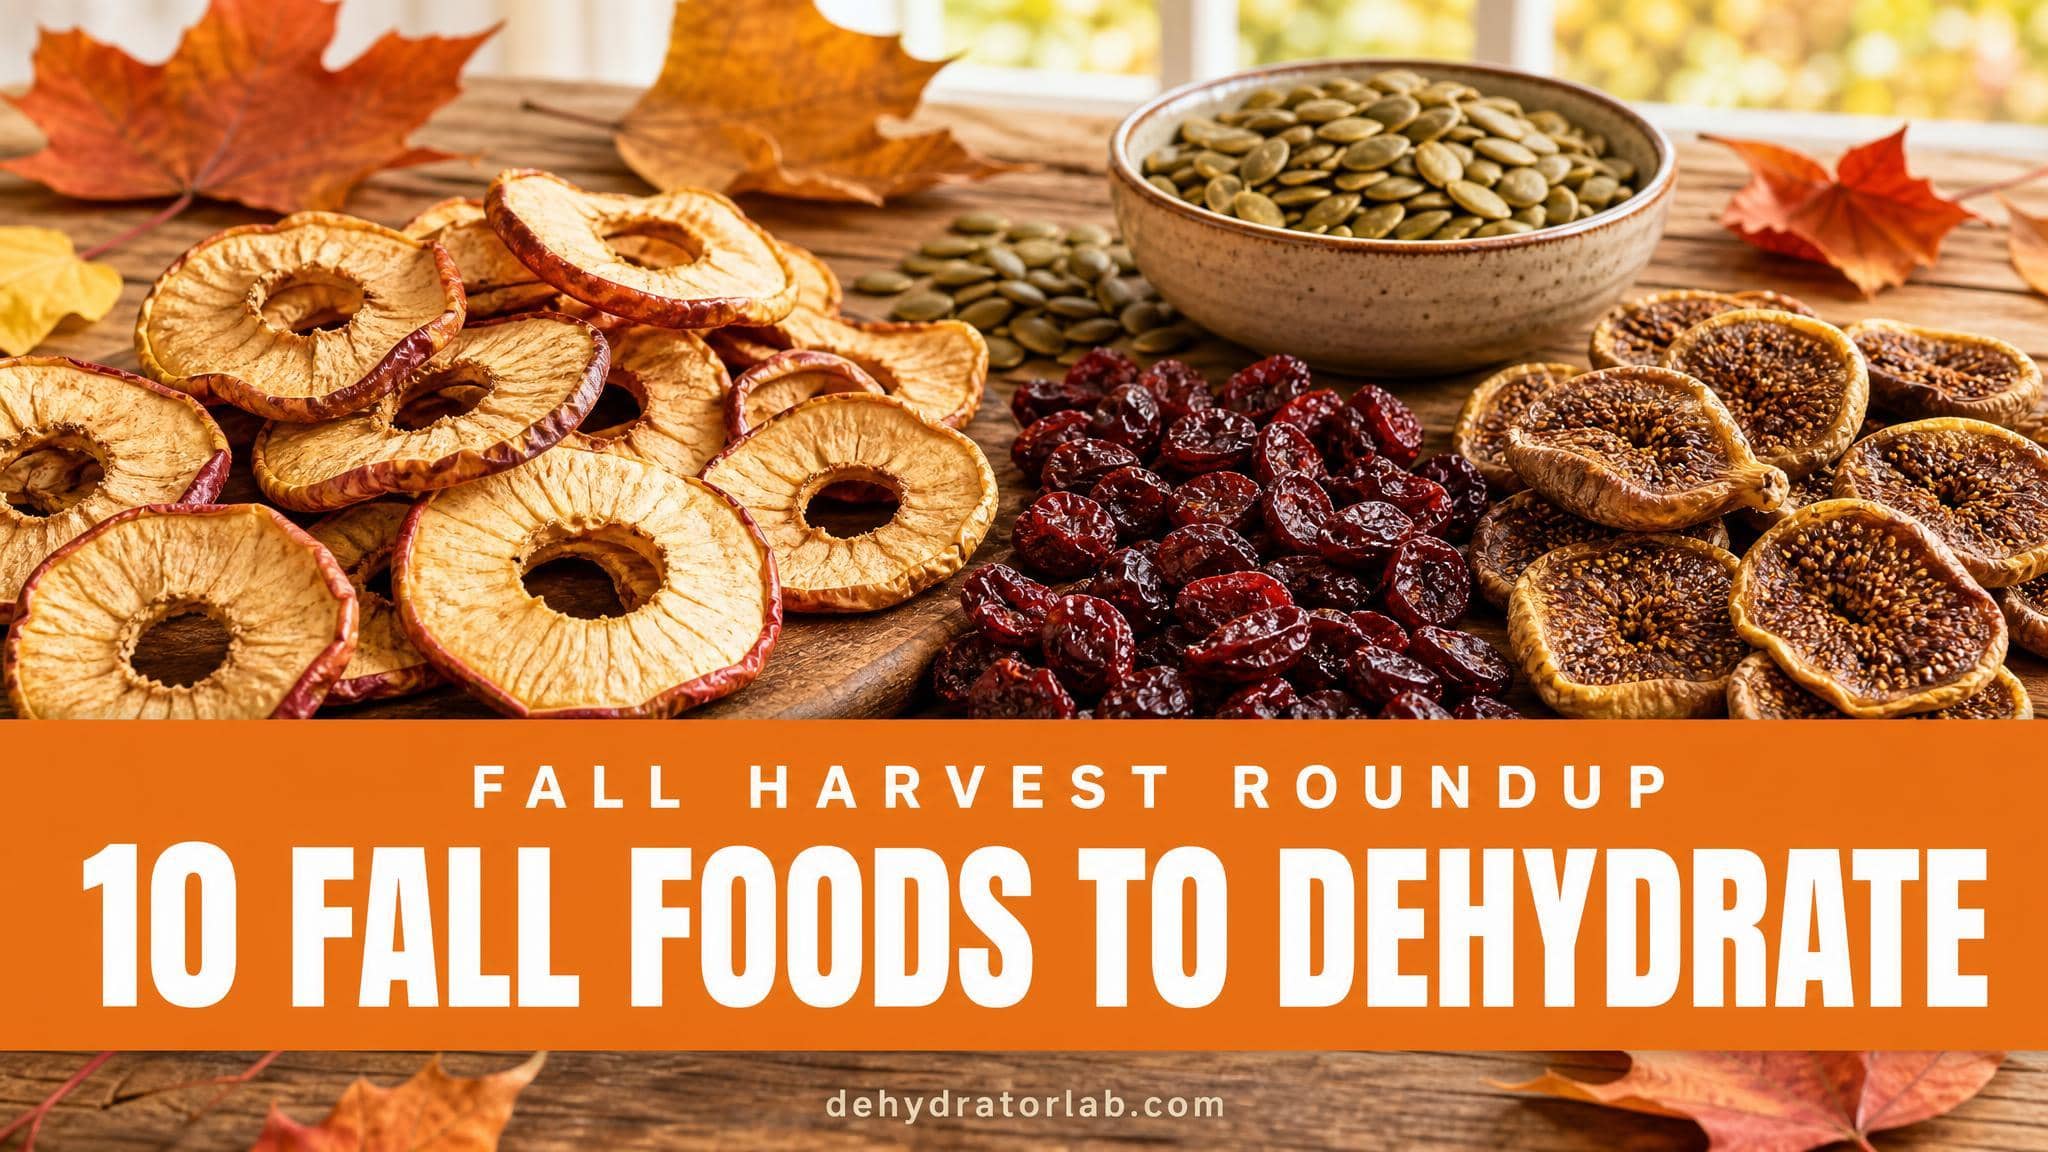
Ever come home from the farmers market with a melon the size of a bowling ball, a bag of figs, and a pile of pears that all ripen on the same day?
Peak-season fruit is cheap and gone fast, and a dehydrator turns the glut into snacks that last. Here are eight summer fruit recipes to dehydrate before the season ends.

As an Amazon Associate, I earn from qualifying purchases. If you make a purchase after clicking on a link I may earn a small commission at no extra cost to you if items are purchased.
In this article:
TL;DR: Key Takeaways
- 🍉 Melons are mostly water, so plan on long drying and judge by feel, not the clock.
- 🍈 Cantaloupe dries better than watermelon, and honeydew lands in between.
- 🍋 A short acid dip keeps pears and cut melon looking bright.
- 🍅 Cherry tomatoes are fruit too, and halves dry to a chewy, sun-dried style snack.
- 🌡️ Start warm, then drop the heat after the first hour, and cool every piece before you test it.
- 📦 Cool completely, then jar the fruit and keep it somewhere dark and dry.
Stone fruit and berries already have their own roundups, so I skipped them here. Find them in my stone fruit recipes and my berry recipes. This list covers the fruit that gets forgotten: melons, figs, pears, tomatoes, and citrus.
I lean on university extension guides for the drying steps. North Dakota State Extension covers figs, pears, and melons, Penn State Extension covers temperature and doneness, and Oklahoma State Extension covers tomatoes. Where no guide exists, such as for watermelon and citrus, I say so and label my own habits as habits.
Even slices matter for every fruit below, and a mandoline makes them easy. I use one like the model below, with a cut-resistant glove.

- Easily create precise slices for professional-quality results
- Create up to 21 different cuts with thickness settings in 0.5-mm intervals, straight and crinkle/waffle blades, and buil…
- Angled Japanese stainless steel blade
1. Watermelon Chewy Bites
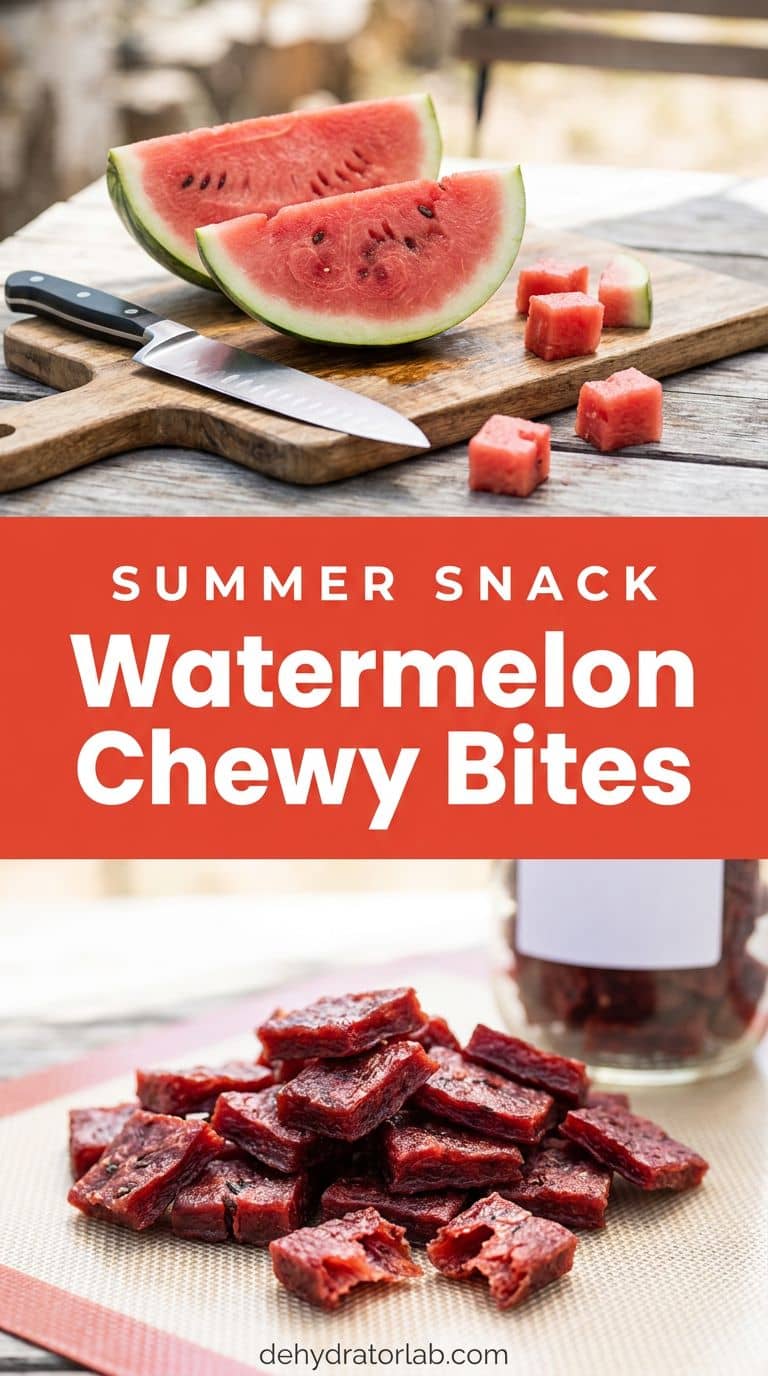
Watermelon turns into a chewy, candy-like bite, but it fights you the whole way. It holds more water than any other fruit on this list, and NDSU notes that cantaloupe dries better than watermelon. Pick a seedless melon, cut off the rind, and slice the flesh 1/4 to 1/2 inch (6 to 13 mm) thick.
NDSU gives melons 6 to 12 hours and calls for pieces that are leathery and pliable with no pockets of moisture. I plan for the long end of that range and often go past it, which is my own estimate for watermelon. The pieces get sticky, so I line the trays with silicone dehydrator sheets. I skip the acid dip here because watermelon doesn’t brown, but that is my habit, not a guide’s rule.
For a crisp, jerky-style version, see my watermelon jerky post. Dry it until it bends.
- Use seedless melon and slice it evenly.
- Line the trays so sticky pieces lift off.
- Judge by feel: leathery, bendy, and no wet spots.
2. Cantaloupe Chips
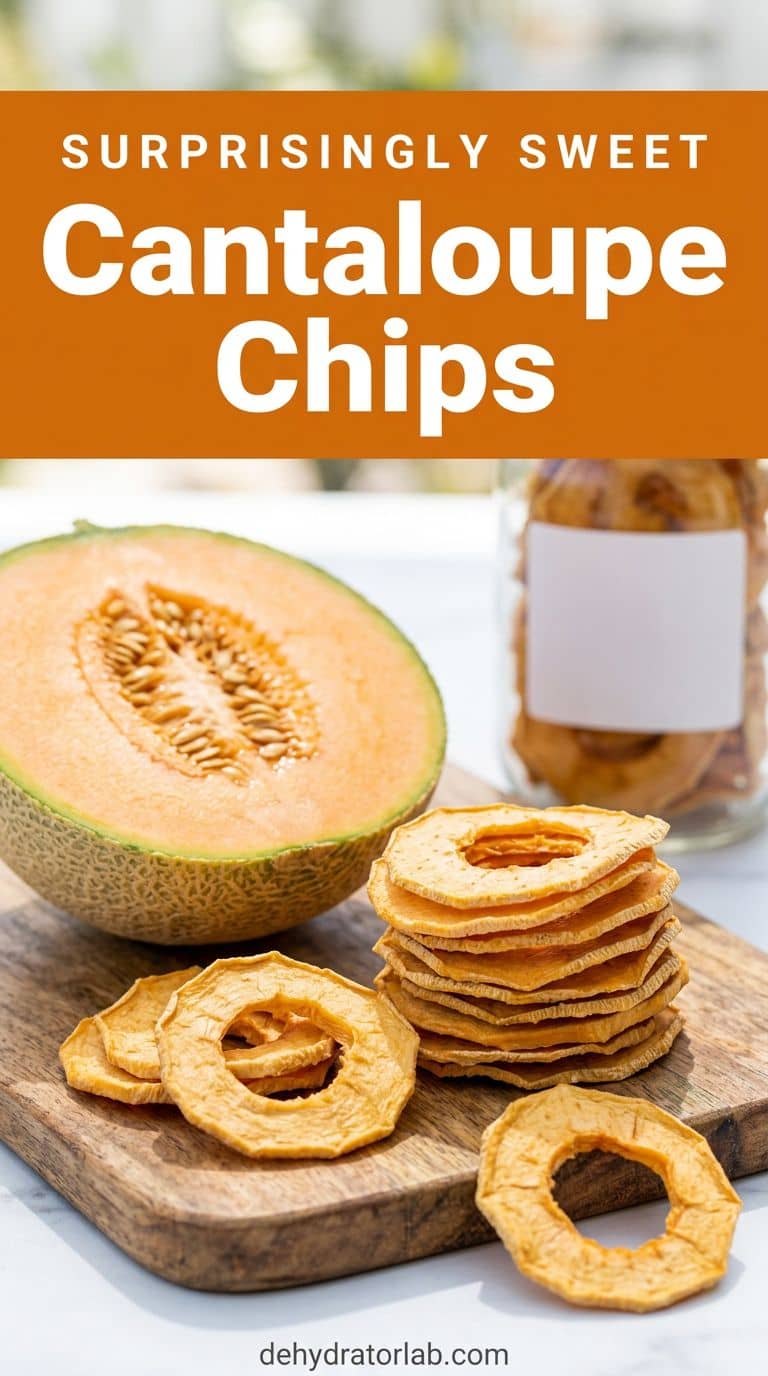
Cantaloupe is the easy melon. NDSU says to scrub the outside, then remove the rind, fibrous tissue, and seeds before slicing 1/4 to 1/2 inch thick. It suggests a 10-minute dip in an ascorbic acid or similar solution, then 6 to 12 hours of drying. The target is leathery and pliable, which makes a chewy ring.
For a crisp chip, I use a mandoline to slice closer to 1/8 inch (3 mm) and dry the pieces longer. That is my own twist on the guide, so go by the snap test. Always use the guard, because ripe melon slips.
If you’d rather skip the dehydrator, my air fryer cantaloupe chips work too. Thin for crisp, thick for chewy.
3. Honeydew-Lime Chews
Honeydew is milder than cantaloupe, so it takes a little help. I toss the slices in a spoonful of lime juice before they go on the trays. The acid brightens the flavor, and NDSU’s melon steps still apply: remove the rind and seeds, slice 1/4 to 1/2 inch thick, and dry to leathery and pliable.
I add a few grains of flaky salt and a little lime zest once the pieces are done. They taste like a fruit candy you can feel good about. See my honeydew chips post for a crisp version.
Honeydew should land between cantaloupe and watermelon for drying time, so start checking around hour 6 and expect to go longer. Lime does the heavy lifting.

4. Fresh Fig Halves
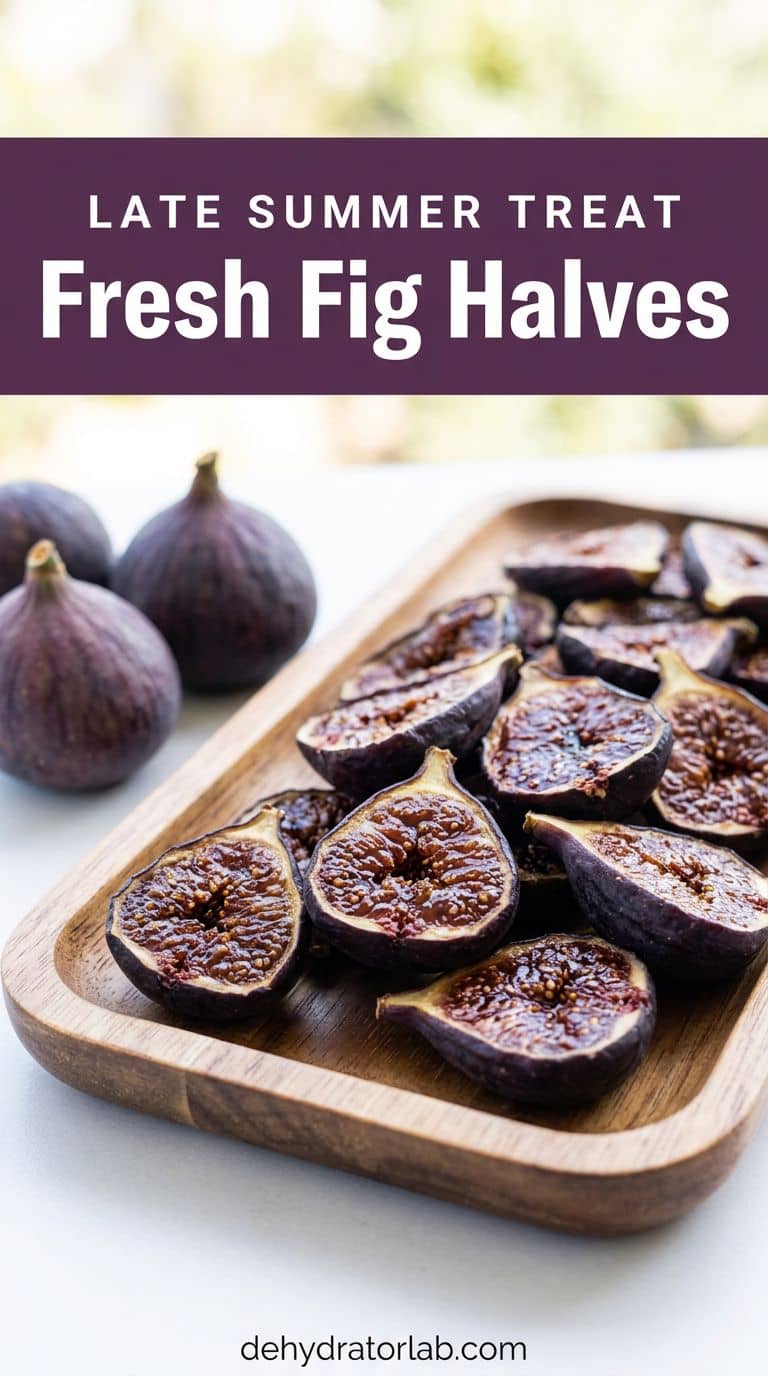
Figs are my favorite fruit to dry, and a dehydrator handles a basket of them in one go. NDSU says to start with fully ripe fruit, leave small figs whole, and cut large ones in halves or slices. For whole figs, it recommends cracking the skins by dipping them in boiling water for 30 seconds. Cut figs get a 10-minute ascorbic acid dip.
The guide gives figs 12 to 24 hours, and you’re done when they are leathery and pliable. Cut sides up, and don’t crowd the trays. That sticky center is the fun part, since the sugar concentrates as the water leaves.
My fig guide has the full steps, and my fall foods list shows what to dry next. I store finished figs in glass jars. Ripe fruit makes the difference.
- Crack whole skins in boiling water for 30 seconds.
- Halve large figs and place them cut side up.
- Dry 12 to 24 hours, until leathery and pliable.
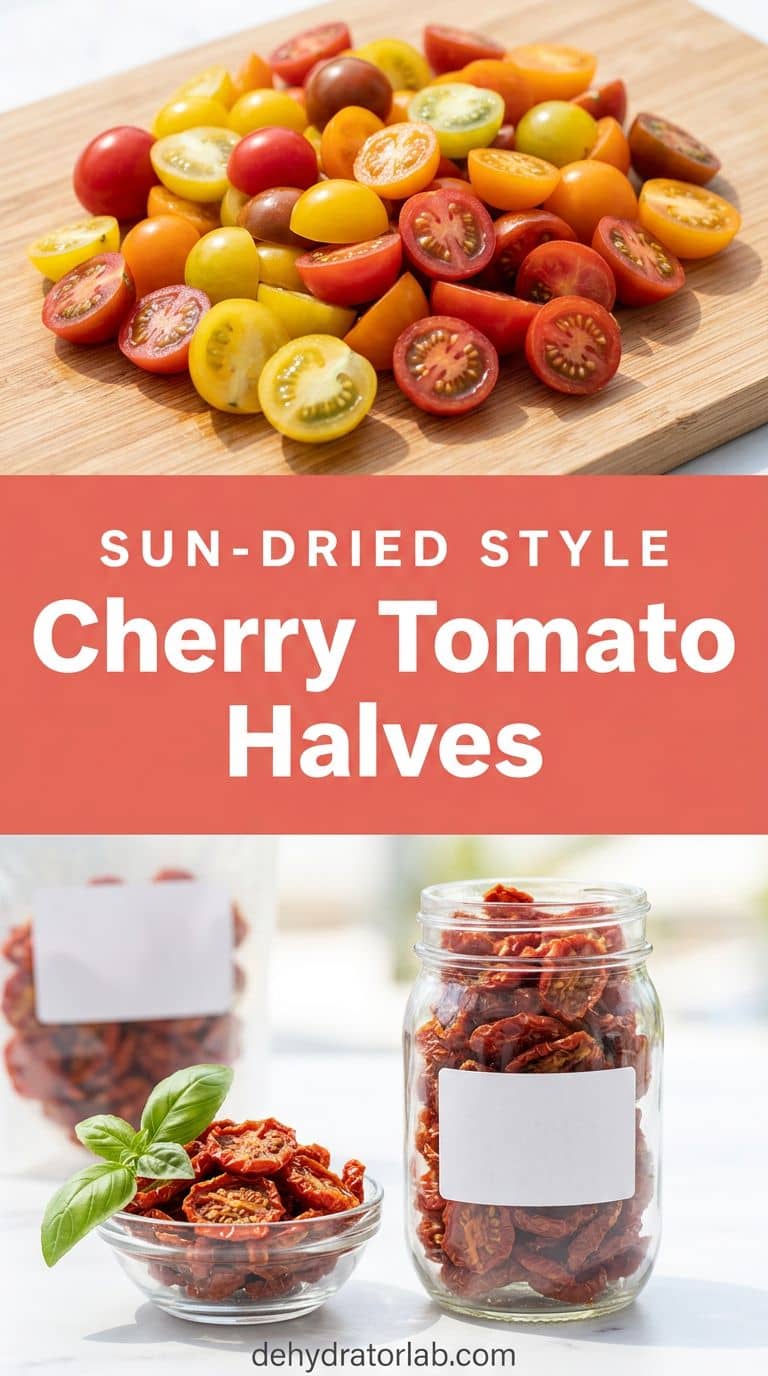
5. Cherry Tomato Halves
Tomatoes are fruit, and late summer gives you more than you can eat. Oklahoma State Extension says to remove the stem and core, cut the tomatoes into pieces or halves, and place them skin side down. It uses a dehydrator at 140°F (60°C) and 10 to 18 hours, and says tomatoes are done when they feel tough to crisp. Cool them to room temperature before you check.
The guide covers plum tomatoes, and I use cherry tomatoes cut in half, which is my adaptation. Smaller pieces finish toward the short end of the range. I pull them when they are chewy and leathery for snacking, or crisp if I plan to grind them.
OSU suggests storing them in tight containers in a cool, dark place, with the freezer for long-term storage. For more ideas, see my sun-dried tomatoes post. Skin side down.
6. Spiced Pear Slices
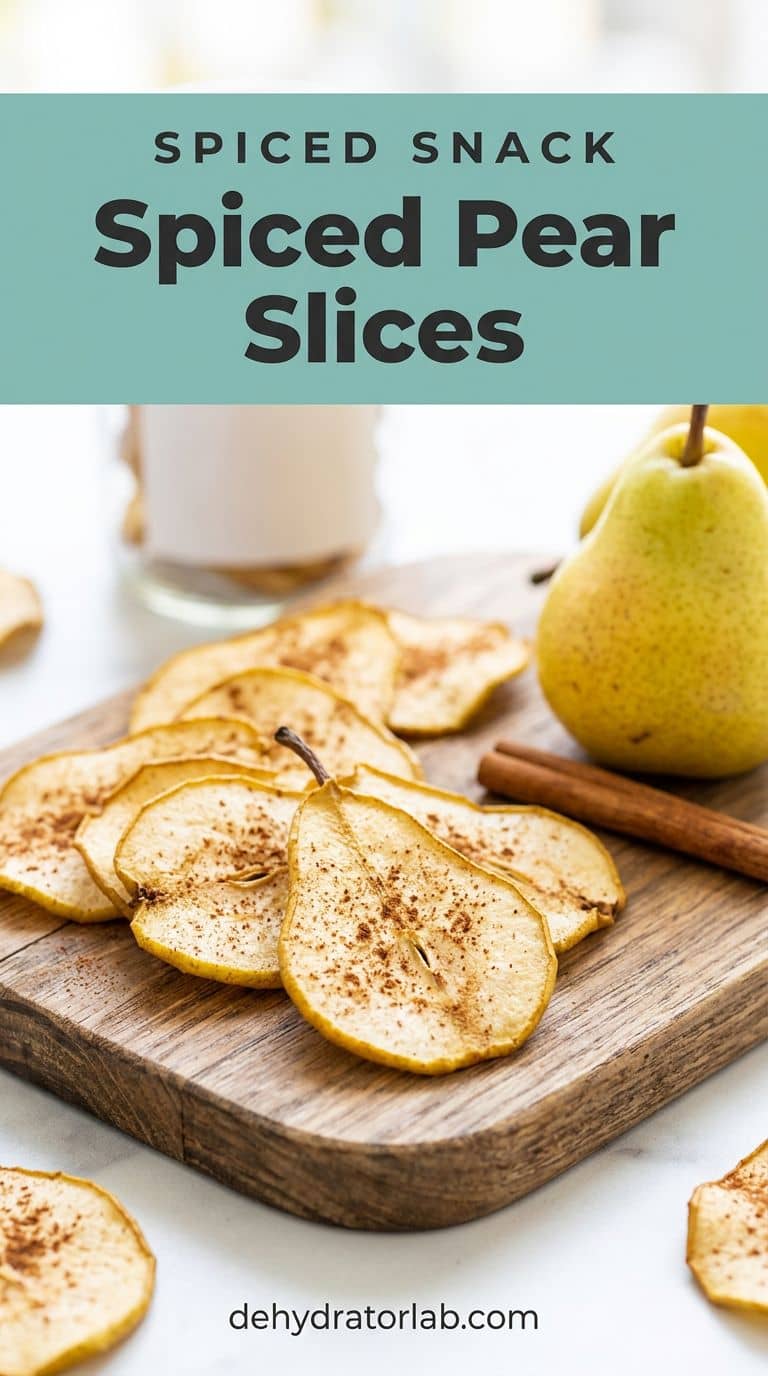
Late-summer pears are the perfect dried fruit. NDSU recommends ripe but firm Bartlett pears, cut into 1/8 to 1/4 inch (3 to 6 mm) slices after you halve and core them. Dip the slices in citric acid for 10 minutes to stop browning. Penn State gives a mix of 1/2 teaspoon of powdered citric acid in 2 cups of water, and says peeling is optional, since pear skin toughens.
Slices take 6 to 10 hours, and NDSU describes the finished texture as springy and suede-like with no pockets of moisture. I start at 145°F (62°C) for the first hour while the surface is wet, then drop to 135–140°F (57–60°C), as Penn State describes for fruit.
After the dip and a pat dry, I dust the slices with a little cinnamon and cardamom. That spice step is my own addition. Dip, pat, spice.
7. Citrus Wheels for Iced Drinks
Dried citrus wheels make pretty ice cubes, drink garnishes, and infusers for water or tea. I slice lemons, limes, and oranges about 1/8 inch (3 mm) thick and dry them until they are stiff and brittle. I did not find an extension guide for citrus, so my times are estimates, usually 8 to 12 hours at 135°F (57°C).
My citrus dehydrating guide has more detail. Pat the slices dry first, because citrus juice drips and makes the trays sticky. Citrus wheels are my go-to for summer drinks, so I keep a jar by the pitcher.
Drop two or three wheels into a pitcher of water, and let them sit in the fridge for an hour. Dry them brittle.

8. Peach-Basil Iced Tea Blend
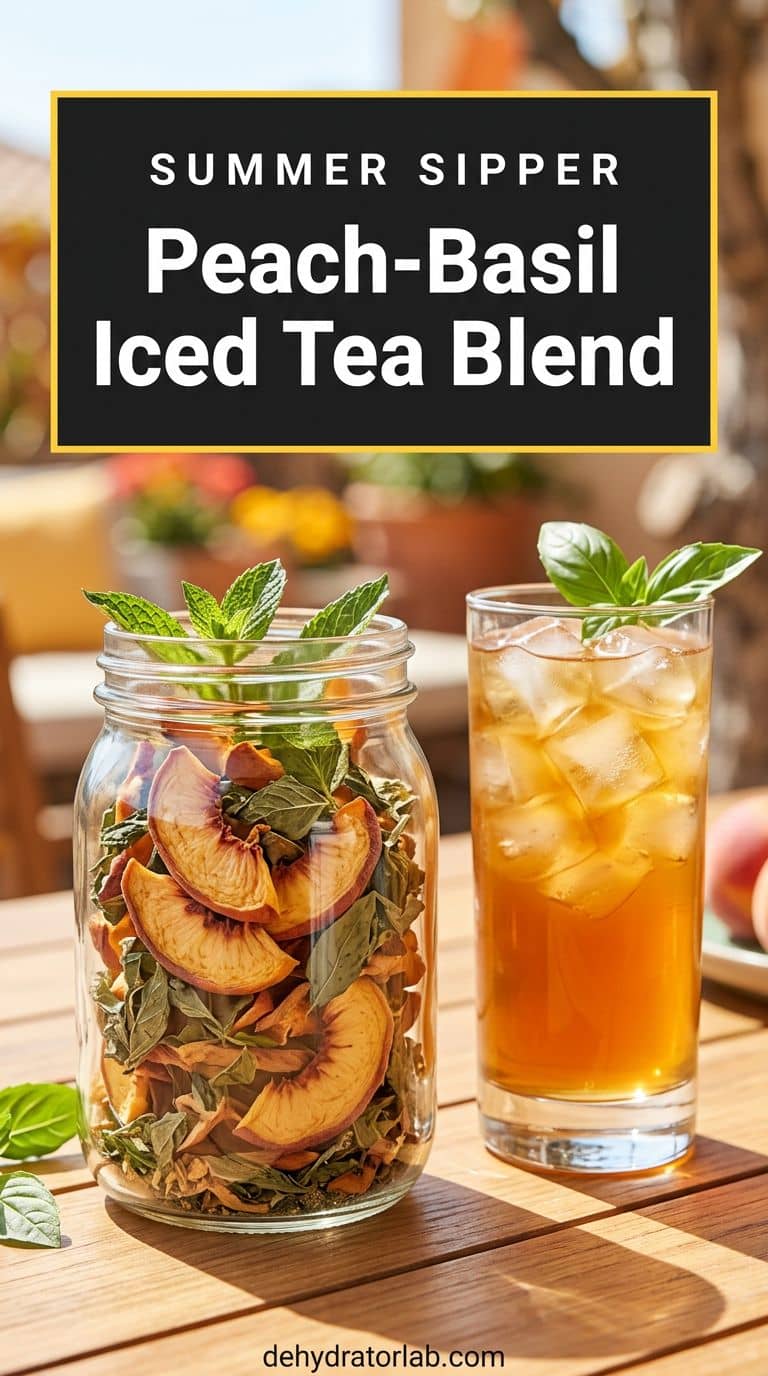
This one is a drink, and it uses the peaches you dried earlier. I combine dried peach slices with dried basil, a little dried mint, and a strip of dried lemon peel. For slice thickness and drying, see my dried peaches guide, and for more fruit and herb mixes, my herbal tea blends.
Penn State describes dried fruit as pliable with no beads of moisture, and I dry the peaches a little further for tea so they stay crisp in the jar. My herb drying guide shows how to dry basil and mint.
To brew, I steep 1 tablespoon of the blend in 1 cup of hot water for 5 to 7 minutes, which is my estimate. For iced tea, I brew double strength and pour it over ice. Strong first, then ice.
Quick Reference: Summer Fruit at a Glance
| Fruit | Prep | Done when |
|---|---|---|
| 1. Watermelon | Seedless, 1/4 to 1/2 inch slices | Leathery, bendy, no wet spots |
| 2. Cantaloupe | Peel, acid dip, 1/4 to 1/2 inch (1/8 inch for crisp) | Leathery, or snaps if thin |
| 3. Honeydew | Peel, lime juice, 1/4 to 1/2 inch | Leathery and pliable |
| 4. Figs | Crack whole skins 30 seconds; halve large ones | Leathery and pliable, 12 to 24 hours |
| 5. Cherry tomatoes | Halve, skin side down, 140°F (60°C) | Tough to crisp, 10 to 18 hours |
| 6. Pears | Bartlett, 1/8 to 1/4 inch, acid dip | Springy and suede-like, 6 to 10 hours |
| 7. Citrus | 1/8 inch wheels, pat dry | Stiff and brittle |
| 8. Peach tea | Dried peach, basil, mint, lemon peel | Crisp pieces, steep 5 to 7 minutes |
Figs, pears, cantaloupe, and tomatoes follow the extension guides linked above. Watermelon, citrus, and tea steps are my own estimates, so adjust for your machine and your fruit.
Personal Tips You Can Steal
I buy fruit at peak ripeness and dry it the same day. I slice everything to one thickness per tray, so the whole tray finishes together. I cool a few pieces on a plate before I judge them, since warm fruit always feels softer.
I rotate the trays when my machine has hot spots. I jar the cooled fruit loosely for a few days and watch for condensation before I seal it. I write the fruit and the date on masking tape, so I always know what is in the cupboard.
Final Thoughts
Late-summer fruit goes fast, but a few trays can stretch it into winter. Start with cantaloupe or pears, since they are the most forgiving, and add figs and tomatoes as you get comfortable.
Related reading: 8 dehydrated stone fruit recipes, 9 dehydrated berry recipes, 7 overripe fruit recipes, and how long dehydrated food lasts.
P.S. If a melon batch comes out too dry to chew, don’t toss it. Grind the pieces into powder and stir it into yogurt. 🙂