
Staring at ten different dehydrators online, all claiming to be “the best,” with spec sheets that mean nothing to you?
I’ve bought, tested, and worn out more dehydrators than I can count, and almost every buyer’s regret comes down to skipping the same handful of specs at checkout.
Get these seven right, and you’ll pick a machine that actually fits how you cook, not just the one with the flashiest listing photo.
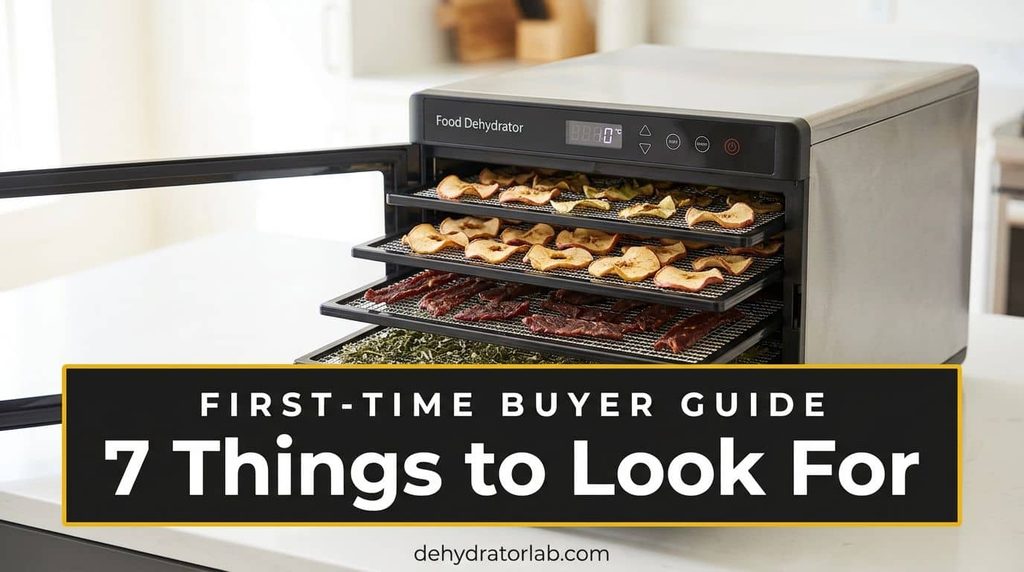
Let’s get you buying the right machine the first time.
In this article:
TL;DR: Key Takeaways
- 📦 Buy one tray-capacity size bigger than you think you need — you’ll fill it.
- 🌬️ Horizontal airflow (fan in back) means no tray rotation; stacked vertical models usually need it.
- 🌡️ Look for a range from about 95°F up to at least 160°F to cover both herbs and meat safely.
- ⏱️ A timer with auto shut-off matters more than almost any other feature for overnight batches.
- 🔇 Some machines run library-quiet, others sound like a box fan — check reviews before buying for a small kitchen.
- 🧼 Stainless steel trays cost more but resist staining and odors far better than BPA-free plastic.
- 💰 Check whether the base unit can take add-on trays later — it’s cheaper than upgrading the whole machine.
Seven specs, all worth checking before you click buy. Let’s get into it.
1. Capacity and Number of Trays
This is the spec that decides whether dehydrating actually saves you trips to the store, or turns into a weekend-long project because you’re running four batches back to back. A 4-tray countertop unit is fine for testing the waters, but it fills up fast once you’re drying a full bag of apples or a family-sized batch of jerky.
Think about your actual habits: do you buy produce in bulk when it’s on sale, or garden enough zucchini to drown a neighborhood? If so, go bigger than your gut says. My best dehydrator for fruit guide compares square footage across several models if you want real numbers to work from.
Buy for the batch you’ll actually want to make, not the one you’re starting with.

2. Airflow and Heating Design
Where the fan sits changes everything about how evenly your food dries. Horizontal-airflow machines push air from a fan mounted in the back, so heat moves evenly across every tray front to back. Vertical stacked models usually pull air from a fan at the bottom or top, which means hot air rises unevenly through the stack.
The practical difference: horizontal models need zero tray rotation, ever. Vertical models often need you to swap trays top to bottom halfway through a batch, or you end up with bone-dry pieces on one tray and still-tacky ones on another. My dehydrator with a fan vs. without a fan guide breaks down both designs, and Excalibur’s horizontal-airflow lineup is the model most other horizontal machines get compared against.
- Horizontal (rear fan): even drying, no rotation, usually pricier.
- Vertical stacked (top or bottom fan): cheaper, more compact, needs mid-batch tray swaps.
- Fan-free convection: quietest and cheapest, but dries the least evenly of the three.
The fan placement decides whether you babysit the trays or walk away.

3. Temperature Range and Control
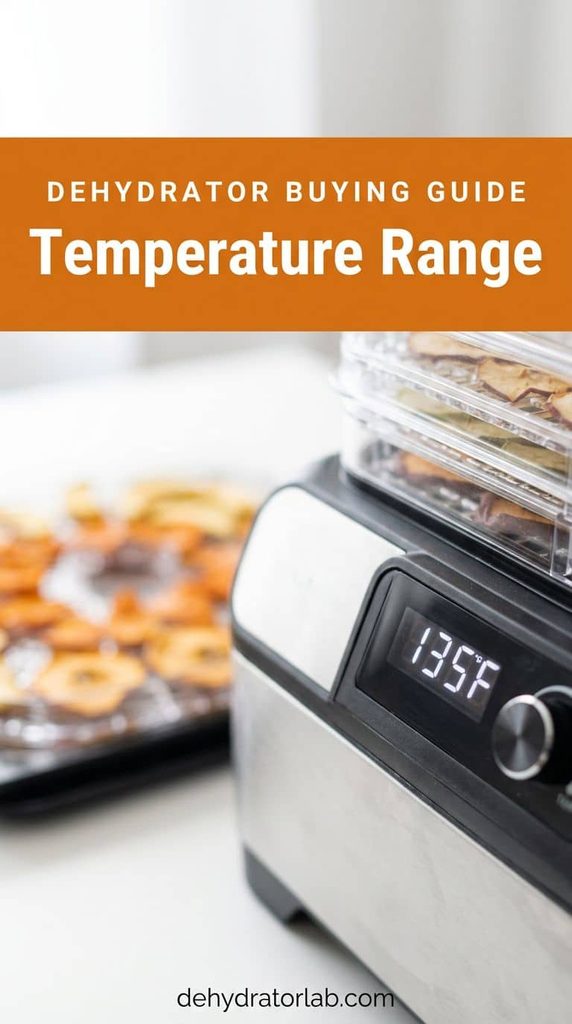
A dehydrator that only runs one fixed temperature will fight you constantly. Delicate herbs and flowers need a low floor, ideally 95°F or lower, since anything hotter cooks off the flavor oils before the moisture is even gone. Meat, on the other hand, needs to hit real food-safety numbers.
Look for an adjustable thermostat that covers roughly 95°F to 160°F or higher. That low end matters for my best dehydrator for herbs picks, and the high end matters a lot for jerky — my best dehydrator for jerky guide covers why hitting a safe internal temperature on meat isn’t optional. A machine stuck at one setting can’t do both jobs.
One fixed temperature means one job — an adjustable range means every job.
4. Timer and Auto Shut-Off
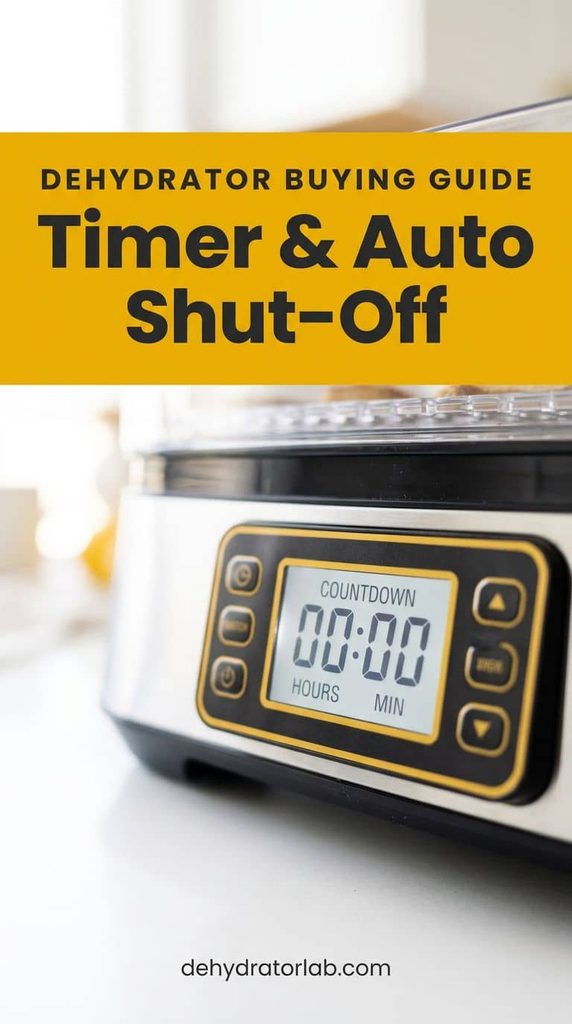
Most batches run anywhere from 4 to 12 hours, and jerky can push past that. You are not staying awake to babysit a dehydrator for half a day, so a built-in timer that shuts the unit off on its own is one of those features that sounds minor until you don’t have it.
Some machines offer a genuinely long window — Excalibur’s lineup runs up to a 26-hour timer with auto shut-off, which covers even a stubborn overnight jerky batch. Without one, you’re setting phone alarms and hoping you don’t oversleep past a batch that finished three hours ago.
A machine that turns itself off is a machine you can actually leave alone.
5. Noise Level
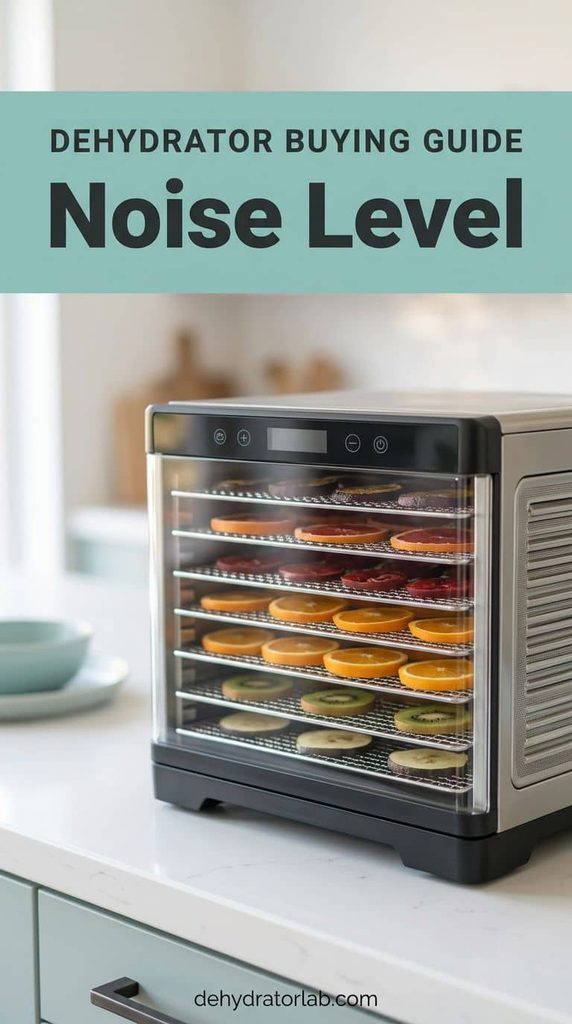
This one surprises first-time buyers the most. A dehydrator can run for half a day or longer, and some machines hum along quietly while others sound like a box fan parked in your kitchen. If you live in an apartment, work from home, or just don’t want a background drone for 10 hours straight, noise level deserves a real look before you buy, not an afterthought.
Reviews are your best source here since spec sheets rarely list decibel ratings honestly. I’ve found machines like the NutriChef NCFD10S genuinely quiet enough for a small kitchen, while some budget stacked models are noticeably louder.
If it runs all night, it needs to be quiet enough to actually sleep through.
6. Tray Material and Easy Cleaning
BPA-free plastic trays are the standard on budget machines, and they work fine for most everyday drying. Stainless steel trays cost more but resist staining, odor, and warping far better over years of use — worth it if you’re drying strong-smelling things like garlic, onion, or fish jerky on a regular basis.
Either way, check whether the trays are dishwasher-safe before you buy, and plan on picking up mesh or solid liner sheets for anything sticky like fruit leather or marinated jerky — bare trays and purees do not get along. Models like the Magic Mill MFD-1010 ship with full stainless steel trays if that’s the route you want to go.
Stainless steel costs more upfront and saves you a replacement purchase down the line.

7. Price, Warranty, and Expandability
Entry-level dehydrators start under $50, solid mid-range machines run $80-180, and the horizontal-airflow workhorses climb into the $200-350 range. To stay at the low end, my guide to dehydrators under $100 covers the seven worth buying. Spending more usually buys you better airflow, a wider temperature range, and a longer warranty — some Excalibur models carry warranties up to 10 years, which tells you something about how long they’re built to last.
One more thing worth checking before you buy: can the base unit take add-on trays later? Several Nesco models let you grow from a starting count up to 12 trays without replacing the whole machine, which is a cheaper way to scale up than buying a second unit outright once your habit grows.
A slightly bigger budget upfront usually means a machine that grows with you instead of one you outgrow.

Personal Tips You Can Steal
I always tell first-time buyers to skip the absolute cheapest model on the shelf — the fan usually goes first, and you’ll be shopping again within a year. I check the warranty length before I check the price now, since it tells you how confident the maker actually is.
I keep a spare set of mesh liner sheets on hand from day one instead of waiting until my first fruit leather sticks to a bare tray. And I always read the noise complaints in reviews before anything else, since that’s the detail spec sheets conveniently leave out.
Final Thoughts
Seven specs, and none of them require you to become an appliance expert overnight — just enough to know what you’re actually paying for. Match the machine to how you’ll really use it, and you’ll skip the buyer’s remorse that sends so many dehydrators back within the first month.
Related reading: once your dehydrator arrives, my how to use a food dehydrator guide covers the basics, and 10 easy dehydrating projects for beginners has your first few batches picked out for you.
P.S. If you only remember one thing from this list, make it the timer with auto shut-off — it’s the feature you won’t know you needed until 2 a.m. Happy shopping! 🙂