Ever notice how a soaked almond tastes different from the one straight out of the bag?
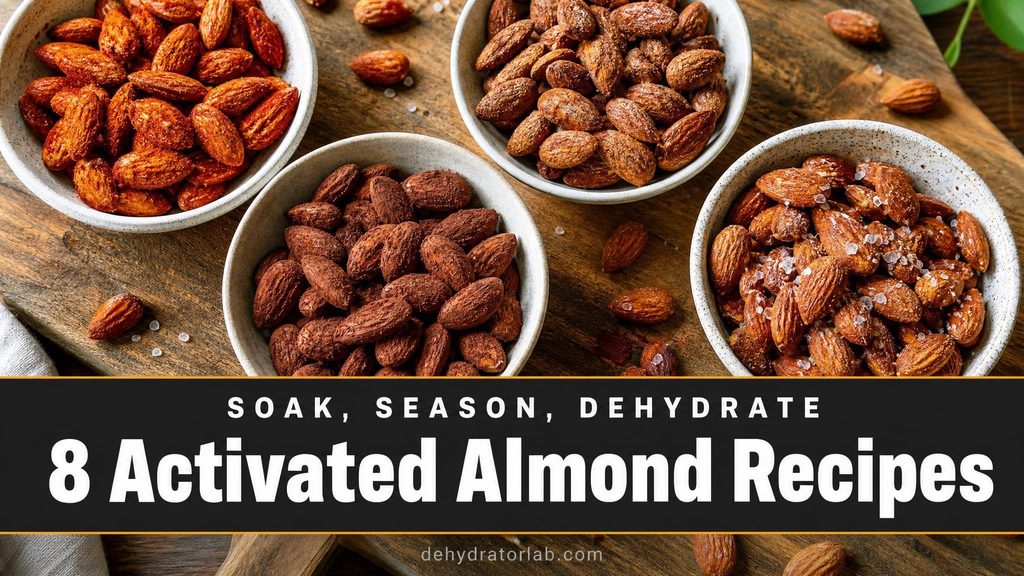
Activated almonds start with an overnight soak, then a long, low pass through the dehydrator. What you get on the other side is milder, less bitter, and easier to snack on by the handful — and once you’ve got the base process down, it’s an open door to eight completely different flavor directions.
Unlike roasting in an oven or air fryer, the dehydrator never gets hot enough to scorch a coating or turn honey into hard candy on the tray. That low, steady heat is the whole reason these turn out this consistent, batch after batch.
Let’s get your dehydrator working on the best almond snack you’ve never made at home.
As an Amazon Associate, I earn from qualifying purchases. If you make a purchase after clicking on a link I may earn a small commission at no extra cost to you if items are purchased.
In this article:
TL;DR: Key Takeaways
- 🥜 Every recipe below starts the same way: soak raw almonds in salted water for 8-12 hours before flavoring and drying.
- ♨️ Dry at 115–120°F (46–49°C) — low and slow keeps them “activated” and stops sticky coatings from scorching. Not every machine holds a setting that low, so it is worth checking a dehydrator that stays under 118°F if activated nuts are a regular thing for you.
- ⏱️ Whole almonds take a lot longer than sliced fruit or crackers — plan on 12-24 hours depending on the coating.
- 🪣 Sugar and honey-based coatings (maple, cocoa, honey mustard) run toward the longer end — give them room on the tray so they don’t clump.
- 🧂 Season generously — the coating mutes as it dries, so what tastes strong going in tastes balanced coming out.
- 🫙 Fully cooled and stored airtight, these keep their crunch for 2-3 weeks at room temperature.
If you haven’t soaked and dried a batch of plain nuts before, I’ve got a full walkthrough of the basic process in how to dehydrate nuts after soaking. These eight recipes build on that same foundation with real flavor — sweet, savory, spicy, and one that tastes like dessert. Let’s get into it.
1. Classic Sea Salt Activated Almonds
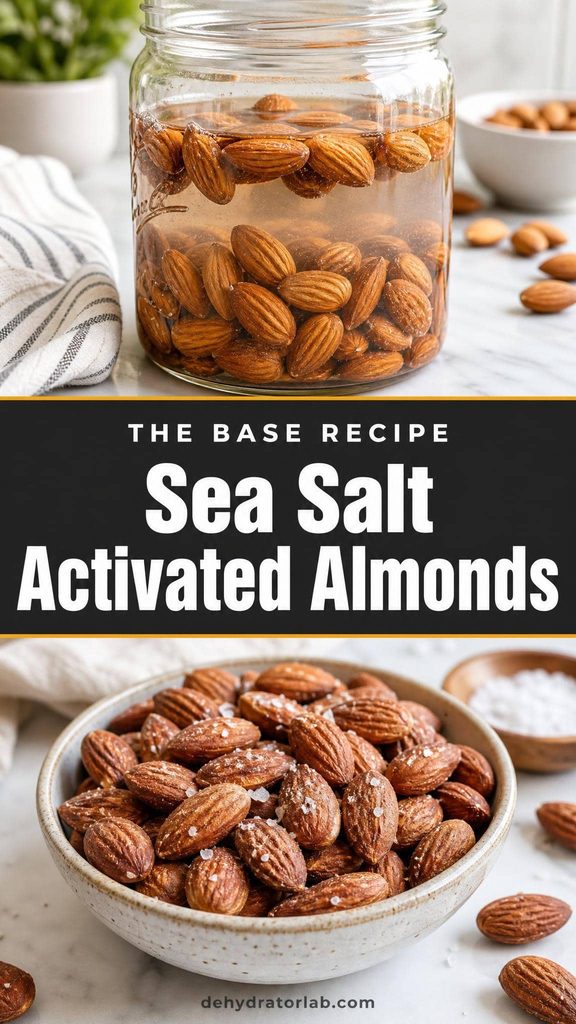
Start here — this is the base recipe every other almond on this list builds on. Soak 2 cups raw almonds in a large jar with enough water to cover them by 2 inches, plus 1 tablespoon sea salt, for 8-12 hours (overnight works perfectly).
Drain and rinse well, then toss the wet almonds with an extra ½ teaspoon fine sea salt. Spread in a single layer, no overlap, and dry at 115–120°F (46–49°C) for 12-24 hours. They’re done when a cooled almond snaps cleanly instead of giving a soft, damp bite.
Machine load, humidity, and how big your almonds are all shift that window — a full dehydrator on a humid day runs closer to 24 hours, while a half-loaded machine in a dry kitchen can finish nearer 12.
Master this one and the other seven are just add-ins.
2. Cinnamon Maple Activated Almonds
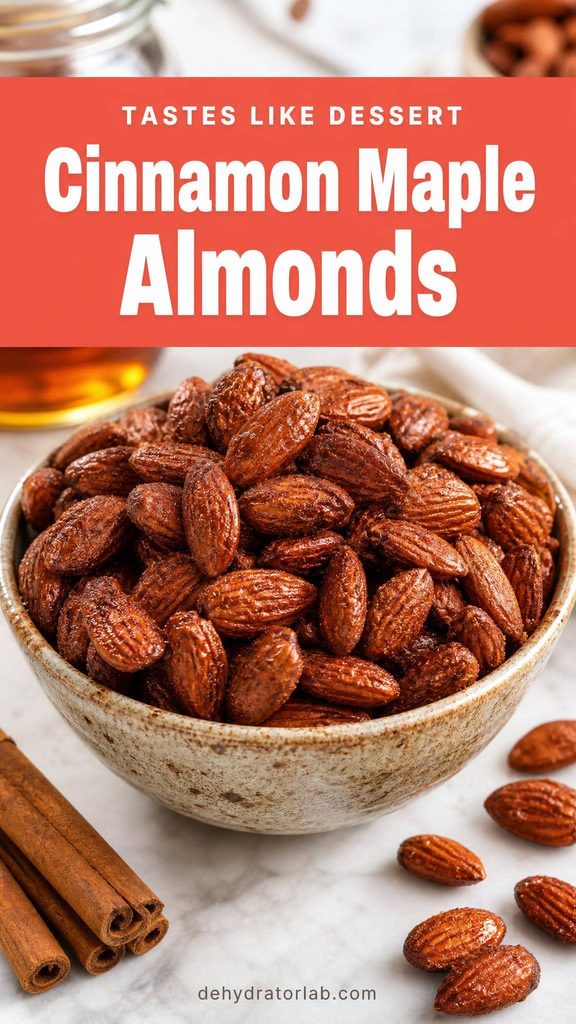
This one tastes like dessert but starts from the same soaked base as everything else on this list. After soaking and draining 2 cups almonds, toss them with 2 tablespoons maple syrup, 1 teaspoon cinnamon, and a pinch of salt until every almond is coated.
Spread with a little extra space between pieces — the maple makes them want to clump — and dry at 115–120°F (46–49°C) for 14-24 hours. Sugar-coated batches always run longer than plain ones, so don’t rush the low end of that range.
- Add ⅛ teaspoon nutmeg for a warmer, more complex spice note.
- Swap maple for raw honey if that’s what’s in your pantry.
- Check a few pieces around hour 14 — candy that happens to be good for you.
3. Rosemary Garlic Herb Almonds
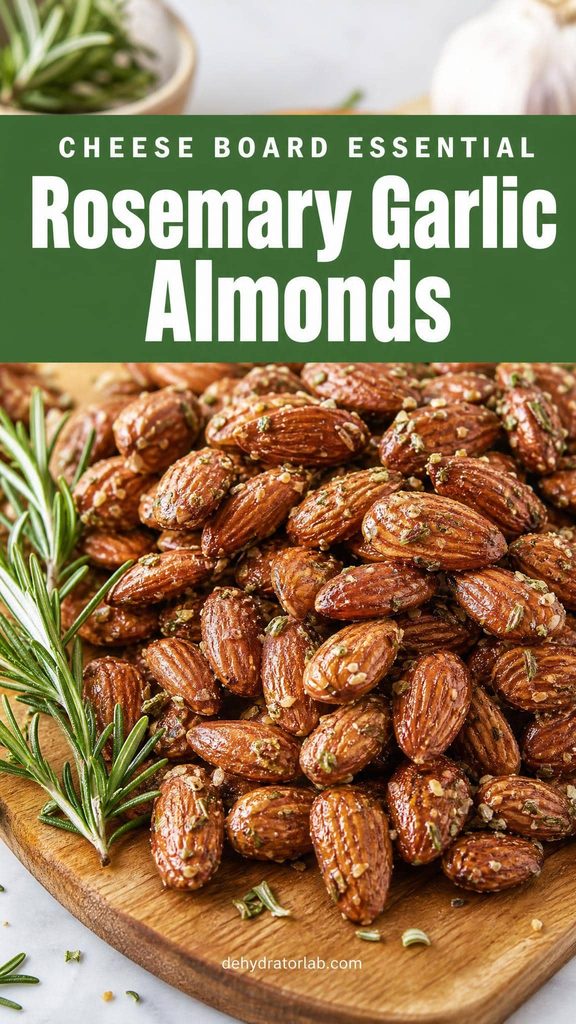
This is the one that disappears fastest off a cheese board. Toss 2 cups soaked, drained almonds with 1 tablespoon olive oil, 1 tablespoon finely chopped fresh rosemary, 1 teaspoon garlic powder, and ½ teaspoon salt.
Spread in a single layer and dry at 115–120°F (46–49°C) for 12-24 hours. The olive oil helps the herbs stick through the whole drying cycle instead of flaking off once they’re crisp — don’t skip it even if you’re tempted to go oil-free.
The almond that makes any snack board look intentional.
4. Smoky Paprika Activated Almonds
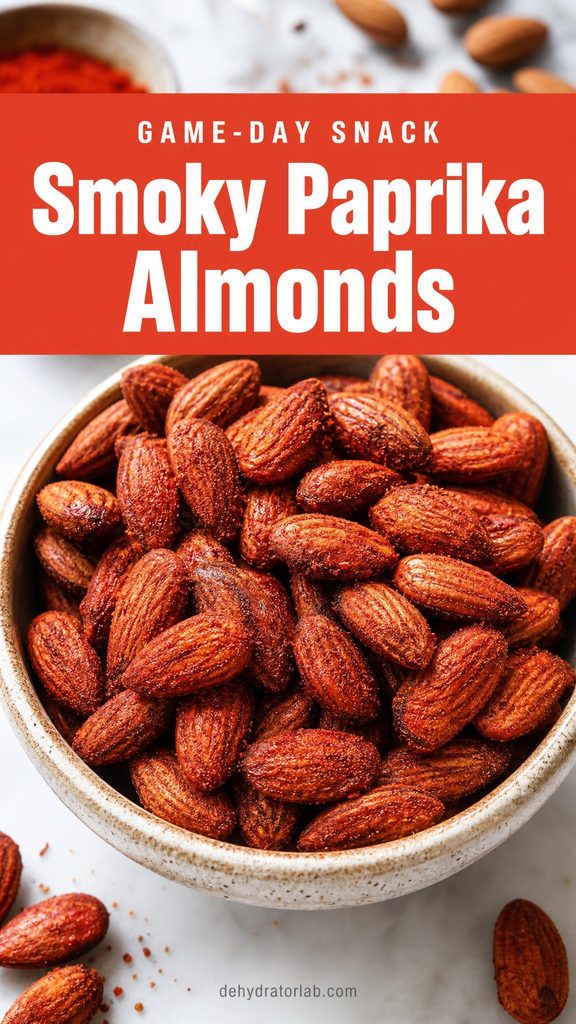
FYI, this is the batch that vanishes first at game night — right up there with a plate of jerky. Toss 2 cups soaked, drained almonds with 1 tablespoon olive oil, 1½ teaspoons smoked paprika, ½ teaspoon cayenne (optional, for heat), and ½ teaspoon salt.
Spread in a single layer and dry at 115–120°F (46–49°C) for 12-24 hours. Smoked paprika loses very little punch in the dehydrator, so don’t over-season expecting it to fade — taste-test one cooled almond around hour 12 before deciding it needs more.
Bold enough to skip the beer nuts entirely.
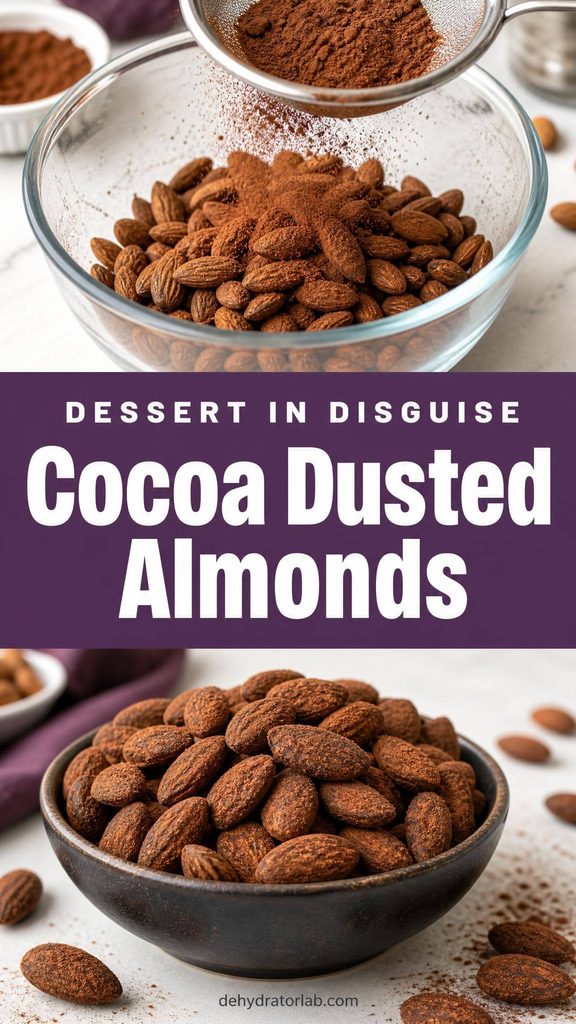
5. Cocoa Dusted Activated Almonds
The enemy of a good cocoa-dusted almond: too much sugar drowning out the actual chocolate flavor. Toss 2 cups soaked, drained almonds with 1 tablespoon unsweetened cocoa powder, 1 tablespoon coconut sugar or maple syrup, and a pinch of salt.
Spread with a little extra space between pieces and dry at 115–120°F (46–49°C) for 14-24 hours. The cocoa powder can look dry and dusty at first — that’s normal, it clings once the almonds start releasing a bit of their own oil during drying.
Dessert disguised as a protein snack.
6. Curry Turmeric Spiced Almonds
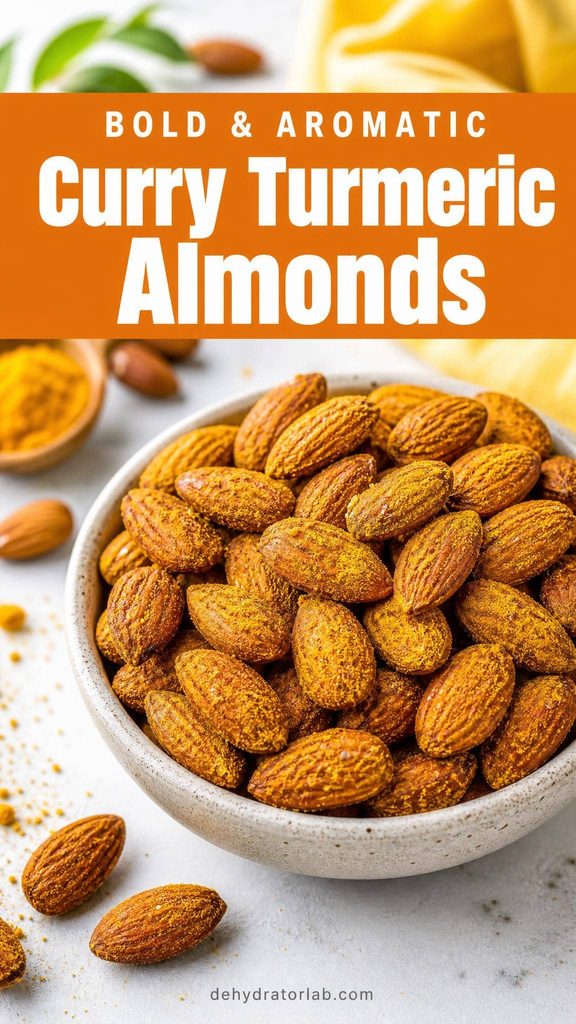
Ever wonder why curry-spiced snacks taste so much more complex than a single spice would explain? It’s the layering. Toss 2 cups soaked, drained almonds with 1 tablespoon olive oil, 1 teaspoon curry powder, ½ teaspoon turmeric, ¼ teaspoon cayenne, and ½ teaspoon salt.
Spread in a single layer and dry at 115–120°F (46–49°C) for 12-24 hours. Turmeric stains everything it touches, so use a tray liner you don’t mind coloring and wash your hands right after tossing the batch.
- Add ¼ teaspoon ground ginger for extra warmth.
- Cut the cayenne entirely if you’re feeding a heat-averse crowd.
- Pairs well with a squeeze of lime right before serving — an almond that eats like street food.
7. Honey Mustard Glazed Almonds
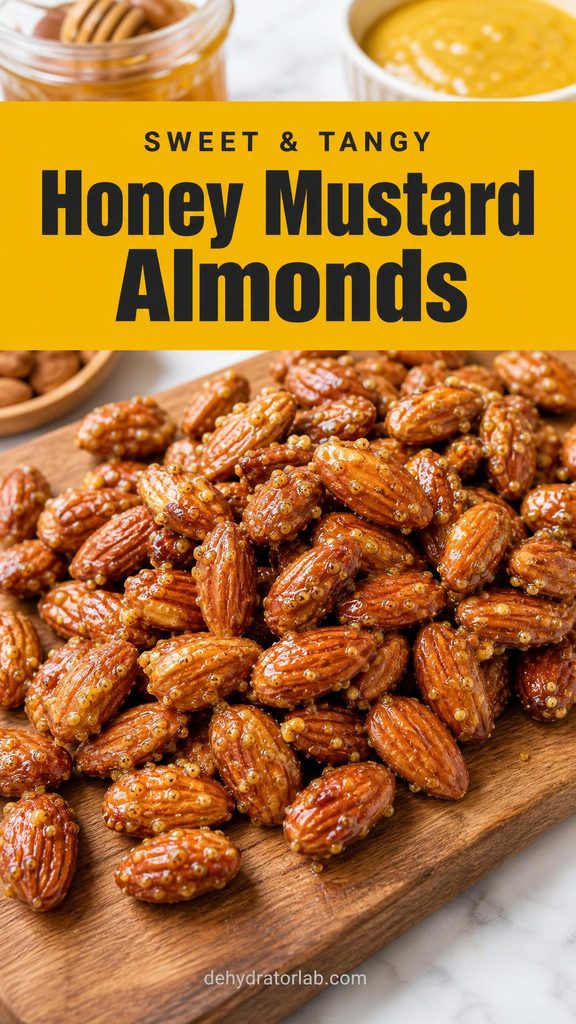
This is the wettest coating on the list, and it needs the most patience. Toss 2 cups soaked, drained almonds with 2 tablespoons honey, 1 tablespoon Dijon mustard, and ½ teaspoon salt until fully coated.
Spread with generous space between pieces — crowding this one guarantees a sticky, fused sheet instead of individual almonds — and dry at 115–120°F (46–49°C) for 16-24 hours, flipping the tray halfway through. Be advised: honey mustard runs slower than every other recipe here, so start this batch a day earlier than you think you need to.
Tangy, sweet, and worth the extra wait.
8. Everything Bagel Seasoned Almonds
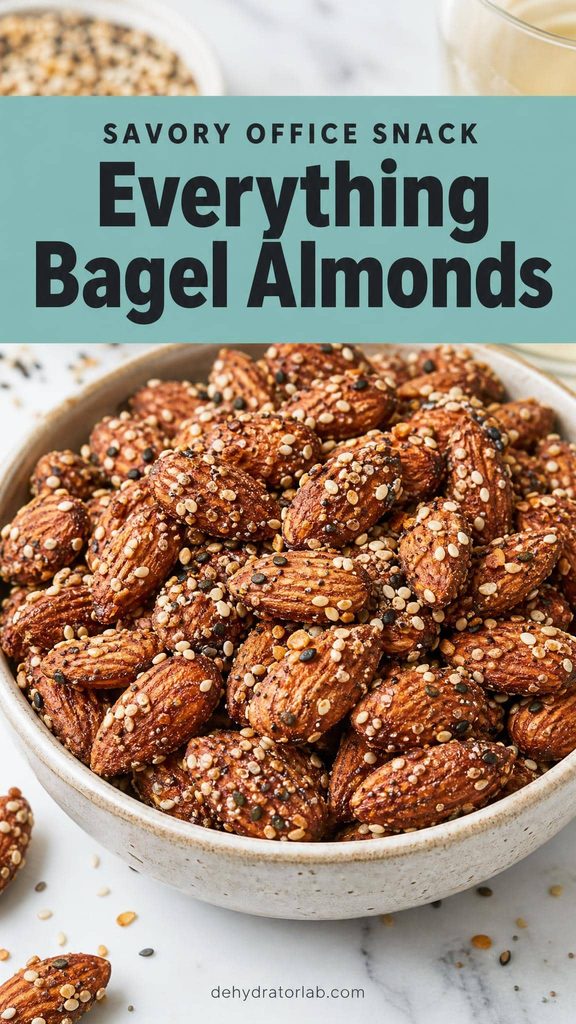
All the flavor of an everything bagel, none of the carbs, and it snacks a lot better than a bagel ever could straight from a bag. Toss 2 cups soaked, drained almonds with 1 tablespoon olive oil and 1 tablespoon everything bagel seasoning (store-bought, or your own mix of sesame seeds, poppy seeds, dried minced garlic, dried minced onion, and flaky salt).
Spread in a single layer and dry at 115–120°F (46–49°C) for 12-24 hours. The sesame and poppy seeds toast lightly as they dry, which deepens the flavor past what the raw seasoning alone would give you.
The office snack that makes people ask what you’re eating.
Does “Activating” Almonds Actually Do Anything?
Worth knowing before you commit to an overnight soak every time: the claim that soaking almonds meaningfully lowers phytic acid and unlocks extra nutrient absorption is more contested than the raw-food world usually lets on. A peer-reviewed look at “activating” almonds found the process changes texture and consumer acceptance more clearly than it changes digestion or nutrition in any dramatic way, and mainstream nutrition sources like Healthline’s breakdown of soaking almonds generally agree the benefits are real but modest, not the overnight transformation some blogs claim.
So why soak at all? Mostly texture and flavor. Soaked-then-dried almonds taste milder and less bitter, and the flavors you toss them in — cinnamon, paprika, honey mustard — stick better to a slightly softened surface than to a hard raw almond. If you’re short on time, you can skip the soak and dry raw almonds with the same coatings; expect a firmer bite and a shorter drying time, closer to 8-14 hours instead of 12-24.
Either way, you’re not losing anything by skipping it — just picking a different trade-off between convenience and texture. Do what fits your week.
Keeping Them Crunchy After They’re Done
Let every batch cool completely on the tray before it goes anywhere near a jar. Sealing warm almonds traps steam, and that trapped moisture is exactly what turns a satisfying crunch into a chewy disappointment by the next morning.
Store in a truly airtight glass jar or container, not a bag with the air pressed out. Stored right, most of these keep their crunch for 2-3 weeks at room temperature, and honestly, the sweeter batches rarely last that long anyway. If a jar does go soft on you, a 15-20 minute stint back in the dehydrator at 120°F almost always brings the snap back.
Personal Tips You Can Steal
I soak almonds in the same wide-mouth half-gallon jar every time — it’s easier to drain through a colander than any bowl I’ve tried. I always taste-test one cooled almond around the two-thirds mark of the drying window before deciding a batch needs more time; warm almonds feel softer than they actually are, so testing warm always leads me to over-dry. I keep the honey mustard and cocoa batches on their own dedicated tray, since sticky coatings are a pain to fully scrub off mesh liners shared with other flavors. And I always double the base recipe — plain sea salt almonds disappear faster than any of the fancier ones.
Final Thoughts
Eight flavors from one base recipe is a pretty good return on one overnight soak. Start with the classic sea salt version to get a feel for timing, then branch out into whichever direction fits the week — sweet for a road trip, savory for a cheese board, spicy for game night.
For more on the soaking debate, the peer-reviewed study on activating almonds is a good, honest read, and Healthline’s guide to soaking almonds covers the nutrition claims in plain language.
For gear, I soak every batch in the same half-gallon glass jar, drain through a large colander, and store the finished batches in airtight glass storage jars to keep the crunch through the week.
Related reading: for the full basics on soaking and drying any nut, see how to dehydrate nuts for better digestion, for more crunchy snacking check out 8 homemade dehydrated cracker recipes, and for longer-term storage tips see moisture absorbers vs oxygen absorbers.
P.S. Start with the sea salt base and one flavor you already love — once the timing clicks, the other seven are just a different jar of spices away. Happy dehydrating! 🙂