For quite some time now, Sous Vide (read sue veed) has been a preserve for fine dining restaurants, and extravagant homes with modernist cuisines.
This method of cooking sounds fancy – and it really is – but it’s not as complicated as most people think. The availability of affordable sous vide tools has made this cooking technique quite common in most average home kitchens too, and there’s no reason you shouldn’t start it at home as well.
But what exactly is “Sous Vide”? Are its benefits really worth giving it a shot, or is it just another complicated-for-nothing method of cooking?
As an Amazon Associate, I earn from qualifying purchases. If you make a purchase after clicking on a link I may earn a small commission at no extra cost to you if items are purchased.
In this article:
What Is Sous Vide Cooking? Sous Vide Explained/Meaning
Sous vide is a French term that translates to ‘under vacuum.’ In its most basic form, this technique of cooking involves sealing food alongside all other necessary ingredients and seasonings in an airtight bag or container and then submerging it for cooking in temperature-controlled water.
Being able to cook the food in a precisely temperature-controlled water bath is the most important element of Sous Vide cooking. Actually, this is its major secret weapon against all other methods of cooking and it gives you greater control over the texture and taste of the food.
Sous vide is pretty much similar to a slow cooker. The only difference is that your food won’t end up mushier as it’s usually the case with slow cookers sometimes.
Necessary Equipment For Sous Vide Cooking
Until in the recent past, this cooking technique has been cost-prohibitive due to the high price tags of the necessary tools. For the record, around a decade ago, you’d need to part with not less than $3000 for a basic sous vide machine alone, and up to $6000 for an advanced model.
Sous vide cooking tools have become increasingly accessible with regard to price with a decent model such as the Wancle SVC001 Sous Vide Cooker (get it on Amazon) going for as low as $100-$200. Technological advancements have also made these gadgets far much easier to use even with the most basic culinary skills, and they also tend to take lesser space on your tops than before.
Here is a low-down of the necessary sous vide cooking tools that you’ll need:
1. An Immersion Circulator
An Immersion Circulator is also known as the Sous Vide machine and it’s the heart of Sous Vide cooking. This is an electrically powered device that heats a water bath to a predetermined range and then goes ahead to hold it at a stable temperature for the entire cooking time.
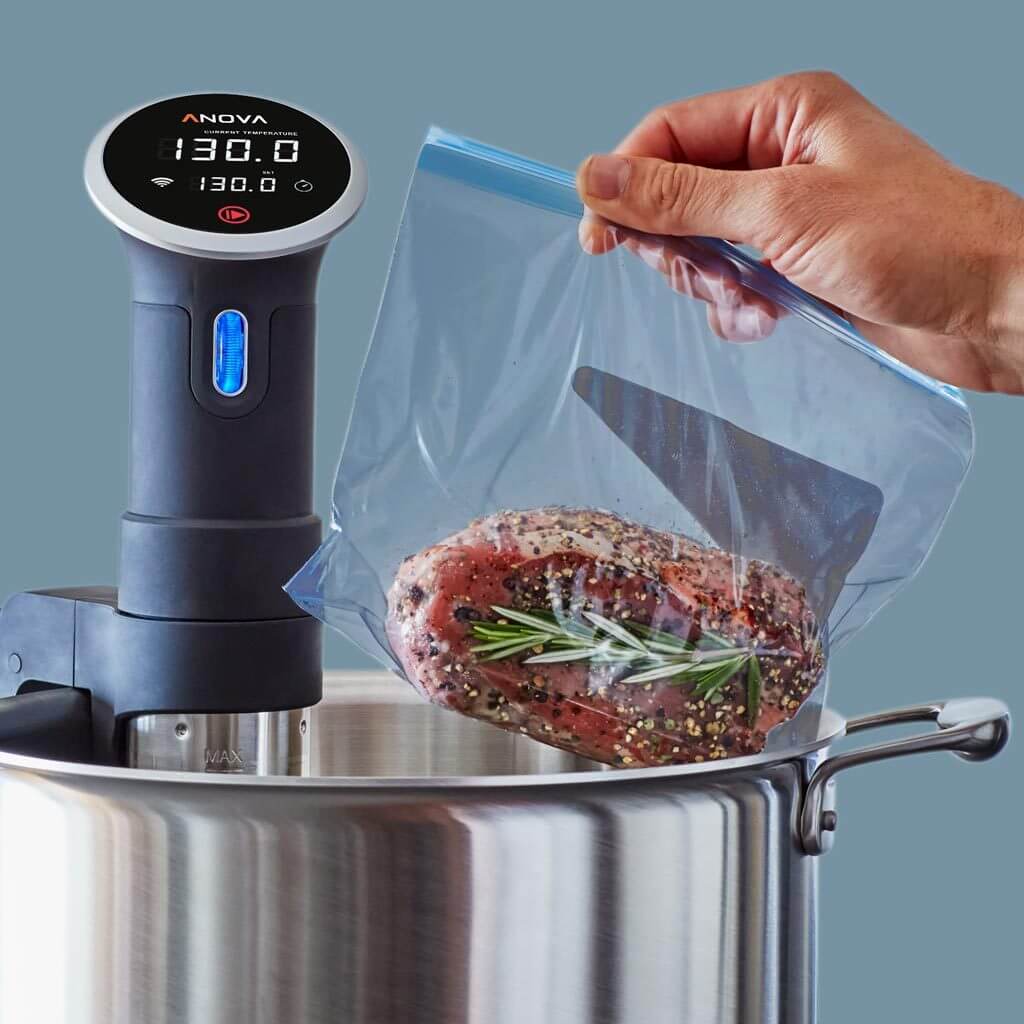
A basic immersion circulator has a tube, a pump, a heating metal coil, a thermometer, and an interface with a set of controls.
How Does An Immersion Circulator Work?
- It starts with you placing the Immersion Circulator in a pot of water (preferably a Cambro- explained below) so that the heating metal coil and tube are in the water. The control unit remains perched on the edge of the container.
- Next, you need to power up the circulator by plugging it into a power source, followed by setting the required temperatures for the water-bath through the interface.
- While in operation, the heating metal coil heats the water to the required range. As it does this, the pump continues to circulate the heated water from the mouth of the tube usually at the base of the circulator and out through the top.
- To ensure that the water bath is held at a stable temperature range, a thermometer continuously monitors the temperature and sends the information to the control unit that turns the heating element either ON or OFF.
2. Pot Or A Cambro Container
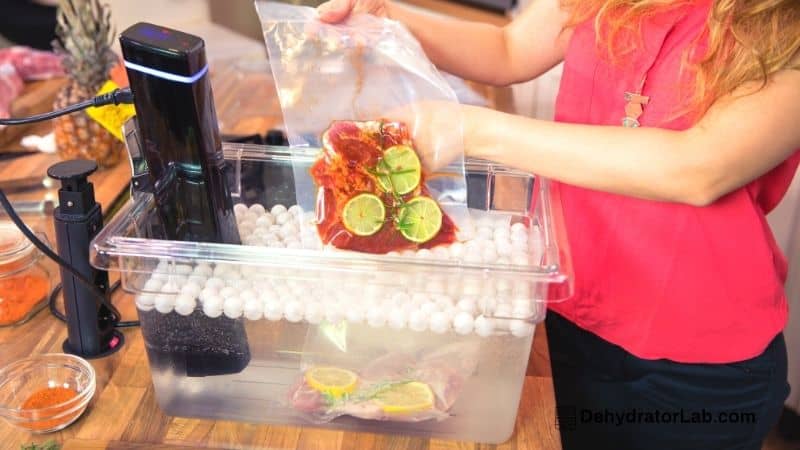
After adding the Immersion Circulator to the cart, you’ll need something to hold the water bath. You could use any of your large pots. But we highly recommend you to grab a Cambro container.
Mostly associated with food storage, a Cambro container is made up of high quality and durable polycarbonate that makes it an excellent insulator.

Cambro containers can withstand temperatures of between -40° F and 210° F (-40° C and 99° C) thereby allowing you to try out different Sous Vide recipes.
The best thing about a Cambro container, however, is its see-through construction design that makes it easy to monitor the progress of the food cooking inside with ease.
3. A Cast Iron Skillet
As we have explained later in this article, the last step of the Sous Vide cooking method is to sear it. The essence here is to give the food a flavorful outside layer.
Unfortunately, Sous Viding won’t give your lamb chops that crispy and deep brown crust that you get from other methods of cooking such as grilling. But a ripping-hot cast iron skillet does a really good job of sealing in the juices.
See our recommendation (see price on Amazon).
4. Vacuum Bags
Sous vide cooking is impossible without vacuum bags. These bags hold the food in a vacuum where it cooks. Keep in mind that the food never comes in direct contact with the water in the container when sous viding.
Zipper lock bags especially those that have dual zippers are the most recommendable since a single zipper is likely to degrade and undo thereby letting in water with prolonged cooking.
5. Vacuum Sealer
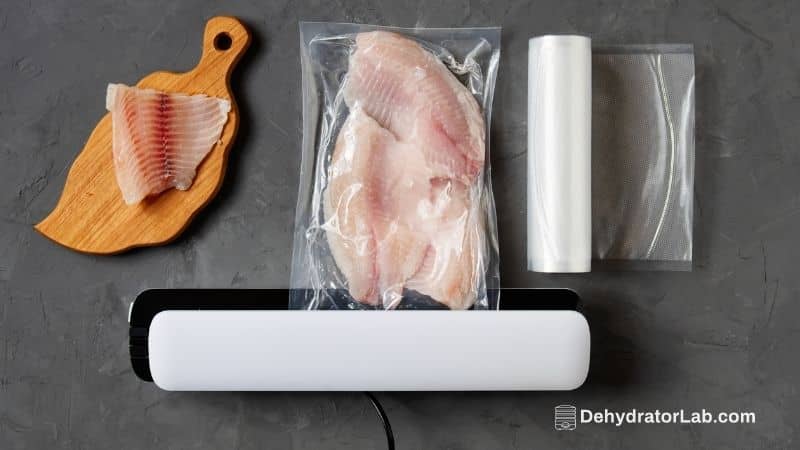
A vacuum sealer is yet another indispensable tool if you are planning to cook things sous vide. A sealer makes it possible to pull out most of the air from the bag – a prerequisite for this cooking method.
Mind you, when sous-viding, you need to see to it that the food remains submerged in the water bath to ensure that the food is heated and cooks evenly. This might be a little bit difficult to do if there is air in the vacuum bag. And that’s where a vacuum sealer comes in. See our recommendations for the best vacuum sealers for sous vide cooking here.
6. Binder Clips
The biggest problem that you are going to face when sous viding is keeping the vacuum bag submerged in the hot water bag. There are 2 main reasons why your bags may float; if there’s air in the bag due to an imperfect seal, and if the food that you are cooking is less dense than water.
There’s no issue with the food being less dense than the water. But you need to ensure that you get as much air as possible out of the vacuum bag.
To ensure that the food stays submerged in the water, simply clamp a binder clip at the bottom and then slip a heavy spoon through its mouth so that the head keeps the spoon from falling. You might want to use several spoons depending on the weight of the food.
Sous Vide Video – Beginners Guide
Why Should You Cook Sous Vide?
- It’s an excellent money-saver in that it reduces waste food
- There are no issues of overcooked or undercooked food
- Promise of perfectly cooked food every time- no soggy asparagus or chewy chicken again
- Stress-free cooking
- You get restaurant quality food at a lower price
- Excellent flavors
- Enhanced textures and tenderness
- Minimal cooking skills required
- Sous vide food is healthier since there’s no loss of vitamins and minerals
- You consistent tastes every time provided the same recipes are repeated
- Preparing large quantities of food for parties and groups is easier and fast

