Oh, the wonders of basil! This aromatic herb, with its delightful fragrance and distinctive taste, has long been cherished in kitchens all around the world.
But did you know that dehydrating basil can take your culinary adventures to a whole new level? See our 3 easy methods on how to dehydrate basil below!
As an Amazon Associate, I earn from qualifying purchases. If you make a purchase after clicking on a link I may earn a small commission at no extra cost to you if items are purchased.
In this article:
Preparing Basil for Drying
One of the key steps in successfully dehydrating basil is properly preparing it beforehand.
This involves a few simple but crucial tasks that will ensure the best results and preserve the flavor of your basil. First and foremost, start with fresh basil from your herb garden or purchase some from a local market.
The fresher the basil, the more flavor it will retain during the drying process. Once you have your fresh basil at hand, gently wash it under cool water to remove any dirt or debris that may be clinging to the leaves.
A salad spinner can be a helpful tool here to remove excess water and speed up drying time. Next, carefully remove each leaf from the stems, discarding any discolored or damaged ones along the way.
You want to work with clean, intact leaves for optimal results. Remember that you can also dry basil stems if you wish by bundling them together and hanging them upside down in a dark, well-ventilated area.
After separating the leaves from their stems, pat them dry with a clean kitchen towel or paper towel until they are completely moisture-free. Moisture is not our friend when it comes to preserving dried herbs!
Once dry, inspect each leaf closely for any remaining water droplets before moving on to the next step. Now that your basil leaves are clean and dry, you have a few options for how to proceed with drying them – using an oven, air drying them naturally, or using a food dehydrator.
Each method has its advantages and considerations which we will delve into further in subsequent sections of this article. Remember that once your basil is dried properly using one of these methods, you can store it in an airtight container for future use.
Crushed dried basil adds wonderful flavor when sprinkled on pizza or pasta dishes and can also be used as a substitute for fresh basil in recipes if needed. With these preparation tips under your belt, you’re well on your way to enjoying the intense flavor of dried basil in your culinary creations!
How to Dehydrate Basil? [3 Step-by-step Methods]
When it comes to drying basil, there are a few methods you can choose from. Each method has its advantages and unique characteristics that can affect the final result.
Let’s explore two popular methods of drying basil: using a dehydrator and drying basil in the oven. Using a dehydrator is an excellent option for those who want to achieve optimal results without much effort.
a) Drying Basil in a Food Dehydrator
If you’re serious about preserving your basil harvest, investing in a food dehydrator is a game-changer. Not only retains the vibrant green color of fresh basil but also helps to intensify its flavor.
Here’s how you can do it:
1. Harvest basil leaves and wash them
Start by picking the healthiest and freshest leaves from your basil plants.
Rinse them gently under cool water to remove any dirt or insects that might be hiding. Pat them dry using a clean kitchen towel or paper towel.
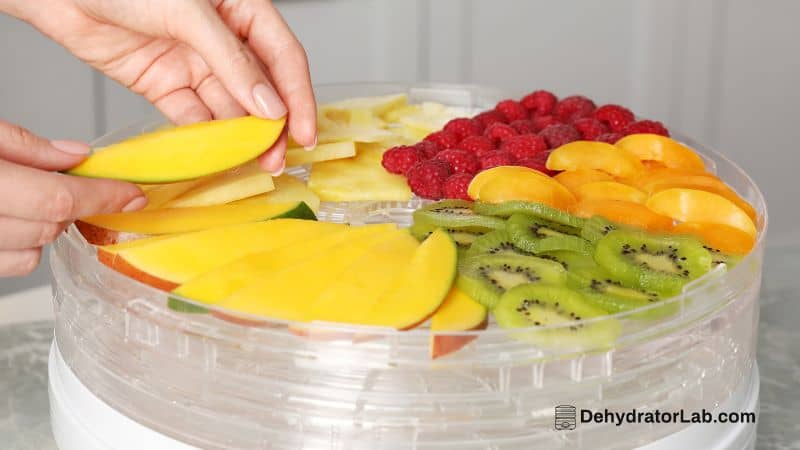
2. Prepare the food dehydrator
Set up your dehydrator according to the manufacturer’s instructions. Most dehydrators come with removable racks, which allows for better airflow and even drying of the herbs.
3. Arrange the basil leaves on the racks
Lay the basil leaves evenly on the dehydrator racks, making sure they don’t overlap. Leave some space for air circulation between each leaf to ensure proper drying.
4. Set the temperature and drying time
For optimal results, set your food dehydrator to a low temperature, around 95°F (35°C). This gentle heat will slowly remove excess moisture from the basil without scorching it.
The drying time can vary depending on factors like humidity levels and leaf thickness but generally takes between 2-4 hours.
5. Check for dryness
After a couple of hours, check if your basil leaves are completely dry by touching them lightly—they should crumble easily when crushed or rubbed between your fingers.
If they still feel slightly moist, continue drying them for another hour or so until they are crisp.
6. Store dried basil properly
Once your dried basil leaves have cooled down completely, transfer them into an airtight container or spice jar for long-term storage.
To preserve their vibrant taste and fragrance, store them in a cool, dark place away from direct sunlight. Is an efficient and reliable method that ensures the preservation of your basil’s freshness and flavor.
It allows you to have dried herbs readily available whenever a recipe calls for it, without compromising on taste or aroma. And the best part?
You can use these dried basil leaves as a substitute for fresh basil in your cooking, adding a burst of flavor to your dishes even during the off-season. So fire up your dehydrator and get ready to enjoy the delightful essence of basil all year round!
b) Using the Oven to Dry Basil
When it comes to drying basil, using the oven is another simple and effective method. This technique works well if you don’t have a dehydrator or prefer an alternative approach. Here’s how to do it:
First, preheat your oven to the lowest possible temperature setting, usually around 170°F (75°C). While the oven is heating up, prepare your basil leaves by gently rinsing them under cool water and patting them dry with paper towels.
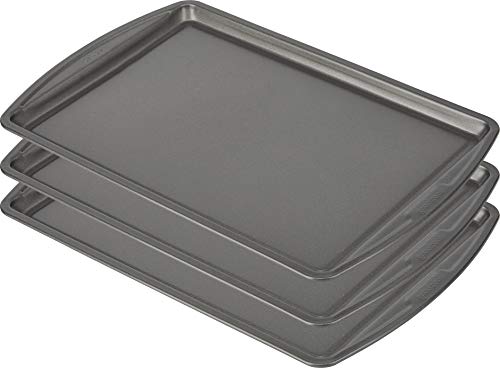
Make sure the leaves are clean and free from any dirt or residue. Next, line a baking sheet with parchment paper.
This will prevent the basil from sticking to the sheet and make cleanup easier. Place your clean and dry basil leaves in a single layer on the baking sheet.
It’s important not to overcrowd them as this can hinder proper air circulation and affect the drying process. Once your basil leaves are laid out on the sheet lined with parchment paper, place it on one of the oven racks.
Leave a small gap between the rack and the top of your baking sheet to allow for airflow. This will help ensure even drying.
Now, carefully place the sheet in the preheated oven, making sure it is positioned in such a way that heat can circulate freely around it. Close the oven door and let nature take its course!
Baking times may vary depending on factors such as humidity levels, leaf thickness, and your specific oven model. Generally speaking, dried basil should be ready within 1-3 hours of being placed in an oven set at low heat.
After this time has elapsed, keep an eye on your basil leaves since they can quickly go from perfectly dry to burn if left unattended. You’re looking for them to be crisp and fully dried but still retain their vibrant green color.
Once they reach this stage, remove them from the oven and let them cool completely before transferring them to an airtight glass jar or container for storage. The dried basil can be crumbled or left whole depending on your preference.
Remember to label the jar with the date and contents for future reference. It’s a convenient method that allows you to preserve fresh basil from your herb garden or surplus store-bought basil.
It’s a great way to extend its shelf life and have dried basil readily available whenever a recipe calls for it. Just make sure to keep an eye on the leaves as they dry, and soon enough, you’ll have a fragrant stash of dried basil ready to enhance your culinary creations!
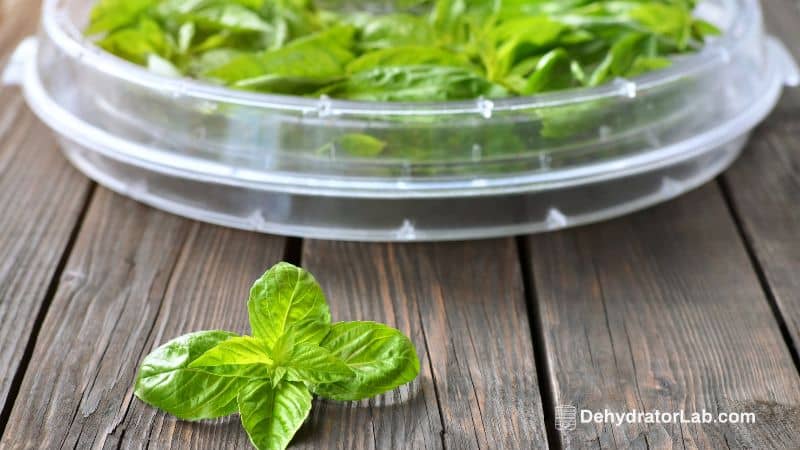
c) Air Drying Basil [Naturally]
It is a simple and traditional method that requires no special equipment. It’s a great way to preserve the flavor of your fresh herbs for future use. To start air drying basil, first, gently rinse your fresh basil leaves under cool water to remove any dirt or debris.
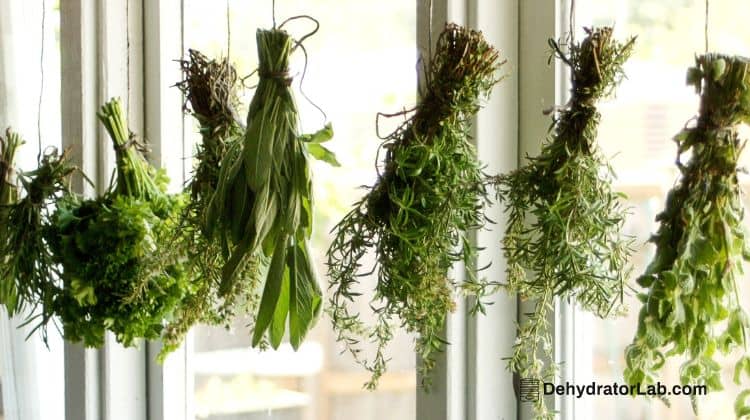
Pat them dry with a clean kitchen towel or paper towel. Next, gather a bunch of basil stems together and tie them loosely with twine or string.
Make sure to leave some extra length on the ends of the string for hanging. Find a warm, well-ventilated area in your home where you can hang the bunch upside down.
This could be in your kitchen, pantry, or even an unused closet. Hang the bunch of basil upside down so that the leaves are exposed to air freely. This allows for proper airflow and prevents mold or mildew from developing on the leaves.
It’s important to ensure that the leaves are not touching each other to avoid trapping excess moisture.
Leave the basil hanging for about two weeks until it is completely dried out. You’ll know it’s ready when the leaves feel crisp and crumble easily between your fingers.
Once dried, remove the stems from the bunch and gently separate the dried leaves from their stalks. Store your homemade dried basil in an airtight glass jar to maintain its freshness and flavor for longer periods.
You can also line the jar with parchment paper to provide extra protection against moisture absorption. Labeling and dating your jar will help you keep track of its freshness over time.
It is an economical way to preserve this aromatic herb without compromising its flavor profile. Using this method ensures that you have access to dried basil throughout the year, even if fresh basil is not readily available in your area or out of season.
Best Way to Store Basil
Once you have successfully dried your basil leaves, the next step is to store them properly to ensure their long-lasting freshness and flavor.
The best way to store dried basil is in an airtight container, such as a glass jar or a resealable plastic bag. This will protect the dried leaves from exposure to air, moisture, and light, which can all degrade their quality over time.
Before storing the dried basil, make sure it is completely dry. Any remaining moisture can cause mold or spoilage later on.
To check if your basil is dry enough, give it a gentle squeeze – it should crumble easily and not feel leathery or damp. If necessary, leave it out for a little longer to ensure that all excess moisture has evaporated.
To store the dried basil leaves in an airtight container, you can simply transfer them from the dehydrator trays or baking sheet into the container of your choice. You may want to use parchment paper or even tissue paper between layers of basil leaves to prevent them from sticking together.
Alternatively, you can crush the dried basil into smaller pieces before storing it – this will make it easier to sprinkle onto your favorite dishes when cooking. Remember to label your container with the date of drying so that you can keep track of its freshness over time.
Properly stored dried herbs like basil can last up to one year without significant loss of flavor or potency. However, for optimal taste and aroma, it’s generally recommended to use them within six months for maximum enjoyment.
Storing dried herbs not only allows you easy access whenever you need flavorful additions to your cooking but also ensures that their precious essence remains intact until you’re ready to use them.
By following these simple steps in preserving your dehydrated basil properly, you’ll be able to enjoy its delightful taste indefinitely and effortlessly substitute dried basil for fresh herbs whenever needed in various culinary creations!
You might like: How to dehydrate parsley
FAQ
Now that we’ve covered the ins and outs of how dehydrating basil, let’s address some frequently asked questions that often arise when it comes to this process.
Can I use a Microwave to Dry Basil?
No, you should not use a microwave to dry basil. Microwaving herbs like basil can lead to uneven drying and may result in a loss of flavor and quality.
What is the Best Way to Dry Fresh Basil?
When it comes to drying fresh basil, there are a few different methods you can try. One popular method is using a food dehydrator.
Is It Better to Dry or Freeze Basil?
Freezing basil is generally better for preserving its fresh taste and aroma.
How Long Does Dried Basil Last?
Approximately one to three years.
Conclusion
Dehydrating basil is a fantastic way to preserve the flavors and aromas of this delightful herb. Whether you choose to use a food dehydrator, oven, or air-drying method, the process is relatively simple and allows you to enjoy the taste of fresh basil year-round.
Embrace the wonderful world of dried basil, knowing that you’ve learned to preserve its essence and elevate your dishes with ease. Happy dehydrating!