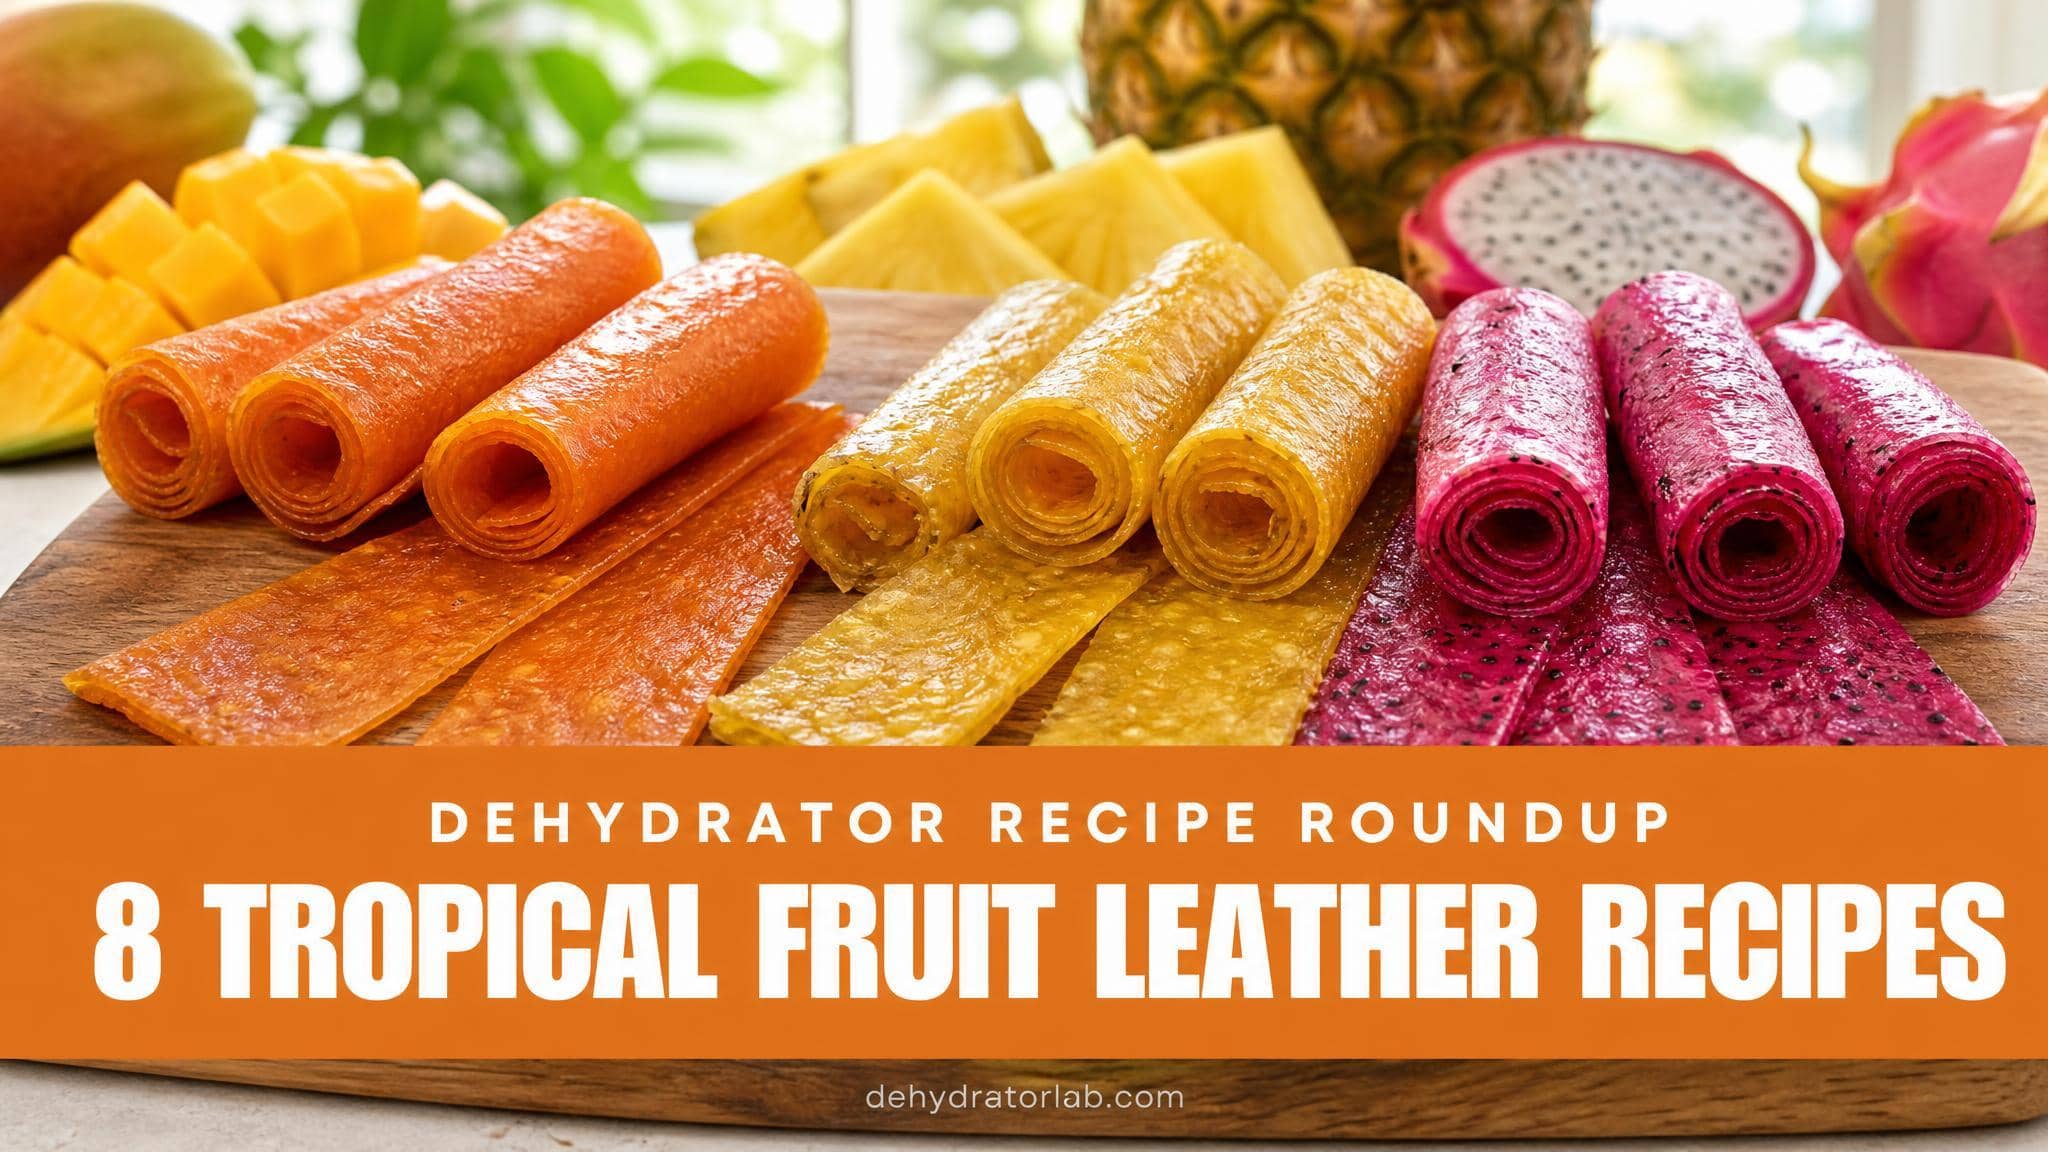
Ever wonder if a dehydrator could replace the candy aisle?
It mostly can. Most of what follows starts as purée, and drying purée rather than slices asks something different of the machine — solid sheets instead of mesh. Real fruit, a little honey or chocolate, and low steady heat get you chewy, sweet, genuinely candy-like treats — without the dye list you can’t pronounce. Some of these lean on the dehydrator to do the actual drying. A few lean on it just to firm things up while you do the fun part: dipping, layering, and twisting.
Let’s turn your dehydrator into the best candy shop your kids don’t know exists.

As an Amazon Associate, I earn from qualifying purchases. If you make a purchase after clicking on a link I may earn a small commission at no extra cost to you if items are purchased.
In this article:
TL;DR: Key Takeaways
- 🍬 Ten kid-friendly treats — gummies, chocolate-dipped fruit, and layered candy twists — built around real fruit instead of corn syrup and dye.
- ♨️ Straight fruit purees dry at 135°F (57°C); gelatin-based gummies set lower, around 95–105°F (35–41°C), so they don’t melt back down.
- 🍫 Chocolate-dipped items lean on the dehydrator less and room-temp or fridge setting more — chocolate doesn’t need heat to firm up, just time.
- 🧒 These are still treats, not an everyday food — homemade just means you control what’s actually in them.
- 📦 Fully cooled and stored airtight, most of these keep 1-2 weeks; chocolate-dipped ones do best somewhere cool.
If your kids are more into plain fruit chips than actual candy, I’ve already got 10 dehydrated fruit snack recipes the kids will actually eat covering that side of things — apple chips, banana chips, homemade raisins, all no added sugar. These ten lean further into treat territory. Let’s get into it.
1. Homemade Fruit Gummies
This is the base technique the rest of the sweeter items borrow from. Warm 1 cup strained fruit puree (any fruit works — berries, mango, peach) with 2 tablespoons honey until just steaming, then whisk in 3 tablespoons unflavored gelatin until fully dissolved, no lumps.
Pour into silicone candy molds or spread ¼-inch thick on a lined tray, then set in the dehydrator at 95–105°F (35–41°C) for 4-6 hours. Keep the temperature low here — gelatin starts to soften and weep above 110°F, and a melted gummy is just fruit soup.
Master this one and half the list below is just a variation on it.

2. Chocolate-Dipped Dried Cherries
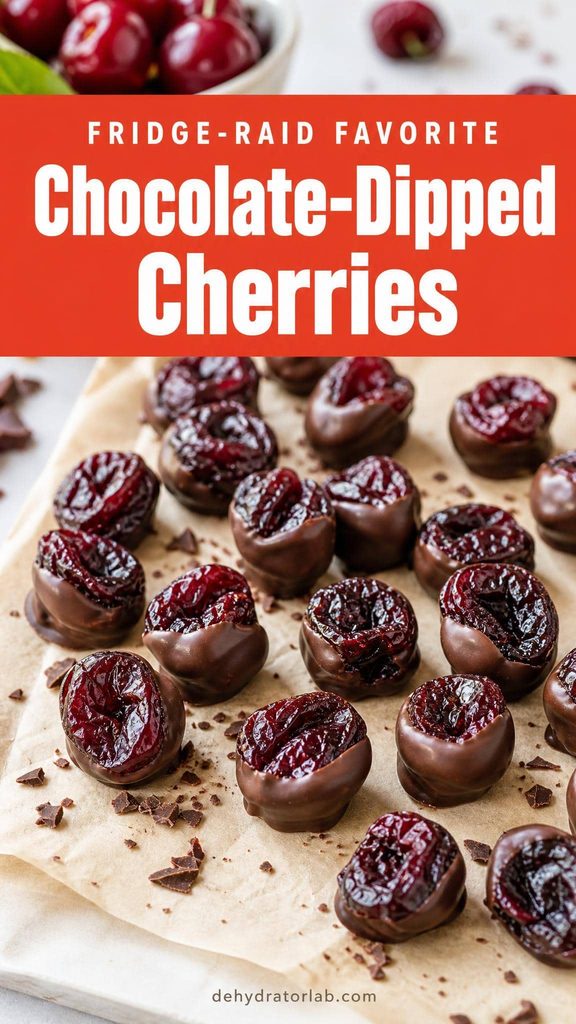
Start with 2 cups fully dried cherries — my full method is in how to dehydrate cherries if you’re making your own instead of buying them. Melt 1 cup dark chocolate chips with 1 teaspoon coconut oil (the oil keeps the chocolate from going brittle), then dip each cherry halfway.
Set the dipped cherries on parchment and let them firm up at room temperature or in the fridge for 20-30 minutes — the dehydrator’s already done its job on the cherry itself, and chocolate just needs time and cool air, not more heat.
The one that disappears from the fridge fastest.
3. Yogurt-Dipped Blueberry Bites
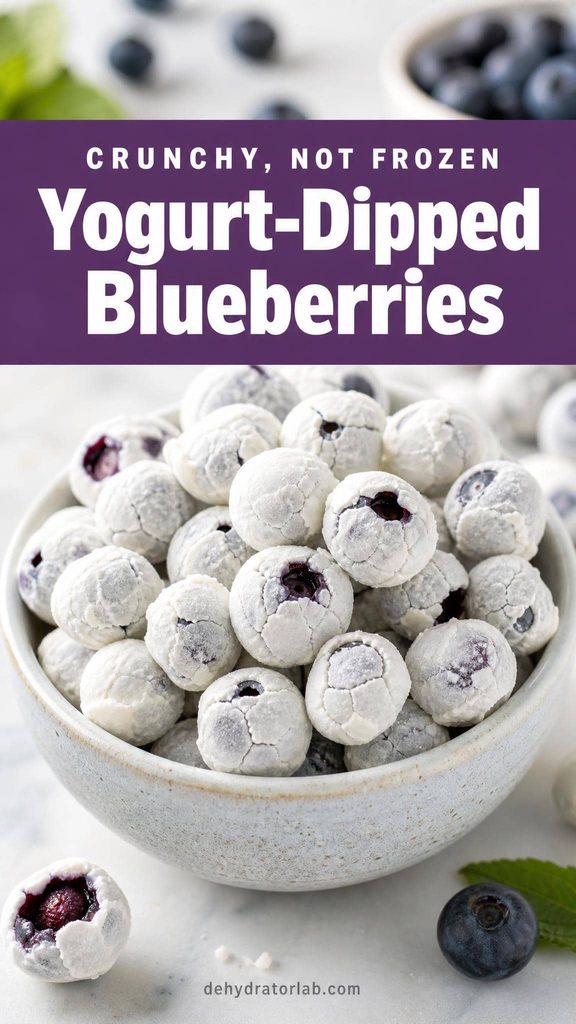
FYI, this is different from the freezer version you might already know — this one gets an actual dehydrator pass instead of just going in the freezer, so the yogurt shell turns crisp instead of frosty. Toss 2 cups fresh blueberries with 1 cup thick Greek yogurt and 1 tablespoon honey until every berry is coated.
Spread coated berries in a single layer on a lined tray, leaving space between each one, and dry at 135°F (57°C) for 6-10 hours until the yogurt shell snaps instead of smears. This is close cousin to dehydrated Greek yogurt chips already on the site, just built around whole berries instead of piped rounds.
- Use full-fat yogurt — thin yogurt slides right off the berries.
- A toothpick makes dipping and placing each berry much less messy.
- Freeze-dried fruit powder dusted on before drying adds color and flavor — crunchy, tangy, and genuinely different.
4. Rainbow Fruit Leather Candy Twists
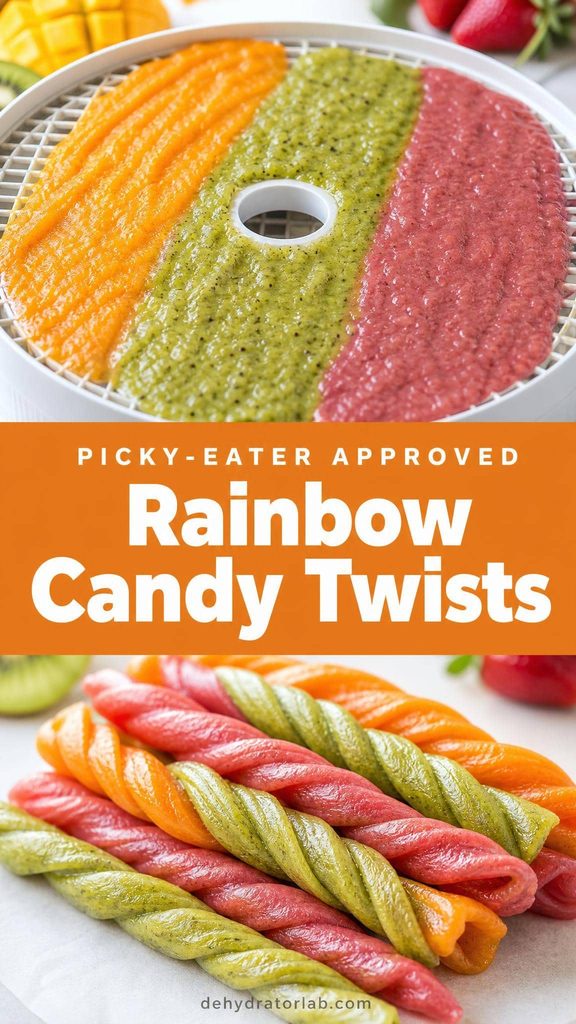
Ever wonder why kids go wild for anything striped or rainbow-colored? No idea, but this recipe cashes in on it. Puree 1 cup mango, 1 cup kiwi, and 1 cup dragon fruit (or swap in whatever’s bright and available) separately, then pour each in its own thin stripe side by side on a lined tray.
Dry at 135°F (57°C) for 6-8 hours until tacky-not-wet, then cut into long strips while the leather is still slightly warm and twist each strip gently before it fully cools and sets straight.
Same fruit leather technique, just showing off a little.
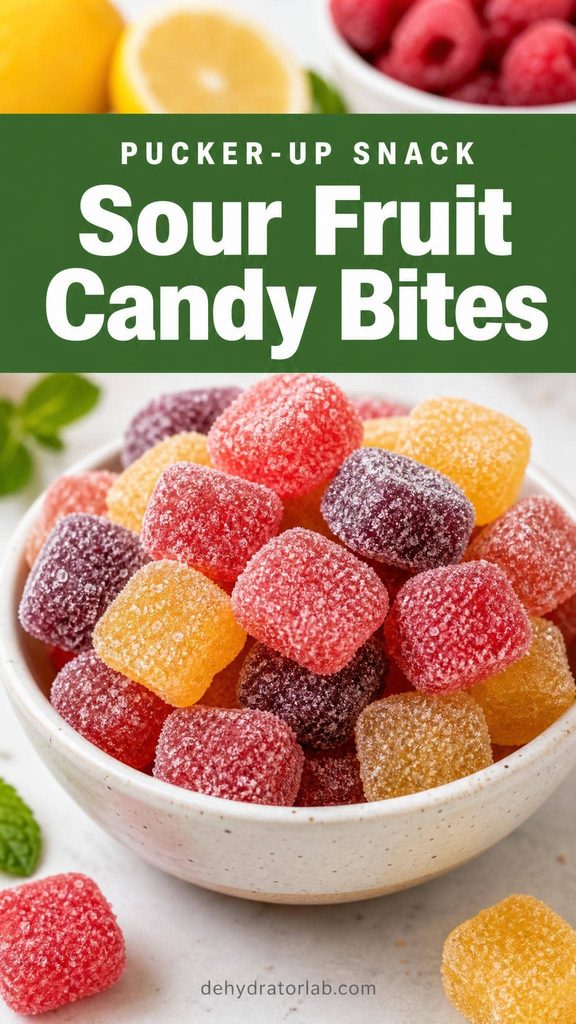
5. Sour Fruit Candy Bites
Be advised: this is the recipe most likely to get a face-scrunch reaction, and kids ask for it again anyway. Cut a finished batch of plain fruit leather (any flavor from item 4 works) into 1-inch bite-size pieces while it’s still slightly tacky, straight off the tray.
Toss the warm pieces in a mix of 2 tablespoons granulated sugar and 1 teaspoon food-grade citric acid (sold in the canning or candy-making aisle) until coated. The tacky surface is what makes the coating stick — pieces that have already cooled and firmed up won’t hold it as well.
The candy-aisle sour bite, minus the artificial everything.
6. Dehydrated S’mores Marshmallow Bites
Worth knowing up front: this one leans on the dehydrator less than the others and on assembly more. Crush 1 cup graham crackers into coarse crumbs, mix with 3 tablespoons melted butter, and press into small bite-size mounds on a lined tray. Press 1 mini marshmallow into the top of each mound, then drizzle with 2 tablespoons melted chocolate.
Run the tray in the dehydrator at 95°F (35°C) for 30-45 minutes — just enough to firm the whole stack into one bite instead of three loose layers, without melting the marshmallow into a puddle. This isn’t a true drying recipe like the others; it’s the dehydrator standing in for a low, gentle warming step.
Campfire flavor without leaving the kitchen.

7. Caramel Apple Chip Candy
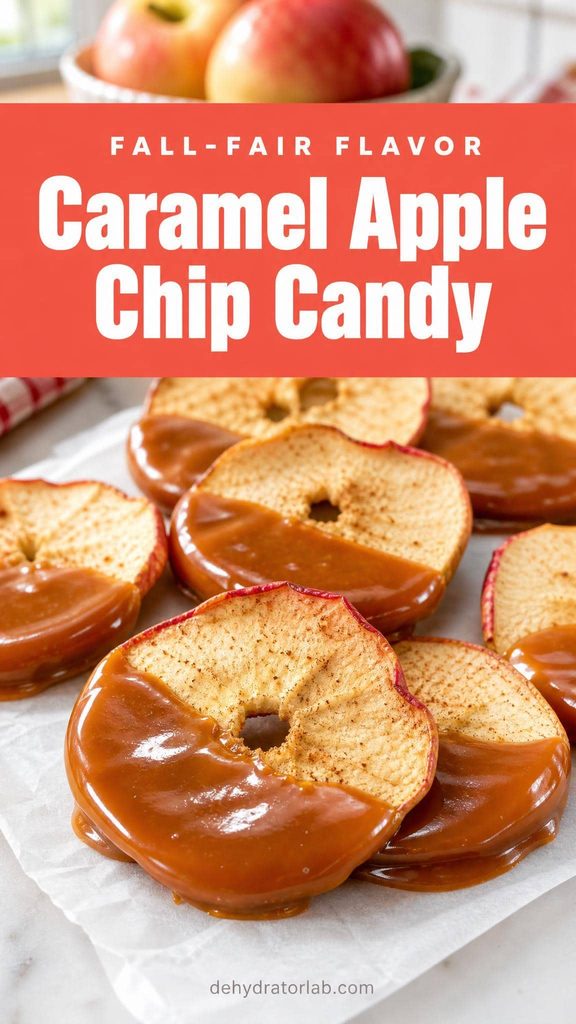
This one starts from a batch of plain dehydrated apple chips — if you haven’t made a batch yet, that guide walks through the full process. Melt 1 cup soft caramels with 1 tablespoon milk over low heat, stirring until smooth.
Dip half of each dried apple chip in the warm caramel and set on parchment to firm up at room temperature, about 15-20 minutes. Work in small batches — caramel thickens fast as it cools, and a re-melt is a lot more hassle than just dipping quicker the second time.
A fall-fair classic, minus the stick and the mess.
8. Peppermint Candy Cane Fruit Twists
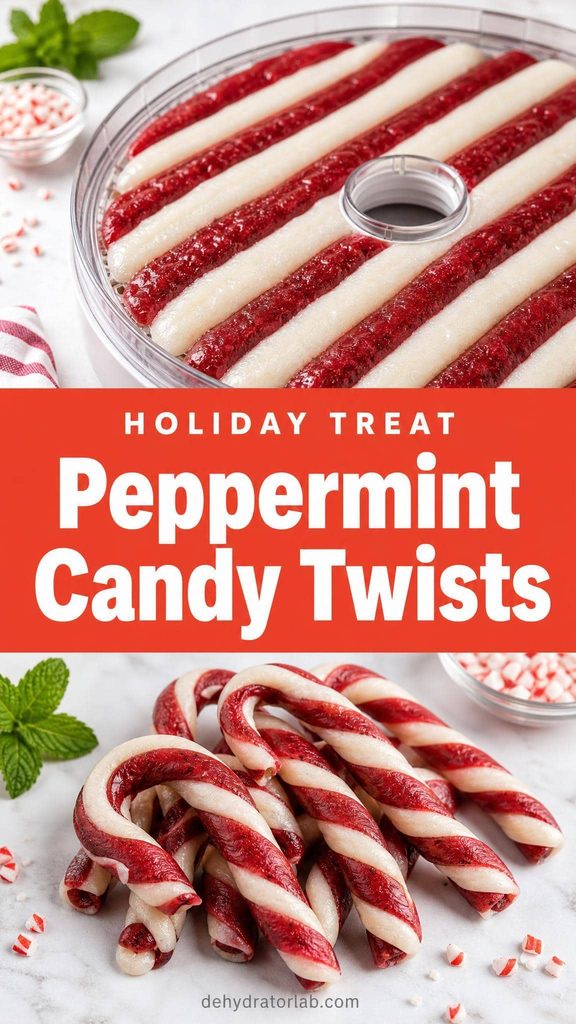
A good one to save for the holidays. Puree 1 cup cranberries and 1 cup cherries with 2 tablespoons honey for the red stripe, and separately blend 1 cup applesauce with ¼ teaspoon peppermint extract for the white stripe.
Pour both purees in alternating stripes on a lined tray and dry at 135°F (57°C) for 6-8 hours until tacky-not-wet. Cut into strips while still slightly warm and twist gently, the same way as the rainbow twists above, so the two colors spiral around each other like a candy cane.
- Go light on the peppermint extract — a little goes a very long way.
- No cranberries on hand? A full batch of cherry works fine on its own.
- These make a genuinely nice homemade gift — edible, and nobody re-gifts a candy cane.
9. Candy Corn Fruit Bites
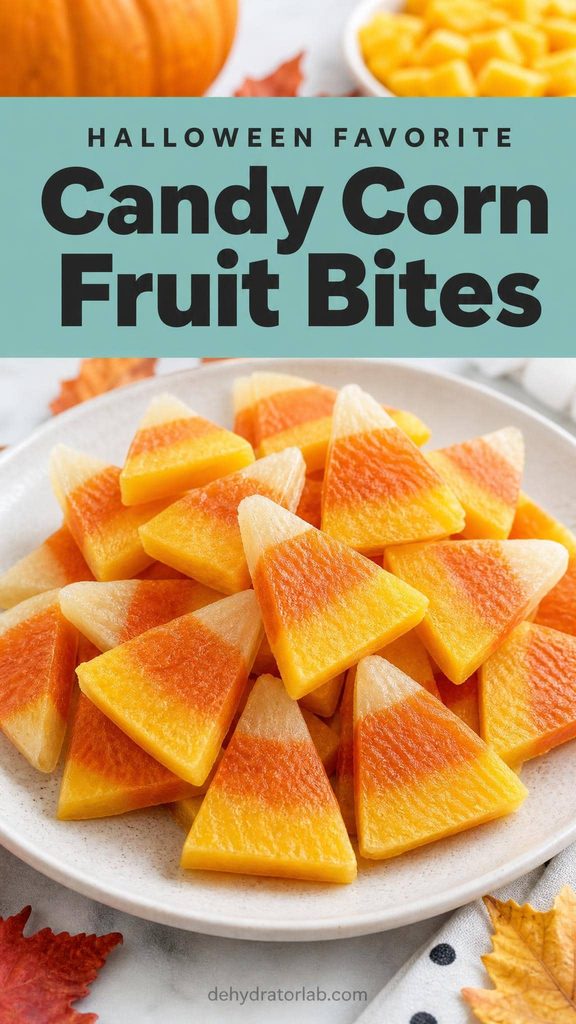
All the look of a candy corn kernel, none of the wax-and-sugar filling. Puree 1 cup mango for the yellow tip, 1 cup fresh orange segments for the orange middle, and mash 1 cup ripe banana for the pale base — three separate purees, three separate layers.
Pour the layers in sequence on a lined tray, letting each one set for 20-30 minutes before adding the next so they stay distinct instead of bleeding together. Dry the full stack at 135°F (57°C) for 8-10 hours, then cut into small triangles once fully tacky-firm.
The Halloween candy nobody has to fake-smile through.
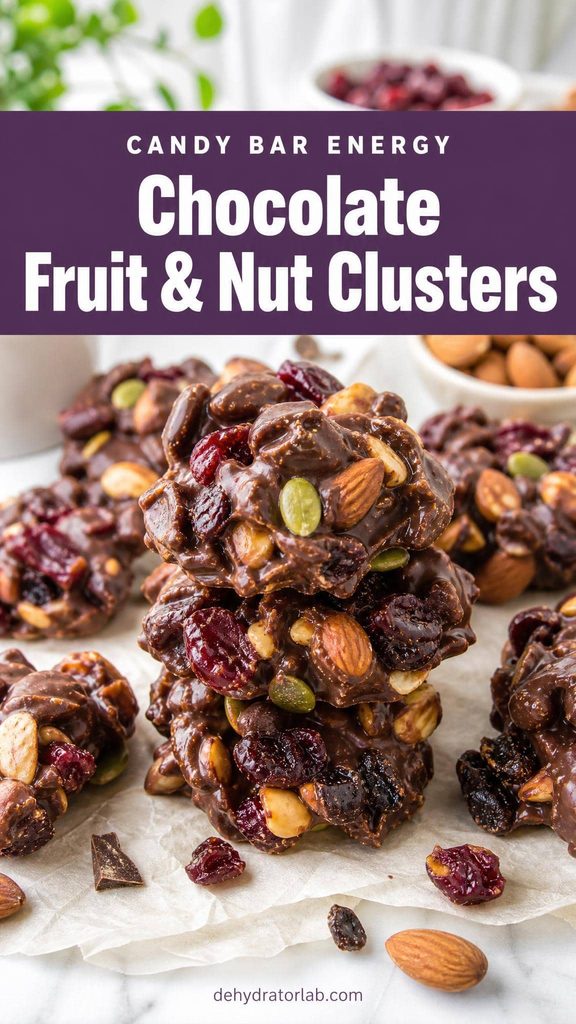
10. Chocolate Fruit & Nut Clusters
The one that eats more like a real candy bar than anything else on this list. Mix 1 cup mixed dried fruit (raisins, dried cranberries, chopped dried apricot) with ½ cup chopped roasted almonds, then fold both into 1 cup melted dark chocolate.
Drop rounded tablespoons onto parchment and let set at room temperature or in the fridge for 20-30 minutes. If your kitchen runs warm, a short pass in the dehydrator at 90°F (32°C) for 15-20 minutes firms them up faster than waiting on the counter.
Trail mix’s dressed-up cousin, and the one adults raid too.
Still Candy, Still Worth Watching the Portions
Worth being upfront about: swapping food dye and corn syrup for real fruit and honey doesn’t make these an unlimited food. Most still carry real sugar, whether it comes from honey, maple syrup, or the fruit itself, concentrated way down from its fresh form. The American Academy of Pediatrics’ guidance on added sugar for kids is a solid, practical read if you want the actual numbers instead of a vague “everything in moderation.”
What you do get, compared to a store-bought bag, is a shorter ingredient list and zero artificial dye — genuinely worth something, even if it’s not a free pass on quantity. Treat these as treats, same as any other candy, just ones you’d feel fine explaining ingredient by ingredient.
Storage: Keeping Everything From Turning to Mush
Let every batch cool and fully firm up before it goes in a container. Warm gummies or chocolate sealed too early sweat, and that trapped moisture turns a firm treat into a sticky clump within a day.
Gummies and fruit twists keep best in an airtight container at room temperature for 1-2 weeks; chocolate-dipped and cluster items do better somewhere cool, since a warm kitchen softens chocolate fast. If chocolate items look a little dull after a few days in the fridge, that’s just cocoa butter separating slightly — still fine to eat, just less glossy. For general safe-drying practices behind the fruit purees themselves, the National Center for Home Food Preservation’s drying guide is a solid reference.
Personal Tips You Can Steal
I keep a dedicated set of silicone candy molds just for gummies, since anything shaped like a bear or a star gets eaten twice as fast in my house. I always melt chocolate in short bursts and stir between each one – rushing it is the fastest way to end up with a grainy, seized mess instead of something glossy.
I let kids help with the twisting step on the fruit leather candies specifically, since it’s the messiest, most forgiving part and nobody can really do it wrong. And I never skip labeling the jar with the date – homemade candy doesn’t have a shelf-stable expiration printed on the bag like the store kind does.
Final Thoughts
Ten treats is enough to cover birthdays, holidays, and the regular Tuesday when someone just wants something sweet. Start with the fruit gummies or the chocolate-dipped cherries if this is your first run — both are close to foolproof and give you the confidence to try the trickier layered ones.
For more fruit prep basics, see 15 best fruits to dehydrate at home, and for storage that stretches any dried batch further, check out moisture absorbers vs oxygen absorbers.
For gear, I make every fruit leather layer on the same silicone dehydrator sheets, set every gummy batch in the same silicone candy molds, and dip everything with a set of candy dipping tools that keep my fingers a lot cleaner than a fork ever did.
Related reading: for the plain, no-added-sugar side of kid snacking, see 10 dehydrated fruit snack recipes the kids will actually eat, and for the crunchy Greek-yogurt technique this list borrows from, check out dehydrated Greek yogurt chips.
P.S. Start with one recipe, not all ten in one weekend — trust me, the kitchen (and your patience with melted chocolate) will thank you. Happy dehydrating! 🙂