Ever since childhood, beef jerky has been a favorite snack of mine. I used to eagerly await my parents to bring it home from the store. But ever since I started making it myself, I’ve enjoyed experimenting with flavors and cuts of beef.
It’s no wonder that making it from scratch has been a delightful journey of flavor experimentation and discovering ways to create delicious jerky on a budget.
As an Amazon Associate, I earn from qualifying purchases. If you make a purchase after clicking on a link I may earn a small commission at no extra cost to you if items are purchased.
In this article:
Step-by-step Guide to Making Cheap Beef Jerky in the Oven
1. Choose an affordable cut of beef
With the rising cost of beef, I decided to use the most affordable cut I could find at my local grocery store and transform it into mouth-watering jerky.
The cheap cut of beef of choice was a Chuck Cross Rib Roast, priced at just $3.99 per pound. Surprisingly, it had excellent marbling for such an economical cut.
You can cook any other cheap cuts of beef of course. Cuts like the sirloin tip which is pretty lean and goes for about $3.5 at Sam’s Club. You can also get bottom round for about $4.5, which is another good one, because that little more marbling really retains the flavor a lot better than leaner cuts like sirloin tip and eye round.
Normally, this type of beef is cooked slowly, like in a Crock-Pot, to make pot roast. However, when it comes to making jerky, the cut doesn’t matter as much – tender or tough, any cut can be transformed into great jerky.
2. Trim the fat
My first step was trimming the thick layer of fat on the outside. I left the internal fat alone, focusing on removing the excess external fat, leaving some internal fat and smaller bits untrimmed.
3. Firm up the beef
Once the fat was trimmed, I placed the beef on a tray and put it in the freezer for 30 minutes to firm up, making slicing easier.
4. Slice the beef
I sliced the beef into 1/8 to 1/4-inch thick pieces. The marbling inside was impressive for a cheaper cut of beef. A meat slicer could also be used for this step, but I preferred doing it by hand.
5. Prepare the marinade
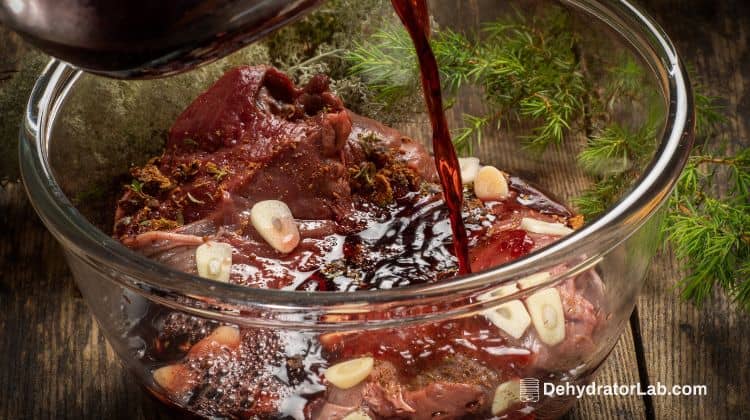
Then, it was time to create the marinade. For the marinade, I used a simple yet flavorful combination of low-sodium soy sauce, apple cider vinegar, bourbon, brown sugar, ground black pepper, kosher salt, and hickory smoked salt.
6. Marinate the beef
I put the beef slices into the marinade, making sure to coat the slices evenly. I covered the bowl and refrigerated it overnight. To ensure even marination, I rotated the beef a couple of times by simply stirring the contents.
7. Drain and arrange the beef slices
The next day, I removed the marinated beef from the fridge and placed the slices on on a tray with a rack. I chose to leave the marinade on the beef for added flavor, knowing it might take a bit longer to dry in the oven.
8. Preheat the oven
Preheat the oven to 160 degrees Fahrenheit (70 degrees Celsius). I set my oven to 160 degrees Fahrenheit (though 170 or 175 degrees would work as well).
9. Dry the beef
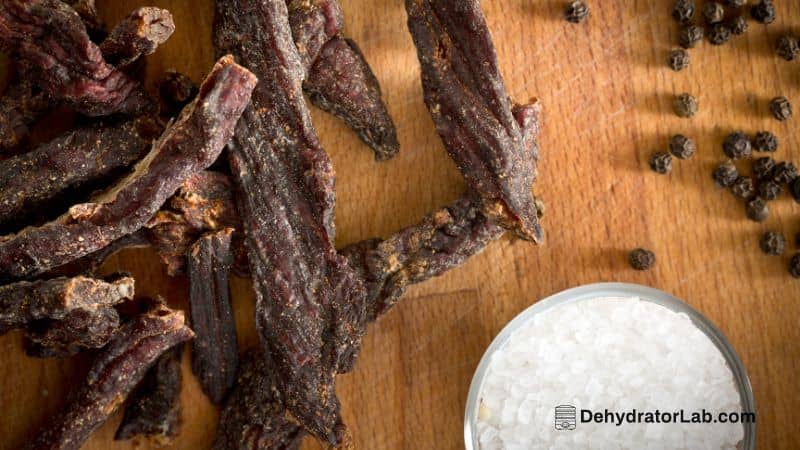
Place the tray with the beef slices in the preheated oven and let the jerky cook for 4 to 6 hours , or until the jerky reaches the desired texture, a slightly moist, refrigerator-friendly jerky.
10. Cool and taste
After five hours, the jerky had a delicious dark color. After the jerky had cooled for about 15 minutes, I tasted a thinner and thicker slice.
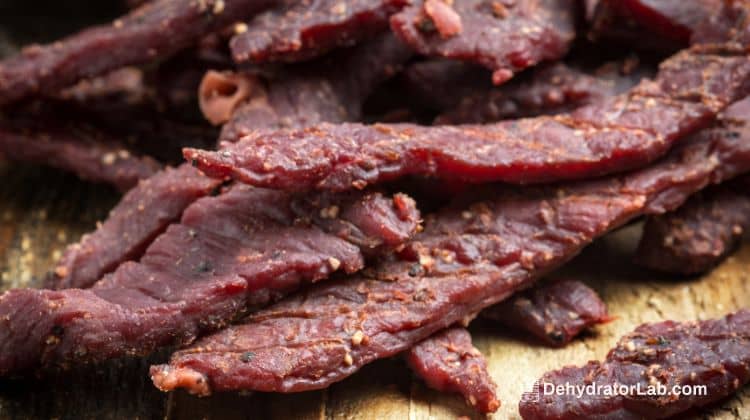
The flavors were outstanding, a wonderful smoky bourbon flavor, thanks to the hickory smoked salt and bourbon in the marinade. Adjust the marinade or drying time for future batches if needed.
11. Store or enjoy
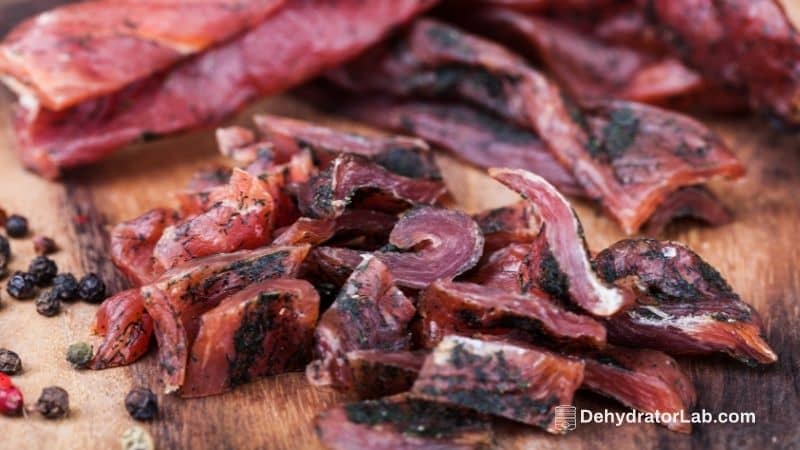
Store the cooled jerky in an airtight container or enjoy it immediately. This homemade jerky tasted delicious and proved that even an inexpensive cut of beef could be transformed into a very tasty and portable snack.
Conclusion
At just $3.99 per pound, or even as low as $1.99 in better times, creating your own beef jerky from a cheap cut is a great bargain compared to the premium price of pre-made jerky.
Plus, making it at home allows you to control the flavors and experiment with different marinades to find the perfect taste. Or you can experiment with different smoked salts, which are def better than liquid smoke.
The satisfying pull and tug of eating jerky brought back fond memories of childhood, and this homemade version surpasses any store-bought jerky I enjoyed back then.
So go ahead, give it a try, from now on whenever you see cheaper cuts of beef on sale, you’ll know what to do with them: your own delicious, cheap beef jerky!