In this article:
How to Make Watermelon Chips in a Food Dehydrator
Let’s be real. You bought a giant, beautiful watermelon, you enjoyed a few glorious slices, and now you’re staring at the remaining half, wondering what on earth you’re going to do with it before it turns into a science experiment in your fridge. I’ve been there more times than I care to admit.
Well, my friend, I have the solution for you. Forget the same-old fruit salad. We’re making watermelon chips. Yes, chips. They’re sweet, chewy, intensely flavorful, and so addictively good you’ll be hiding them from your family. And the best part? Your food dehydrator does all the heavy lifting.
I’ve made more batches of these than I can count, perfecting the method through a few sticky failures (we’ll learn from my mistakes, I promise). So, grab your melon and let’s get started.
Why Even Make Watermelon Chips?
You might be thinking, “Dehydrate a fruit that’s 92% water? Isn’t that just creating a whole lot of nothing?” It’s a fair point. But trust me, the magic that happens is worth it.
When you slowly remove the water, you concentrate the sugar and flavor into a delicious, chewy candy. It’s a completely different experience from fresh watermelon. They’re a fantastic healthy snack for hikes, lunchboxes, or when you just need a little sweet hit without the guilt.
Plus, it’s a brilliant way to reduce food waste. That melon on its last leg? It’s the perfect candidate for a second life as a chip.
Gearing Up: What You’ll Need
You don’t need a ton of fancy equipment, but having the right tools makes the process infinitely smoother. Here’s my go-to setup:
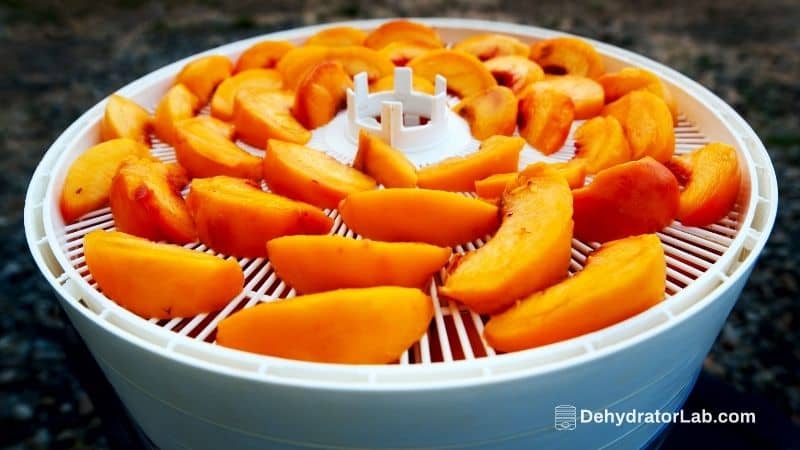
- A Food Dehydrator: This is the star of the show. I use a basic circular model with stackable trays, and it works perfectly. If you have one with a square design and a front-facing fan, even better—they often provide more even drying.
- A Large, Sharp Knife & Cutting Board: For safely taming the watermelon beast.
- A Mandoline Slicer (Highly Recommended): This is my number one tip for success. Uniform thickness is absolutely critical for the chips to dry at the same rate. A mandoline gets you perfect, consistent slices in seconds. If you don’t have one, just channel your inner master chef and slice as evenly as you can with a knife.
- Parchment Paper or Dehydrator Liners: Some watermelon slices can be a bit sticky. Lining your trays prevents a frustrating cleanup job later.
The Main Event: Choosing and Prepping Your Melon
Not all watermelons are created equal, especially when it comes to dehydrating.
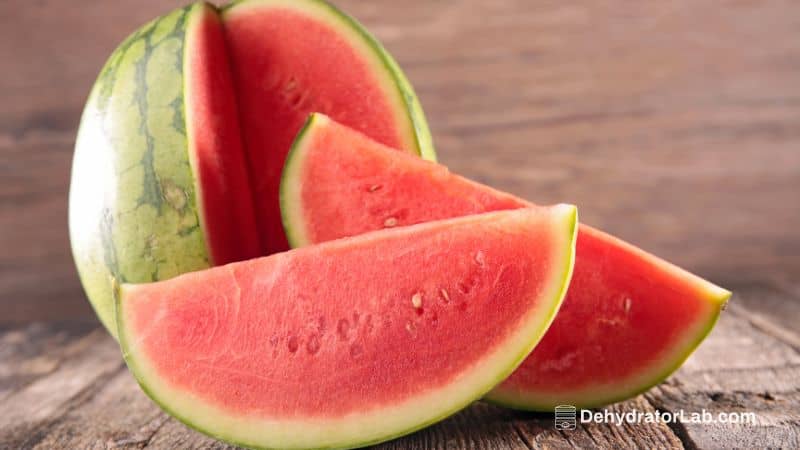
Picking the Perfect Candidate
You want a ripe, flavorful melon. A bland, underripe watermelon will just turn into a bland, underripe chip. Look for that classic yellow spot (the field spot) and a deep, resonant sound when you tap it.
Seedless watermelons are, IMO, the undisputed champion for this project. Dealing with seeds during the slicing phase is a hassle we can all live without. But if you only have a seeded one, no worries—you can deal with the seeds post-slicing.
The Slicing Strategy (This is Where the Magic Happens)
This is the most important step. Get this right, and you’re golden.
- Slice and Peel: First, cut your watermelon into manageable wedges or slabs. I like to cut a whole melon in half, then cut those halves into 1-inch thick slabs.
- Remove the Rind: Take each slab and carefully slice the rind off. You should be left with a perfect, flat piece of pure watermelon flesh.
- Mandoline Time: Set your mandoline to about 1/4-inch thickness. This is the sweet spot. Any thinner and the chips can become brittle and disappear; any thicker and they take forever to dry and can become too chewy. Use the safety guard! I’m not kidding. Watermelon is slippery, and mandolines are unforgiving.
- Seed Check: As you slice, place the beautiful rounds on your trays. If you’re using a seeded watermelon, now is the time to gently poke out any black seeds you see with the tip of a knife. They don’t dehydrate well and create unpleasant hard bits.
See? I told you we’d learn from my mistakes. My first batch was a mess of uneven, too-thick slices that never fully dried. It was a sticky, melty tragedy. Let’s avoid that.
The Dehydrating Process: Patience is a Virtue
Okay, the prep is done. Now we let the machine work its low-and-slow magic.
- Arrangement: Lay the watermelon slices in a single layer on your dehydrator trays. They shouldn’t be touching or overlapping. Air needs to circulate around each one.
- Temperature: Set your dehydrator to 135°F (57°C). This is the standard setting for fruits and it works perfectly here.
- Time: Here’s the big question: how long? The answer is… it depends. It typically takes anywhere from 8 to 14 hours.
Why the huge range? It depends on the thickness of your slices, the humidity in your house, and the specific water content of your melon. Don’t just set it and forget it for 14 hours. Start checking around the 8-hour mark.
How to Tell When Your Watermelon Chips Are Perfectly Done
You’re looking for a leathery, pliable texture. They should be dry to the touch but still bendable, not crisp and brittle like a potato chip.
Take a piece out, let it cool for a minute (they’re always softer when warm), and then bend it. If it cracks or snaps, it’s over-dried (still tasty, though!). If it feels wet or sticky, it needs more time. If it’s leathery and chewy like a fruit roll-up, you’ve nailed it.
Ever wondered why some of my early batches were a bit tacky even after ages in the dehydrator? Yep, uneven slicing. The thinner parts were done while the thicker centers were still raw. Consistency is your best friend here.
Storing Your Homemade Watermelon Chips
You didn’t put in all this effort just to have them go bad, right? Proper storage is key.
First, you must condition your chips. This is a non-negotiable step for any dehydrated fruit. After dehydrating, let the chips cool completely. Then, place them in a single layer in a large glass jar or a large plastic container. Seal it up and leave it for 24 hours.
Why? This allows any residual moisture to evenly distribute throughout the batch. If you see condensation on the inside of the jar after a day, they need to go back into the dehydrator for another hour or two. If not, you’re good!
For long-term storage, keep them in an airtight container in a cool, dark place. A mason jar works beautifully. They should last for several months this way. FYI, if you live in a humid climate, they might start to lose their crispness over time, but they’ll still be perfectly edible.
Get Creative: Flavor Variations
Once you’ve mastered the basic chip, you can start playing with flavors. It’s ridiculously easy.
- Sweet & Zesty: Sprinkle the slices with a tiny bit of lime zest or lemon zest before dehydrating.
- A Touch of Heat: A light dusting of Tajín or chili-lime seasoning is absolutely divine.
- Herbal Notes: A very light sprinkle of fresh, finely chopped mint can be a refreshing surprise.
The possibilities are endless. What sounds good to you?
So, Was It Worth It?
Absolutely. Turning that giant, sometimes-unwieldy fruit into a shelf-stable, delicious, and healthy snack is one of the most satisfying kitchen projects I do all summer. It feels like you’ve unlocked a secret level of homemaking.
The process is simple, the equipment is basic, and the reward is a quirky, delicious treat that will impress everyone you share it with. You’ve conquered the watermelon glut. 🙂
Now it’s your turn. Grab that dehydrator, rescue that watermelon, and get ready for your new favorite snack. Happy dehydrating!
Related reading: how to dehydrate onions, dehydrated celery flakes, and dehydrator reviews.