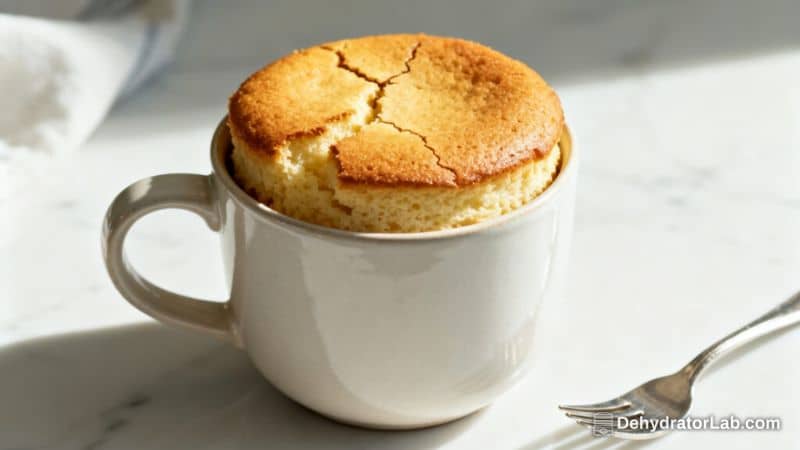
A warm, fluffy vanilla cake in minutes? That’s the magic of an air fryer mug cake. It’s perfect for late-night cravings, busy afternoons, or when you want dessert without turning on the oven.
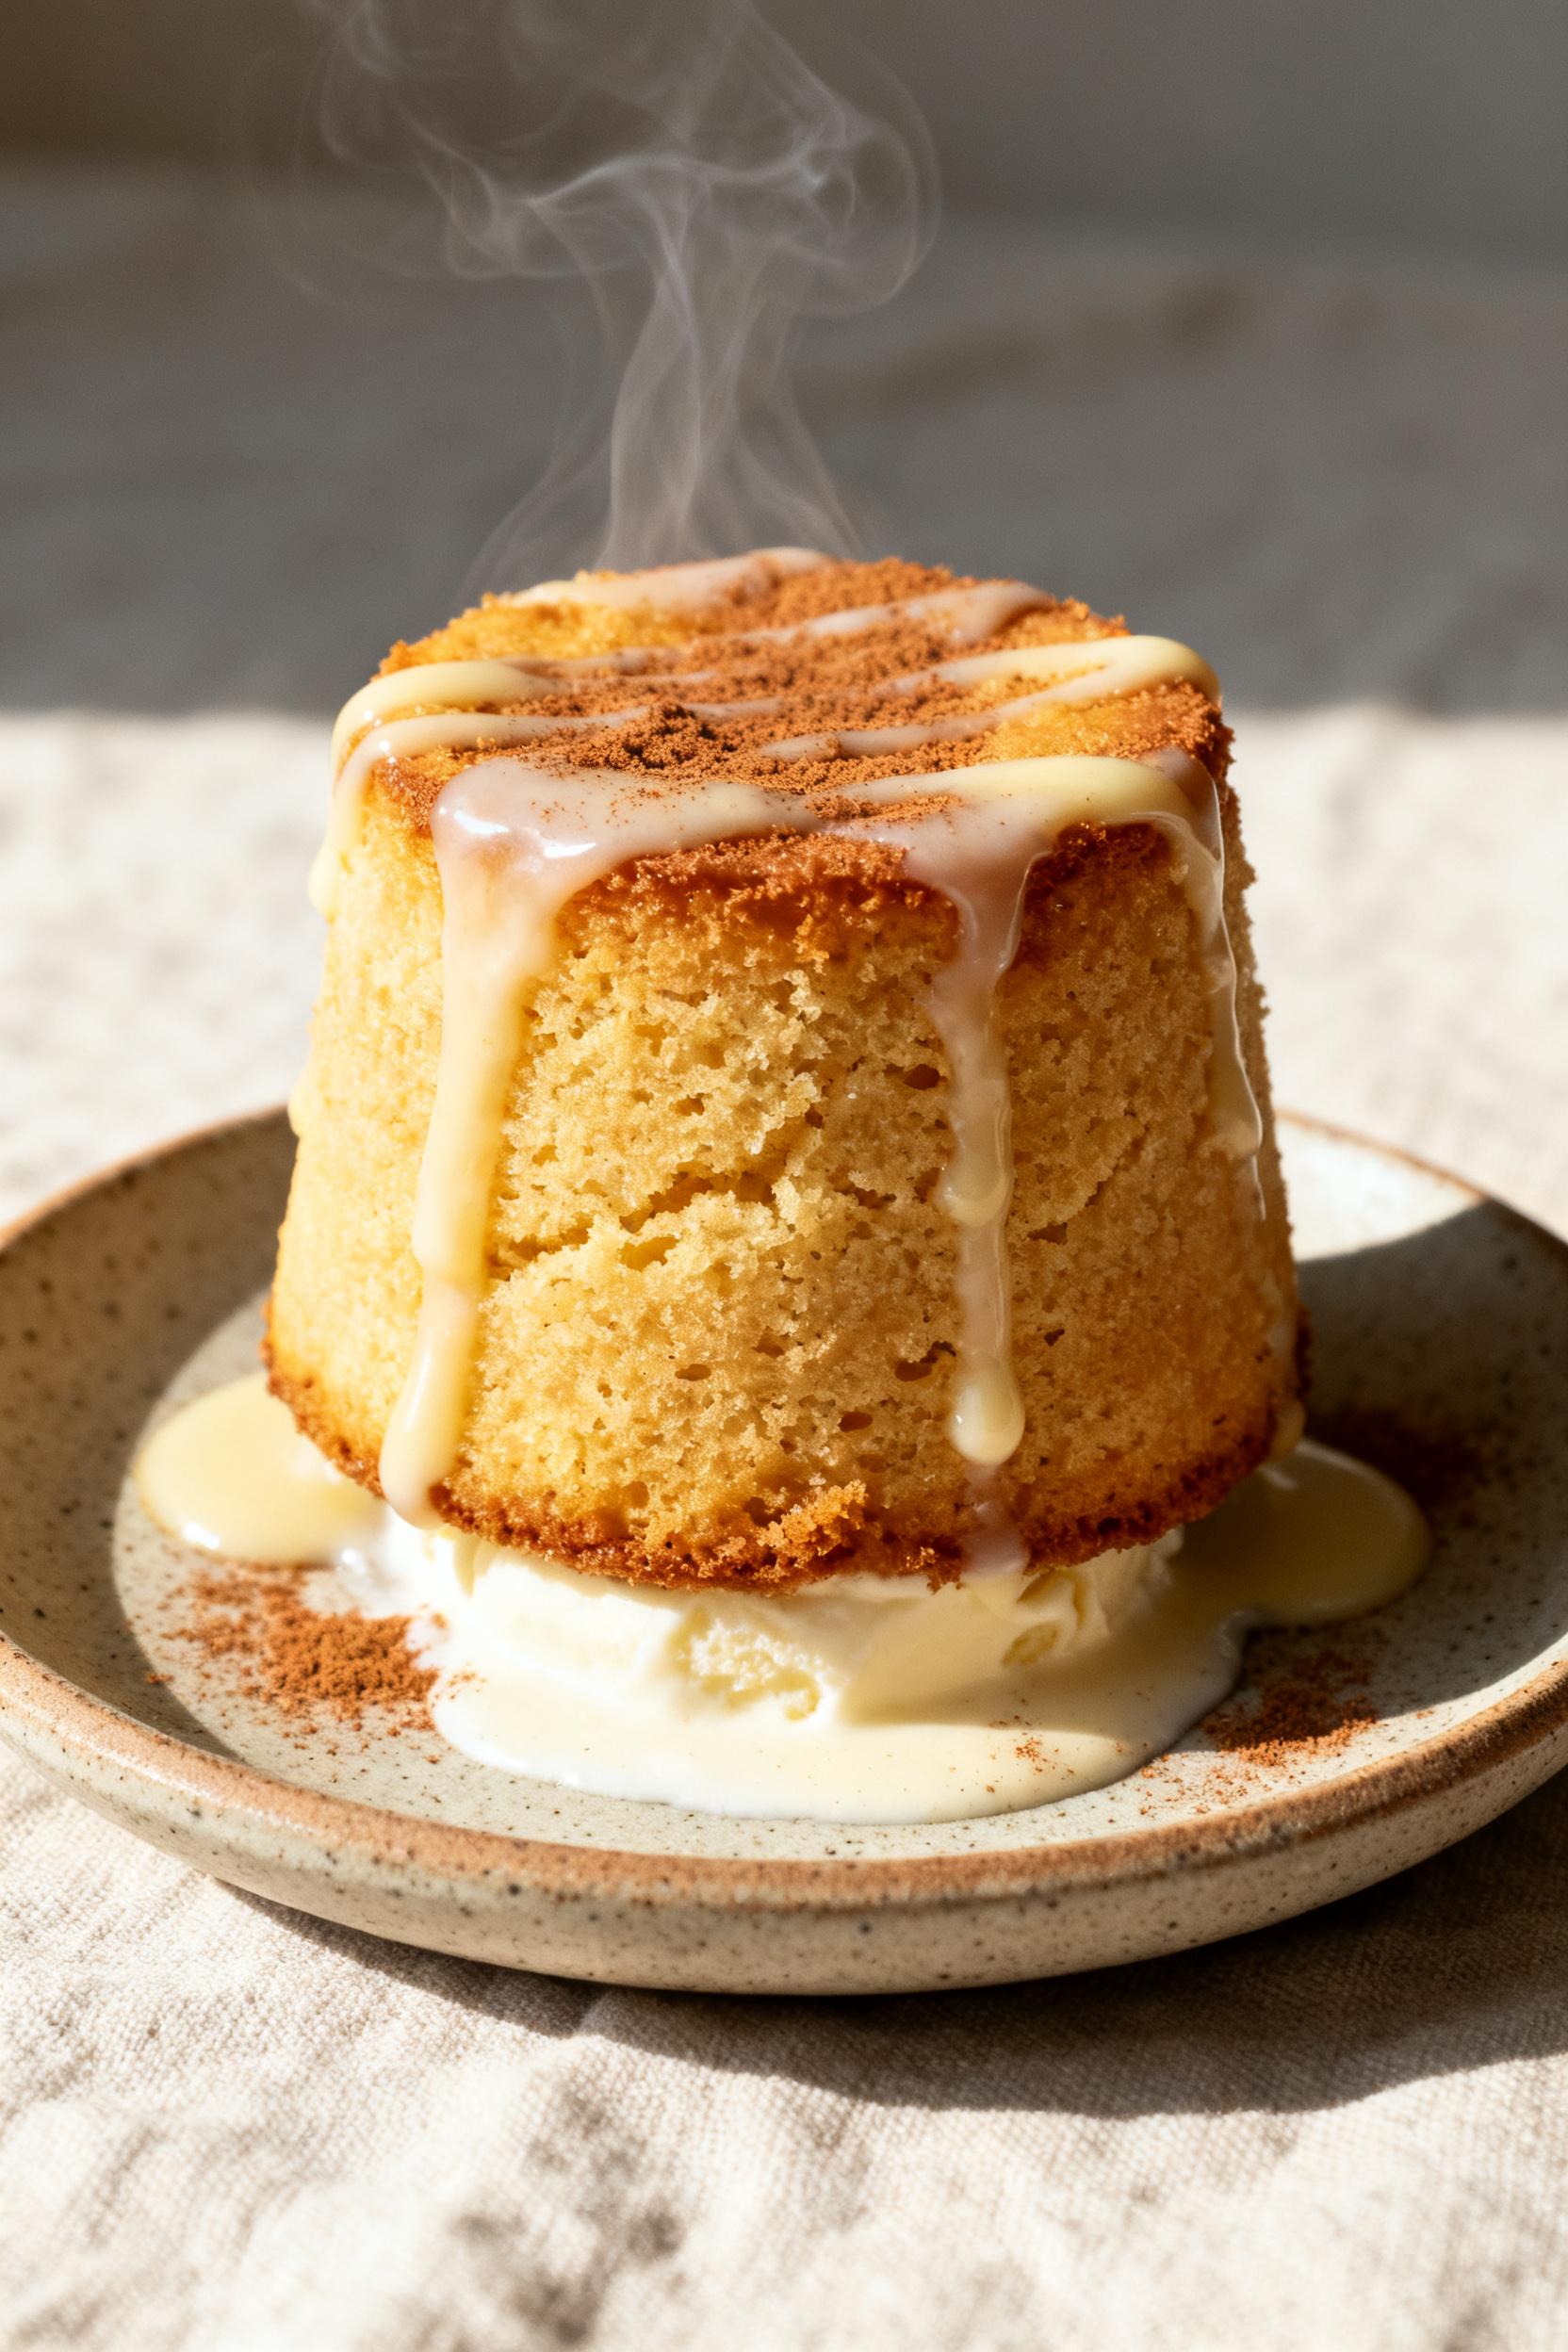
This recipe delivers a soft, tender crumb with rich vanilla flavor and a hint of butter—no fancy equipment required. You’ll mix it right in the mug, air fry for a few minutes, and enjoy it straight away. Simple, satisfying, and just the right size.
In this article:
Why This Recipe Works
- Fast and foolproof: The air fryer creates an even, gentle heat that bakes the cake quickly without drying it out.
- Mix-in-the-mug convenience: Fewer dishes and less fuss.
Everything happens in one cup.
- Balanced texture: The combo of milk, oil, and a touch of butter keeps the cake moist and tender.
- Customizable flavor: Vanilla is a great base. Add sprinkles, cinnamon, chocolate chips, or a spoon of jam if you like.
- Right-sized portion: It satisfies the sweet tooth without a whole cake staring at you from the counter.
Ingredients
- 1/4 cup all-purpose flour (spooned and leveled)
- 2 tablespoons granulated sugar
- 1/4 teaspoon baking powder
- Pinch of fine salt
- 3 tablespoons milk (dairy or unsweetened almond milk)
- 1 tablespoon neutral oil (canola, vegetable, or light olive oil)
- 1/2 tablespoon melted unsalted butter (optional but recommended for flavor)
- 1 teaspoon pure vanilla extract
- Optional add-ins: 1 tablespoon mini chocolate chips, a pinch of cinnamon, or 1 teaspoon rainbow sprinkles
- Optional topping: whipped cream, a dusting of powdered sugar, or a scoop of ice cream
Instructions
- Choose the right mug: Use a microwave-safe and oven-safe ceramic mug that holds at least 12 ounces. This gives the cake room to rise.
- Preheat the air fryer: Set it to 330°F (165°C).
Preheating helps the cake rise evenly and bake on time.
- Mix dry ingredients: In the mug, add flour, sugar, baking powder, and a pinch of salt. Stir with a fork until well combined and no streaks remain.
- Add wet ingredients: Pour in milk, oil, melted butter, and vanilla. Stir until the batter is smooth.
Scrape the bottom and sides so no dry pockets hide.
- Add optional mix-ins: Fold in chocolate chips, sprinkles, or a dash of cinnamon if you like.
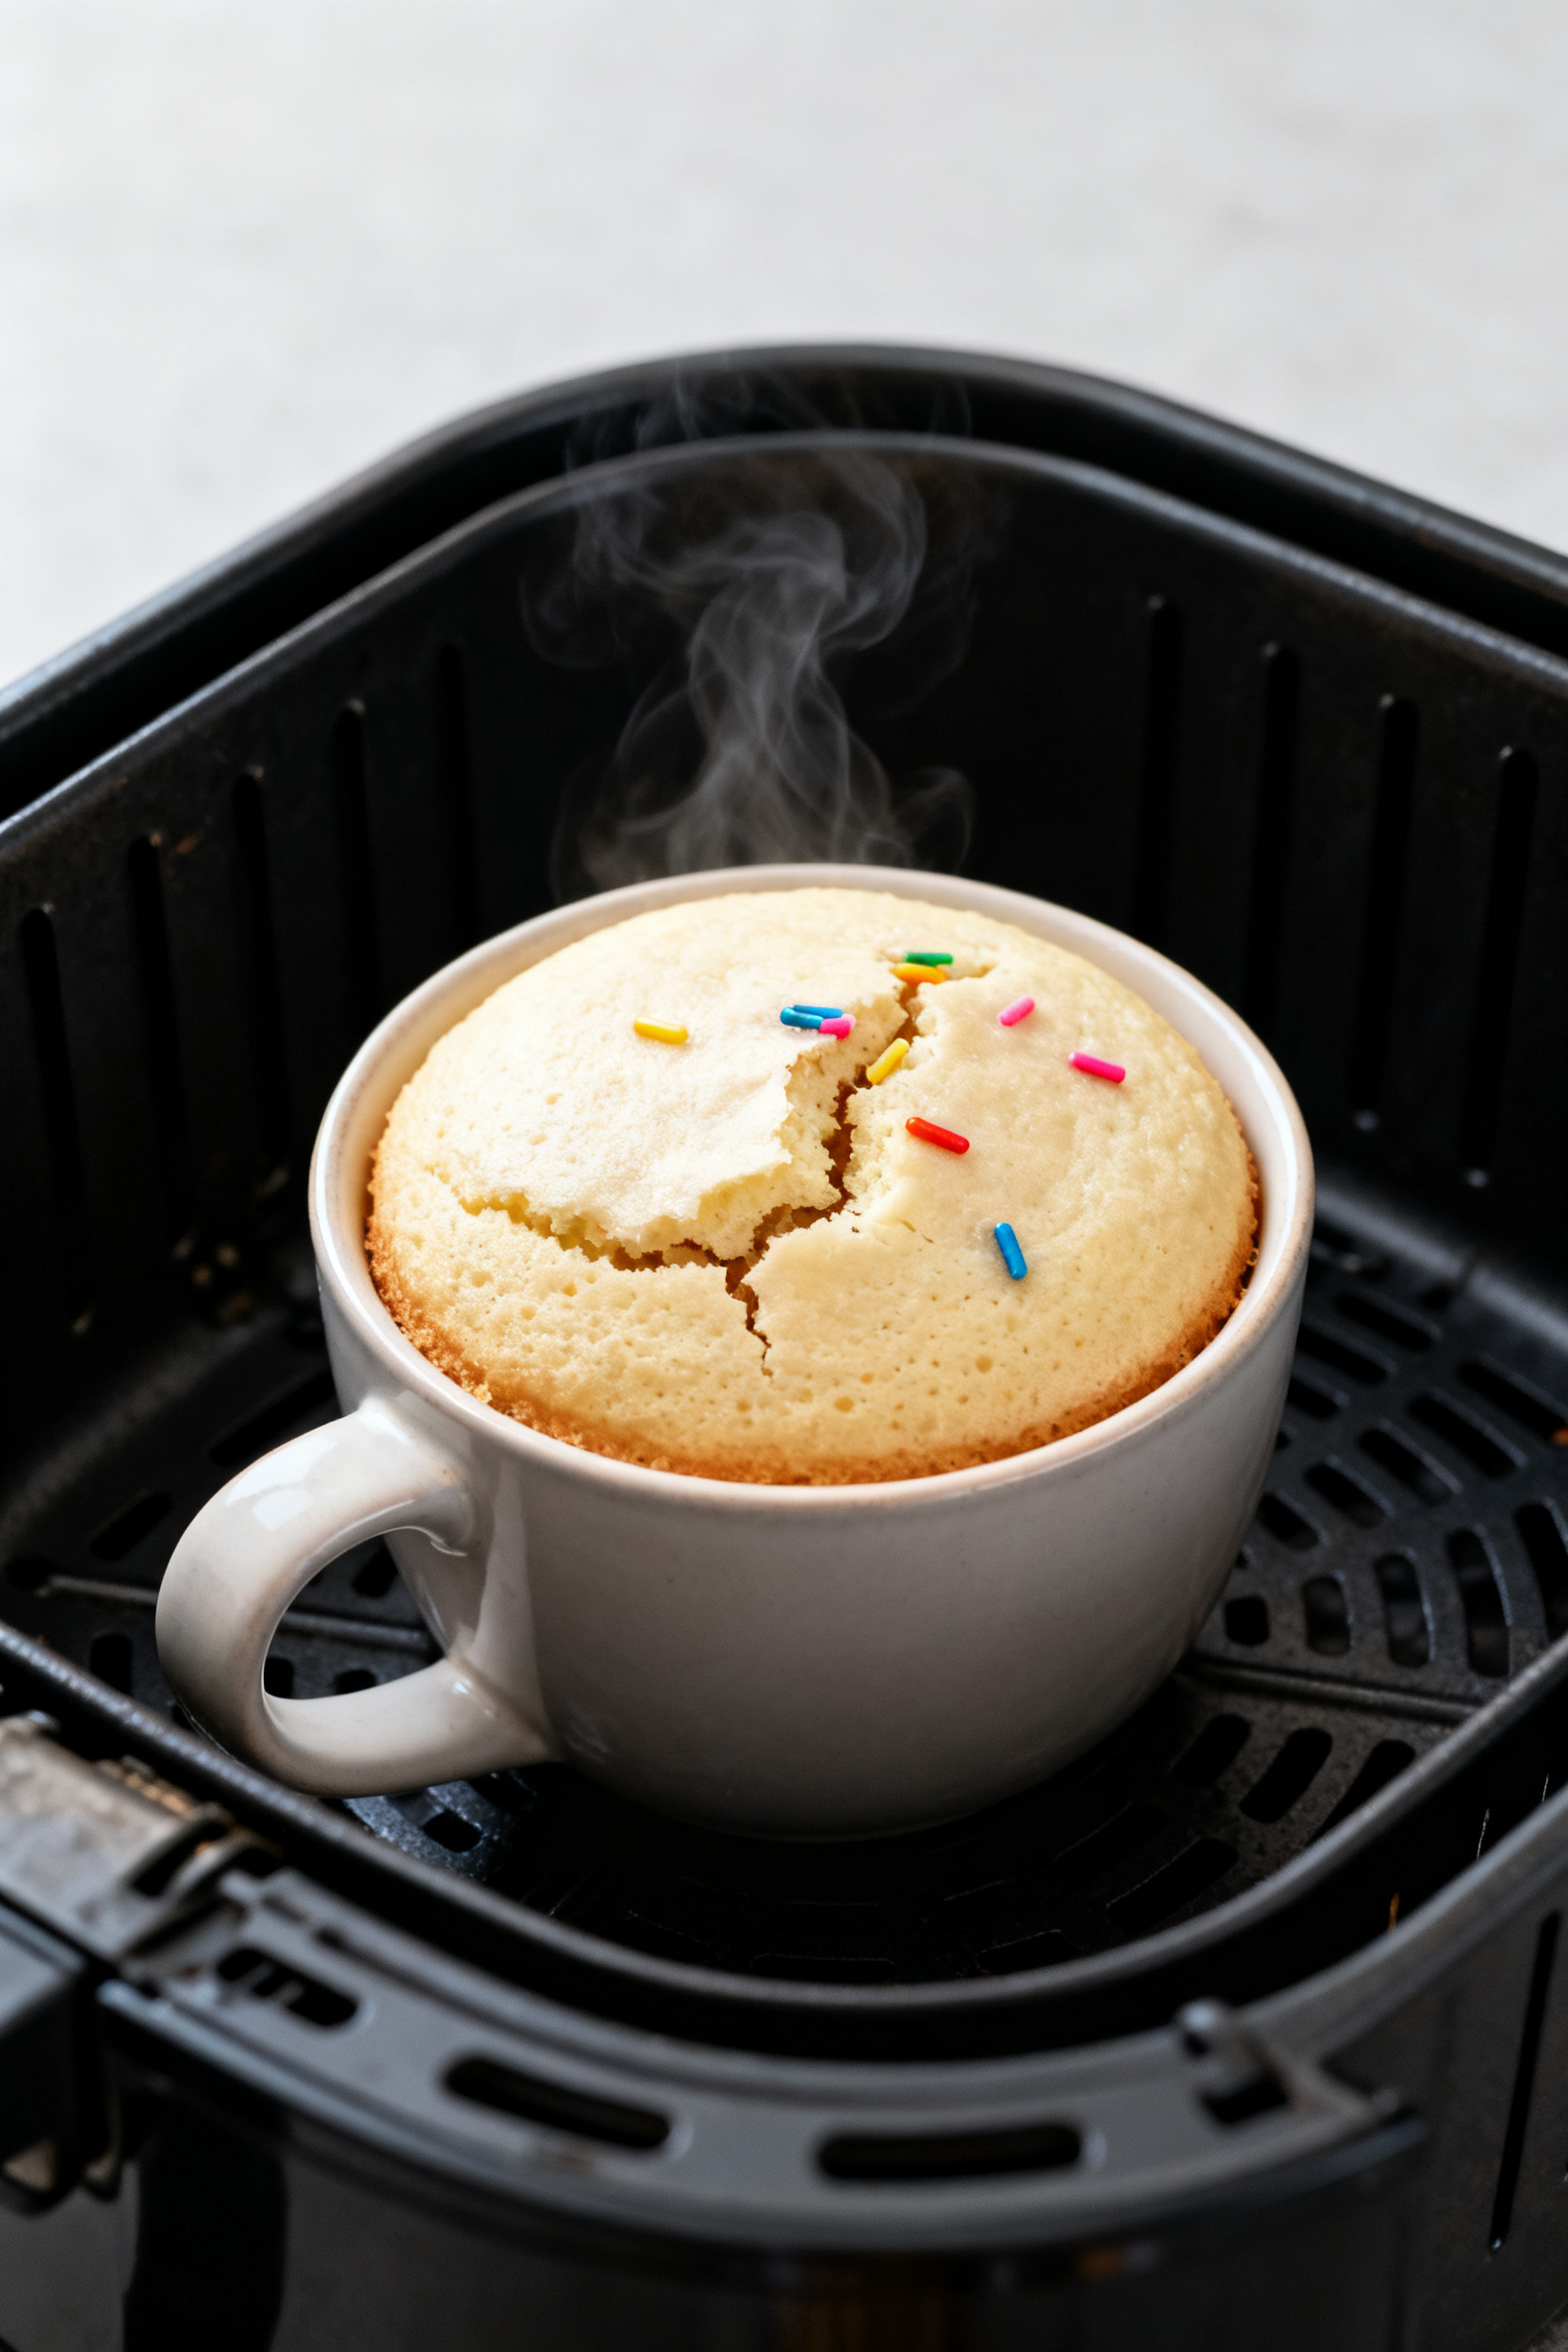
- Air fry: Place the mug carefully in the air fryer basket. Cook at 330°F (165°C) for 8–10 minutes. Start checking at 8 minutes.
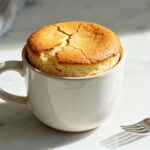
- Check doneness: The top should look set and spring back lightly when touched.
A toothpick inserted in the center should come out with a few moist crumbs, not wet batter.
- Cool briefly: Let the mug cake rest for 2–3 minutes. This sets the crumb and keeps it tender.
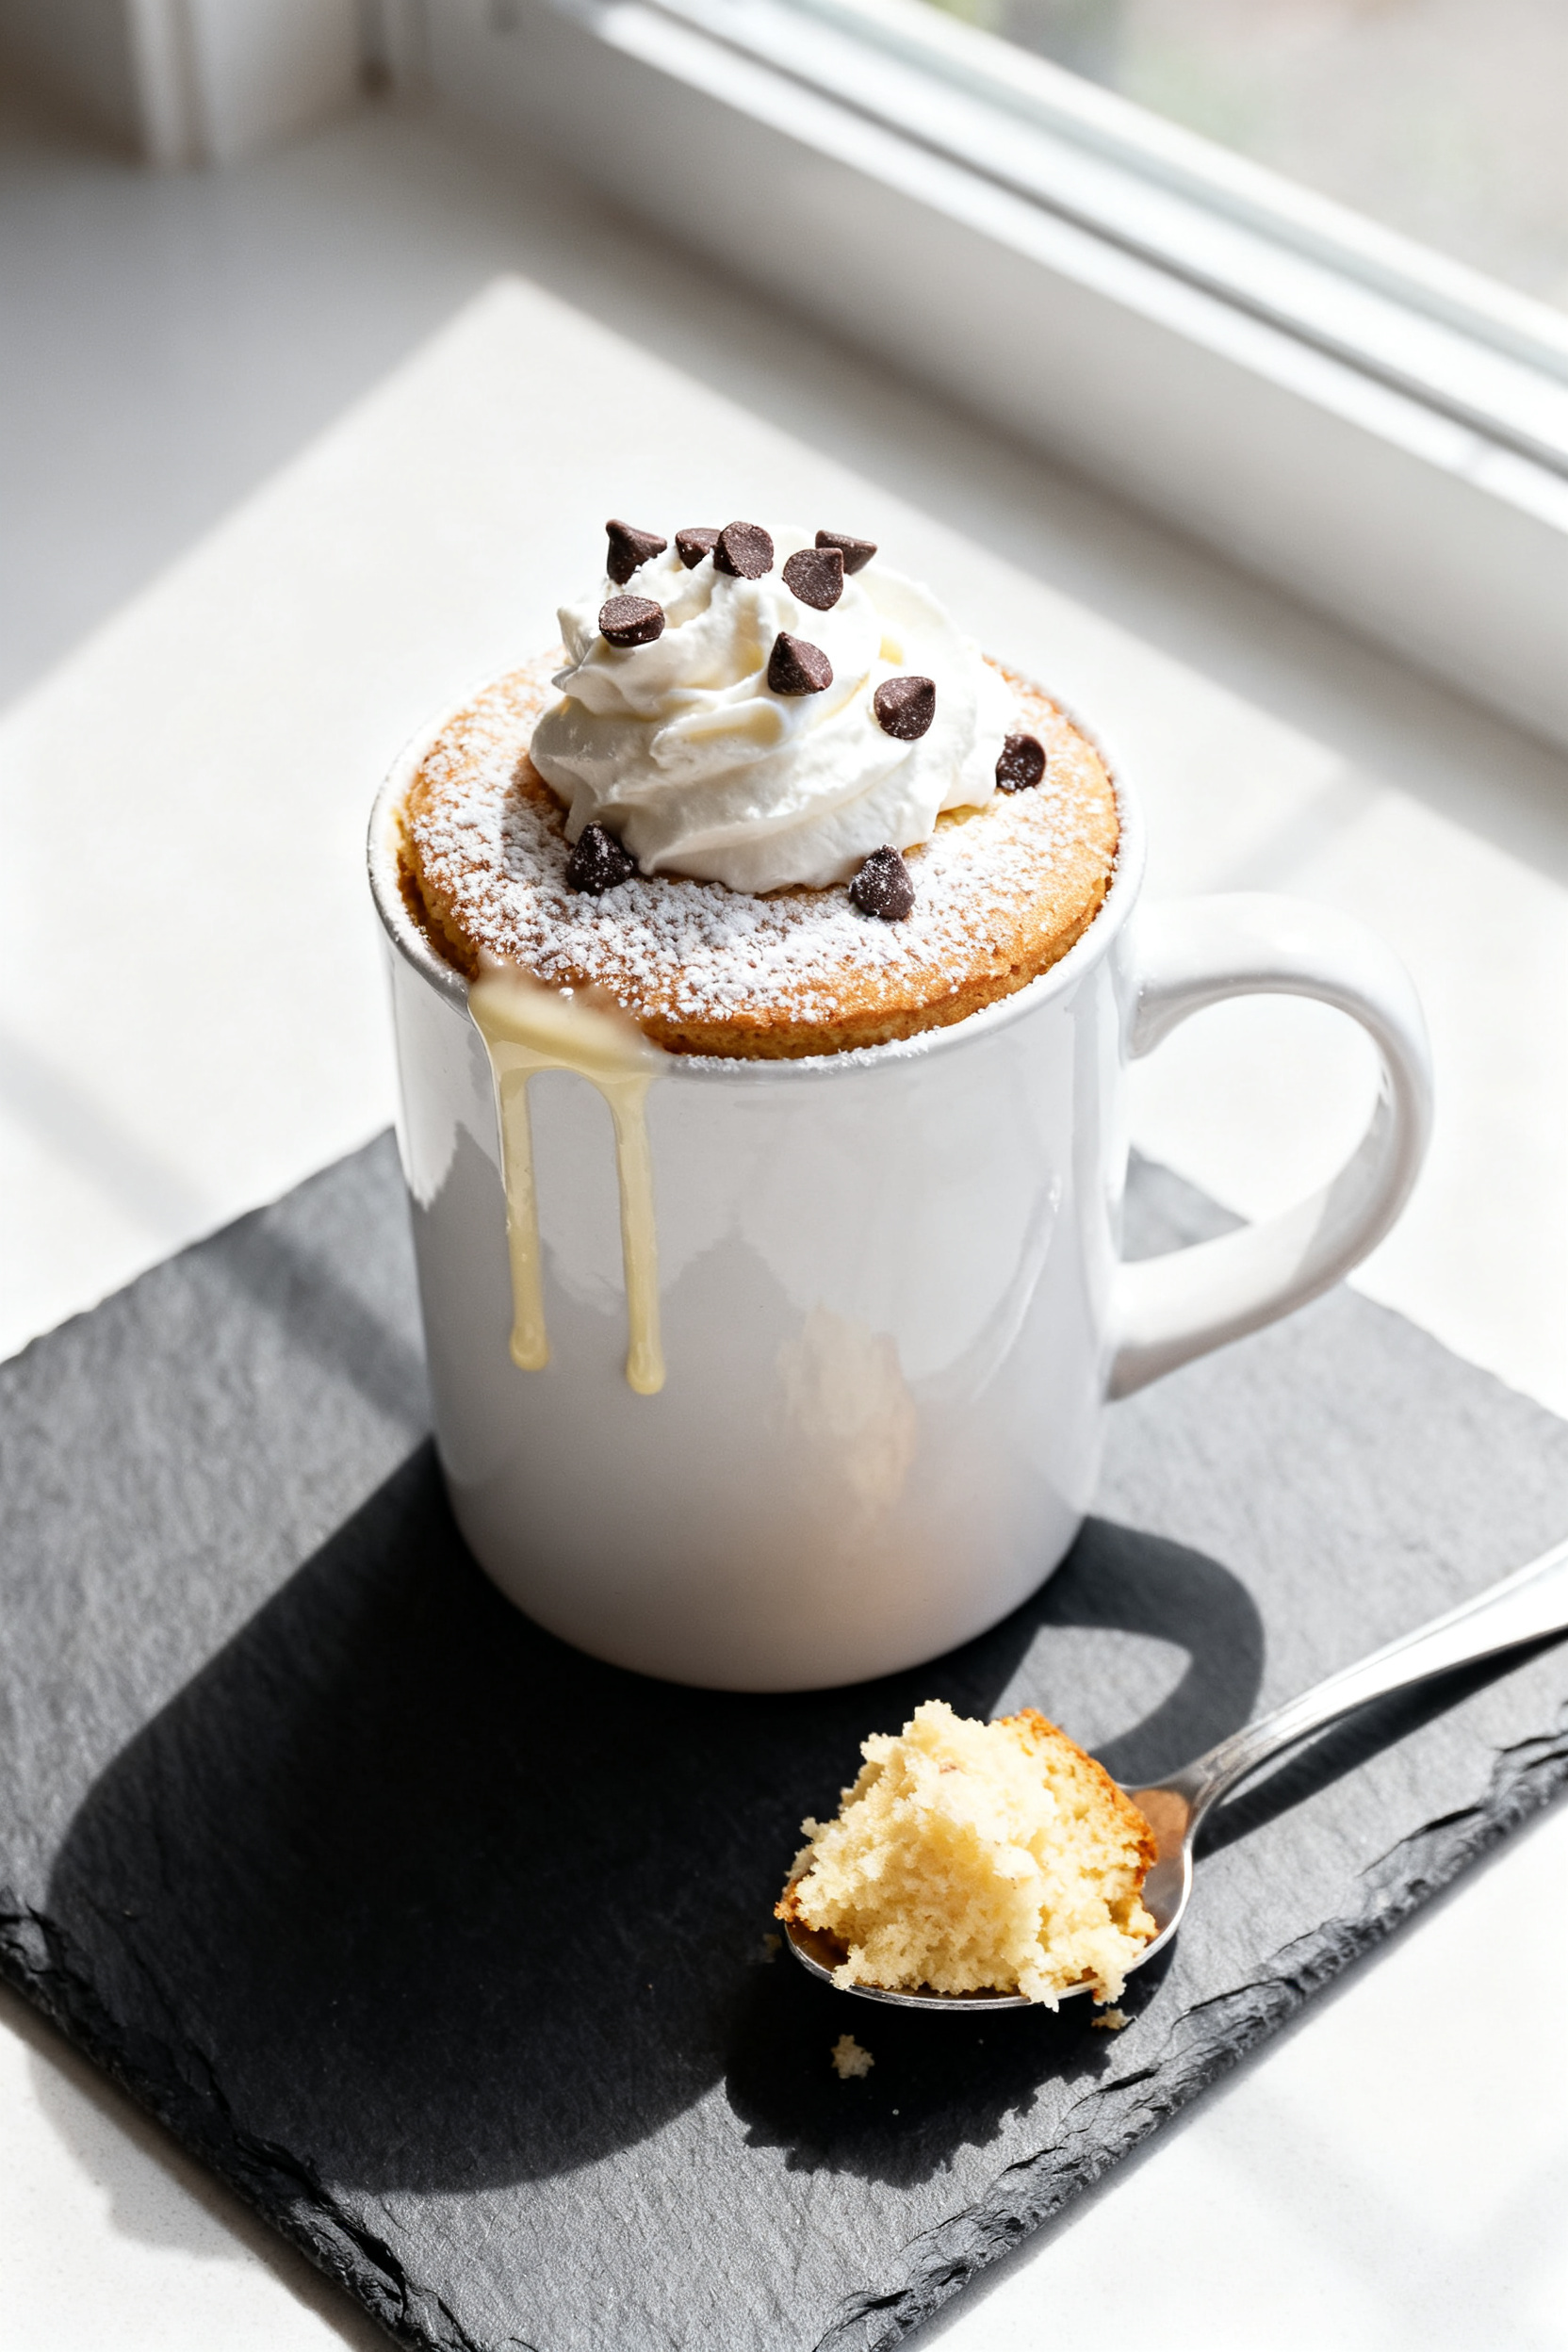
- Finish and serve: Top with a dollop of whipped cream, a dusting of powdered sugar, or ice cream. Enjoy warm.
Keeping It Fresh
- Best eaten right away: Mug cake is at its peak within 10–15 minutes.
That’s when it’s soft and steamy.
- Short-term storage: If you must save it, cover the cooled mug and keep it at room temperature for up to 6 hours, or refrigerate for up to 24 hours.
- Reheating: Warm gently in the air fryer at 300°F (150°C) for 2–3 minutes or in the microwave for 10–15 seconds. Avoid overheating, which can make it rubbery.
- Make-ahead mix: Combine the dry ingredients in a small jar. When ready, stir in the wet ingredients and air fry.
Great for quick treats.
Health Benefits
- Portion control: You’re making a single serving, which naturally limits overindulging without feeling deprived.
- Lower oil than many cakes: Using just a tablespoon of oil and a small amount of butter keeps it moist without being heavy.
- Customizable dairy: Use dairy-free milk to fit your needs, or choose reduced-fat milk to trim calories slightly.
- Air fryer efficiency: Compared to heating a whole oven, an air fryer is quicker and uses less energy for a small dessert.
What Not to Do
- Don’t skip preheating: A cold air fryer can lead to uneven rise and a gummy center.
- Don’t overmix: Stir until just smooth. Overmixing develops gluten and can make the cake tough.
- Don’t overfill the mug: Leave at least 1 inch of headspace. The batter needs room to rise without spilling.
- Don’t crank up the heat: Higher temperatures can brown the top too fast while the center stays raw.
- Don’t rely only on time: Air fryers vary.
Always check with a toothpick and a gentle press on the top.
Alternatives
- Gluten-free: Use a 1:1 gluten-free all-purpose flour blend. If it contains xanthan gum, you’re set. Add a teaspoon more milk if the batter feels thick.
- Egg-free (as written): This recipe doesn’t use eggs, which keeps the crumb soft.
If you prefer extra richness, add 1 teaspoon mayonnaise or yogurt.
- Dairy-free: Swap milk for almond, oat, or soy milk and use oil only (skip the butter) or dairy-free butter.
- Lower sugar: Reduce sugar to 1 tablespoon for a lightly sweet cake. Add a few blueberries or a drizzle of honey on top.
- Flavor twists: Try almond extract (1/4 teaspoon) in place of some vanilla, add lemon zest, or swirl in 1 teaspoon of jam.
- Chocolate version: Replace 1 tablespoon of flour with 1 tablespoon of unsweetened cocoa powder and add 1 extra teaspoon of milk.
FAQ
Can I use self-rising flour?
Yes. Replace the all-purpose flour and baking powder with 1/4 cup self-rising flour.
Keep the pinch of salt for balance.
What size mug works best?
Use a sturdy ceramic mug that holds at least 12 ounces. Tall, straight sides help the cake rise evenly and avoid overflow.
Why is my mug cake rubbery?
It was likely overmixed or overcooked. Mix just until smooth and start checking at 8 minutes.
Also, don’t skip the brief resting time after cooking.
Can I double the recipe?
Make two separate mugs rather than doubling in one. Air fry both at the same time if they fit, and add 1–2 minutes if needed. Rotate the mugs halfway for even baking.
Do I need to grease the mug?
Not usually.
The oil in the batter prevents sticking. If your mug is prone to sticking, lightly grease it with butter or oil.
Can I bake this in the microwave instead?
Yes. Microwave on high for 60–90 seconds, checking at 60 seconds.
The texture will be a bit lighter and more sponge-like than the air fryer version.
How do I know it’s done without a toothpick?
Gently press the center. It should spring back and not leave a wet imprint on your finger. The top should look set, not shiny.
Can I add frosting?
Absolutely.
A quick option: mix 2 tablespoons powdered sugar with a few drops of milk and a splash of vanilla for a simple glaze. Drizzle over the warm cake.
Why did my cake overflow?
The mug was too small or too full, or the air fryer was too hot. Use a 12-ounce mug and keep the batter below the rim by at least 1 inch.
Can I make it vegan?
Yes.
Use plant-based milk and skip the butter or use vegan butter. Everything else is already vegan-friendly.
Wrapping Up
An Air Fryer Vanilla Mug Cake is the kind of dessert you can make on a whim and enjoy in minutes. It’s cozy, simple, and endlessly customizable, with a soft crumb and warm vanilla aroma.
Keep the dry ingredients on hand, and you’re always a few steps away from a sweet treat. Whether you top it with whipped cream, a scoop of ice cream, or nothing at all, this little cake delivers big comfort with minimal effort. For more single-batch treats, try our Air Fryer Lemon Drizzle Cake or a slice of Air Fryer Coffee Cake with Streusel, and if chocolate is calling, our Air Fryer Fudgy Brownies are always a good idea.
Air Fryer Vanilla Mug Cake – A Quick, Cozy Treat for One
Ingredients
- 1/4 cup all-purpose flour (spooned and leveled)
- 2 tablespoons granulated sugar
- 1/4 teaspoon baking powder
- Pinch of fine salt
- 3 tablespoons milk (dairy or unsweetened almond milk)
- 1 tablespoon neutral oil (canola, vegetable, or light olive oil)
- 1/2 tablespoon melted unsalted butter (optional but recommended for flavor)
- 1 teaspoon pure vanilla extract
- Optional add-ins: 1 tablespoon mini chocolate chips, a pinch of cinnamon, or 1 teaspoon rainbow sprinkles
- Optional topping: whipped cream, a dusting of powdered sugar, or a scoop of ice cream
Instructions
- Choose the right mug: Use a microwave-safe and oven-safe ceramic mug that holds at least 12 ounces. This gives the cake room to rise.
- Preheat the air fryer: Set it to 330°F (165°C).Preheating helps the cake rise evenly and bake on time.
- Mix dry ingredients: In the mug, add flour, sugar, baking powder, and a pinch of salt. Stir with a fork until well combined and no streaks remain.
- Add wet ingredients: Pour in milk, oil, melted butter, and vanilla. Stir until the batter is smooth.Scrape the bottom and sides so no dry pockets hide.
- Add optional mix-ins: Fold in chocolate chips, sprinkles, or a dash of cinnamon if you like.
- Air fry: Place the mug carefully in the air fryer basket. Cook at 330°F (165°C) for 8–10 minutes. Start checking at 8 minutes.
- Check doneness: The top should look set and spring back lightly when touched.A toothpick inserted in the center should come out with a few moist crumbs, not wet batter.
- Cool briefly: Let the mug cake rest for 2–3 minutes. This sets the crumb and keeps it tender.
- Finish and serve: Top with a dollop of whipped cream, a dusting of powdered sugar, or ice cream. Enjoy warm.
Printable Recipe Card
Want just the essential recipe details without scrolling through the article? Get our printable recipe card with just the ingredients and instructions.