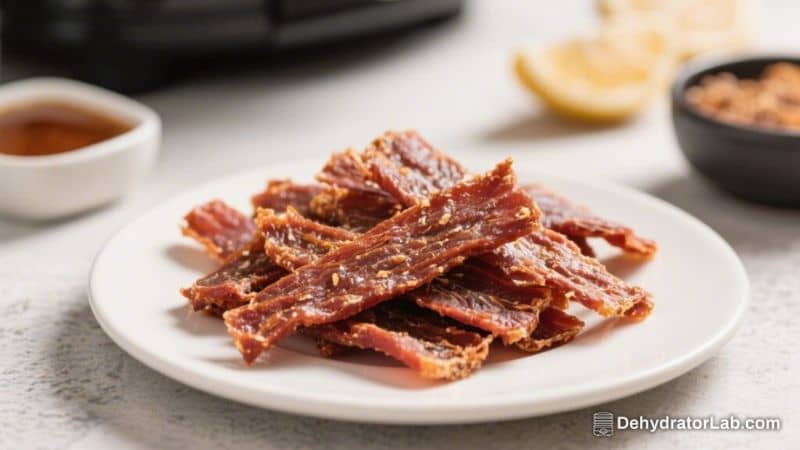
If you love jerky but want to skip the added sugar, this air fryer turkey jerky hits the spot. It’s savory, peppery, and full of bold flavor without the sweet finish. Using the air fryer keeps things simple and fast compared to an oven or dehydrator.
You’ll get a chewy, tender jerky with clean ingredients you can pronounce. Make a batch on Sunday, and you’ve got snacks ready for the week.
In this article:
What Makes This Special
This recipe keeps it simple: real turkey, straightforward spices, and no sugar. It’s great if you’re watching your carbs or just want a cleaner snack.
Air frying reduces the time it takes to dry the meat while keeping the texture you want in jerky. Plus, you don’t need any special equipment beyond a sharp knife and your air fryer.
- No added sugar: Pure savory flavor without syrups or sweeteners.
- Fast and practical: Jerky in hours, not days.
- Lean protein: Turkey breast makes a lighter, lower-fat jerky.
- Customizable: Adjust spices and heat to your taste.
What You’ll Need
- 1.5 to 2 pounds turkey breast (boneless, skinless)
- 2 tablespoons coconut aminos or low-sodium soy sauce (note: coconut aminos have natural sugars but no added sugar; choose soy/tamari if avoiding all sugars)
- 1 tablespoon apple cider vinegar
- 1 tablespoon Worcestershire sauce (optional; check label for no-sugar-added)
- 1 teaspoon smoked paprika
- 1 teaspoon onion powder
- 1 teaspoon garlic powder
- 1 teaspoon freshly ground black pepper
- 1/2 to 1 teaspoon red pepper flakes (optional, for heat)
- 1 teaspoon fine sea salt (adjust to taste)
- 1 tablespoon avocado oil (or olive oil)
- Nonstick spray (for air fryer basket or racks)
- Zip-top bag or shallow dish for marinating
- Paper towels for blotting
Step-by-Step Instructions
- Partially freeze the turkey: Place the turkey breast in the freezer for 45–60 minutes. This firms it up and makes thin slicing easier.
- Prep the marinade: In a bowl, combine coconut aminos or soy, apple cider vinegar, Worcestershire (if using), smoked paprika, onion powder, garlic powder, black pepper, red pepper flakes, salt, and avocado oil.
Stir well.
- Slice the turkey: Using a sharp knife, slice the turkey against the grain into thin strips, about 1/8 to 1/4 inch thick. Thinner slices dry faster and get chewier; thicker slices stay meatier.
- Marinate: Add turkey strips to the marinade. Toss to coat.
Seal and refrigerate for at least 4 hours, preferably overnight for deeper flavor.
- Drain and blot: Remove turkey from the marinade and lay pieces on paper towels. Blot well to remove excess moisture. This helps even drying.
- Preheat the air fryer: Set to 180–200°F (80–95°C) if your model allows.
If not, use the lowest setting available. Lightly grease the basket or racks with nonstick spray.
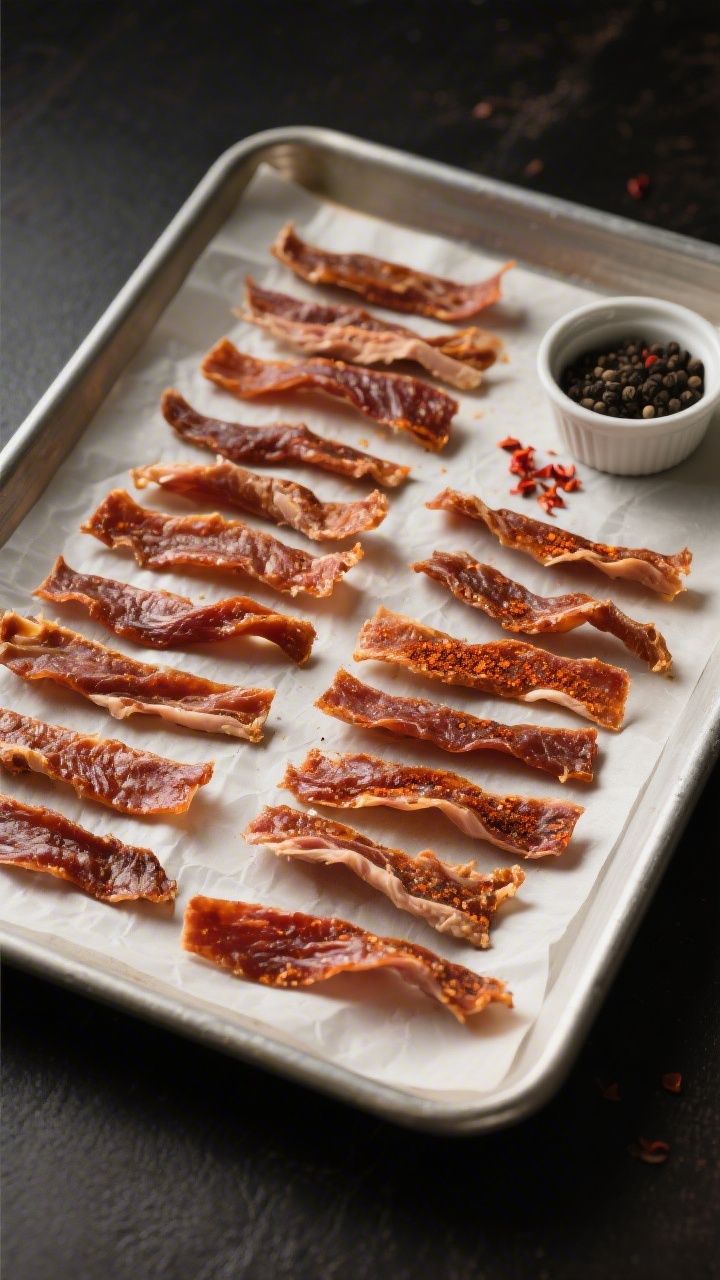
- Arrange the strips: Lay turkey in a single layer with slight spacing. Avoid overlap.
If your air fryer has racks, use them for more capacity and airflow.
- Air fry and rotate: Dry at 180–200°F for 2 to 3.5 hours, flipping and rotating racks every 30–45 minutes. Time varies by thickness and air fryer model.
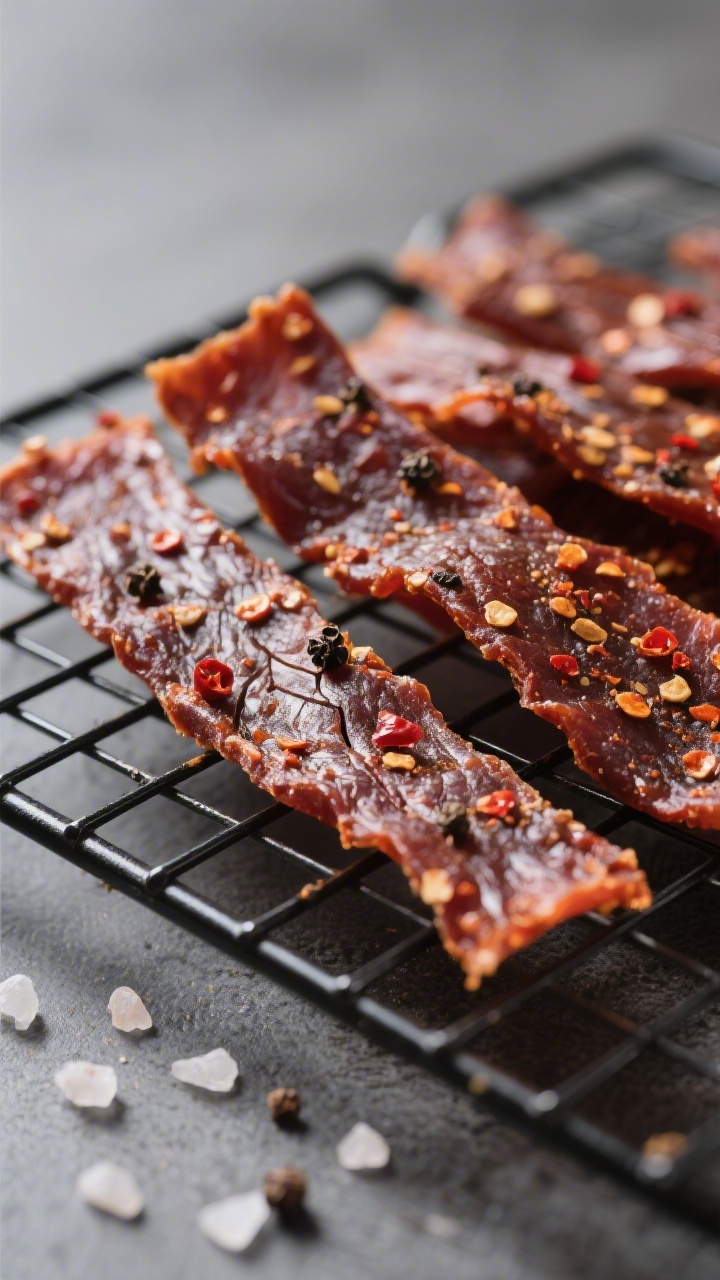
- Check for doneness: Jerky should be dry to the touch, deeper in color, and flexible, not brittle. Bend a piece; it should crack slightly but not snap.
If the center looks raw or wet, keep going in 15–20 minute increments.
- Cool and condition: Let jerky cool on a rack. For best texture, place cooled pieces loosely in a paper bag or a loosely covered container for a few hours to “condition” and equalize moisture.
Keeping It Fresh
- Short-term: Store in an airtight container at room temperature for up to 2 days if fully dried.
- Refrigerate: For 1 to 2 weeks in a sealed container or zip bag. Add a paper towel to absorb any residual moisture.
- Freeze: For up to 3 months.
Use freezer bags, squeeze out air, and label the date. Thaw in the fridge.
- Moisture control: If you see condensation or the jerky feels tacky after storage, return it to the air fryer at 180°F for 10–15 minutes to dry further.
Why This is Good for You
- High in protein: Helps with satiety, muscle repair, and steady energy.
- Low in sugar and carbs: Supports low-carb, keto, and diabetes-friendly eating patterns.
- Lean meat choice: Turkey breast offers protein with less fat than many red meats.
- Controlled sodium: You choose the salt level and seasoning.
- No mystery ingredients: Clean, simple pantry staples you can trust.
Pitfalls to Watch Out For
- Too thick or uneven slices: Leads to over-drying thin pieces and under-drying thick ones. Aim for consistent thickness.
- Skipping the blot: Excess marinade can steam the meat and slow drying, hurting texture.
- High temperature: Going above 200°F can cook instead of dehydrate, making jerky tough on the outside and underdone inside.
- Overcrowding: Airflow is key.
Work in batches for even drying.
- Under-drying: Moist centers can spoil faster. Do the bend test and check the interior.
Variations You Can Try
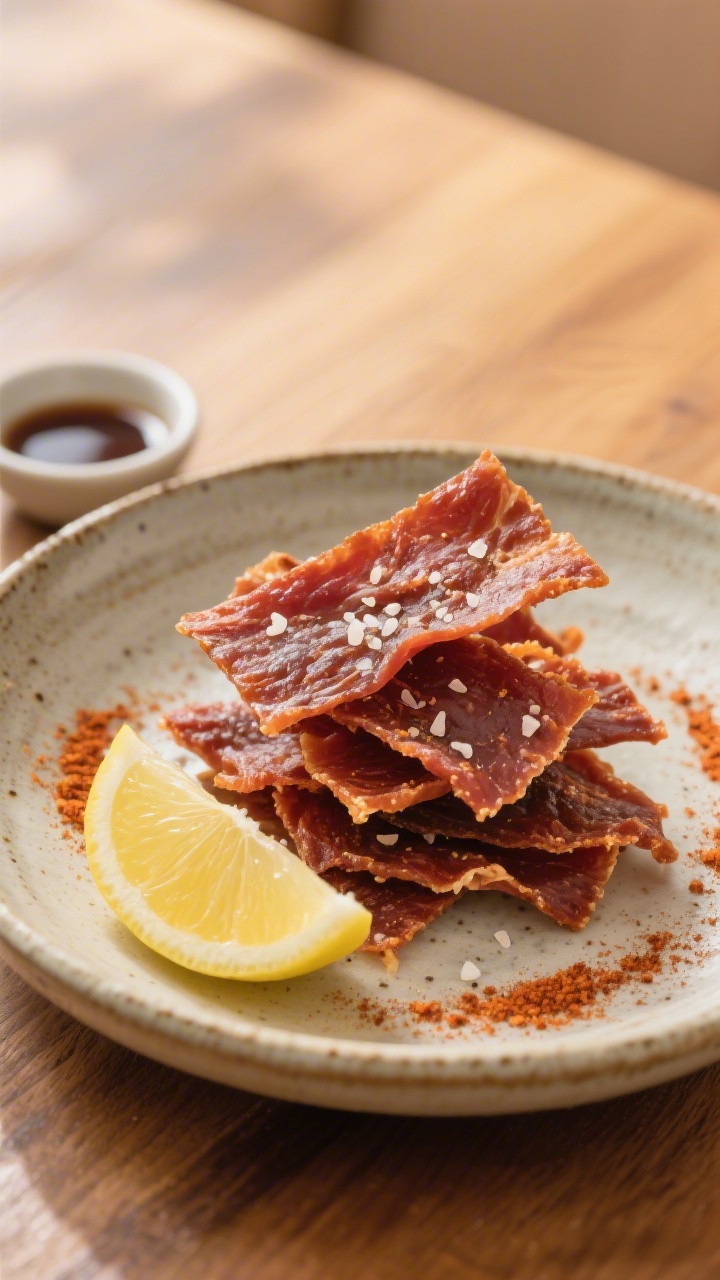
- Lemon pepper: Add 1 teaspoon lemon zest and 1 extra teaspoon black pepper; finish with a light squeeze of lemon once cooled.
- Herb and garlic: Stir 2 teaspoons Italian seasoning into the marinade and bump garlic powder to 1.5 teaspoons.
- Chipotle-lime: Add 1 teaspoon chipotle powder and 1 tablespoon lime juice; sprinkle a pinch of sea salt after drying.
- Ginger sesame: Add 1 teaspoon ground ginger and 1 teaspoon toasted sesame oil; finish with sesame seeds.
- Extra smoky: Add 1/2 teaspoon liquid smoke to the marinade for a deeper barbecue vibe.
FAQ
Can I make this completely sugar-free?
Yes. Use low-sodium soy sauce or tamari instead of coconut aminos, and choose a Worcestershire sauce labeled no-sugar-added, or skip it.
The recipe will still be flavorful and savory.
How do I slice the turkey if I don’t have a very sharp knife?
Partially freeze the turkey for up to an hour to firm it up. This makes cleaner, thinner slices even with a basic knife. A long slicing knife or a chef’s knife works best.
What if my air fryer doesn’t go as low as 180°F?
Use the lowest setting you have and shorten the cook time if needed.
Check often and flip more frequently to prevent overcooking. You can also crack the air fryer door slightly between checks to vent heat if your model allows it safely.
How do I know it’s safe to eat?
Jerky is safe when it’s fully dried and any harmful bacteria have been addressed through adequate time and temperature. Keep the temperature steady and dry until the bend test passes and no wet spots remain.
If unsure, briefly heat the marinated strips in a 275°F oven for 10–15 minutes before dehydrating to pre-pasteurize, then proceed with low-temp drying.
Can I use ground turkey instead of sliced breast?
Yes, but you’ll need to form thin, even strips or sheets using a jerky gun or by pressing between parchment. Ground turkey dries faster and can be more uniform, but handle gently to avoid crumbling.
How spicy is this recipe?
As written, it’s mild to medium depending on the red pepper flakes. Reduce or omit them for a mild version, or add chipotle or extra flakes for more heat.
Why is my jerky tough?
It may have been sliced with the grain, cooked at too high a temperature, or over-dried.
Next time, slice against the grain, keep temps low, and start checking earlier.
Can I double the recipe?
Yes. Marinate in a large bag or two smaller ones for better coverage. Dry in batches to keep airflow strong, rotating racks if your air fryer has them.
Do I need curing salt?
Not for short-term storage and quick consumption.
Curing salts are used for extended shelf life and specific preservation methods. If you plan long storage at room temp, follow a tested jerky preservation method.
Final Thoughts
This air fryer turkey jerky keeps things simple: clean ingredients, no added sugar, and a satisfying chew. It’s practical for meal prep, customizable, and perfect for on-the-go snacking.
Once you dial in your preferred slice thickness and spice level, it becomes a reliable, better-for-you staple you’ll make again and again.
Air Fryer Turkey Jerky No Sugar – Simple, Clean, High-Protein Snack
Ingredients
- 1.5 to 2 pounds turkey breast (boneless, skinless)
- 1 tablespoon apple cider vinegar
- 1 tablespoon Worcestershire sauce (optional; check label for no-sugar-added)
- 1 teaspoon smoked paprika
- 1 teaspoon onion powder
- 1 teaspoon garlic powder
- 1 teaspoon freshly ground black pepper
- 1/2 to 1 teaspoon red pepper flakes (optional, for heat)
- 1 teaspoon fine sea salt (adjust to taste)
- 1 tablespoon avocado oil (or olive oil)
- Nonstick spray (for air fryer basket or racks)
- Zip-top bag or shallow dish for marinating
- Paper towels for blotting
Instructions
- Partially freeze the turkey: Place the turkey breast in the freezer for 45–60 minutes. This firms it up and makes thin slicing easier.
- Prep the marinade: In a bowl, combine coconut aminos or soy, apple cider vinegar, Worcestershire (if using), smoked paprika, onion powder, garlic powder, black pepper, red pepper flakes, salt, and avocado oil.Stir well.
- Slice the turkey: Using a sharp knife, slice the turkey against the grain into thin strips, about 1/8 to 1/4 inch thick. Thinner slices dry faster and get chewier; thicker slices stay meatier.
- Marinate: Add turkey strips to the marinade. Toss to coat.Seal and refrigerate for at least 4 hours, preferably overnight for deeper flavor.
- Drain and blot: Remove turkey from the marinade and lay pieces on paper towels. Blot well to remove excess moisture. This helps even drying.
- Preheat the air fryer: Set to 180–200°F (80–95°C) if your model allows.If not, use the lowest setting available. Lightly grease the basket or racks with nonstick spray.
- Arrange the strips: Lay turkey in a single layer with slight spacing. Avoid overlap.If your air fryer has racks, use them for more capacity and airflow.
- Air fry and rotate: Dry at 180–200°F for 2 to 3.5 hours, flipping and rotating racks every 30–45 minutes. Time varies by thickness and air fryer model.
- Check for doneness: Jerky should be dry to the touch, deeper in color, and flexible, not brittle. Bend a piece; it should crack slightly but not snap.If the center looks raw or wet, keep going in 15–20 minute increments.
- Cool and condition: Let jerky cool on a rack. For best texture, place cooled pieces loosely in a paper bag or a loosely covered container for a few hours to “condition” and equalize moisture.
Printable Recipe Card
Want just the essential recipe details without scrolling through the article? Get our printable recipe card with just the ingredients and instructions.