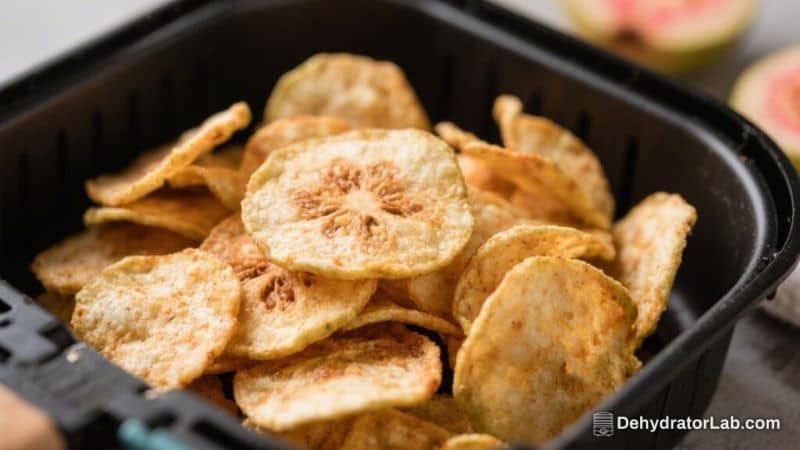
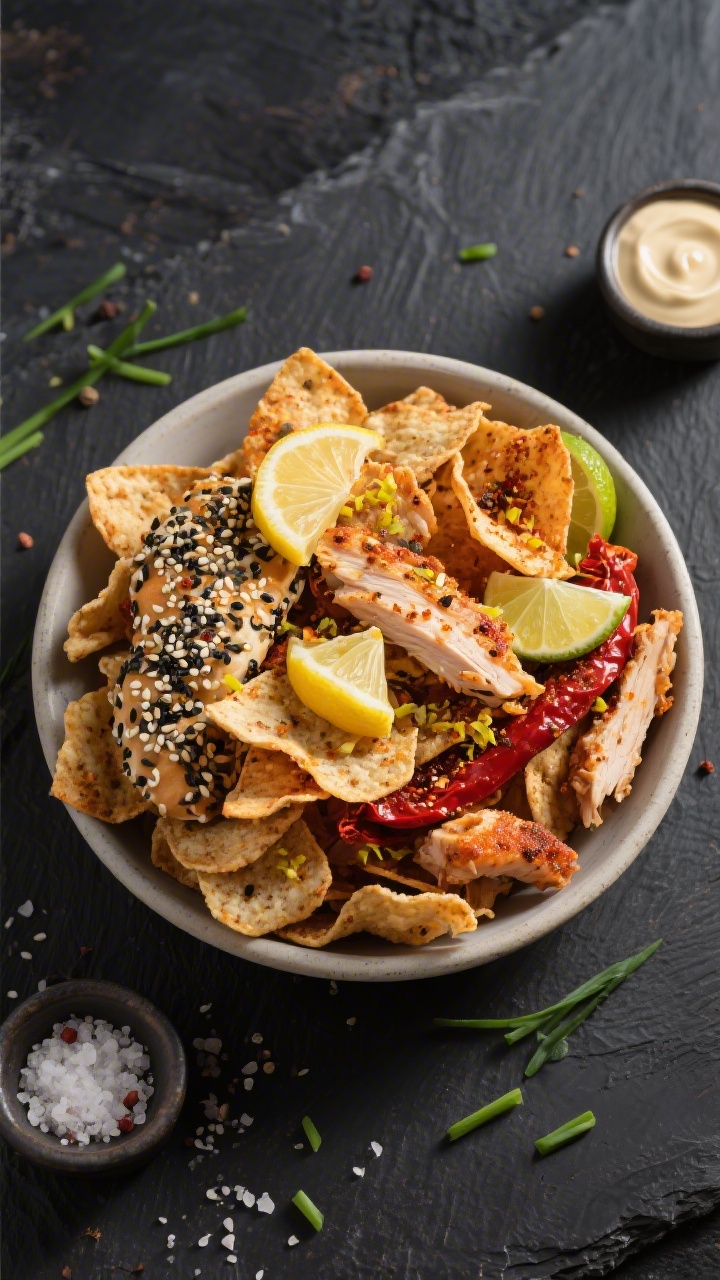
Skip the bagged snacks and make the crispy thing you actually want: chicken skin chips. They’re salty, crunchy, and wildly satisfying. If you’ve ever picked the skin off a roast chicken and snacked on it, this is that feeling turned into a whole recipe.
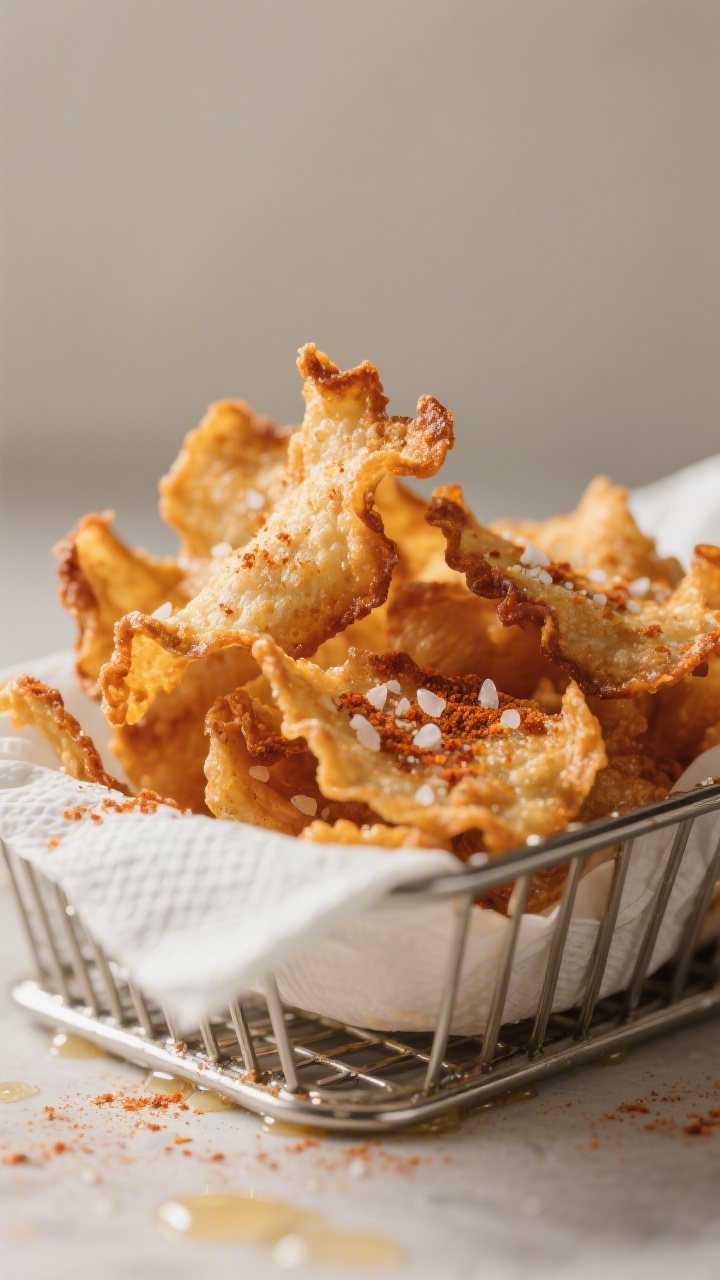
The air fryer makes them shatteringly crisp without deep-frying, and you can season them any way you like. Make a small batch for a cook’s treat or a big bowl for game day—either way, they’ll disappear fast.
In this article:
What Makes This Special
These chips deliver the texture of classic potato chips with the flavor of roast chicken. They’re quick to prep and cook in under 15 minutes once your skins are ready.
Plus, you get a high-protein, low-carb snack that fits into keto and gluten-free lifestyles. Best of all, this recipe turns a throwaway item—chicken skin—into something craveable and useful.
Shopping List
- Chicken skin: From 6–8 chicken thighs or enough to make a single even layer in your air fryer
- Salt: Fine or kosher
- Black pepper: Freshly ground
- Baking powder (optional): Helps with extra crisping
- Garlic powder (optional): For a savory boost
- Smoked paprika or chili powder (optional): For warmth and color
- Lemon zest (optional): Adds brightness
- Neutral oil or cooking spray (optional): Only if your air fryer basket is prone to sticking
Step-by-Step Instructions
- Prep the skins. If you’re removing skin from chicken thighs, pull gently to separate it. Trim off excess fat and any lingering meat.
Aim for pieces of similar size for even cooking.
- Dry thoroughly. Pat the skins very dry on both sides with paper towels. Moisture is the enemy of crispness, so don’t rush this step.
- Flatten and even out thickness. Lay each piece skin-side down on a board. Use the back of a knife to scrape off thick pockets of fat.
This helps the chips cook evenly and stay flat.
- Optional pre-chill. If you have time, place the skins uncovered in the fridge for 30–60 minutes. Air circulation dries them further and improves crunch.
- Season. In a bowl, toss the skins with salt and pepper. For extra crunch, add a light dusting (about 1/2 teaspoon per pound of skin) of baking powder.
Mix in garlic powder or smoked paprika if you like.
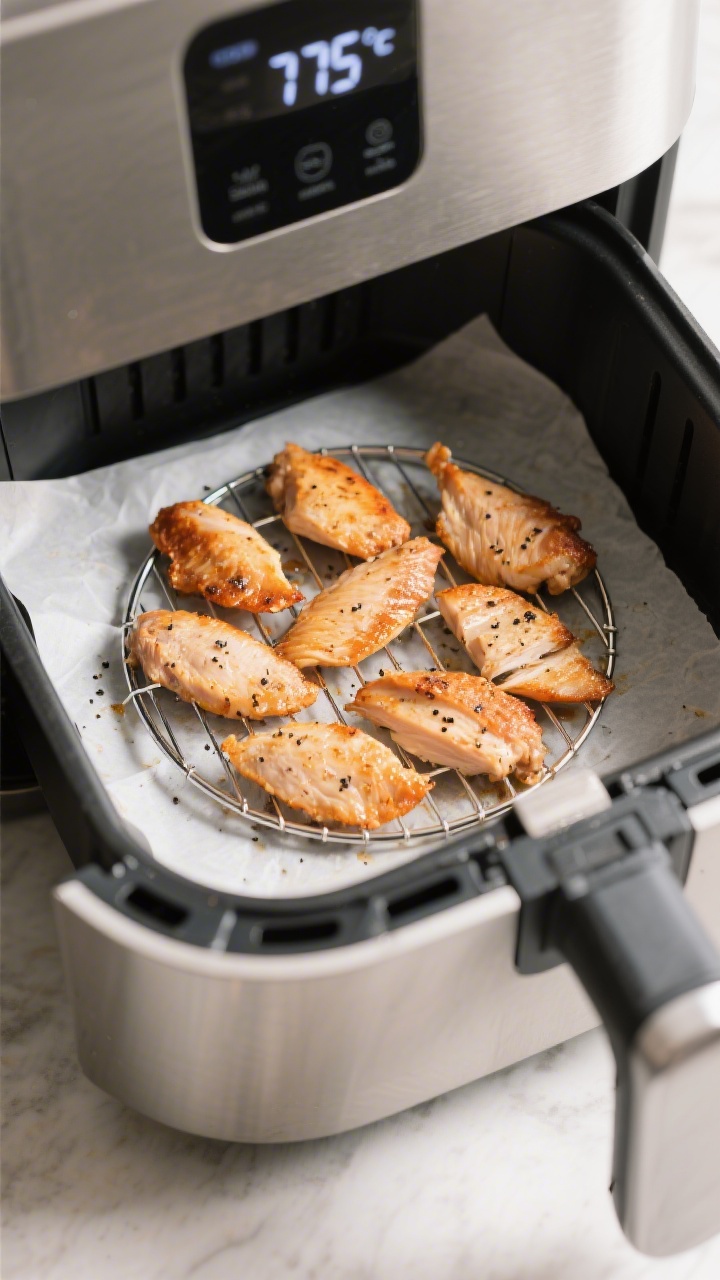
- Preheat the air fryer to 375°F (190°C). A hot basket starts the rendering process right away and prevents sticking. Lightly oil the basket if needed.
- Arrange in a single layer. Place skins skin-side up without overlapping. Overcrowding leads to sogginess.
Work in batches if necessary.
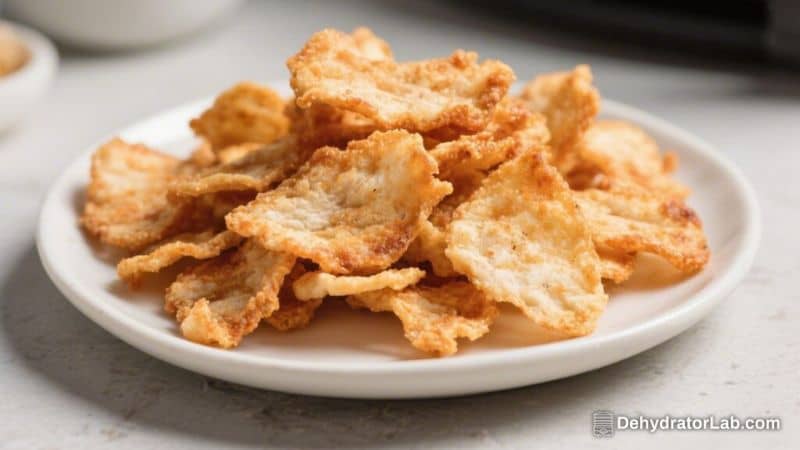
- Air fry for 8–12 minutes. Start checking at minute 7. The chips should turn deep golden and curl slightly at the edges. If some spots are pale, add 1–2 more minutes.
- Press or weigh down for extra flat chips (optional). For perfectly flat chips, lay a small square of parchment on top and set a wire trivet over them for the first 5 minutes.
Remove for the final crisping.
- Drain and season to finish. Transfer chips to a paper towel–lined rack to drain any rendered fat. While hot, add a pinch more salt, a dust of chili powder, or lemon zest. Taste and adjust.
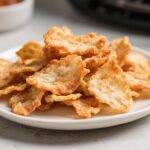
- Cool slightly before serving. Chips continue to crisp as they cool for 2–3 minutes.
Serve warm or at room temp.
Keeping It Fresh
Let chips cool completely before storing. Warm chips in a sealed container trap steam and go soft. Store in an airtight container at room temperature for up to 2 days.
For longer storage, keep them in the fridge for 4–5 days, then re-crisp in the air fryer at 350°F (175°C) for 2–3 minutes.
If you live in a humid climate, add a small piece of paper towel to the container to absorb moisture. Avoid stacking chips while they’re still warm, and never cover them directly on the tray—steam is the enemy.
Benefits of This Recipe
- Quick and low-effort: Minimal prep and fast cook time.
- Budget-friendly: Uses a part of the chicken that’s often discarded.
- Customizable: Dozens of seasoning options, from spicy to herby to tangy.
- High-protein, low-carb: A savory snack that fits many eating styles.
- Great for entertaining: Pairs well with dips and cocktails; excellent as a salad or soup topper.
Common Mistakes to Avoid
- Not drying the skin. Excess moisture leads to chewy, rubbery chips. Pat dry thoroughly and chill uncovered if possible.
- Overcrowding the basket. Overlap blocks airflow.
Cook in batches for consistent crispness.
- Too much seasoning upfront. Spices can burn before the skin is done. Keep it simple at first, then season more after cooking.
- Skipping the drain. Letting chips sit in pooled fat softens them. Always drain on paper towels or a rack.
- Wrong temperature. Too low and the skin steams; too high and it burns before rendering.
Stick to 375°F (190°C) and adjust by a few degrees if needed.
Recipe Variations
- Salt and Vinegar: Toss hot chips with fine salt and a mist of malt or apple cider vinegar. Go light to avoid sogginess.
- Smoky BBQ: Dust with smoked paprika, brown sugar, garlic powder, and a pinch of cayenne after cooking.
- Everything Bagel: Sprinkle sesame seeds, poppy seeds, dried garlic, dried onion, and a little flaky salt.
- Lemon Pepper: Finish with lemon zest and cracked black pepper. Add a touch of garlic powder for depth.
- Chili-Lime: Toss with chili powder, a squeeze of lime, and a pinch of cumin.
Add lime just before serving.
- Herb Parmesan: Grate fresh Parmesan and add chopped parsley or chives while the chips are still warm.
FAQ
Where do I get chicken skin?
Save the skin when you buy bone-in, skin-on chicken thighs, or ask your butcher for extra. Many stores will sell trimmings at a low cost. You can also remove skin from chicken breasts or legs, but thigh skin tends to be the most flavorful and consistent.
Do I need to use baking powder?
No.
It’s optional. A small amount raises the pH and helps draw moisture, which can increase crispness. If you skip it, you can still get great results by drying well and cooking at the right temperature.
Can I make these in the oven instead?
Yes.
Bake at 400°F (200°C) on a wire rack set over a sheet pan lined with parchment. Press with another rack or a parchment-weighted sheet pan for the first 10 minutes, then uncover and bake until crisp, about 20–25 minutes.
Why did my chips turn out chewy?
They likely weren’t dry enough or the basket was overcrowded. Moisture prevents proper rendering.
Next time, pat dry more thoroughly, chill uncovered, and cook in a single layer. Add a few extra minutes if they’re still pale.
How do I keep them flat?
Scrape off thicker fat pockets, then weigh the skins down with a trivet or second rack for the first few minutes of cooking. Remove the weight to finish crisping so they don’t steam.
What dips pair well with chicken skin chips?
Try ranch, blue cheese, smoky aioli, honey mustard, or a simple yogurt-garlic dip.
They’re also fantastic with hot sauce or a squeeze of lemon.
Is there a way to reduce the richness?
Serve with bright, acidic elements like pickles, pepperoncini, lemon wedges, or a tangy dip. A sprinkle of vinegar powder also cuts through the fat without making chips soggy.
Can I use leftover roasted chicken skin?
Yes, but results vary. If the skin is already browned, re-crisp in the air fryer at 360°F (182°C) for 3–5 minutes.
Watch closely to avoid burning.
In Conclusion
Air Fryer Chicken Skin Chips are the snack you didn’t know you needed: fast, crunchy, and boldly savory. With a few simple tricks—dry well, don’t crowd, season smart—you’ll get perfect chips every time. Keep a stash for snacking, crumble them over salads, or serve them with dips at your next get-together.
They’re simple to make, fun to flavor, and guaranteed to be the first thing to vanish from the table. If you like this kind of savory crunch, try Bacon Chips or Ham Chips.
Air Fryer Chicken Skin Chips – Crispy, Savory, and Shockingly Simple
Ingredients
- Chicken skin: From 6–8 chicken thighs or enough to make a single even layer in your air fryer
- Salt: Fine or kosher
- Black pepper: Freshly ground
- Baking powder (optional): Helps with extra crisping
- Garlic powder (optional): For a savory boost
- Smoked paprika or chili powder (optional): For warmth and color
- Lemon zest (optional): Adds brightness
- Neutral oil or cooking spray (optional): Only if your air fryer basket is prone to sticking
Instructions
- Prep the skins. If you’re removing skin from chicken thighs, pull gently to separate it. Trim off excess fat and any lingering meat.Aim for pieces of similar size for even cooking.
- Dry thoroughly. Pat the skins very dry on both sides with paper towels. Moisture is the enemy of crispness, so don’t rush this step.
- Flatten and even out thickness. Lay each piece skin-side down on a board. Use the back of a knife to scrape off thick pockets of fat.This helps the chips cook evenly and stay flat.
- Optional pre-chill. If you have time, place the skins uncovered in the fridge for 30–60 minutes. Air circulation dries them further and improves crunch.
- Season. In a bowl, toss the skins with salt and pepper. For extra crunch, add a light dusting (about 1/2 teaspoon per pound of skin) of baking powder.Mix in garlic powder or smoked paprika if you like.
- Preheat the air fryer to 375°F (190°C). A hot basket starts the rendering process right away and prevents sticking. Lightly oil the basket if needed.
- Arrange in a single layer. Place skins skin-side up without overlapping. Overcrowding leads to sogginess.Work in batches if necessary.
- Air fry for 8–12 minutes. Start checking at minute 7. The chips should turn deep golden and curl slightly at the edges. If some spots are pale, add 1–2 more minutes.
- Press or weigh down for extra flat chips (optional). For perfectly flat chips, lay a small square of parchment on top and set a wire trivet over them for the first 5 minutes.Remove for the final crisping.
- Drain and season to finish. Transfer chips to a paper towel–lined rack to drain any rendered fat. While hot, add a pinch more salt, a dust of chili powder, or lemon zest. Taste and adjust.
- Cool slightly before serving. Chips continue to crisp as they cool for 2–3 minutes.Serve warm or at room temp.
Printable Recipe Card
Want just the essential recipe details without scrolling through the article? Get our printable recipe card with just the ingredients and instructions.