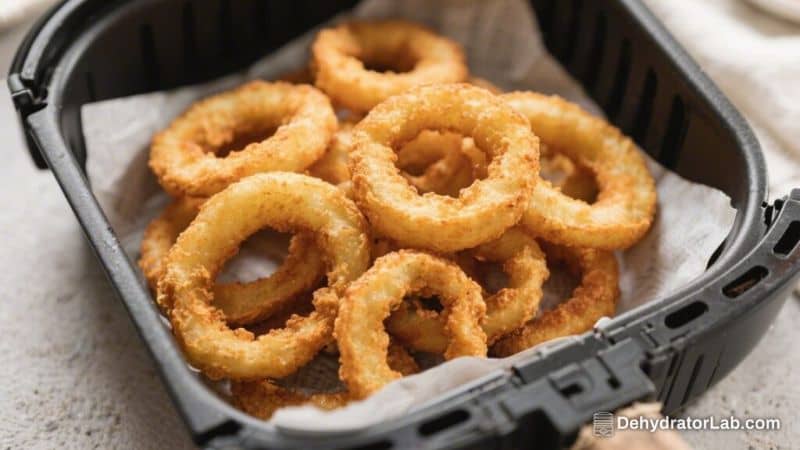
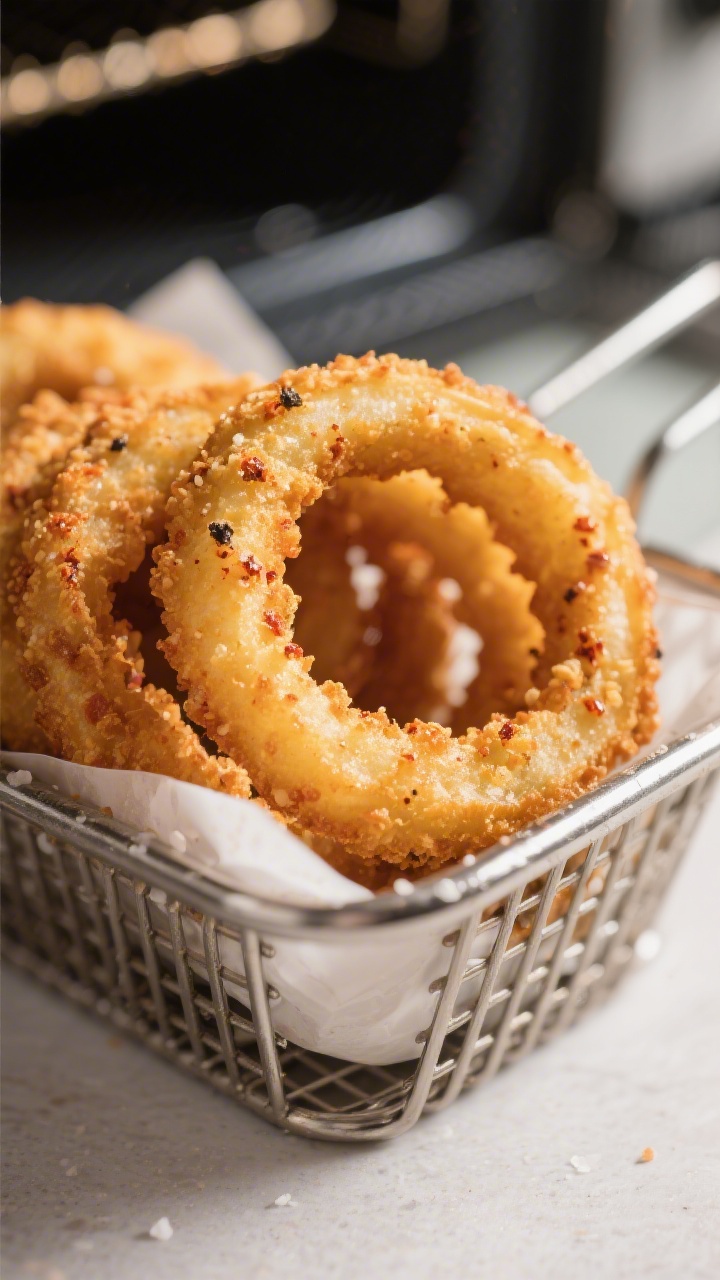
Love a good onion ring with that shattering crunch? These air fryer onion rings deliver the classic pub-style bite without the heavy grease. They’re light, crisp, and surprisingly simple to make at home.
You’ll use a quick double-coating method for maximum crunch and a few pantry staples for flavor. Make a batch for game day, burger night, or as a snack you can feel good about serving.
In this article:
Why This Recipe Works
The air fryer circulates hot air around the onion rings, creating a crisp exterior with a fraction of the oil. A two-step coating—seasoned flour followed by a breadcrumb mixture—keeps the batter from sliding off and gives you that signature crunch.
A splash of cornstarch in the flour layer locks in dryness, so the crust stays crisp longer. A brief rest before air frying helps the coating set, which means fewer crumbs falling off and more even browning.
Ingredients
- 2 large sweet onions (Vidalia or yellow), cut into 1/2-inch rings
- 1/2 cup all-purpose flour
- 2 tablespoons cornstarch
- 1 teaspoon kosher salt, plus more to finish
- 1/2 teaspoon black pepper
- 1/2 teaspoon garlic powder
- 1/2 teaspoon smoked paprika (or regular paprika)
- 2 large eggs
- 1 tablespoon milk or water
- 1 cup panko breadcrumbs
- 1/2 cup fine breadcrumbs (plain or Italian)
- 2 tablespoons grated Parmesan (optional, for extra savoriness)
- Neutral oil spray (avocado or canola)
- Favorite dipping sauce: ketchup, ranch, chipotle mayo, or honey mustard
Instructions
- Prep the onions: Peel the onions and slice them into 1/2-inch thick rounds. Gently separate into rings.
Save the small center pieces for another use or batter them, too.
- Set up a breading station: In one shallow bowl, whisk together the flour, cornstarch, salt, pepper, garlic powder, and paprika. In a second bowl, whisk the eggs with the milk. In a third bowl, combine panko, fine breadcrumbs, and Parmesan (if using).
- Dry coat first: Working in batches, toss onion rings in the seasoned flour mix.
Shake off excess. This layer helps the egg cling.
- Dip in egg: Coat each ring in the egg mixture, letting the excess drip off so you don’t end up with clumps.
- Final crumb coat: Press each ring into the breadcrumb mixture, turning to coat. Press gently so the crumbs adhere well.
Set coated rings on a tray.
- Let them rest: Give the coated rings 5–10 minutes to sit. This helps the crust set and reduces shedding in the air fryer.
- Preheat and oil: Preheat the air fryer to 375°F (190°C) for about 3 minutes. Lightly spray the basket with oil to prevent sticking.
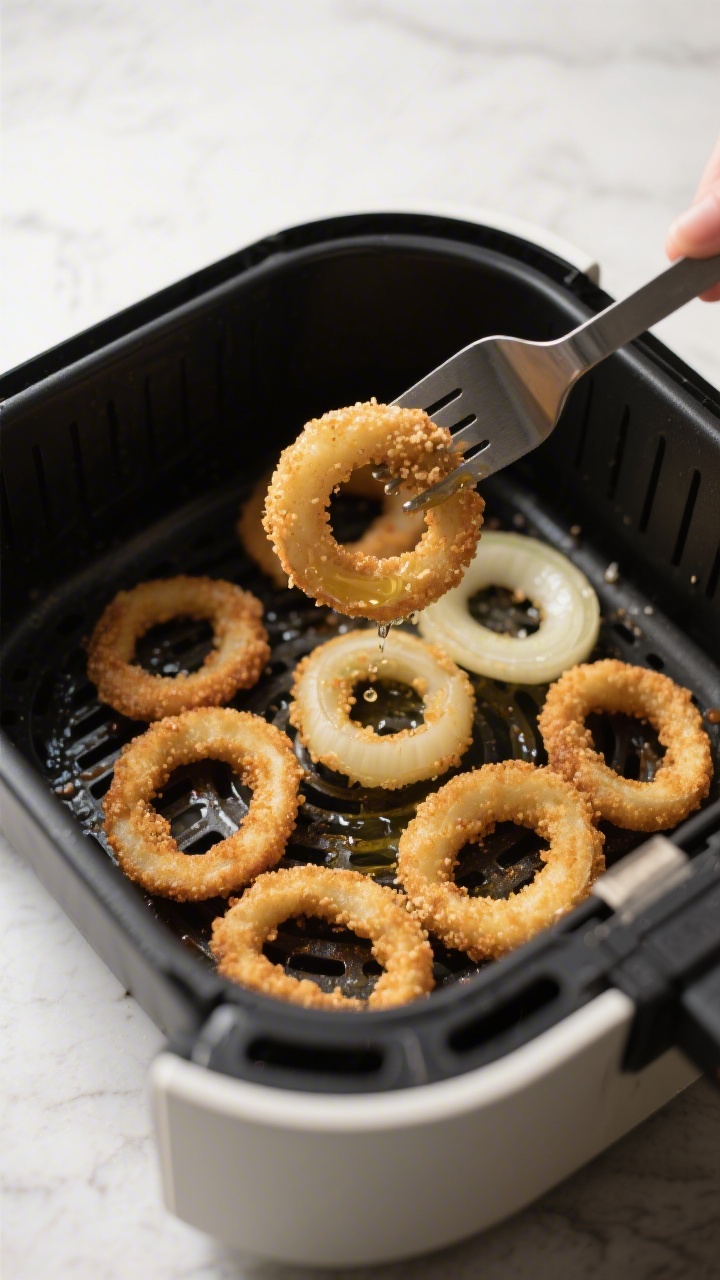
- Load the basket: Arrange onion rings in a single layer with a little space between each.
Avoid stacking. Lightly mist the tops with oil spray for even browning.
- Air fry: Cook for 6–8 minutes, flipping halfway and misting again after flipping. They’re done when golden brown and crisp.
Thicker rings may need up to 10 minutes.
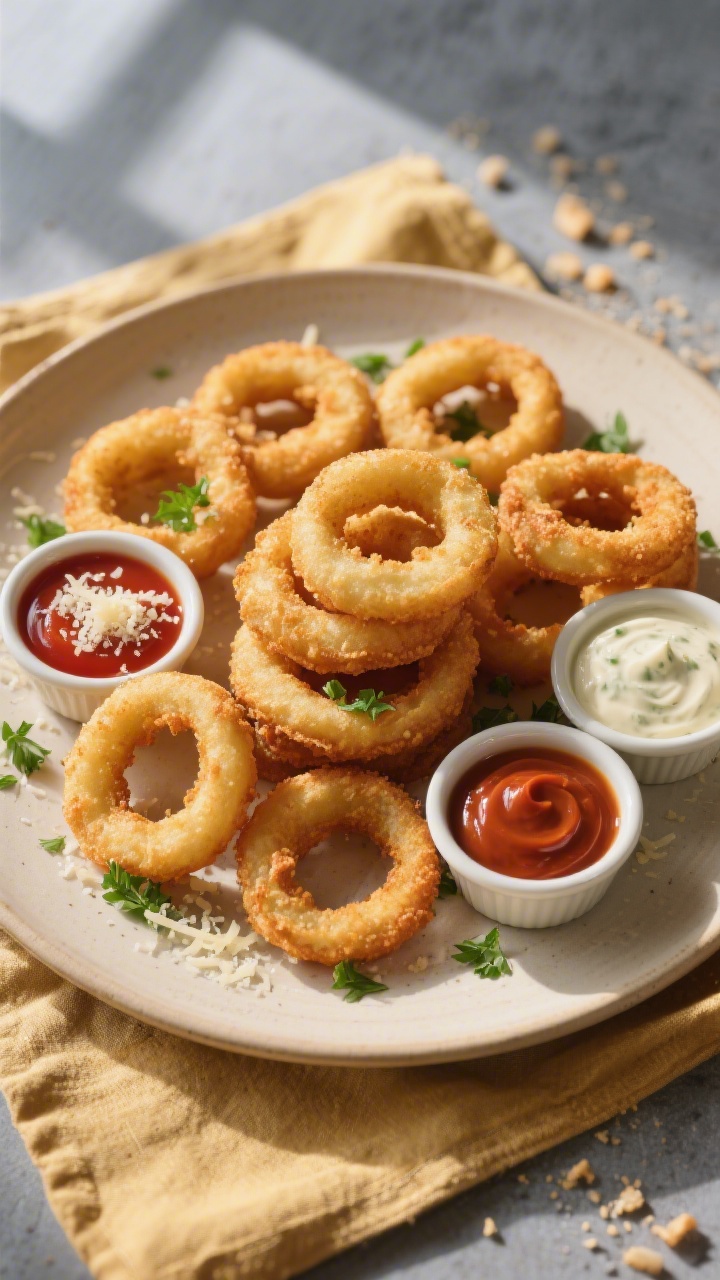
- Season and serve: Sprinkle with a pinch of salt the moment they come out. Serve hot with your favorite sauce.
- Batch cooking: Repeat with remaining rings. Keep finished rings on a wire rack in a low oven (200°F/95°C) if you’re cooking multiple batches.
Keeping It Fresh
Air fryer onion rings are best enjoyed right away, but you can store leftovers.
Cool completely, then transfer to an airtight container with a paper towel to catch moisture. Refrigerate for up to 3 days. Reheat in the air fryer at 350°F (175°C) for 3–5 minutes until crisp again.
For freezing, arrange the coated but uncooked rings on a parchment-lined tray and freeze until solid. Move to a freezer bag and cook from frozen at 380°F (193°C) for 10–12 minutes, flipping once.
Benefits of This Recipe
- Less oil, same crunch: You get that classic crisp bite without deep frying.
- Simple pantry ingredients: Flour, eggs, breadcrumbs, and basic spices do the heavy lifting.
- Quick cook time: Most batches finish in under 10 minutes.
- Customizable flavor: Adjust the seasoning or crumbs to suit your taste or dietary needs.
- Kid- and crowd-friendly: Familiar, fun, and easy to pair with burgers, sandwiches, or game-day spreads.
Pitfalls to Watch Out For
- Overcrowding the basket: This traps steam and leads to soggy rings. Keep space between pieces.
- Skipping the oil spray: A light mist encourages even browning and crispness.
- Coating falling off: Make sure onions are dry, don’t skip the flour layer, and let the coated rings rest before cooking.
- Uneven thickness: Thick and thin slices cook at different speeds.
Aim for consistent 1/2-inch rings.
- Undersalting: Finish with a pinch of salt right after air frying to brighten flavor.
Recipe Variations
- Gluten-free: Use a 1:1 gluten-free flour blend and gluten-free panko. Check seasonings for hidden gluten.
- Spicy: Add 1/4–1/2 teaspoon cayenne to the flour mix and sprinkle a little chili powder into the crumbs.
- Buttermilk tang: Swap milk for buttermilk in the egg mixture, or soak onion rings in buttermilk for 30 minutes before breading.
- Beer-battered vibe: Whisk a little beer into the egg mixture for malty depth and aroma.
- Herb and cheese: Add dried oregano, parsley, or Italian seasoning to the breadcrumbs, plus extra Parmesan.
- Extra-crunch panko only: Use all panko for a chunkier, lighter crust.
- Sweet onion focus: Use Vidalia or Walla Walla onions for gentle sweetness. For sharper flavor, choose standard yellow onions.
FAQ
Do I need to soak the onions before breading?
You don’t have to, but a 15–30 minute soak in cold water can tame sharpness and help the rings stay crisp.
Pat them very dry before coating so the breading sticks.
Why are my onion rings soggy?
Sogginess usually means overcrowding, not enough oil spray, or undercooking. Cook in single layers, mist lightly with oil, and extend the cook time by 1–2 minutes if needed. Resting the coated rings before air frying also helps.
Can I make these without eggs?
Yes.
Use a mixture of 2 tablespoons mayo thinned with 2 tablespoons water or milk, or try a dairy-free alternative like unsweetened plant milk with 1 tablespoon cornstarch whisked in. This helps the crumbs cling.
What temperature works best?
A steady 375°F (190°C) is a sweet spot for golden, even browning. If your air fryer runs cool, bump to 380°F (193°C).
How do I prevent the coating from falling off when flipping?
Press the crumbs on firmly, let the coated rings rest, and use a thin spatula or tongs to flip gently.
If your basket is sticky, spray it lightly before cooking.
Can I use frozen onion rings?
Absolutely. Cook store-bought frozen rings at 380°F (193°C) for 8–10 minutes, flipping halfway. No extra oil is usually needed, but a quick mist can boost crispness.
What sauces pair well?
Classic ketchup, spicy mayo, ranch, chipotle aioli, honey mustard, garlic dip, or a smoky barbecue sauce all work.
For a quick dip, mix mayo, ketchup, smoked paprika, and a splash of lemon.
Do I need to peel off the thin onion membrane?
If you notice a slick inner membrane on some rings, peel it off. Removing it helps the coating adhere and prevents slippage.
Final Thoughts
Air fryer onion rings hit that sweet spot between comfort food and a lighter, weeknight-friendly treat. With a few smart steps—seasoned flour, a firm crumb coat, and a little space in the basket—you’ll get golden, crisp results every time.
Serve them hot, add a favorite sauce, and watch them disappear. Once you nail this method, it’s an easy go-to for parties, family dinners, or anytime you want a crunchy side without the mess of deep frying. For more crowd-pleasing bites, try Pretzel Bites or Mozzarella Sticks at your next get-together.
Air Fryer Onion Rings – Crispy, Golden, and Easy
Ingredients
- 2 large sweet onions (Vidalia or yellow), cut into 1/2-inch rings
- 1/2 cup all-purpose flour
- 2 tablespoons cornstarch
- 1 teaspoon kosher salt, plus more to finish
- 1/2 teaspoon black pepper
- 1/2 teaspoon garlic powder
- 1/2 teaspoon smoked paprika (or regular paprika)
- 2 large eggs
- 1 tablespoon milk or water
- 1 cup panko breadcrumbs
- 1/2 cup fine breadcrumbs (plain or Italian)
- 2 tablespoons grated Parmesan (optional, for extra savoriness)
- Neutral oil spray (avocado or canola)
- Favorite dipping sauce: ketchup, ranch, chipotle mayo, or honey mustard
Instructions
- Prep the onions: Peel the onions and slice them into 1/2-inch thick rounds. Gently separate into rings.Save the small center pieces for another use or batter them, too.
- Set up a breading station: In one shallow bowl, whisk together the flour, cornstarch, salt, pepper, garlic powder, and paprika. In a second bowl, whisk the eggs with the milk. In a third bowl, combine panko, fine breadcrumbs, and Parmesan (if using).
- Dry coat first: Working in batches, toss onion rings in the seasoned flour mix.Shake off excess. This layer helps the egg cling.
- Dip in egg: Coat each ring in the egg mixture, letting the excess drip off so you don’t end up with clumps.
- Final crumb coat: Press each ring into the breadcrumb mixture, turning to coat. Press gently so the crumbs adhere well.Set coated rings on a tray.
- Let them rest: Give the coated rings 5–10 minutes to sit. This helps the crust set and reduces shedding in the air fryer.
- Preheat and oil: Preheat the air fryer to 375°F (190°C) for about 3 minutes. Lightly spray the basket with oil to prevent sticking.
- Load the basket: Arrange onion rings in a single layer with a little space between each.Avoid stacking. Lightly mist the tops with oil spray for even browning.
- Air fry: Cook for 6–8 minutes, flipping halfway and misting again after flipping. They’re done when golden brown and crisp.Thicker rings may need up to 10 minutes.
- Season and serve: Sprinkle with a pinch of salt the moment they come out. Serve hot with your favorite sauce.
- Batch cooking: Repeat with remaining rings. Keep finished rings on a wire rack in a low oven (200°F/95°C) if you’re cooking multiple batches.
Printable Recipe Card
Want just the essential recipe details without scrolling through the article? Get our printable recipe card with just the ingredients and instructions.