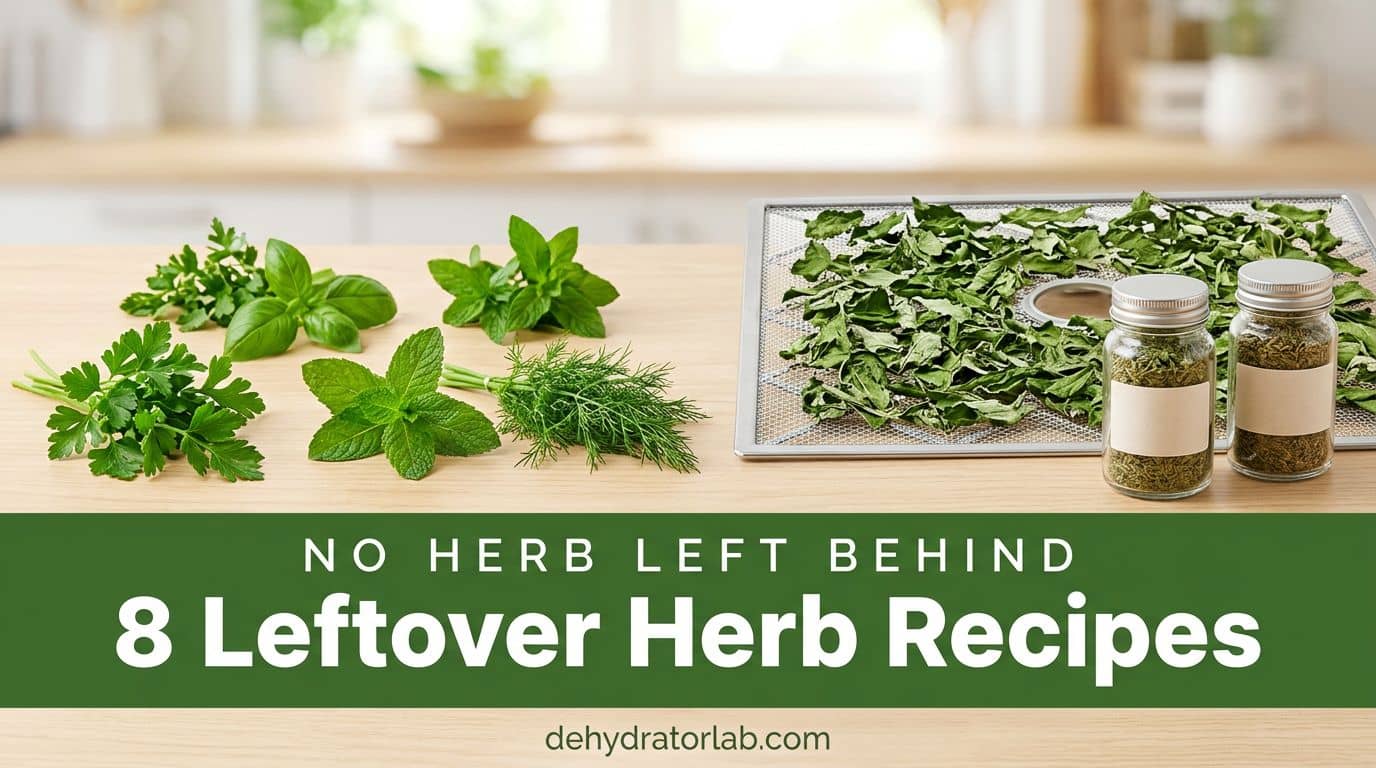
Ever open the crisper drawer and find half a bunch of parsley slumped in a glass of water, one day from slime?
A dehydrator turns that orphan bunch into a jar of flavor in an afternoon. Here are eight leftover herb recipes, one for every half-bunch you didn’t use up.
As an Amazon Associate, I earn from qualifying purchases. If you make a purchase after clicking on a link I may earn a small commission at no extra cost to you if items are purchased.
In this article:
TL;DR: Key Takeaways
- 🌿 Eight herbs, eight ways: parsley, cilantro, basil, mint, rosemary and thyme, dill, chives, and a catch-all herb salt.
- 🌡️ Nearly every herb dries at 95–115°F (35–46°C), or up to 125°F (52°C) in a humid kitchen, in about 1 to 4 hours.
- 👌 Done means the leaves crumble and the stems snap when bent, with no soft spots anywhere.
- 🍃 Tender herbs like basil and mint hold a lot of water and mold easily, so give them a thin single layer and watch the clock.
- 🫙 Dried herbs run 3 to 4 times stronger than fresh, so use about a quarter to a third of what a recipe calls for.
- 🚫 Skip the jar of fresh herbs in oil. It can carry a botulism risk, and drying is the safer way to keep them.
Here’s the base method for every item below. Rinse the herbs, shake off the water, and pat them completely dry. Then spread them in a single layer with no overlap and dry at 95–115°F (35–46°C). The National Center for Home Food Preservation says to push toward 125°F (52°C) if your kitchen is humid, and to expect 1 to 4 hours. Herbs are dry when they crumble and the stems break instead of bending.
Mind you, I’m skipping the popular “herbs in a jar of oil” trick on purpose. Penn State Extension says oil flavored with fresh herbs or garlic can be a source of botulism and should be refrigerated and used within 2 to 4 days. A tray of dry, crumbly leaves has no such problem.
Most of these end up crushed or ground, so a small grinder earns its counter space. It also helps you crush only what you need, since whole leaves keep their aroma longer than ground ones. Let’s get into it.

- Electric spice-and-nut grinder with durable stainless-steel blades
- Heavy-duty motor; push-top lid for simple on/off control
- Bowl holds 90 grams; extra storage space in lid; non-slip rubber feet
1. Parsley Leaves and Stems
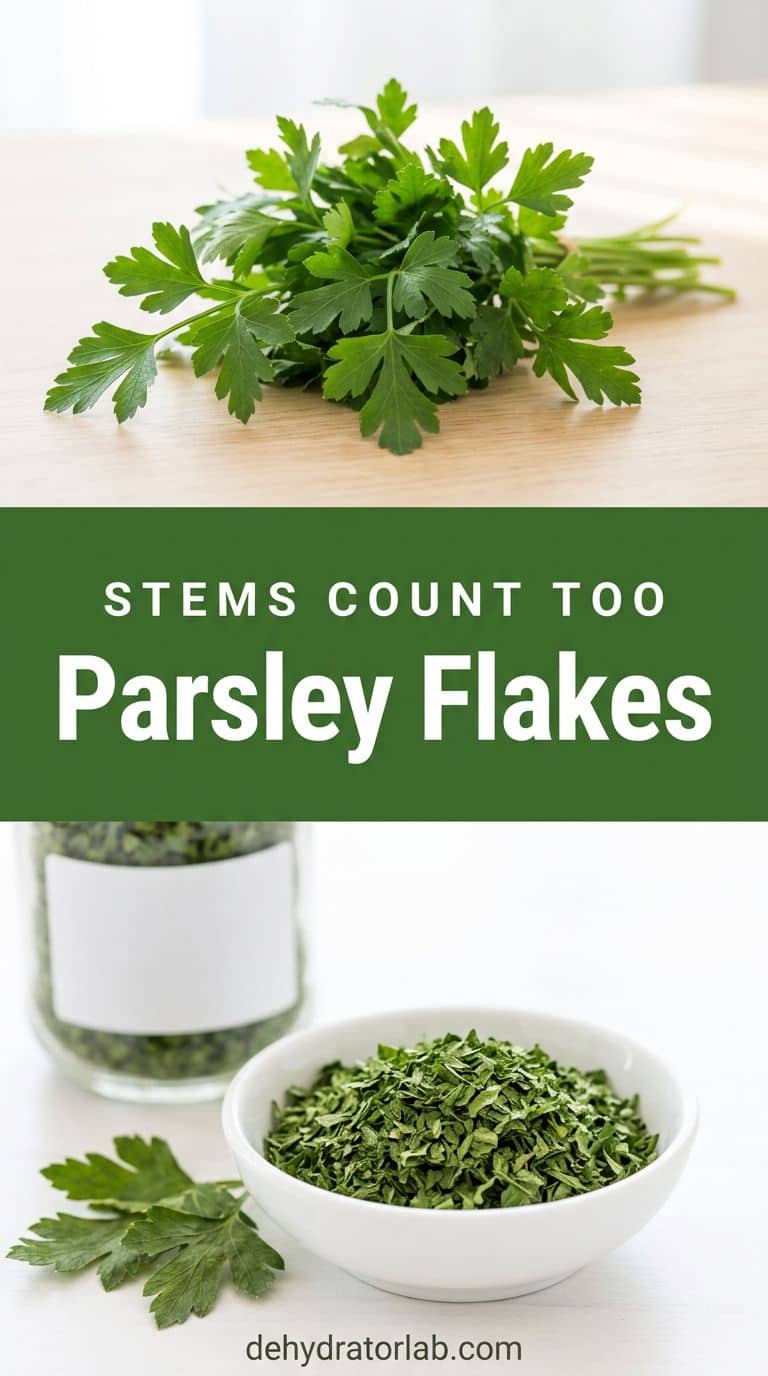
Parsley is the herb most likely to be left over, because recipes ask for a tablespoon and the store sells a bunch. It’s also forgiving. Oregon State Extension lists parsley as a sturdy herb, and the flat-leaf kind dries into tidy green flakes.
Strip the leaves, but keep the thin upper stems. They carry plenty of flavor, so I dry them on the same tray and crumble them with the leaves. Spread everything thin and check at the 1 hour mark. The woody lower stems stay out, since they won’t crumble.
Stir the flakes into soups, egg dishes, and pasta, or fold them into a spice blend. My full guide to dehydrating parsley covers curly versus flat-leaf. Stems count too.
2. Cilantro
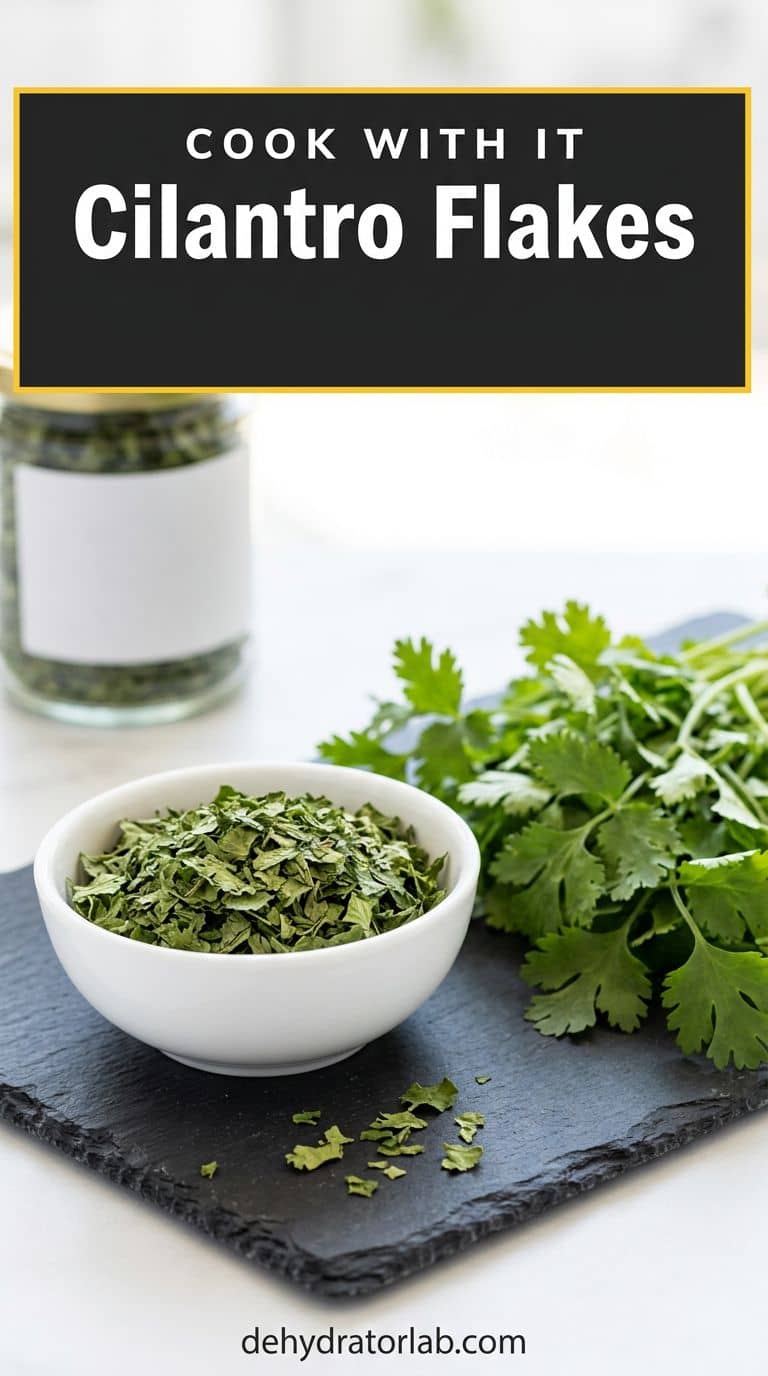
Here’s the honest one. Dried cilantro is a pale echo of the fresh stuff, and that’s my take, not a lab result. Drying still beats the trash can when half a bunch has gone limp.
OSU files cilantro under sturdy herbs and notes that high heat costs you flavor, so stay at the low end of the range, around 95–105°F (35–41°C). Pat the leaves very dry first. Dry the thin stems with the leaves and crumble the lot.
I use dried cilantro in cooked dishes like soups, rice, and bean pots, and I never use it as a garnish. If fresh flavor matters, freezing the chopped leaves is the better move in my kitchen. Cook with it, don’t garnish with it.
3. Basil
Basil is a tender herb. OSU notes that tender herbs hold a lot of moisture and mold easily, so basil rewards a little care. Pick off the leaves, skip anything bruised or black, and don’t crush them while you handle them.
I dry basil at the low end of the range, around 95–105°F (35–41°C), in a single layer with plenty of air around each leaf. That’s my habit, not a rule. Thin leaves finish early, so pull a tray when the first ones crumble and let the rest keep going.
- Pick off the leaves and discard any that are bruised or black.
- Spread them in a single layer with gaps between leaves.
- Pull the tray when the leaves crumble, not curl.
A spoonful goes into sauces, and the Italian blend in my herb blends roundup starts with it. Don’t crush the leaves.
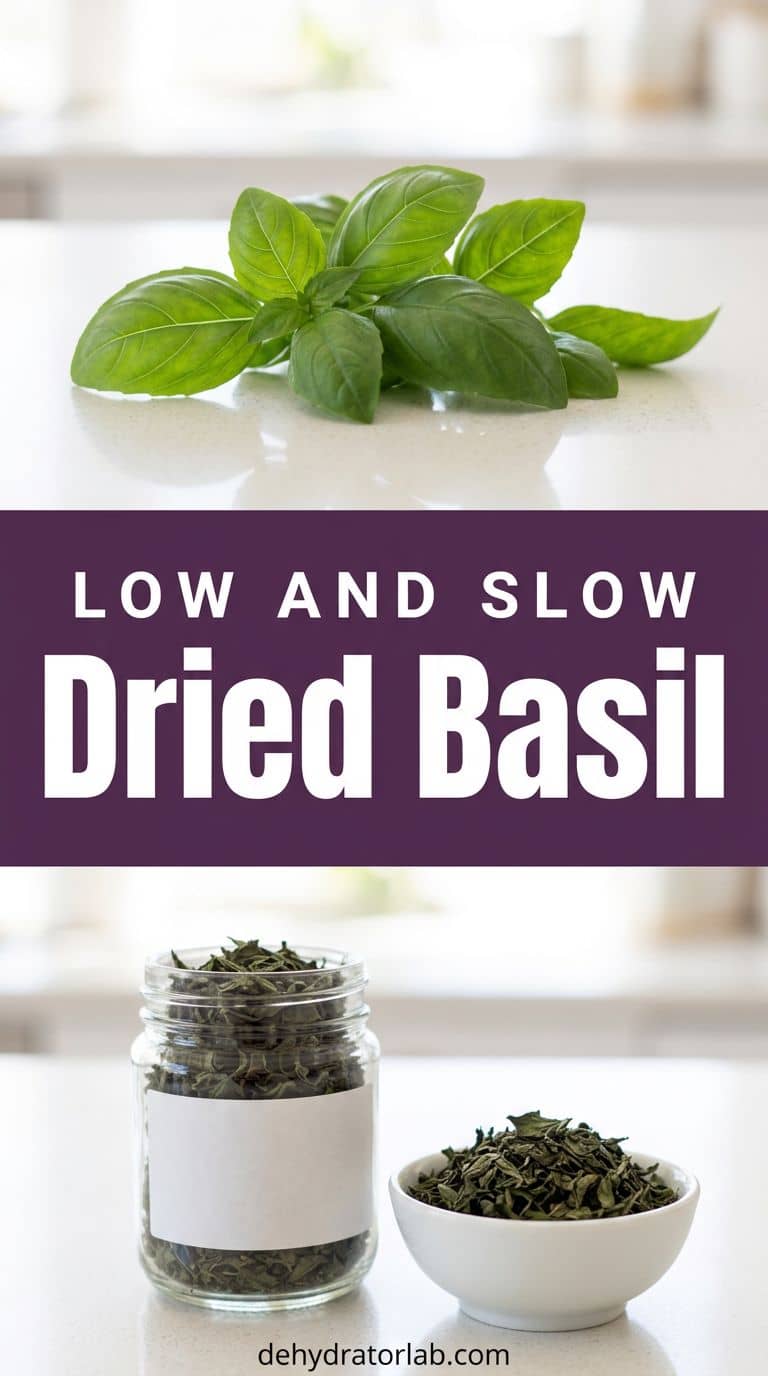
4. Mint for Tea
Mint is another tender herb, so it follows the same rule as basil: thin layer, good airflow, no pile-ups. The NCHFP says mint, sage, and bay leaf do better dried as separate leaves in humid areas, so I strip mint off the stems before it goes on the tray.
Dried mint is my favorite leftover project, because the payoff is a cup of tea on a cold night. Drop a pinch of leaves in hot water and steep. I keep the leaves whole until I need them, since whole leaves hold their aroma better than crushed ones.
My mint dehydrating guide has the detail, and the herbal tea blend recipes show where to take it next. Whole leaves, crushed at the cup.

5. Rosemary and Thyme Sprigs
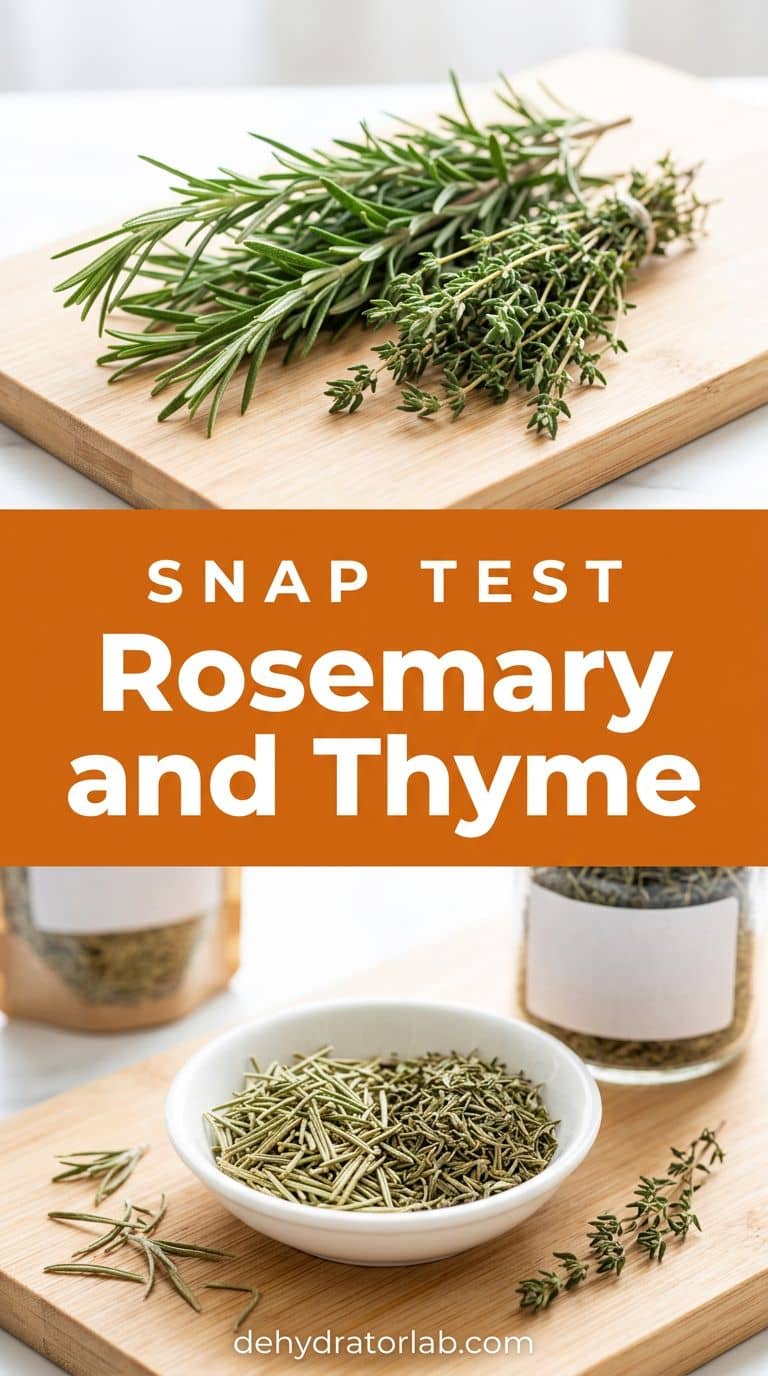
Woody herbs are the easiest to rescue. Rosemary and thyme dry right on the sprig, so there’s no stripping first and no chopping. Spread the sprigs in a single layer, with no overlap.
These take longer than basil, so plan for the top of the range, and then some if the stems are thick. I judge by feel instead of the clock. Pinch a sprig, and when the leaves rub off easily and the stems snap, it’s done. Then run your fingers down the stem against the grain and the leaves fall into the jar.
- Dry the sprigs whole, in a single layer.
- Test the stems: they should snap, not bend.
- Strip the leaves against the grain into a jar.
Rosemary needles stay sharp even when dry, so chop them small. My rosemary sea salt crackers use exactly that. Snap, don’t bend.
6. Dill Fronds
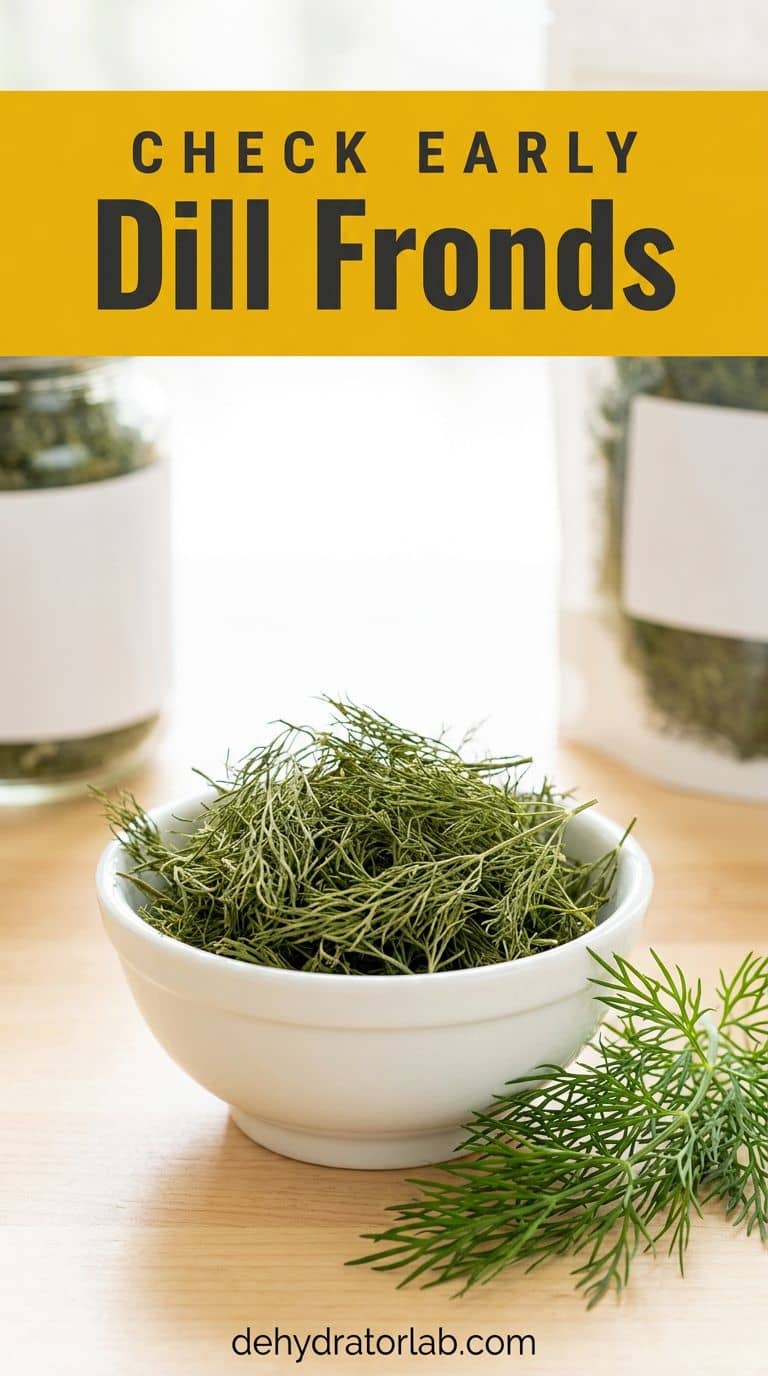
Dill is feathery, so it dries fast, and it can turn to dust if you leave it too long. Pull the tray early and check it often. Snip the soft fronds away from the thick stems, and don’t wash them hard, since the delicate leaves bruise.
Dried dill belongs in potato salad, creamy dips, and anything with fish. It’s also the backbone of the ranch-style blend in my herb blends roundup, and my dill dehydrating guide shows the texture to aim for. Check early, check often.
7. Chive and Scallion Tops
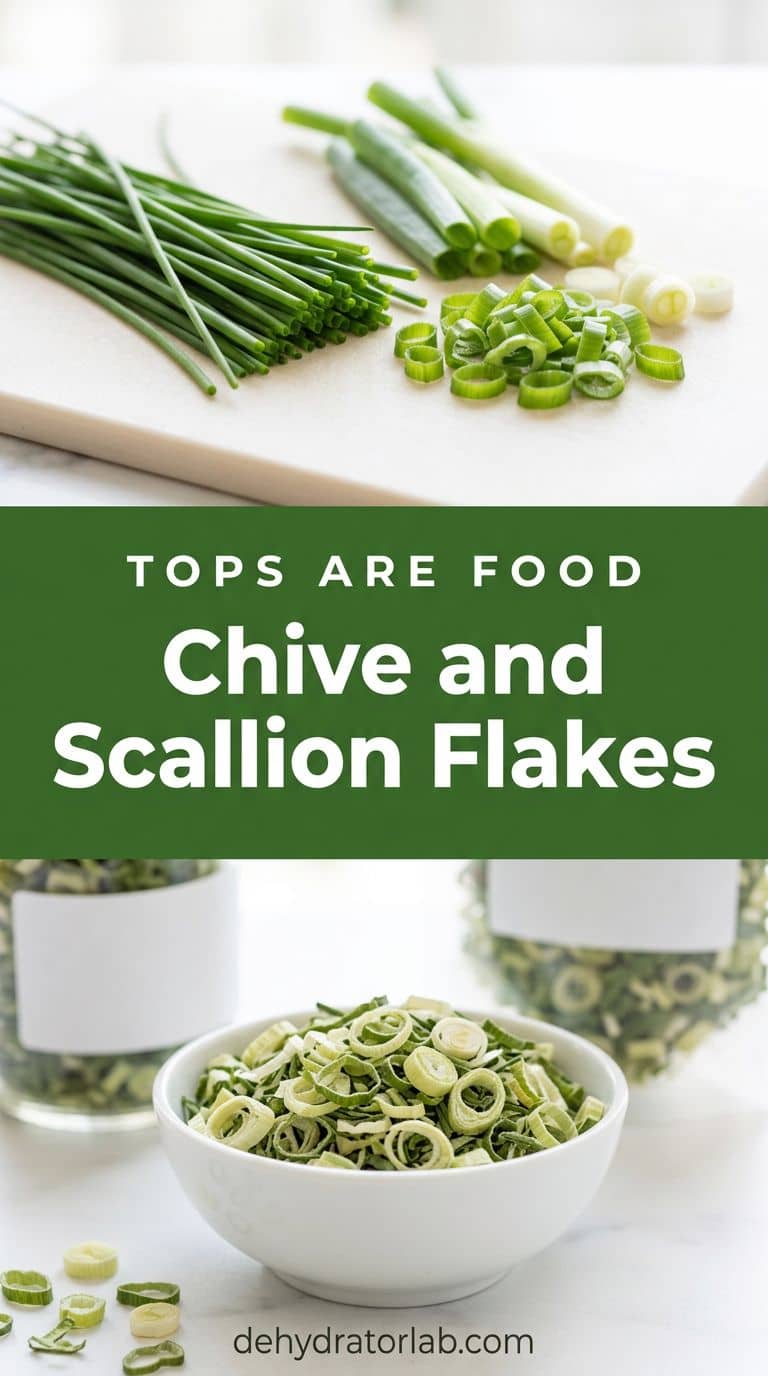
The green tops are the part of a scallion most recipes skip, and chives come in bunches big enough to outlast the recipe. Slice both into thin rings, about 1/8 to 1/4 inch (3 to 6 mm), so they dry at the same pace. That size is my estimate.
Hollow tubes dry quickly, so start checking at about an hour. They’re done when the rings are light and crisp, with no soft spots in the middle. Chives are a milder cousin of onion, and the flakes sit nicely in dips, baked potatoes, and scrambled eggs.
My dehydrated scallion post has more ideas for them, and the onion and garlic powder recipes sit nicely beside it. Thin rings dry evenly.
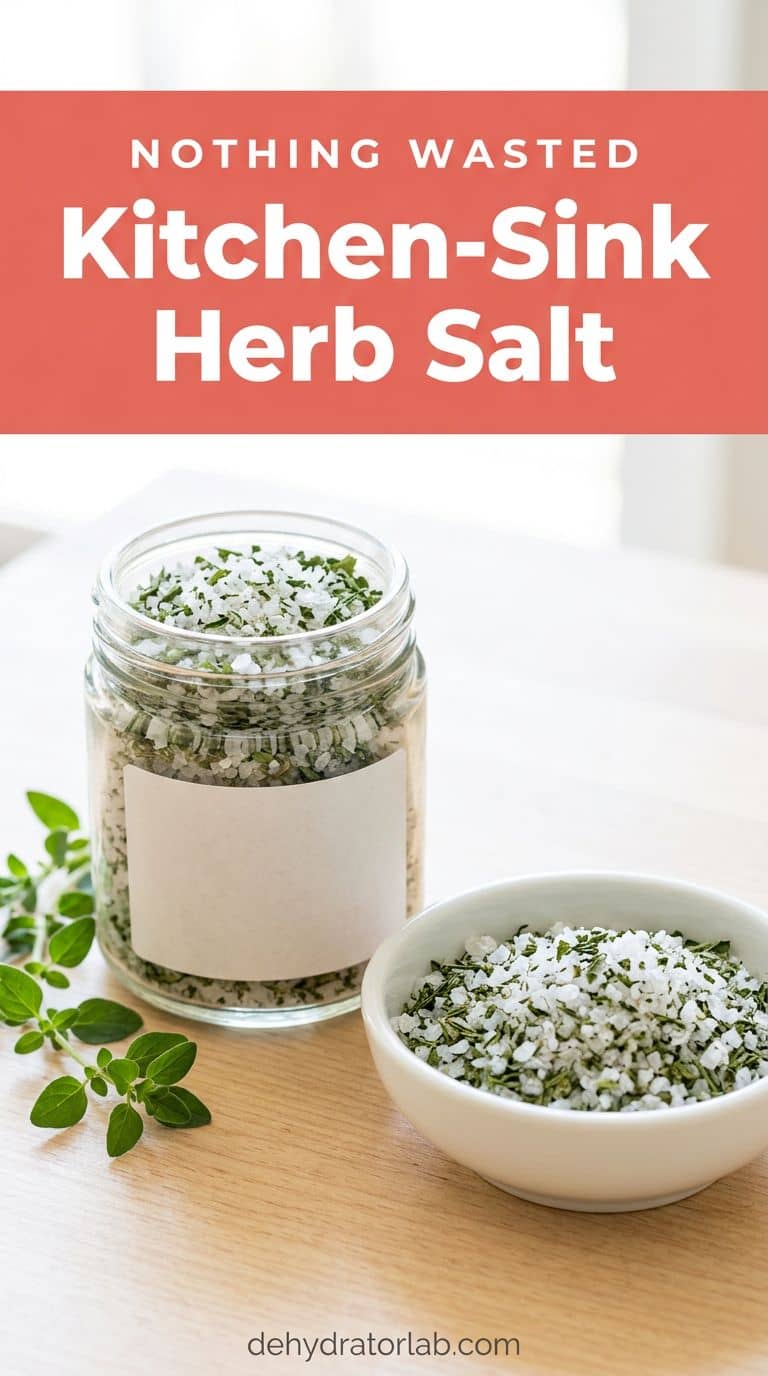
8. Kitchen-Sink Herb Salt
This one catches everything else. Odds and ends from the earlier items, a few oregano sprigs, the last of the sage, all end up here. Dry each herb on its own, since they finish at different times, then crumble them together.
Mix the crumbled herbs with coarse sea salt in a clean, dry glass jar. I start around 1 part dried herbs to 2 or 3 parts salt and adjust to taste. That ratio is my estimate. Dried herbs are strong, so go light at first. If you want garlic in it, use dehydrated garlic, never fresh.
- Dry each herb separately until it crumbles.
- Mix with coarse sea salt, starting light on the herbs.
- Shake it on roasted vegetables and eggs, and label the jar.
The salt is for flavor. It doesn’t make the herbs last longer. For more blends to stock the shelf, see my dehydrated seasoning recipes. Nothing left behind.
Quick Reference: Leftover Herbs at a Glance
| Herb | Prep | Done when |
|---|---|---|
| 1. Parsley | Leaves plus thin upper stems | Crumbles, check at 1 hour |
| 2. Cilantro | Pat very dry, low end of the range | Crumbles, mild flavor |
| 3. Basil | Unbruised leaves, single layer | Crumbles, not curls |
| 4. Mint | Leaves stripped from stems | Crisp, stored whole |
| 5. Rosemary and thyme | Whole sprigs, longest drying | Stems snap, leaves rub off |
| 6. Dill | Soft fronds, no hard washing | Crisp, check early |
| 7. Chives and scallions | Thin rings, 1/8 to 1/4 inch | Light and crisp |
| 8. Herb salt | Dry each herb on its own, then mix | Herbs crumble before mixing |
The 95–115°F (35–46°C) range, the 1 to 4 hour window, the crumble-and-snap test, and the 3 to 4 times strength rule come from NCHFP. Tender versus sturdy herbs and storage come from Oregon State. The oil warning comes from Penn State. The chive cut size, the herb salt ratio, the cilantro and basil temperature choices, and the woody-herb timing are my own estimates, so adjust for your machine and your humidity.
Personal Tips You Can Steal
I dry every herb on its own tray, since a mixed tray means something is always overdone. I check at the 1 hour mark and pull whatever is ready, instead of waiting for the whole tray. I store the leaves whole and crush them only when I cook, because whole leaves keep their aroma longer.
I keep the jars in a cool, dark cupboard away from the stove. I label each one with the herb and the date. I toss anything that smells musty or looks damp.
Final Thoughts
You don’t need a garden or a big haul to use this. A half-bunch from the grocery store is plenty for one tray. Start with parsley or rosemary if you want an easy first run, and save basil and mint for when you feel comfortable judging doneness by touch.
Related reading: best dehydrator for herbs, 9 ways to use your dehydrator to reduce food waste, 7 homemade dehydrated herb blends, and how long dehydrated food lasts.
P.S. Next time a recipe asks for two tablespoons of parsley, buy the whole bunch anyway. The tray will take care of the rest. 🙂