Ever wonder why a handful of dried tomatoes tastes richer than a whole fresh one? Drying concentrates everything — the sweetness deepens, the tang sharpens, and you get a little chew that makes them endlessly snackable. This recipe gets you that sun-dried flavor at home using a dehydrator or an oven, so you can enjoy them year-round.
Toss them into salads, pasta, sandwiches, and dips, or eat them straight from the jar. If you’ve only had the store-bought kind packed in oil, homemade dried tomatoes will taste fresher and brighter than anything from a jar on a shelf.
In this article:
TL;DR (Too Long; Didn’t Read): Key Takeaways
- 🍅 Roma or plum tomatoes work best — dense flesh, fewer seeds, faster drying.
- 🌡️ Dehydrator: 125–135°F (52–57°C) for 8–14 hours. Oven: 170–200°F (77–93°C) for 4–8 hours.
- 👆 Doneness is a feel test: leathery and pliable, no visible moisture, doesn’t crack.
- 🫙 Condition for 7 days before sealing to catch any leftover moisture.
- 🫒 Dry-packed keeps 6–9 months; oil-packed goes in the fridge, gone in 2–4 weeks.
Why Dry Your Own Tomatoes
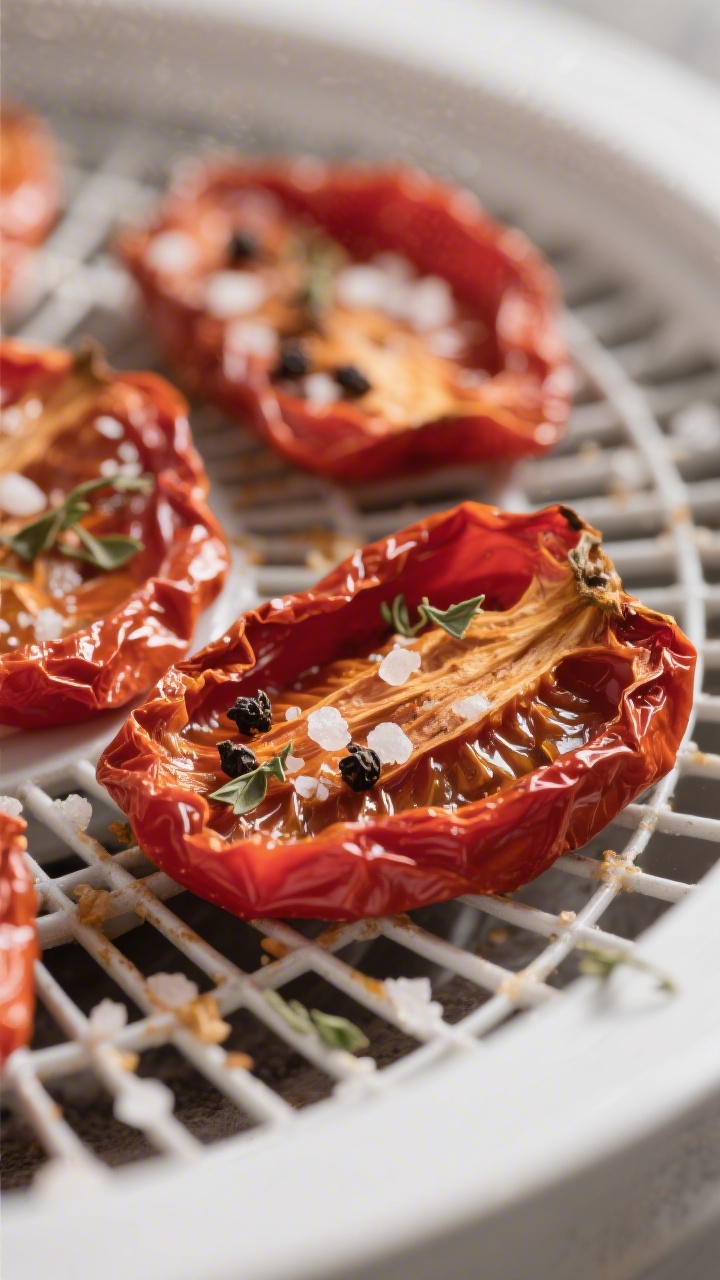
These dehydrated sun-dried tomatoes bring out the best in ripe tomatoes with barely any effort. You control the seasoning, the dryness level, and the size, so the final texture fits whatever you’re cooking.
They’re also the perfect fix for a bumper crop or tomatoes that got a little too soft to slice. Long shelf life, big flavor — this one’s a pantry hero.
Gear Check: What You’ll Need
- Tomatoes: Roma or plum tomatoes work best. You can also use cherry, grape, or San Marzano.
- Salt: Fine sea salt or kosher salt to draw out moisture and boost flavor.
- Olive oil (optional): For brushing before drying or for packing after drying.
- Seasonings (optional): Cracked black pepper, dried oregano, thyme, basil, red pepper flakes, or garlic powder.
- Vinegar (optional): A splash of red wine vinegar or balsamic for a tangy note if packing in oil.
- Equipment: Dehydrator with mesh trays or an oven with sheet pans and wire racks; parchment paper if not using racks; a sharp knife; paper towels; airtight containers or jars for storage.
My Go-To Workflow
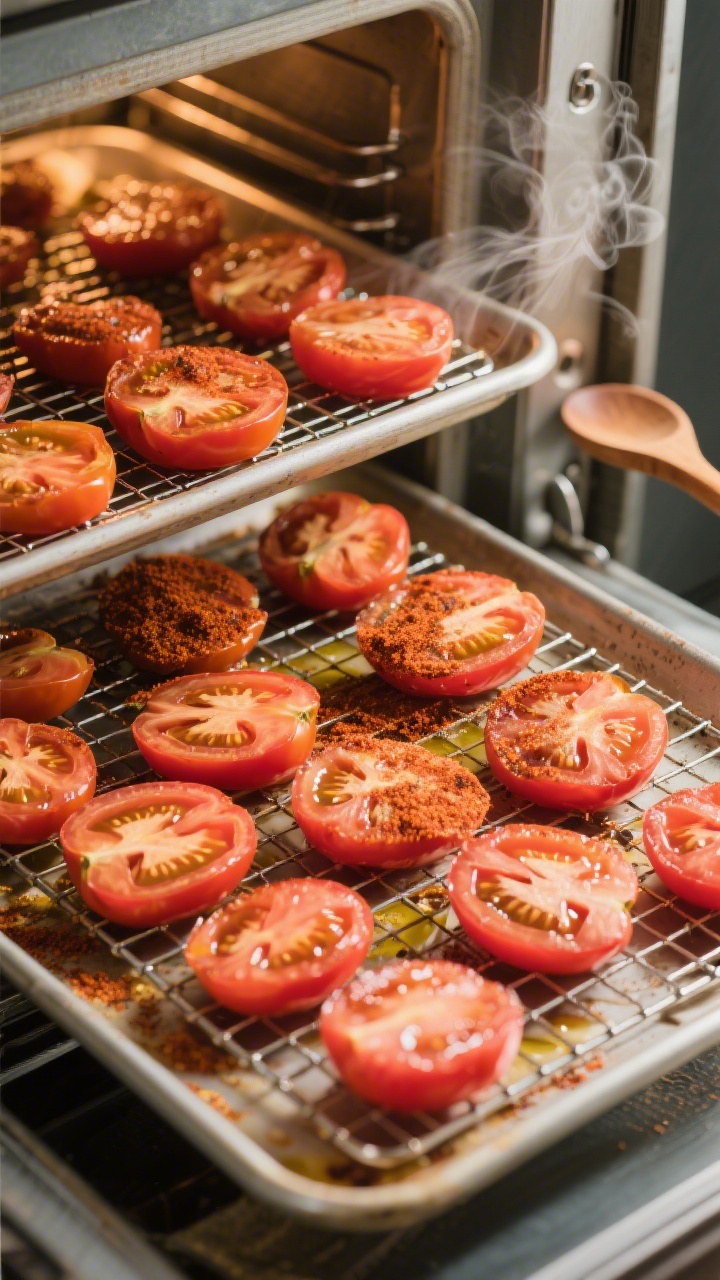
- Choose the right tomatoes. Pick firm, ripe tomatoes without bruises. Roma or plum tomatoes have fewer seeds and more flesh, which makes drying faster and more consistent.
- Prep and slice. Rinse and pat dry.
For Romas, slice lengthwise into halves or quarters. For cherry or grape tomatoes, slice in half. Aim for 1/4- to 1/2-inch thickness for even drying.
- Seed lightly (optional). Scoop out excess seeds and gel if using large tomatoes.
This speeds up drying and concentrates flavor.
- Season simply. Arrange slices cut side up. Sprinkle lightly with salt. Add pepper, herbs, or a whisper of garlic powder if you like.
Don’t overdo it — flavors intensify as they dry, so a light hand now pays off later.
- Dehydrator method. Set the dehydrator to 125–135°F (52–57°C). Place tomatoes in a single layer on trays. Dry for 8–14 hours, rotating trays occasionally.
Start checking at 8 hours.
- Oven method. Heat the oven to its lowest setting, ideally 170–200°F (77–93°C). Place tomatoes on wire racks set over sheet pans (or use parchment-lined pans). Dry for 4–8 hours, flipping once after the first 2–3 hours.
Prop the oven door open a crack to let moisture escape if safe to do so.
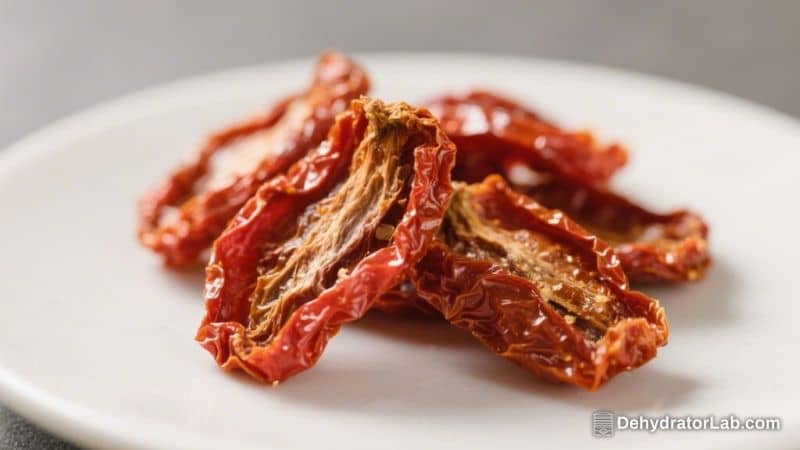
- Look for doneness. They’re ready when they’re dry to the touch, pliable, and leathery with no visible moisture but not brittle. If they crack, they’re over-dried; if they ooze when pressed, keep going.
- Cool and condition. Let tomatoes cool completely. Place them loosely in a jar, filling it no more than two-thirds.
For the next 7 days, shake the jar daily to distribute any remaining moisture. If you see condensation, return them to the dehydrator or oven to dry further — this step catches problems before they become mold.
- Use as-is or pack in oil (optional). For dry storage, keep plain. For oil-packed, briefly dip tomatoes in a simple vinegar brine (1 part vinegar to 3 parts water) for 1 minute, pat dry thoroughly, then cover with olive oil in a clean jar.
Add herbs, garlic, or chili flakes if desired.
- Label and store. Note the date and method used. Keep dry-packed tomatoes in airtight containers, and oil-packed tomatoes chilled in the fridge.
Storage That Actually Lasts
- Dry-packed: Store in airtight containers in a cool, dark place for 6–9 months. Refrigeration extends quality.
- Conditioned and sealed: After the week-long conditioning step, consider vacuum sealing for up to 12 months of peak flavor.
- Oil-packed: Keep in the refrigerator and use within 2–4 weeks.
Make sure tomatoes are fully submerged in oil to prevent spoilage.
- Freezing: For longer storage, freeze dry-packed tomatoes in zip-top bags for up to a year. Oil-packed versions can also be frozen; the oil will solidify, which is normal.

Why This Recipe Pays Off
- Budget-friendly: a smart way to use up garden tomatoes or bulk buys.
- Flavor boost: concentrated sweetness and umami that brightens simple dishes.
- Customizable: control salt, seasonings, and texture to suit your own palate.
Pitfalls to Watch Out For
- Uneven slices: thick pieces stay moist while thin ones over-dry. Keep slices uniform.
- Too much seasoning: flavors intensify as moisture leaves, so use a light hand.
- Rushing the process: high heat can cook rather than dry tomatoes, leading to hard edges and wet centers.
- Skipping conditioning: residual moisture can lead to mold in storage.
The shake-and-check step matters.
- Improper oil packing: raw garlic submerged in oil can be unsafe. Use dried herbs or add fresh garlic right before serving.
Recipe Variations
- Herbed Blend: toss with dried oregano, thyme, and a pinch of red pepper flakes before drying.
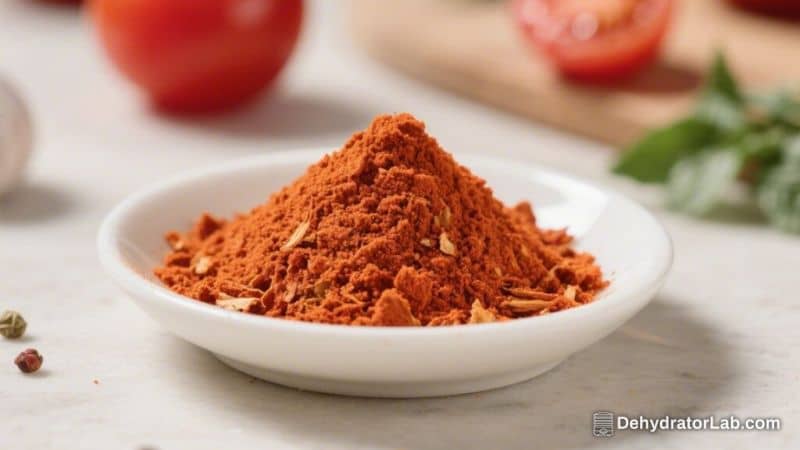
- Smoky Twist: add a light dusting of smoked paprika for depth.
- Balsamic Kiss: brush with a thin layer of balsamic vinegar before drying for a sweet-tangy edge.
- Garlic-Lovers: mix with a small amount of garlic powder after drying to avoid bitterness.
- Citrus Note: add a sprinkle of lemon zest to oil-packed jars for bright aroma.
FAQ
Which tomatoes are best for drying?
Roma, plum, and San Marzano tomatoes are ideal because they have dense flesh and fewer seeds. Cherry and grape tomatoes also work well and often dry faster, with a pleasantly chewy texture.
How do I know if they’re dry enough?
They should feel dry and leathery, not sticky or wet. Bend one — if it folds without cracking and no moisture beads up when pressed, you’re there.
Can I use the oven if I don’t have a dehydrator?
Yes. Set the oven to its lowest temperature, use racks for airflow, and prop the door slightly open if safe. Check frequently to prevent over-drying.
Do I have to add salt?
No, but a small pinch helps pull out moisture and enhances flavor. If you’re watching sodium, you can skip it and season later in recipes.
Are oil-packed tomatoes shelf-stable?
No. For safety, keep oil-packed tomatoes in the fridge and use them within a few weeks. Always keep them submerged in oil and use clean utensils to remove portions.
What can I make with dehydrated sun-dried tomatoes?
They’re great in pasta, grain bowls, omelets, focaccia, sandwiches, and salads. Try blending into pesto, folding into softened butter, or chopping into vinaigrettes for a burst of umami.
Can I rehydrate them?
Absolutely. Soak in warm water, broth, or wine for 15–30 minutes until plump. Save the soaking liquid to boost sauces or risotto.
Why condition the tomatoes after drying?
Conditioning evens out moisture across the batch. It helps prevent mold and ensures a consistent, shelf-stable result without over-drying.
Is it okay to leave the seeds in?
Yes. Removing some seeds speeds drying and gives a cleaner chew, but it’s optional. For cherry tomatoes, leaving seeds in is easiest and still delicious.
How can I prevent sticking during oven drying?
Use wire racks over sheet pans for better airflow, or line pans with parchment. Avoid foil, which can stick. A light brush of oil also helps, though it can slightly extend drying time.
Personal Tips You Can Steal
I always seed my Romas before slicing when I’m making a big batch, since it shaves real time off drying and keeps the texture cleaner. I skip the oil brush entirely for dry-packed jars — plain dries faster and stores longer. And I never skip the conditioning week, because that’s the step that’s saved me from a moldy jar more than once.
Wrap-Up
Dehydrated sun-dried tomatoes are simple to make and endlessly useful. With a little patience and the right technique, you’ll end up with a concentrated tomato flavor bomb ready for any dish.
Keep a jar on hand for quick weeknight upgrades, and customize the seasonings to fit your style. Once you taste the homemade version, you’ll wonder why you didn’t start sooner.
P.S. Save your first batch’s soaking liquid the first time you rehydrate a few — a spoonful stirred into pasta sauce does more work than you’d expect 🙂

Dehydrated Sun-Dried Tomatoes – Sweet, Savory, and Easy to Store
Ingredients
- Tomatoes: Roma or plum tomatoes work best. You can also use cherry, grape, or San Marzano.
- Salt: Fine sea salt or kosher salt to draw out moisture and boost flavor.
- Olive oil (optional): For brushing before drying or for packing after drying.
- Seasonings (optional): Cracked black pepper, dried oregano, thyme, basil, red pepper flakes, or garlic powder.
- Vinegar (optional): A splash of red wine vinegar or balsamic for a tangy note if packing in oil.
- Equipment: Dehydrator with mesh trays or an oven with sheet pans and wire racks; parchment paper if not using racks; a sharp knife; paper towels; airtight containers or jars for storage.
Instructions
- Choose the right tomatoes. Pick firm, ripe tomatoes without bruises. Roma or plum tomatoes have fewer seeds and more flesh, which makes drying faster and more consistent.
- Prep and slice. Rinse and pat dry.For Romas, slice lengthwise into halves or quarters. For cherry or grape tomatoes, slice in half. Aim for 1/4- to 1/2-inch thickness for even drying.
- Seed lightly (optional). Scoop out excess seeds and gel if using large tomatoes.This speeds up drying and concentrates flavor.
- Season simply. Arrange slices cut side up. Sprinkle lightly with salt. Add pepper, herbs, or a whisper of garlic powder if you like.Don’t overdo it—flavors intensify as they dry.
- Dehydrator method. Set the dehydrator to 125–135°F (52–57°C). Place tomatoes in a single layer on trays. Dry for 8–14 hours, rotating trays occasionally.Start checking at 8 hours.
- Oven method. Heat the oven to its lowest setting, ideally 170–200°F (77–93°C). Place tomatoes on wire racks set over sheet pans (or use parchment-lined pans). Dry for 4–8 hours, flipping once after the first 2–3 hours.Prop the oven door open a crack to let moisture escape if safe to do so.
- Look for doneness. They’re ready when they’re dry to the touch, pliable, and leathery with no visible moisture but not brittle. If they crack, they’re over-dried; if they ooze when pressed, keep going.
- Cool and condition. Let tomatoes cool completely. Place them loosely in a jar, filling it no more than two-thirds.For the next 7 days, shake the jar daily to distribute any remaining moisture. If you see condensation, return them to the dehydrator or oven to dry further.
- Use as-is or pack in oil (optional). For dry storage, keep plain. For oil-packed, briefly dip tomatoes in a simple vinegar brine (1 part vinegar to 3 parts water) for 1 minute, pat dry thoroughly, then cover with olive oil in a clean jar.Add herbs, garlic, or chili flakes if desired.
- Label and store. Note the date and method used. Keep dry-packed tomatoes in airtight containers, and oil-packed tomatoes chilled in the fridge.
Related reading: dehydrated brussels sprout chips, dehydrated kimchi flakes, and dehydrator reviews.
Printable Recipe Card
Want just the essential recipe details without scrolling through the article? Get our printable recipe card with just the ingredients and instructions.