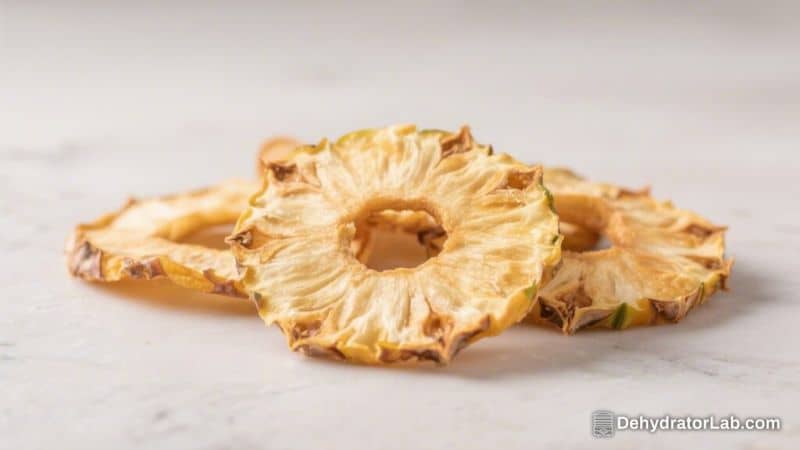
If you love a snack that’s naturally sweet, easy to make, and travels well, dehydrated pineapple rings are a winner. They pack a tropical punch without added sugar, and they’re a fun way to use up fresh pineapple. Whether you’re meal prepping for the week or building a homemade hiking mix, these chewy rings fit right in.
You don’t need fancy gear, either—an oven or a dehydrator both work. Once you’ve tried them, you’ll want to keep a jar stocked at all times.
In this article:
What Makes This Special
- Pure pineapple flavor: No added sugar needed—ripe fruit delivers plenty of sweetness on its own.
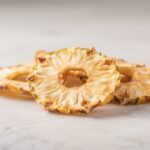
- Great texture: Chewy, slightly pliable rings that beat store-bought versions in taste and freshness.
- Versatile uses: Snack as-is, chop into granola, top smoothie bowls, or tuck into lunchboxes.
- Low waste: Use the whole pineapple and repurpose the core in rings or save it for infusing water or making stock.
- Long shelf life: Properly dehydrated and stored, they last for months.
Ingredients
- 1–2 ripe pineapples (fresh, whole)
- Optional: 1–2 tablespoons fresh lemon juice (helps color stay bright)
- Optional: A pinch of sea salt or ground cinnamon for dusting
How to Make It

- Choose ripe fruit: Pick pineapples with golden skin, a slight give when pressed, and a sweet aroma at the base. Avoid very green, hard fruit.
- Prep your tools: If using a dehydrator, set it to 135°F/57°C.
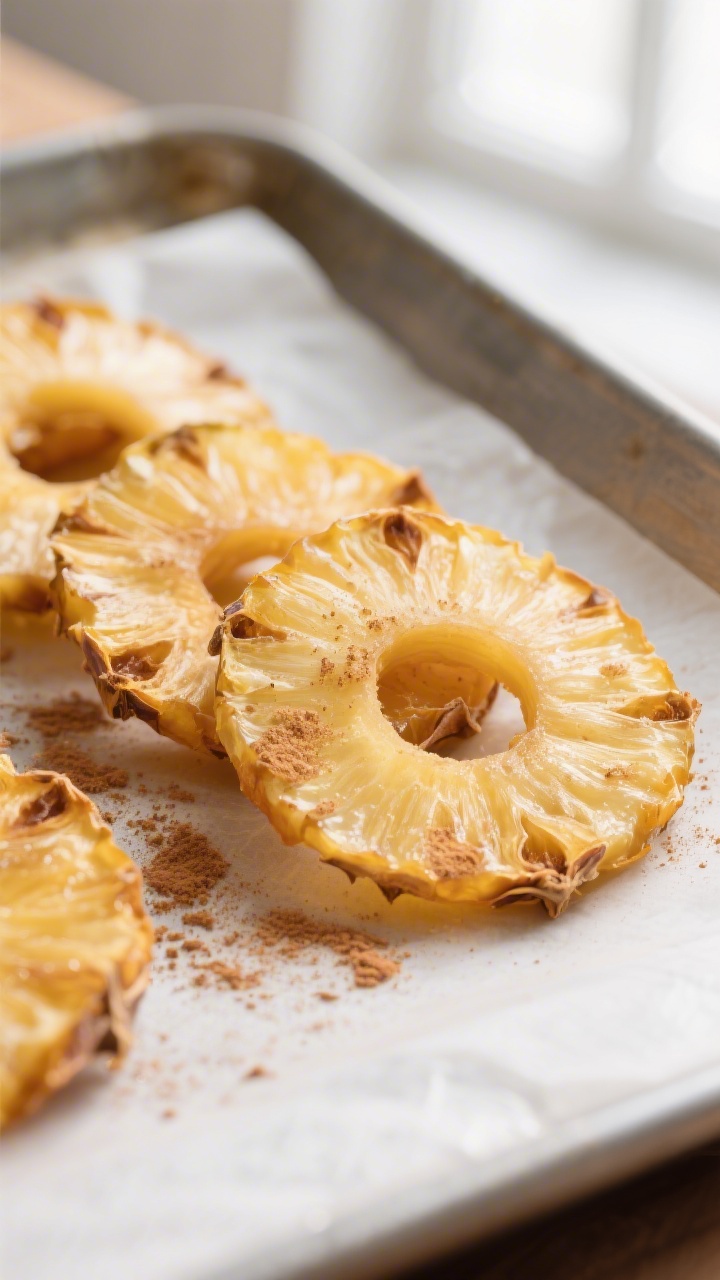
For the oven, set to the lowest temperature (usually 170–200°F/75–95°C) and line baking sheets with parchment.
- Peel and core: Slice off the top and bottom, stand the pineapple upright, and cut away the skin in vertical strips. Remove any “eyes.” Use a corer if you have one, or leave the core intact if you like a firmer, chewier center.
- Slice into rings: Cut into 1/4-inch (6 mm) thick slices for chewy rings. Thinner slices (1/8 inch) dry faster and become crispier.
- Optional pre-treatment: Toss slices lightly with lemon juice to slow browning and brighten flavor.
Pat off excess with a paper towel.
- Arrange the rings: Lay slices in a single layer on dehydrator trays or baking sheets. Do not overlap; airflow is key for even drying.
- Dehydrate:
- Dehydrator: Dry at 135°F/57°C for 8–12 hours. Rotate trays halfway through if your machine has hot spots.
- Oven: Dry at the lowest setting for 6–10 hours. Prop the door open slightly with a wooden spoon to improve airflow if safe to do so.
- Check for doneness: Rings should be dry to the touch, non-sticky, and pliable, not brittle.
If you tear one, no visible moisture should bead up.
- Condition the fruit: Cool completely. Then place the rings in a loosely filled, airtight container for 3–7 days, shaking daily. If condensation forms, return to the dehydrator/oven for another hour and repeat.
- Store properly: Once evenly dry and conditioned, move to airtight jars or vacuum-sealed bags.
Label with the date.
Storage Instructions
- Room temperature: Store in airtight containers in a cool, dark place for up to 3 months.
- Refrigerator: Extends shelf life to 6 months, especially in humid climates.
- Freezer: For long-term storage up to 12 months, use freezer-safe, airtight bags. Thaw at room temperature before snacking.
- Keep it dry: Add a food-safe desiccant pack to jars if your home is humid.
Benefits of This Recipe
- No added sugar: Naturally sweet and satisfying without syrups or artificial ingredients.
- Portable snack: Lightweight and mess-free for travel, work, or hiking.
- Budget-friendly: Buying whole pineapples in season is often cheaper than store-bought dried fruit.
- Nutrient retention: Dehydration preserves flavor and many vitamins, especially when done at lower temperatures.
- Low-waste kitchen habit: Use every part of the fruit and control your portion sizes.
What Not to Do
- Don’t slice too thick: Thick rings take much longer and often dry unevenly.
- Don’t overlap slices: Poor airflow leads to sticky spots and potential spoilage.
- Don’t rush the process: Cranking the oven hotter can cook rather than dehydrate, causing browning and tough texture.
- Don’t skip conditioning: Moisture pockets cause mold. Conditioning evens things out before storage.
- Don’t store warm fruit: Always cool completely to prevent condensation in the container.
Recipe Variations
- Cinnamon sugar: Lightly dust with cinnamon and a tiny pinch of sugar before drying for a warm, cozy vibe.
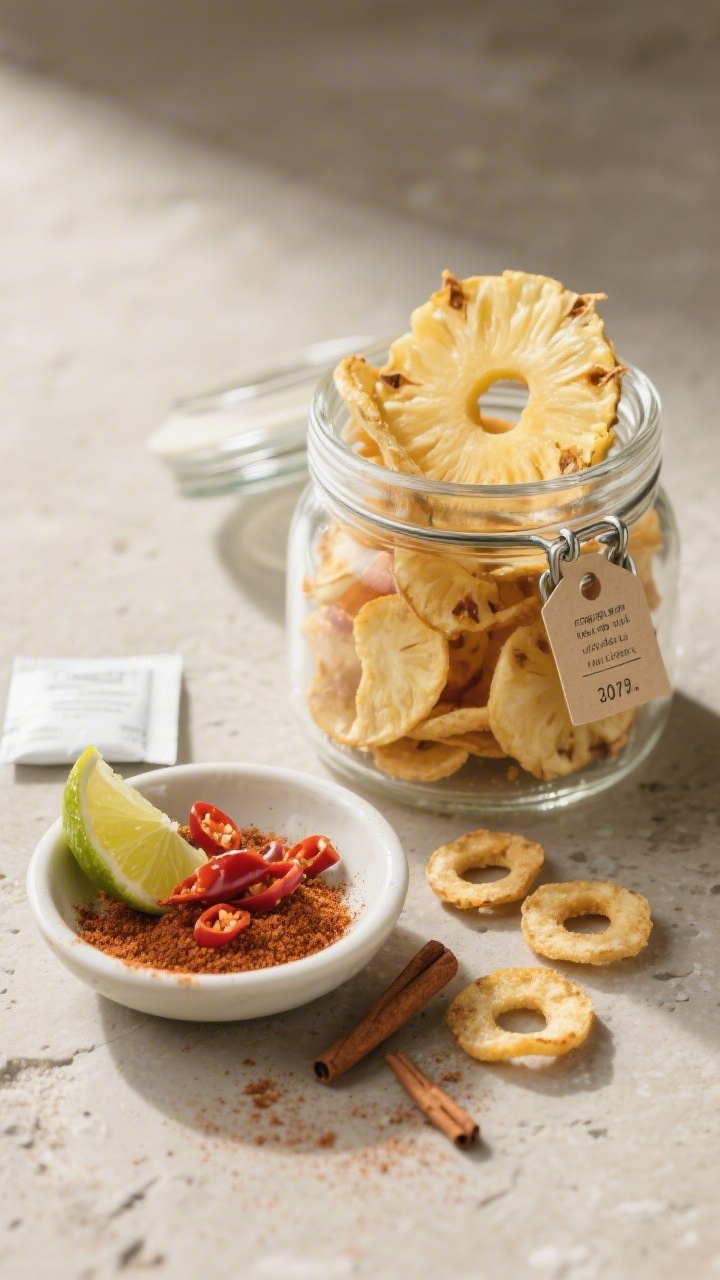
- Chili-lime: Sprinkle with chili powder and a squeeze of lime after drying for a tangy-spicy snack.
- Coconut kiss: Brush slices with a thin layer of coconut water before drying for subtle tropical sweetness.
- Ginger glow: Toss with a pinch of ground ginger and a drop of vanilla extract for a fragrant twist.
- Ring-and-chip mix: Dehydrate some rings thin for crisp chips and others thicker for chew.
Mix textures in one jar.
FAQ
Can I use canned pineapple?
Yes, but choose rings packed in juice, not syrup. Drain and pat very dry before dehydrating. Canned rings are softer and may dry faster, so start checking for doneness a bit earlier.
How do I know when they’re fully dehydrated?
They should feel dry and leathery but bend without cracking.
Tear one open—no wet spots or beads of moisture should appear. If unsure, give them another 30–60 minutes.
Do I need a dehydrator?
No. An oven at its lowest setting works well.
If your oven runs hot, place a metal spoon in the door to vent slightly, which helps moisture escape and prevents cooking.
Can I keep the core?
Absolutely. It dries into a chewier center with a pleasant bite. If you prefer softer rings, core the pineapple before slicing.
Why did my pineapple turn brown?
Browning can happen from high heat or oxidation.
Keep temperatures low and consider a quick toss with lemon juice. Also avoid overcrowding trays, which traps moisture and slows drying.
How long will they last?
If thoroughly dried, conditioned, and stored airtight, expect up to 3 months at room temperature, 6 months in the fridge, and up to a year in the freezer.
Can I speed this up?
Not really without sacrificing texture or flavor. Dehydration is a slow, low-heat process.
Thinner slices will dry faster, but avoid high heat, which makes them tough and browned.
What can I do with leftovers that soften over time?
Re-crisp by returning them to the dehydrator or oven at low heat for 30–60 minutes. Cool and store again, ensuring the container is truly airtight.
Are dehydrated pineapple rings healthy?
Yes, in moderation. They’re just fruit, so they contain natural sugars without added sweeteners.
They’re great for quick energy and a fiber boost compared to candy or chips.
Can I dehydrate other fruits at the same time?
Yes, as long as they have similar drying times and temperatures. Apples, mango, and bananas pair well. Keep strong-smelling fruits separate if you don’t want flavors mingling.
Final Thoughts
Dehydrated pineapple rings are simple, bright, and endlessly useful.
With a little patience and the right slice thickness, you’ll get a snack that tastes like sunshine, lasts for months, and brings a bit of the tropics to your pantry. Make a big batch on the weekend, stash a jar on the counter, and watch them disappear. Once you’ve mastered the basics, play with spices and textures to make them your own.
Dehydrated Pineapple Rings – Sweet, Chewy, and Perfect for Snacking
Ingredients
- 1–2 ripe pineapples (fresh, whole)
- Optional: 1–2 tablespoons fresh lemon juice (helps color stay bright)
- Optional: A pinch of sea salt or ground cinnamon for dusting
Instructions
- Choose ripe fruit: Pick pineapples with golden skin, a slight give when pressed, and a sweet aroma at the base. Avoid very green, hard fruit.
- Prep your tools: If using a dehydrator, set it to 135°F/57°C.For the oven, set to the lowest temperature (usually 170–200°F/75–95°C) and line baking sheets with parchment.
- Peel and core: Slice off the top and bottom, stand the pineapple upright, and cut away the skin in vertical strips. Remove any “eyes.” Use a corer if you have one, or leave the core intact if you like a firmer, chewier center.
- Slice into rings: Cut into 1/4-inch (6 mm) thick slices for chewy rings. Thinner slices (1/8 inch) dry faster and become crispier.
- Optional pre-treatment: Toss slices lightly with lemon juice to slow browning and brighten flavor.Pat off excess with a paper towel.
- Arrange the rings: Lay slices in a single layer on dehydrator trays or baking sheets. Do not overlap; airflow is key for even drying.
- Dehydrate: Dehydrator: Dry at 135°F/57°C for 8–12 hours. Rotate trays halfway through if your machine has hot spots.
- Oven: Dry at the lowest setting for 6–10 hours. Prop the door open slightly with a wooden spoon to improve airflow if safe to do so.
- Check for doneness: Rings should be dry to the touch, non-sticky, and pliable, not brittle.If you tear one, no visible moisture should bead up.
- Condition the fruit: Cool completely. Then place the rings in a loosely filled, airtight container for 3–7 days, shaking daily. If condensation forms, return to the dehydrator/oven for another hour and repeat.
- Store properly: Once evenly dry and conditioned, move to airtight jars or vacuum-sealed bags.Label with the date.
Related reading: dehydrated hot sauce flakes, dehydrated corn kernels, and best fruits to dehydrate.
Printable Recipe Card
Want just the essential recipe details without scrolling through the article? Get our printable recipe card with just the ingredients and instructions.