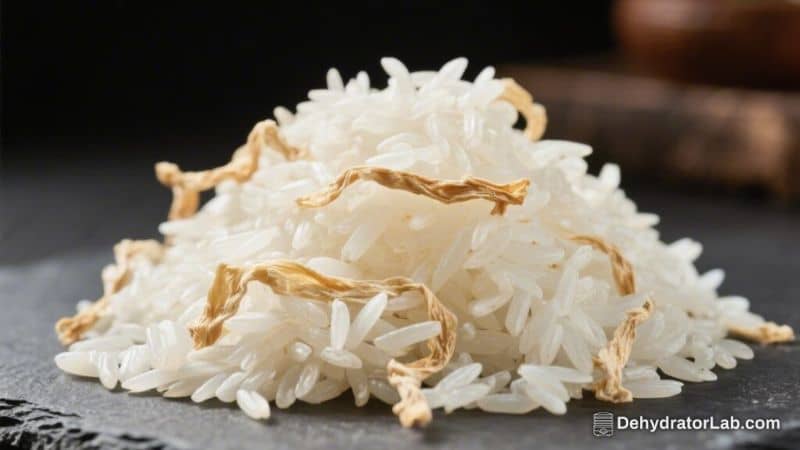
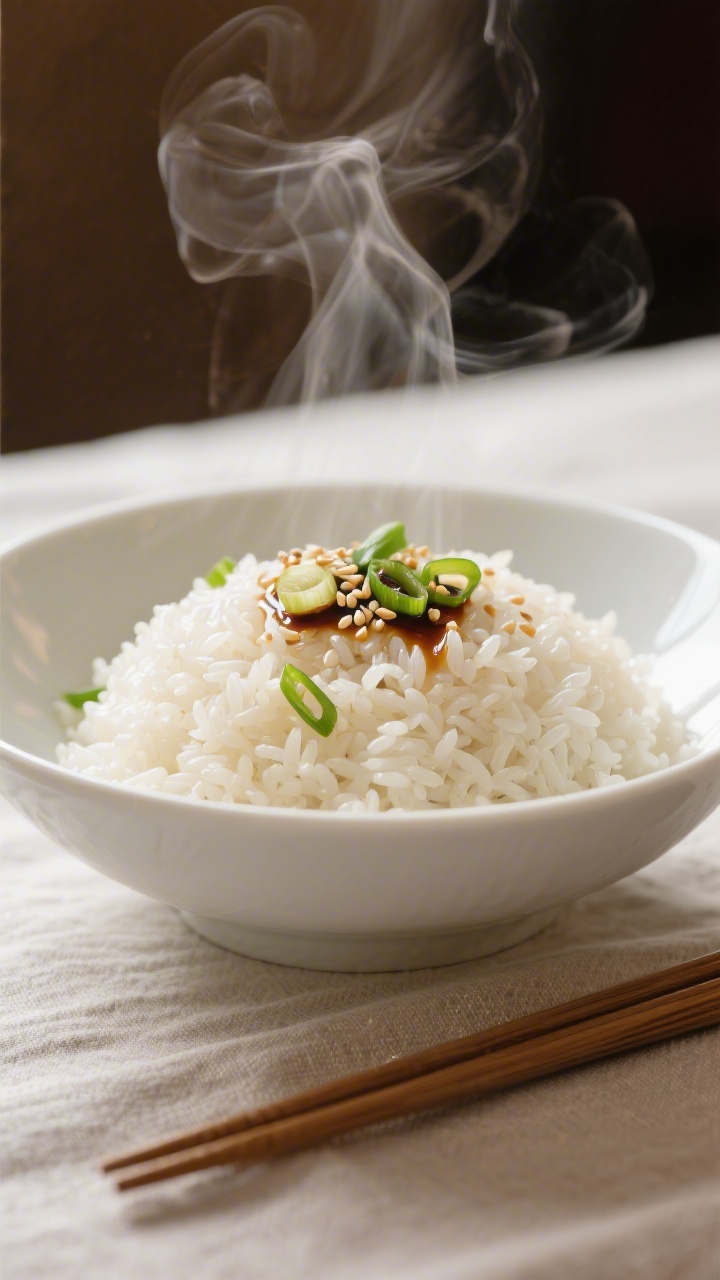
Cooked white rice that’s dehydrated is one of those practical kitchen tricks that saves time, space, and stress. It turns leftover rice into a shelf-stable ingredient you can rehydrate in minutes, which is perfect for busy weeknights, road trips, or camping. The texture is surprisingly close to fresh, and you control the salt and oil, unlike many instant rices.
Plus, it’s budget-friendly and reduces waste. If you’ve got a dehydrator or an oven, you’re already halfway there.
In this article:
What Makes This Special
This isn’t just “instant rice.” It’s your rice—cooked the way you like it, then dried for later. That means you pick the grain length, the seasoning, and the texture.
It rehydrates fast, usually in 5–10 minutes with hot water, making it a true emergency-meal hero.
- Customizable: Season it lightly before drying or keep it plain for flexible meals later.
- Budget-conscious: Cheaper than store-bought instant rice with no additives.
- Space-saving: Shrinks down in volume and weight, great for backpacking or long-term storage.
- Quick to use: Rehydrates with hot water while you prep the rest of dinner.
Ingredients
- 3 cups cooked white rice (short, medium, or long grain)
- Water for cooking (follow your rice’s usual ratio)
- Optional: 1/2 teaspoon fine salt, to season before dehydrating
- Optional: A tiny splash of neutral oil for fluffier rice (use sparingly if storing long term)
How to Make It
- Cook the rice. Use your standard method (stovetop, rice cooker, or Instant Pot). Aim for slightly firm, not mushy. For long-grain rice, a 1:1.75 or 1:2 rice-to-water ratio usually works well.
- Fluff and cool. When the rice is done, fluff it with a fork to release steam.
Spread it on a large tray to cool until it’s just warm. This helps prevent clumping during drying.
- Light seasoning (optional). If you want, sprinkle a little salt and gently toss. Avoid heavy oils or butter—they slow drying and can reduce shelf life.
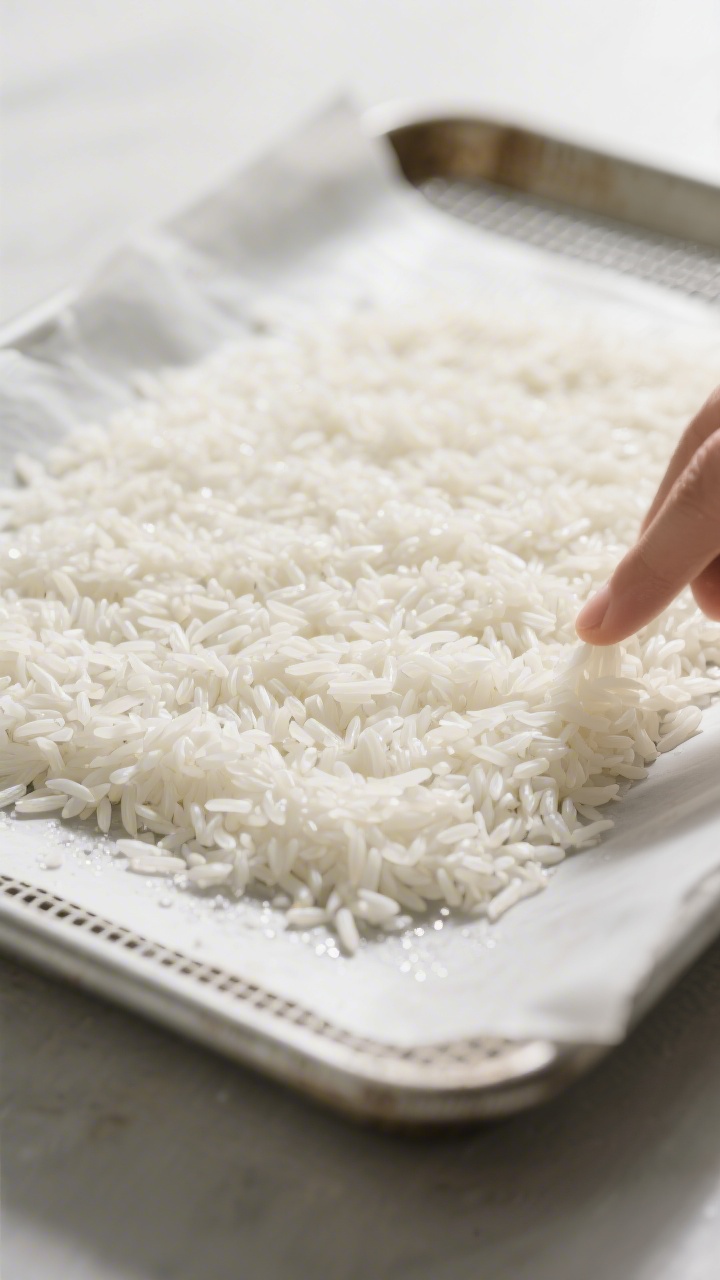
- Prepare dehydrator trays. Line trays with parchment or a mesh liner to prevent bits from falling through.
Spread the rice in a thin, even layer, about one grain deep if you can.
- Dehydrate. Set your dehydrator to 135–145°F (57–63°C). Dry for 4–6 hours, stirring once or twice to break up clumps. The rice is done when the grains are hard, dry, and brittle.
- Oven option. If you don’t have a dehydrator, use your oven at its lowest setting (usually 170–200°F / 75–93°C).
Prop the door slightly open to let moisture escape. Spread the rice thinly on lined baking sheets and dry for 2–4 hours, stirring every 30–45 minutes.
- Cool completely. Let the rice sit at room temperature until fully cool. This prevents condensation once you store it.
- Condition the batch. Place the dried rice in a large airtight container for 2–3 days, shaking it daily.
If you see condensation or feel softness, return it to the dehydrator for another hour.
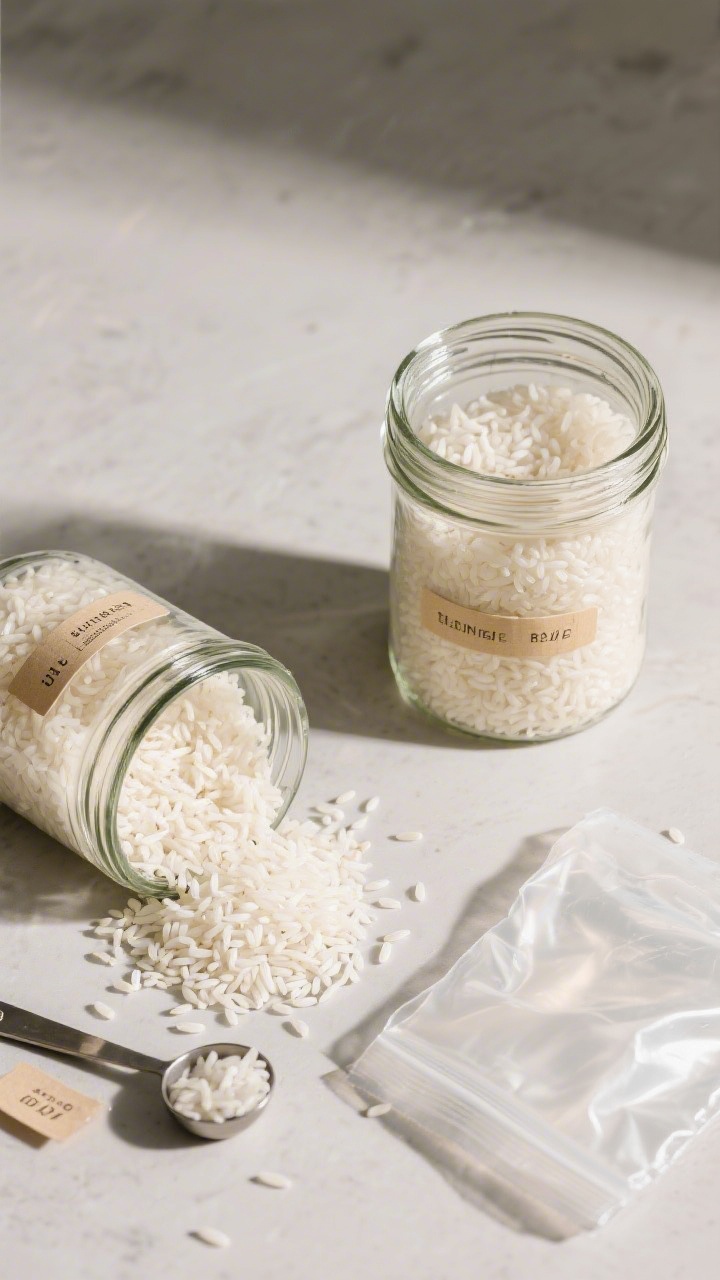
- Package for storage. Move the finished rice to airtight jars, vacuum-sealed bags, or mylar bags with oxygen absorbers for long storage. Label with the date.
- Rehydrate when needed. Combine 1 cup dried rice with 1 to 1 1/4 cups boiling water, cover, and rest 5–10 minutes. Fluff and season to taste.
For stovetop, simmer gently until tender.
How to Store
- Short term (up to 6 months): Airtight jar or zip-top bag in a cool, dark pantry.
- Long term (6–12+ months): Vacuum-sealed or mylar bags with oxygen absorbers. Store below 70°F if possible.
- Avoid humidity: Moisture ruins texture and invites spoilage. Always seal promptly after scooping.
- Portion smart: Pack in 1–2 cup portions so you only open what you need.
Why This is Good for You
Dehydrated cooked rice isn’t a miracle food, but it’s practical.
It supports better budgeting and food waste reduction, which is good for your wallet and the planet. It also builds confidence in your pantry—fast, reliable carbs that are easy to portion and quick to cook.
- Energy on demand: A steady source of carbs for busy days or active trips.
- Custom nutrition: Choose enriched or jasmine rice, or pair with lean proteins and veggies for balance.
- Fits many diets: Naturally gluten-free and simple to digest for most people.
What Not to Do
- Don’t dehydrate oily or buttery rice if you want long shelf life. Fats go rancid faster.
- Don’t skip cooling before drying.
Hot, steamy rice clumps and dries unevenly.
- Don’t pack it warm. Trapped steam leads to condensation and mold risk.
- Don’t store in thin, leaky bags for months. Oxygen and humidity will sneak in.
- Don’t overhydrate. Start with a 1:1 water-to-dried-rice ratio and adjust. Too much water can make it gummy.
Alternatives
- Brown rice: Works, but takes longer to rehydrate and can be a bit chewier.
Dry at the same temperature but allow extra time.
- Sticky rice: Possible, though it dries and rehydrates clumpier. Best for certain dishes where that texture is welcome.
- Flavor infusions: Cook rice in broth or with aromatics (garlic, ginger), then dehydrate. Flavor will concentrate slightly.
- Microwave rehydration: Cover dried rice with hot water in a bowl, microwave 1–2 minutes, rest, then fluff.
- Add-ins after rehydration: Stir in freeze-dried veggies, canned beans, or a splash of soy sauce for a quick meal.
FAQ
How long does dehydrated cooked white rice last?
In airtight containers at room temperature, plan on 6 months.
With vacuum sealing or mylar plus oxygen absorbers, you can often stretch it to 12 months or more, assuming cool, dry storage. Always check for off smells or softness before using.
Do I need to wash the rice before cooking it for dehydration?
Rinsing rice before cooking helps remove excess surface starch, which leads to better-separated grains and easier drying. It’s optional, but recommended for a cleaner texture when you rehydrate later.
What’s the best rice for this?
Long-grain white rice (like jasmine or basmati) gives the fluffiest results and rehydrates quickly.
Medium-grain works well too. Short-grain tends to be stickier but is fine if you like that texture.
Can I season the rice before dehydrating?
Light salt is fine. Avoid heavy fats or sauces before drying since they slow dehydration and shorten shelf life.
Add oils, butter, or rich seasonings after rehydration for the best quality.
How do I know it’s fully dry?
Grains should be hard, dry, and brittle. Crush a few between your fingers; they should snap, not bend. If you feel any softness or see slight translucency, continue drying and retest.
What’s the rehydration ratio?
Start with 1 cup dried rice to 1 to 1 1/4 cups boiling water.
Let it sit covered for 5–10 minutes, then fluff. If it’s still firm, add a splash more hot water and rest another few minutes.
Can I dehydrate leftover takeout rice?
Yes, as long as it’s plain and hasn’t sat in the danger zone (40–140°F) for more than 2 hours. Spread it out, cool thoroughly, and dry.
Be cautious with rice that contains oils, eggs, or sauces.
Is it safe?
When handled properly, yes. Cook the rice fully, cool it quickly, dry it thoroughly, and store it airtight. If anything smells off or looks damp or moldy, discard it.
Does it work for backpacking meals?
Absolutely.
It’s light, compact, and quick to rehydrate. Pair with dehydrated veggies, a bouillon cube, and a foil pouch of chicken or tuna for an ultralight trail dinner.
What can I make with it?
Use it in fried rice, burrito bowls, stir-fries, soups, and rice salads. It’s also a solid base for curry, chili, or teriyaki dishes when time is tight.
Wrapping Up
Dehydrated cooked white rice turns a simple staple into an instant pantry tool.
It saves money, reduces waste, and makes fast meals easy—at home or on the go. Keep a few jars or pouches on hand, and you’ll always have a backup plan for dinner. Once you try it, you may start dehydrating a double batch every time you cook rice.
Dehydrated Cooked White Rice – A Handy Make-Ahead Staple
Ingredients
- 3 cups cooked white rice (short, medium, or long grain)
- Water for cooking (follow your rice’s usual ratio)
- Optional: 1/2 teaspoon fine salt, to season before dehydrating
- Optional: A tiny splash of neutral oil for fluffier rice (use sparingly if storing long term)
Instructions
- Cook the rice. Use your standard method (stovetop, rice cooker, or Instant Pot). Aim for slightly firm, not mushy. For long-grain rice, a 1:1.75 or 1:2 rice-to-water ratio usually works well.
- Fluff and cool. When the rice is done, fluff it with a fork to release steam.Spread it on a large tray to cool until it’s just warm. This helps prevent clumping during drying.
- Light seasoning (optional). If you want, sprinkle a little salt and gently toss. Avoid heavy oils or butter—they slow drying and can reduce shelf life.
- Prepare dehydrator trays. Line trays with parchment or a mesh liner to prevent bits from falling through.Spread the rice in a thin, even layer, about one grain deep if you can.
- Dehydrate. Set your dehydrator to 135–145°F (57–63°C). Dry for 4–6 hours, stirring once or twice to break up clumps. The rice is done when the grains are hard, dry, and brittle.
- Oven option. If you don’t have a dehydrator, use your oven at its lowest setting (usually 170–200°F / 75–93°C).Prop the door slightly open to let moisture escape. Spread the rice thinly on lined baking sheets and dry for 2–4 hours, stirring every 30–45 minutes.
- Cool completely. Let the rice sit at room temperature until fully cool. This prevents condensation once you store it.
- Condition the batch. Place the dried rice in a large airtight container for 2–3 days, shaking it daily.If you see condensation or feel softness, return it to the dehydrator for another hour.
- Package for storage. Move the finished rice to airtight jars, vacuum-sealed bags, or mylar bags with oxygen absorbers for long storage. Label with the date.
- Rehydrate when needed. Combine 1 cup dried rice with 1 to 1 1/4 cups boiling water, cover, and rest 5–10 minutes. Fluff and season to taste.For stovetop, simmer gently until tender.
Related reading: ground turkey jerky, pineapple coconut fruit leather, and best vacuum sealer.
Printable Recipe Card
Want just the essential recipe details without scrolling through the article? Get our printable recipe card with just the ingredients and instructions.