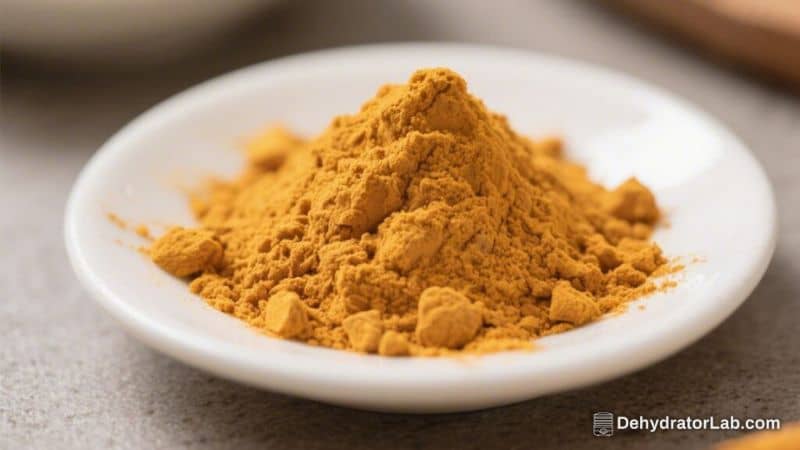
Turmeric is one of those kitchen staples that quietly does so much. It adds color, warmth, and an earthy kick to everything from curries to smoothies. Making your own dehydrated turmeric powder at home gives you brighter flavor, better aroma, and more control over quality.
It’s simple, affordable, and a satisfying way to stock your spice cabinet. If you’ve got fresh turmeric and a little patience, you can make a jar that will last for months.
In this article:
What Makes This Recipe So Good
- Fresh flavor beats store-bought: Homemade turmeric powder is more vibrant and noticeably more aromatic than most pre-ground options.
- Budget-friendly: Buying fresh turmeric in bulk and dehydrating it yourself often costs less than premium powders.
- Custom grind: Make it super fine for golden milk or a bit coarser for rubs and marinades.
- Long shelf life: Properly dried and stored powder stays potent for up to a year.
- Minimal equipment: A dehydrator or oven and a basic grinder are all you need.
Ingredients
- 2 to 3 pounds fresh turmeric rhizomes (choose firm, smooth pieces)
- Water for rinsing
- Optional: 1 teaspoon black peppercorns (for blending later, to pair with turmeric in recipes)
- Optional: A small knob of fresh ginger (for a slightly different flavor profile if making a blend)
Instructions
- Prep the workspace: Turmeric stains. Line your cutting board with parchment, wear gloves, and use a knife you don’t mind getting yellow.
- Wash and trim: Rinse rhizomes under cool water.
Scrub off dirt, then trim off any soft or bruised spots and cut away knobby ends.
- Peel or don’t peel: Peeling is optional. The skin is thin and edible. If you want the brightest color and smoothest powder, peel with a spoon.
If not, just scrub well.
- Slice evenly: Cut into 1/8-inch (3 mm) slices. Thinner slices dry faster and more evenly. Aim for uniform thickness to prevent under- or over-drying.
- Choose your drying method:
- Dehydrator: Arrange slices in a single layer on trays.
Dry at 105–115°F (40–46°C) for 6–10 hours, or until crisp and brittle.
- Oven: Line baking sheets and spread slices in a single layer. Set oven to the lowest temp (ideally 150–170°F / 65–75°C). Prop the door slightly open with a wooden spoon for airflow.
Dry 3–5 hours, flipping halfway, until completely brittle.
- Dehydrator: Arrange slices in a single layer on trays.
- Check for doneness: A properly dried slice should snap cleanly. If it bends or feels leathery, keep drying.
- Cool completely: Let the slices sit at room temperature for 20–30 minutes. Trapped warmth can cause condensation in your grinder or jar.
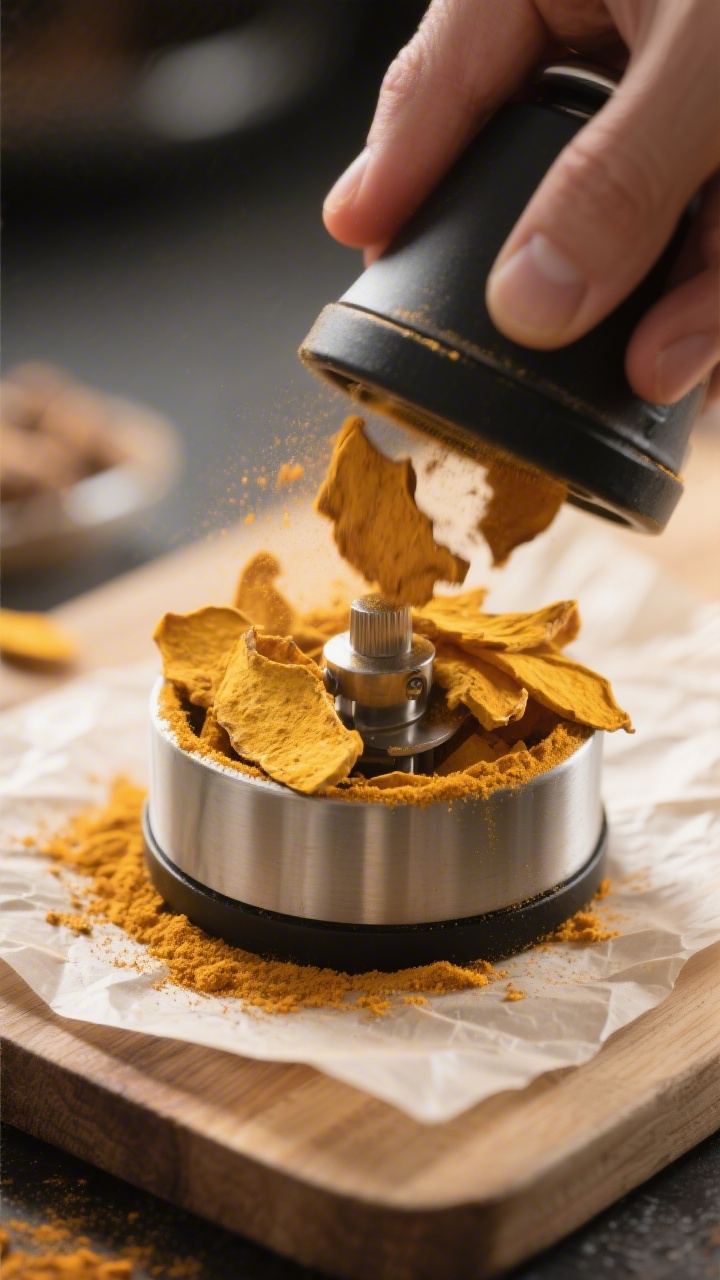
- Grind: Use a spice grinder, high-speed blender, or clean coffee grinder.
Work in small batches for a fine, even powder. Pulse until you reach your desired texture.
- Optional blend-ins: For a ready-to-use mix, grind 1 teaspoon black peppercorns per cup of turmeric powder and blend together. Pepper can enhance turmeric’s benefits in recipes that include fat.
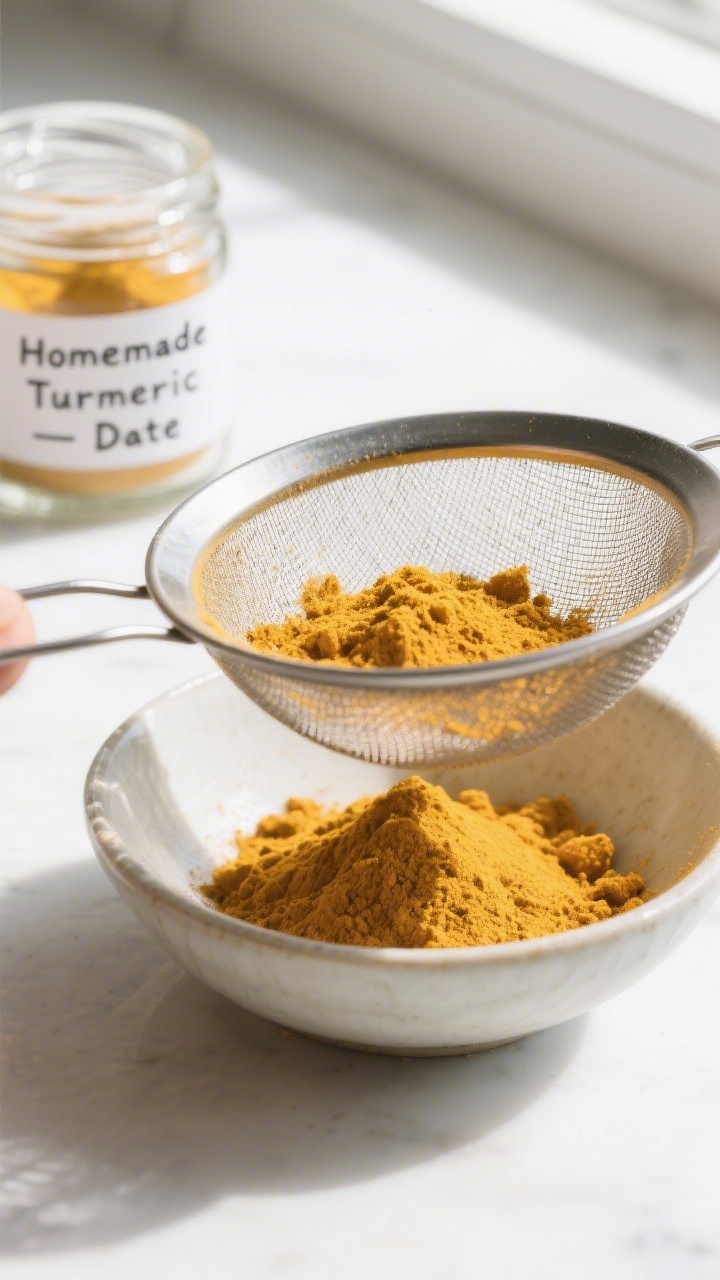
- Sift and regrind: Pass the powder through a fine sieve.
Return larger bits to the grinder until everything is uniform.
- Jar and label: Transfer to an airtight glass jar. Label with the date and note “homemade” so you remember it’s extra potent.
Keeping It Fresh
- Store airtight: Use a tightly sealed glass jar to keep out moisture and odors.
- Keep it cool and dark: Light and heat fade color and flavor. A pantry or cabinet away from the stove is ideal.
- Avoid steam: Never shake powder over a steaming pot.
Spoon out what you need to prevent clumping and mold.
- Use a desiccant: A small food-safe silica gel packet in the jar helps control humidity.
- Rotate stock: For best flavor, use within 9–12 months. If the aroma fades, it’s time for a fresh batch.

Health Benefits
Turmeric naturally contains curcumin, a compound known for its warm color and culinary value. In typical cooking amounts, it adds flavor and color to dishes.
When used as part of a varied diet, turmeric can be a tasty addition to home-cooked meals that focus on whole ingredients.
Tip: Turmeric’s flavor pairs well with fats like coconut milk, ghee, or olive oil, which also help carry its aroma through a dish. Many cooks also add a pinch of black pepper to turmeric-forward recipes because the flavors complement each other.
If you have any medical conditions or take medications, especially those related to gallbladder issues or blood-thinning, talk to a healthcare professional before adding larger amounts of turmeric or concentrated supplements to your routine.
Pitfalls to Watch Out For
- Uneven slicing: Thick pieces take longer to dry and can trap moisture, leading to mold. Keep slices uniform.
- Too high heat: High oven temps can brown or scorch turmeric, dulling color and flavor.
Stay low and slow.
- Not fully dry: If the slices don’t snap, they’re not ready. Any flexibility can lead to clumping or spoilage.
- Grinding while warm: Heat causes condensation inside the jar. Always cool first.
- Poor storage: Loose lids, light exposure, and humid kitchens quickly fade aroma and color.
Alternatives
- Frozen turmeric: If you can’t dry it right away, freeze whole rhizomes in a zip-top bag.
Grate from frozen for cooking, or thaw and then dehydrate later.
- Sun-drying: In very dry, hot climates, you can sun-dry. Cover with mesh to keep bugs out and bring indoors at night. This may take several days.
- Turmeric chips: Skip the grinding and keep the dried slices whole.
Crush them by hand into stews and broths where they can simmer longer.
- Golden blend: Mix your powder with ground ginger, cinnamon, and a pinch of black pepper for a quick golden milk base.
- Coloring salt: Stir a little powder into flaky salt for a striking finishing salt on eggs, avocado, or roasted veg.
FAQ
Do I need to peel the turmeric first?
No. The skin is thin and edible. Peeling gives you a slightly brighter color and smoother powder, but a good scrub is enough if you want to save time.
Can I use a regular oven if it doesn’t go below 200°F (93°C)?
Yes, but be careful.
Prop the door open to lower the internal temperature and increase airflow. Check often and flip slices to prevent browning. Or dry partially in the oven, then finish in a dehydrator or air-dry in a dry room overnight before completing the process.
How fine should I grind the powder?
It depends on how you’ll use it.
For drinks or delicate sauces, go very fine. For rubs, a slightly coarser grind adds texture. You can keep two jars with different grinds if you like.
Why add black pepper to turmeric?
Many cooks pair turmeric with black pepper because their flavors work well together in savory dishes.
If you enjoy that combo, grind a small amount of pepper and store it separately or mix a little into your turmeric-based blends.
My powder clumped. Is it ruined?
Not necessarily. Clumps usually mean moisture.
Spread the powder on a lined sheet and dry at low heat for 10–15 minutes, stirring once or twice. Cool, then regrind and store with a desiccant packet.
How much fresh turmeric equals ground powder?
As a rough guide, 1 tablespoon freshly grated turmeric is close to 1 teaspoon ground. Adjust to taste since home-dried powders can be more flavorful than store-bought.
Will it stain my tools?
Yes, temporarily.
Wear gloves, use parchment on your board, and choose tools you don’t mind tinting. Stains usually fade after a few washes and some sunlight.
Can I dehydrate in an air fryer?
Some air fryers have a dehydrate setting. If yours does, set it to 105–115°F (40–46°C) and dry in a single layer, checking regularly.
If it only runs hot, it may brown the turmeric, so proceed with caution.
Wrapping Up
Homemade dehydrated turmeric powder is simple, bold, and useful in everyday cooking. With even slicing, low heat, and proper storage, you’ll get a jar of bright, fragrant spice that lifts soups, rice, eggs, and drinks. It’s a small project with big payoff—and one that makes your kitchen smell incredible.
Once you taste your own batch, you might never go back to the store-bought stuff.
Dehydrated Turmeric Powder – Bright, Warm, and Easy Homemade Spice
Ingredients
- 2 to 3 pounds fresh turmeric rhizomes (choose firm, smooth pieces)
- Water for rinsing
- Optional: 1 teaspoon black peppercorns (for blending later, to pair with turmeric in recipes)
- Optional: A small knob of fresh ginger (for a slightly different flavor profile if making a blend)
Instructions
- Prep the workspace: Turmeric stains. Line your cutting board with parchment, wear gloves, and use a knife you don’t mind getting yellow.
- Wash and trim: Rinse rhizomes under cool water.Scrub off dirt, then trim off any soft or bruised spots and cut away knobby ends.
- Peel or don’t peel: Peeling is optional. The skin is thin and edible. If you want the brightest color and smoothest powder, peel with a spoon.If not, just scrub well.
- Slice evenly: Cut into 1/8-inch (3 mm) slices. Thinner slices dry faster and more evenly. Aim for uniform thickness to prevent under- or over-drying.
- Choose your drying method: Dehydrator: Arrange slices in a single layer on trays.Dry at 105–115°F (40–46°C) for 6–10 hours, or until crisp and brittle.
- Oven: Line baking sheets and spread slices in a single layer. Set oven to the lowest temp (ideally 150–170°F / 65–75°C). Prop the door slightly open with a wooden spoon for airflow.Dry 3–5 hours, flipping halfway, until completely brittle.
- Check for doneness: A properly dried slice should snap cleanly. If it bends or feels leathery, keep drying.
- Cool completely: Let the slices sit at room temperature for 20–30 minutes. Trapped warmth can cause condensation in your grinder or jar.
- Grind: Use a spice grinder, high-speed blender, or clean coffee grinder.Work in small batches for a fine, even powder. Pulse until you reach your desired texture.
- Optional blend-ins: For a ready-to-use mix, grind 1 teaspoon black peppercorns per cup of turmeric powder and blend together. Pepper can enhance turmeric’s benefits in recipes that include fat.
- Sift and regrind: Pass the powder through a fine sieve.Return larger bits to the grinder until everything is uniform.
- Jar and label: Transfer to an airtight glass jar. Label with the date and note “homemade” so you remember it’s extra potent.
Printable Recipe Card
Want just the essential recipe details without scrolling through the article? Get our printable recipe card with just the ingredients and instructions.