Fresh scallions are bright and punchy, but they don’t always last long in the fridge. Dehydrating them turns that fleeting freshness into a shelf-stable flavor boost you can sprinkle on anything. It’s easy, low-effort, and budget-friendly.
You’ll get a mild onion note with a hint of sweetness, ready to use in soups, eggs, dips, and marinades. Whether you’re meal-prepping, minimizing food waste, or building a pantry of go-to flavors, dehydrated scallions deserve a permanent spot.
In this article:
Why This Recipe Works
Dehydrating scallions concentrates their flavor while keeping their gentle, green-onion character. The process is simple: slice, dry, and store.
With low heat and good airflow, you keep the color and aroma intact.
Scallions dehydrate faster than thicker alliums like onions or leeks, so you get results in hours, not days. You can dry the green tops and white bulbs together or separately for more control. Either way, the end result is clean, savory, and incredibly versatile.
Shopping List
- Scallions (green onions) – Choose firm stalks with bright green tops and crisp white ends.
- Optional: Kosher salt – A pinch after drying can brighten flavor.
- Optional: Neutral vinegar – A splash for rinsing if your scallions are sandy.
Instructions

- Pick and prep: Choose fresh scallions with no slimy spots.
Trim off the root ends and any wilted tips.
- Wash well: Rinse under cool water, lifting the layers to remove grit. If they’re very sandy, soak for 2–3 minutes in water with a splash of vinegar, then rinse and pat dry.
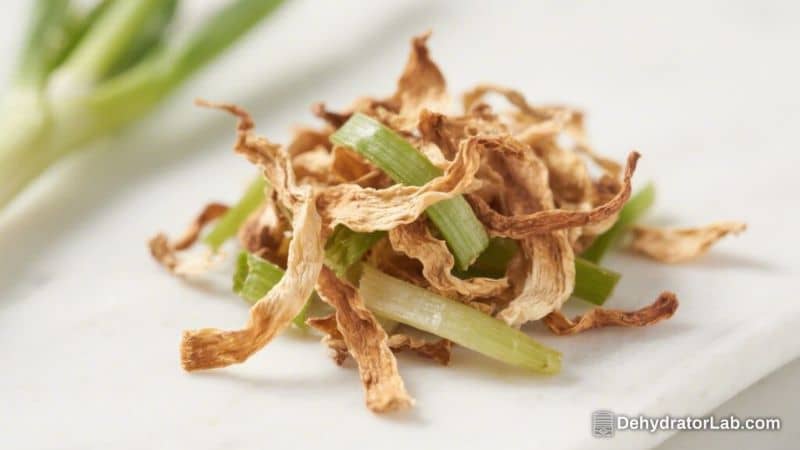
- Decide your cut: For quick drying and pretty flakes, slice thinly across the stalks (about 1/8 inch). For a chive-like sprinkle, slice only the greens.
For a stronger onion note, include more of the whites.
- Separate by color (optional): The white parts hold more moisture and dry slightly slower. If you want even drying, keep whites on one tray and greens on another.
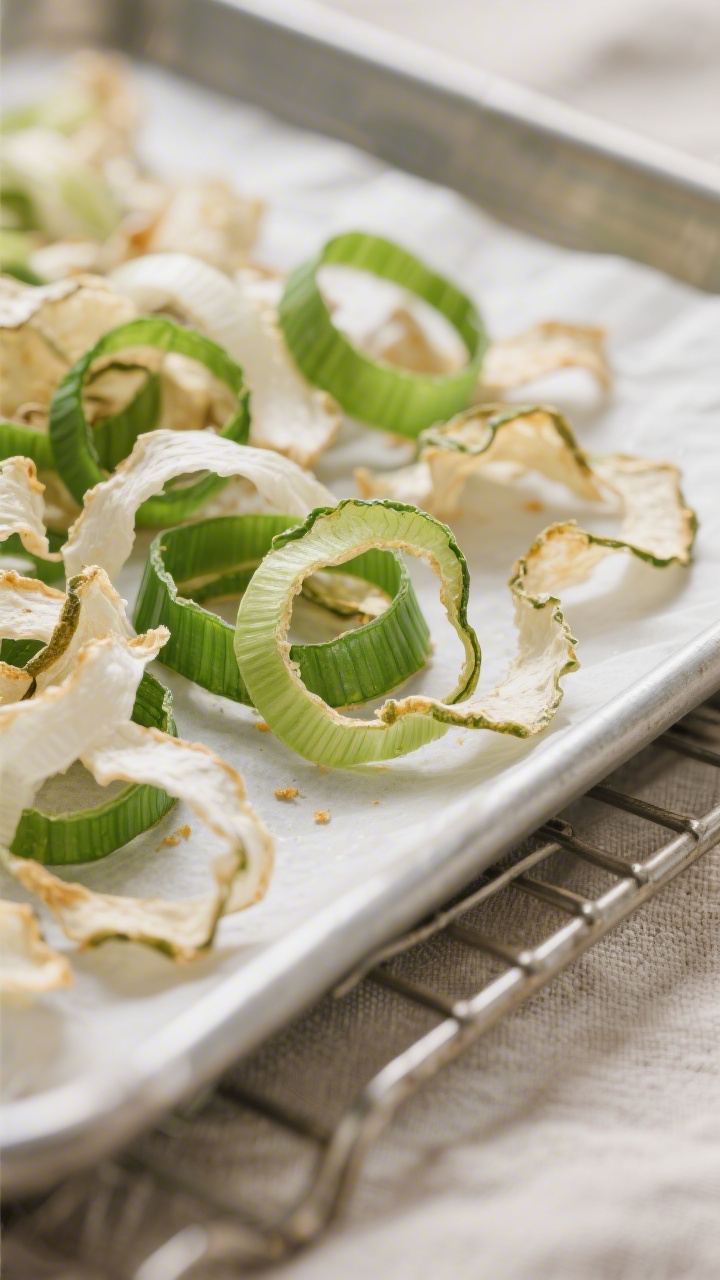
- Arrange for airflow: Spread slices in a single, loose layer on dehydrator trays or parchment-lined baking sheets. Avoid clumps; they trap moisture and slow things down.
- Dehydrate, not cook:
- Dehydrator: Set to 95–115°F (35–46°C) for delicate greens or up to 125°F (52°C) if your space is humid.
Dry 3–6 hours, checking at the 3-hour mark.
- Oven: Set to the lowest temp (ideally 170–200°F / 75–95°C). Prop the door slightly open with a spoon for airflow. Dry 2–4 hours, stirring once or twice.
- Air fryer with dehydrator mode: Use 120–140°F (49–60°C).
Layer thinly and dry 1.5–3 hours, shaking gently midway.
- Dehydrator: Set to 95–115°F (35–46°C) for delicate greens or up to 125°F (52°C) if your space is humid.
- Test for doneness: They should feel crisp and papery, not leathery. A piece should snap cleanly. If it bends, keep drying.
- Condition the batch: After cooling fully, place the dried scallions in a clean jar 2/3 full.
Seal and shake once a day for 3–5 days. If you see fogging or clumps, there’s residual moisture—return to the dehydrator.
- Store properly: Once conditioned, keep in an airtight container away from light and heat. Label with the date.
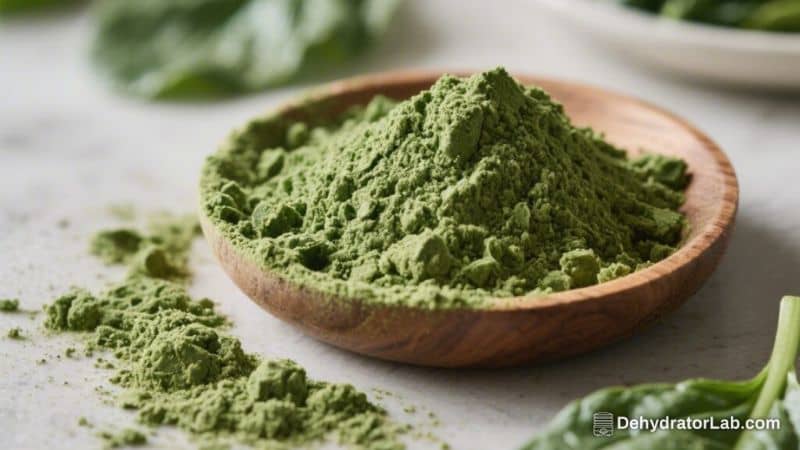
- Optional finishing: Blitz a portion in a spice grinder for scallion powder.
It’s fantastic for rubs, dressings, and compound butter.
Keeping It Fresh
Moisture and light are the enemies of dried herbs and aromatics. Use a tight-sealing jar, stash it in a cool cupboard, and avoid opening it in a steamy kitchen. For best color and aroma, aim to use within 6–9 months.
Want to extend shelf life?
Add a food-safe desiccant pack to the container. Always cool the scallions fully before sealing; warm pieces create condensation and shorten freshness.
Benefits of This Recipe
- Less waste: Use whole bunches before they wilt. Even the dark greens shine when dried.
- Fast flavor: Sprinkle into eggs, ramen, stir-fries, and dips—no chopping needed.
- Budget-friendly: Buy in bulk when they’re cheap, then preserve.
- Customizable: Make flakes, rings, or powder.
Keep greens and whites separate for different uses.
- Shelf-stable: Great for camping, travel cooking, and emergency pantry builds.
What Not to Do
- Don’t overcrowd trays. Thick piles steam instead of dry, leading to dull color and off smells.
- Don’t crank the heat. High temps cook and brown the scallions, muting their fresh flavor.
- Don’t skip conditioning. It prevents hidden moisture from ruining a whole jar.
- Don’t store near the stove. Heat and humidity degrade delicate aromatics quickly.
- Don’t assume they’re done. Always test for a clean snap; leathery equals not ready.
Alternatives
- Air-drying: In very dry climates, hang thinly sliced greens on a mesh rack in a well-ventilated spot. This can take 1–2 days. Not ideal in humid areas.
- Freeze-dried scallions: If you have access to a freeze dryer, you’ll preserve vivid color and maximum aroma with a super-light texture.
- Freezing: Flash-freeze sliced scallions on a tray, then bag.
Texture softens when thawed, but flavor is strong for cooked dishes.
- Oven low-and-slow: If your oven won’t go low enough, cycle it on and off to keep temps gentle, keeping the door cracked for airflow.
- Chive swap: If you’re out of scallions, dehydrated chives are milder but work similarly as a finishing sprinkle.
FAQ
Do I need to blanch scallions before dehydrating?
No. Blanching isn’t necessary and can dull color and flavor. Just wash well, slice thin, and dry at low temperatures.
How much fresh scallion equals dried?
As a general rule, use about 1 teaspoon dried for every 1 tablespoon fresh.
Adjust to taste, especially if using the stronger white parts.
Can I dehydrate the white bulbs and green tops together?
Yes, but they may finish at different times. If dried together, check and pull any fully dry pieces early to avoid browning.
How do I keep the green color vibrant?
Use lower temperatures, good airflow, and avoid over-drying. Cool completely before sealing to prevent trapped moisture that can fade color.
What’s the best way to use scallion powder?
Stir into sour cream or yogurt for a quick dip, whisk into vinaigrettes, fold into softened butter, or dust over roasted vegetables and popcorn.
It dissolves easily and adds a mellow onion kick.
Can I rehydrate dehydrated scallions?
Yes. Soak in warm water for 5–10 minutes, then drain. They’ll plump slightly and work well in soups, dumpling fillings, and omelets.
How long do dehydrated scallions last?
Stored airtight and away from light, they keep peak quality for 6–9 months, sometimes up to a year.
Aroma is the best freshness test—if it smells faint, it’s time to make a new batch.
Why does my jar fog up after storage?
That’s trapped moisture. Spread the scallions back on trays and dehydrate longer, then condition again before storing.
In Conclusion
Dehydrated scallions are a smart, simple way to lock in flavor and stretch your grocery budget. With a little slicing and low, steady heat, you’ll have a bright, savory sprinkle ready for everyday cooking.
Keep a jar by the salt and pepper—you’ll reach for it constantly. It’s the kind of small pantry upgrade that pays off every single week.
Dehydrated Scallions – A Simple Way to Boost Flavor and Cut Waste
Ingredients
- Scallions (green onions) – Choose firm stalks with bright green tops and crisp white ends.
- Optional: Kosher salt – A pinch after drying can brighten flavor.
- Optional: Neutral vinegar – A splash for rinsing if your scallions are sandy.
Instructions
- Pick and prep: Choose fresh scallions with no slimy spots.Trim off the root ends and any wilted tips.
- Wash well: Rinse under cool water, lifting the layers to remove grit. If they’re very sandy, soak for 2–3 minutes in water with a splash of vinegar, then rinse and pat dry.
- Decide your cut: For quick drying and pretty flakes, slice thinly across the stalks (about 1/8 inch). For a chive-like sprinkle, slice only the greens.For a stronger onion note, include more of the whites.
- Separate by color (optional): The white parts hold more moisture and dry slightly slower. If you want even drying, keep whites on one tray and greens on another.
- Arrange for airflow: Spread slices in a single, loose layer on dehydrator trays or parchment-lined baking sheets. Avoid clumps; they trap moisture and slow things down.
- Dehydrate, not cook: Dehydrator: Set to 95–115°F (35–46°C) for delicate greens or up to 125°F (52°C) if your space is humid.Dry 3–6 hours, checking at the 3-hour mark.
- Oven: Set to the lowest temp (ideally 170–200°F / 75–95°C). Prop the door slightly open with a spoon for airflow. Dry 2–4 hours, stirring once or twice.
- Air fryer with dehydrator mode: Use 120–140°F (49–60°C).Layer thinly and dry 1.5–3 hours, shaking gently midway.
- Test for doneness: They should feel crisp and papery, not leathery. A piece should snap cleanly. If it bends, keep drying.
- Condition the batch: After cooling fully, place the dried scallions in a clean jar 2/3 full.Seal and shake once a day for 3–5 days. If you see fogging or clumps, there’s residual moisture—return to the dehydrator.
- Store properly: Once conditioned, keep in an airtight container away from light and heat. Label with the date.
- Optional finishing: Blitz a portion in a spice grinder for scallion powder.It’s fantastic for rubs, dressings, and compound butter.
Printable Recipe Card
Want just the essential recipe details without scrolling through the article? Get our printable recipe card with just the ingredients and instructions.