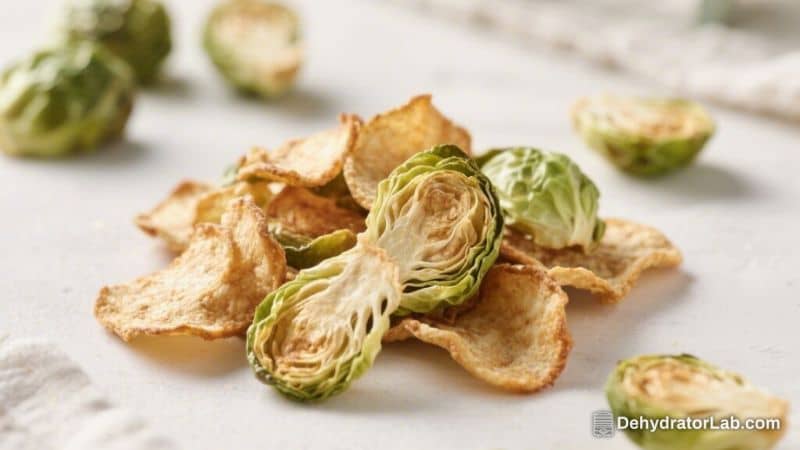
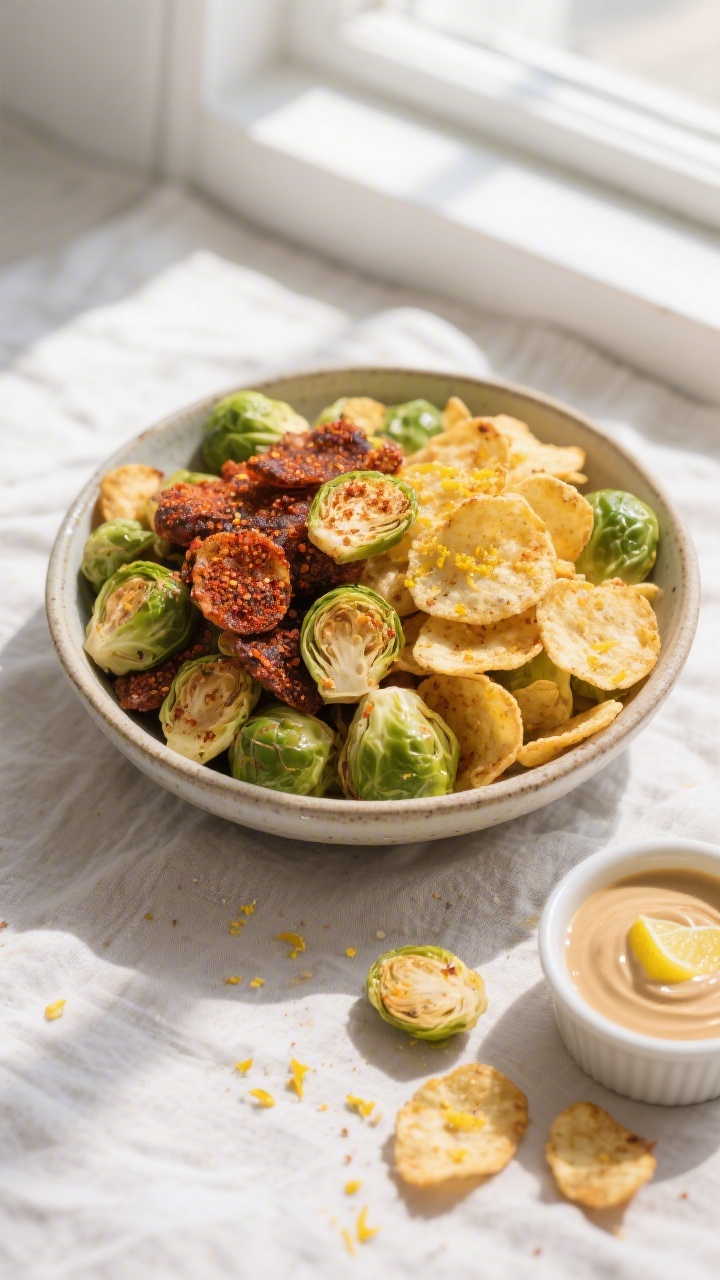
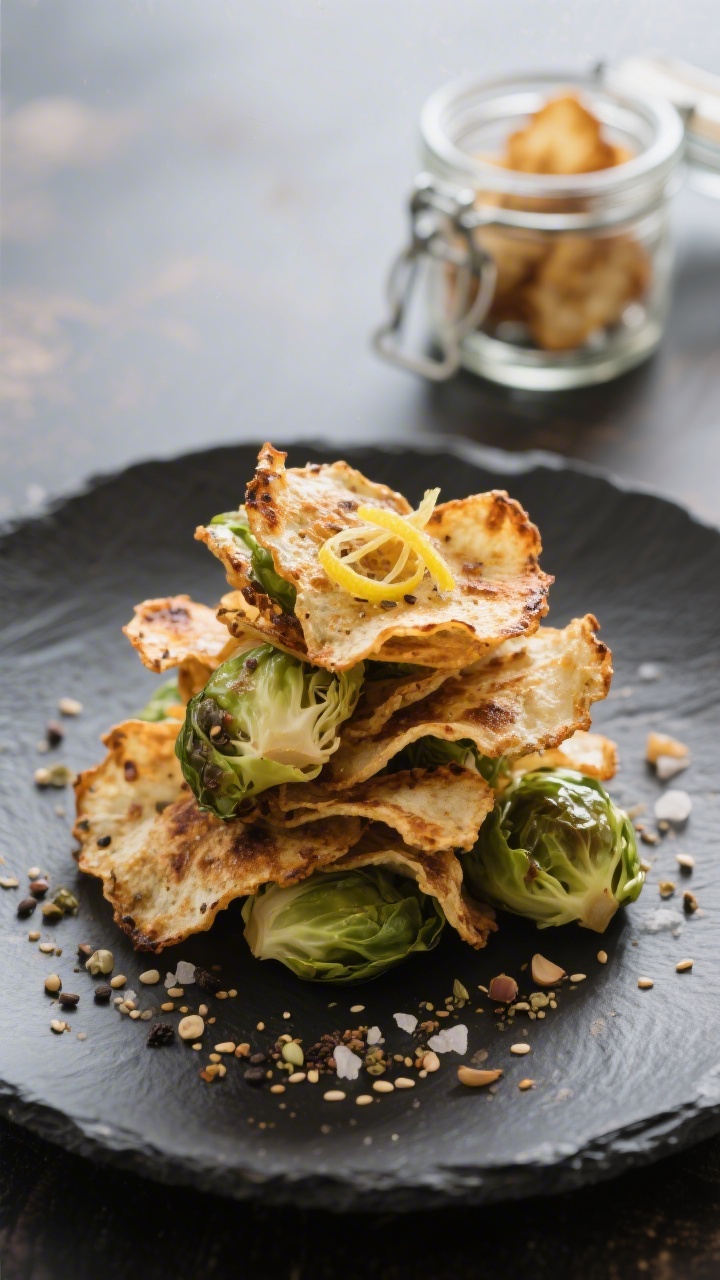
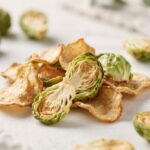
Brussels sprouts might not be everyone’s favorite at the dinner table, but turn them into chips and everything changes. These dehydrated Brussels sprout chips are light, crunchy, and perfectly salty, with a subtle nuttiness that keeps you reaching for more. They’re a great alternative to store-bought chips, and they’re surprisingly simple to make.
You only need a few ingredients, and the dehydrator does most of the work. Once you try them, you’ll start craving them as a go-to snack.
In this article:
What Makes This Special
These chips deliver that highly satisfying crunch without frying, so they stay lighter and easier to digest. Dehydrating also concentrates the natural sweetness in Brussels sprouts, balancing their earthy bite.
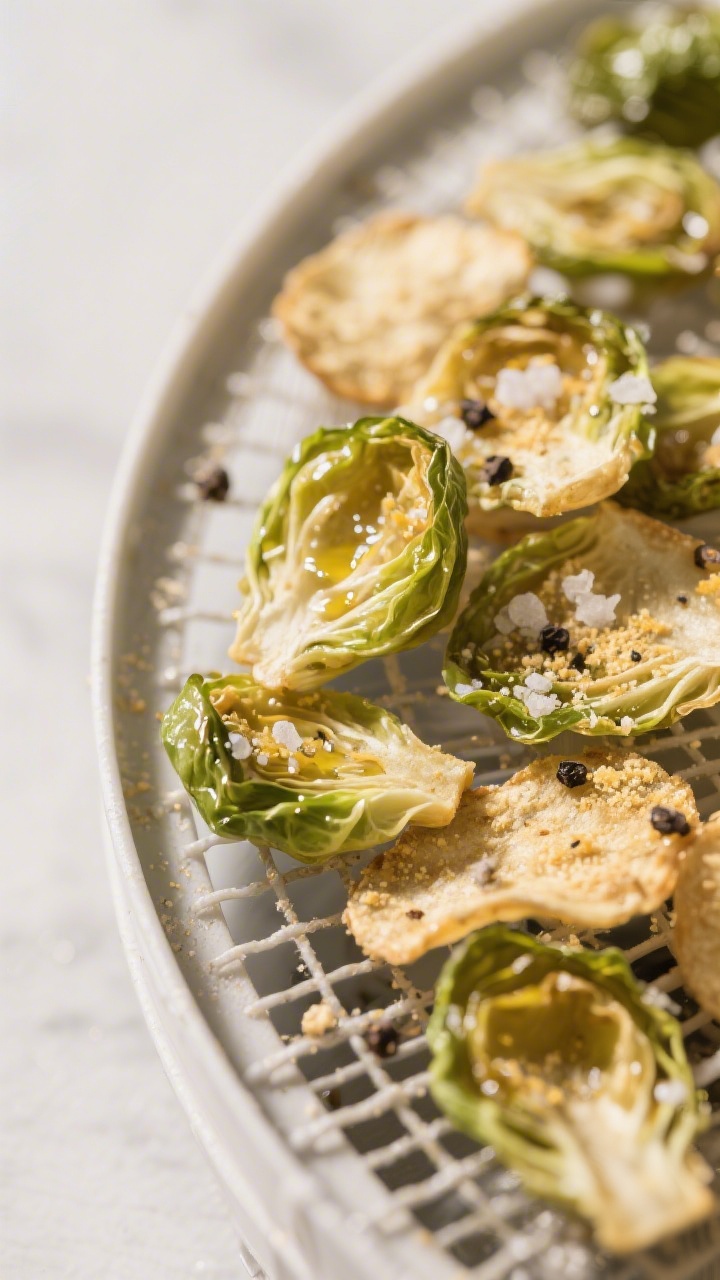
You can season them simply with salt and pepper, or add bold flavors like chili, garlic, or everything bagel seasoning. They’re easy to prep ahead, kid-friendly, and perfect for meal prep. Best of all, they store well and hold their crisp for days.
Shopping List
- 1 to 1.5 pounds Brussels sprouts (look for firm, compact heads)
- 1 to 2 tablespoons extra-virgin olive oil or avocado oil
- 1 teaspoon kosher salt (to taste)
- 1/2 teaspoon black pepper
- Optional seasonings:
- Garlic powder or onion powder
- Smoked paprika or chili powder
- Nutritional yeast for a cheesy note
- Lemon zest
- Everything bagel seasoning
- Optional finishing: a squeeze of lemon juice or a light drizzle of tahini
Step-by-Step Instructions
- Trim and separate leaves. Rinse the Brussels sprouts and pat dry.
Trim the tough stem ends, then gently peel off as many outer leaves as you can. Halve the cores to release more leaves. Keep any small, tight centers for roasting later or slice them very thin to include.
- Dry thoroughly. Moisture is the enemy of crisp chips.
Spread leaves on a clean towel and pat dry until there’s no visible water. The drier the leaves, the faster and crisper they’ll dehydrate.
- Season lightly. In a large bowl, toss leaves with oil until just coated—no pooling. Add salt, pepper, and any optional seasonings.
Aim for an even, thin sheen of oil to help the spices stick without weighing down the leaves.
- Arrange on dehydrator trays. Lay leaves in a single layer, not overlapping. Space them slightly so air can circulate. If you have mesh screens for your trays, use them to prevent small leaves from slipping through.
- Dehydrate low and slow. Set your dehydrator to 125–135°F (52–57°C).
Dry for 3.5 to 5 hours, checking at the 3-hour mark. They’re done when they’re crisp all the way through and snap cleanly.
- Rotate if needed. If your dehydrator has hot spots, rotate trays halfway through. This keeps the batch evenly crisp.
- Cool before storing. Let chips cool completely on the trays.
This prevents trapped steam from softening them in storage.
- Season to finish. Taste and adjust salt. If you like, add a pinch more nutritional yeast or a whisper of lemon zest. Avoid wet toppings until serving time.
How to Store
- Short term: Keep chips in an airtight container at room temperature for 3–5 days.
A glass jar with a tight lid works well.
- Stay-crisp tip: Add a food-safe desiccant pack or a few grains of uncooked rice wrapped in cheesecloth to absorb moisture.
- Re-crisp: If they soften, return to the dehydrator at 125°F for 20–30 minutes, or in a low oven (200°F) for 5–8 minutes, watching closely.
Health Benefits
- Fiber-rich: Brussels sprouts support digestion and help you feel full between meals.
- Vitamin powerhouse: They’re high in vitamins C and K, plus folate and antioxidants that help fight oxidative stress.
- No deep frying: Dehydrating keeps oil use minimal while still delivering crunch, which can help reduce overall calories compared to fried chips.
- Plant-forward snacking: A simple, tasty way to add more vegetables to your day without feeling like you’re “eating your veggies.”
Pitfalls to Watch Out For
- Too much oil: Heavy oil makes leaves soggy and slows dehydration. Use just enough to lightly coat.
- Overlapping leaves: Piled leaves trap moisture. Keep a single, spaced layer for consistent results.
- High heat: Cranking the temperature can lead to browned, bitter edges before the centers are dry.
Low and slow wins.
- Skipping the cool-down: Storing warm chips creates condensation and limp texture.
- Under-seasoning: Brussels sprout leaves can handle a bit more seasoning than you think. Taste and adjust once they’re dry.
Variations You Can Try
- Smoky BBQ: Paprika, a pinch of brown sugar or coconut sugar, garlic powder, and a touch of cumin.
- “Cheesy” Vegan: Nutritional yeast, garlic powder, and a squeeze of lemon at serving.
- Spicy Lime: Chili powder or cayenne, salt, and lime zest. Add a tiny spritz of lime juice right before eating.
- Garlic Herb: Garlic powder, dried thyme or rosemary, and cracked black pepper.
- Everything Bagel:</-strong> Sesame seeds, poppy seeds, dried garlic and onion, and flaky salt.
FAQ
Can I make these in the oven instead of a dehydrator?
Yes.
Set your oven to its lowest temperature (usually 170–200°F). Spread leaves on parchment-lined sheets and bake with the door cracked slightly to release moisture. Check every 10–12 minutes and rotate pans.
Total time is usually 30–60 minutes, depending on your oven and leaf size.
Why are my chips turning bitter?
Bitterness can come from high heat or over-drying to the point of browning. Keep the temp low, avoid direct contact with oven hot spots, and pull them as soon as they’re fully crisp. Balancing with a touch of salt and a hint of acid (like lemon zest) helps too.
Do I need to blanch the Brussels sprouts first?
No.
Blanching adds moisture and extends drying time. For chips, raw leaves dehydrate faster and stay more flavorful. Just make sure to dry them very well after washing.
How thin should I slice the cores if I include them?
Slice any remaining cores into thin shavings, about 1/16 to 1/8 inch.
Thinner slices dry more evenly with the leaves and crisp up nicely.
What oil works best?
Olive oil gives a round, savory flavor, while avocado oil is neutral and great for higher-heat ovens. Use a light hand either way—just enough to make spices cling.
Can I add wet sauces or marinades?
It’s better to avoid wet coatings for chips. Liquids slow dehydration and can lead to leathery texture.
If you want a saucy flavor, finish with a tiny drizzle right before serving.
How do I keep them from flying around in the dehydrator?
Use mesh screens or lightly press the leaves so they make good contact with the trays. Once they soften in the first hour, they’ll settle.
Are they kid-friendly?
Yes, especially with simple seasonings like salt, mild garlic powder, or a dusting of nutritional yeast. The crisp texture makes them more appealing than standard sprouts.
Can I double the batch?
Absolutely.
Just avoid crowding. You can stack multiple trays, but maintain airflow and rotate halfway through so everything dries evenly.
What should I serve them with?
They’re great on their own, but pair well with a yogurt-herb dip, tahini-lemon sauce, or alongside a sandwich, soup, or grain bowl for crunch.
Wrapping Up
Dehydrated Brussels sprout chips are a smart, tasty way to turn a humble vegetable into a craveable snack. With minimal ingredients and a little patience, you get crisp, savory chips that beat most bagged options.
Season them your way, store them for later, and keep a jar on the counter for quick, guilt-free snacking. Once you make a batch, these will be on repeat in your kitchen.
Dehydrated Brussels Sprout Chips – Crispy, Savory, Snackable
Ingredients
- 1 to 1.5 pounds Brussels sprouts (look for firm, compact heads)
- 1 to 2 tablespoons extra-virgin olive oil or avocado oil
- 1 teaspoon kosher salt (to taste)
- 1/2 teaspoon black pepper
- Optional seasonings: Garlic powder or onion powder
- Smoked paprika or chili powder
- Nutritional yeast for a cheesy note
- Lemon zest
- Everything bagel seasoning
- Optional finishing: a squeeze of lemon juice or a light drizzle of tahini
Instructions
- Trim and separate leaves. Rinse the Brussels sprouts and pat dry.Trim the tough stem ends, then gently peel off as many outer leaves as you can. Halve the cores to release more leaves. Keep any small, tight centers for roasting later or slice them very thin to include.
- Dry thoroughly. Moisture is the enemy of crisp chips.Spread leaves on a clean towel and pat dry until there’s no visible water. The drier the leaves, the faster and crisper they’ll dehydrate.
- Season lightly. In a large bowl, toss leaves with oil until just coated—no pooling. Add salt, pepper, and any optional seasonings.Aim for an even, thin sheen of oil to help the spices stick without weighing down the leaves.
- Arrange on dehydrator trays. Lay leaves in a single layer, not overlapping. Space them slightly so air can circulate. If you have mesh screens for your trays, use them to prevent small leaves from slipping through.
- Dehydrate low and slow. Set your dehydrator to 125–135°F (52–57°C).Dry for 3.5 to 5 hours, checking at the 3-hour mark. They’re done when they’re crisp all the way through and snap cleanly.
- Rotate if needed. If your dehydrator has hot spots, rotate trays halfway through. This keeps the batch evenly crisp.
- Cool before storing. Let chips cool completely on the trays.This prevents trapped steam from softening them in storage.
- Season to finish. Taste and adjust salt. If you like, add a pinch more nutritional yeast or a whisper of lemon zest. Avoid wet toppings until serving time.
Related reading: dehydrated edamame crisps, dehydrated hummus powder, and dehydrator reviews.
Printable Recipe Card
Want just the essential recipe details without scrolling through the article? Get our printable recipe card with just the ingredients and instructions.