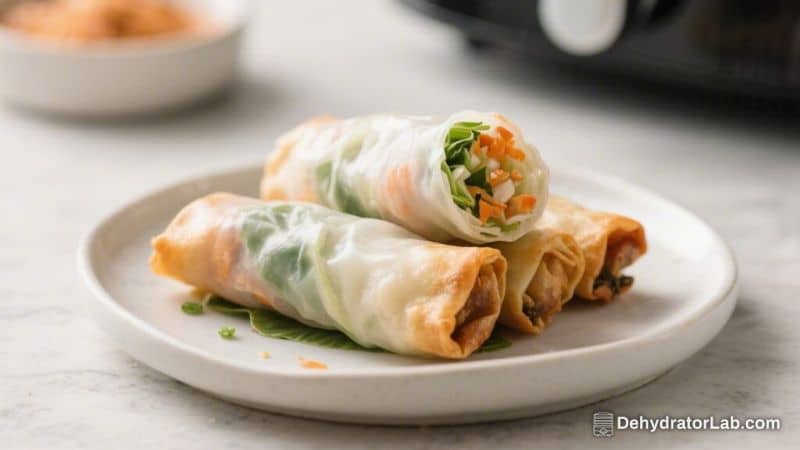
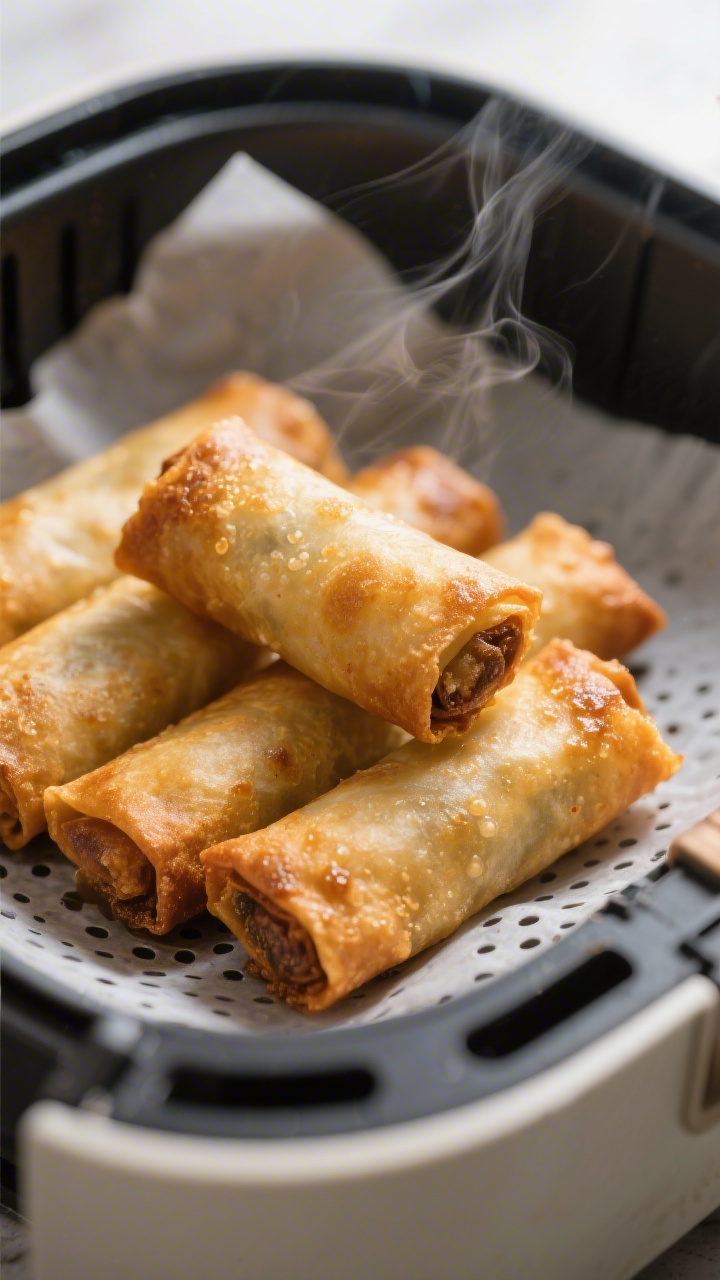
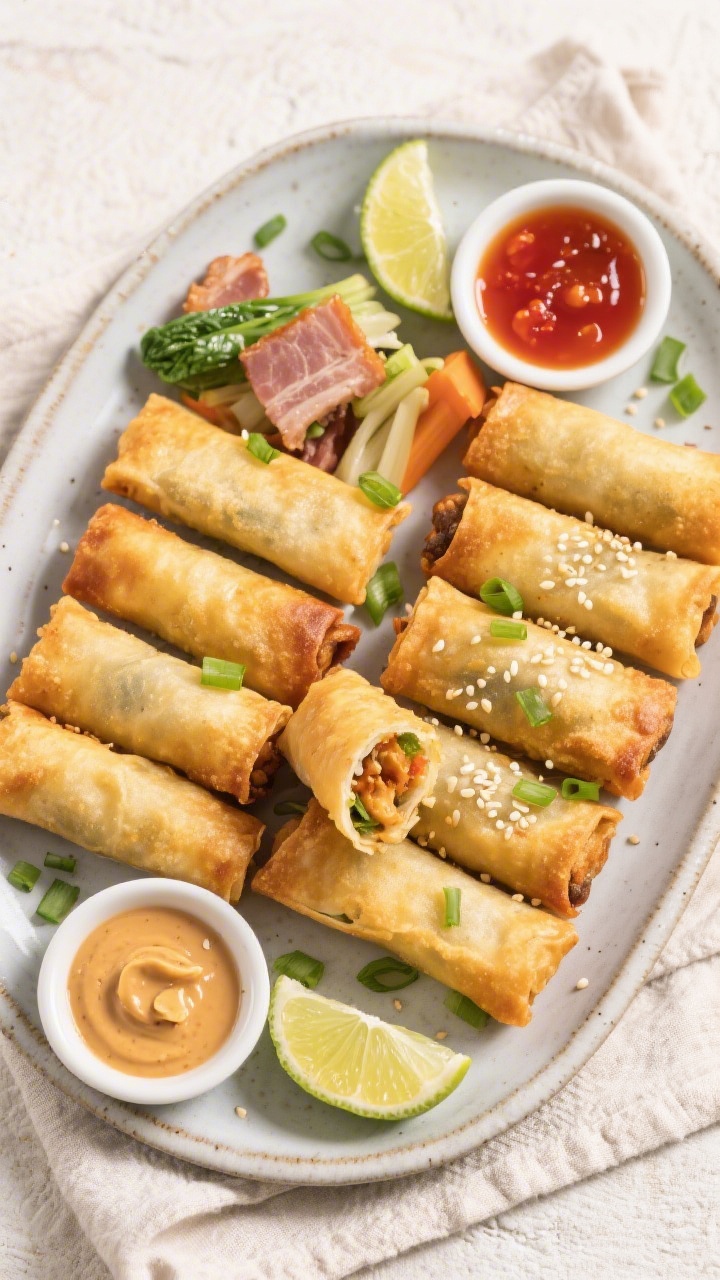
If you love a crunchy snack without the mess of deep frying, this is your shortcut to bliss. Air fryer frozen spring rolls come out golden, crisp, and ready to dip in under 15 minutes. No thawing, no complicated steps—just pop them in and let the air fryer do the work.
This method works with veggie, chicken, or pork spring rolls, and it’s easy to scale for a quick appetizer or a light meal. With a few simple tips, you’ll get restaurant-style crunch at home, every time.
In this article:
What Makes This Recipe So Good
- Fast and convenient: From freezer to plate in minutes. Great for busy weeknights or unexpected guests.
- Super crispy without deep frying: The air fryer delivers that shatter-crisp shell with far less oil.
- Foolproof method: No thawing needed.
Just adjust time and temp slightly based on roll size.
- Versatile: Works with any brand—mini, regular, veggie, or meat-filled.
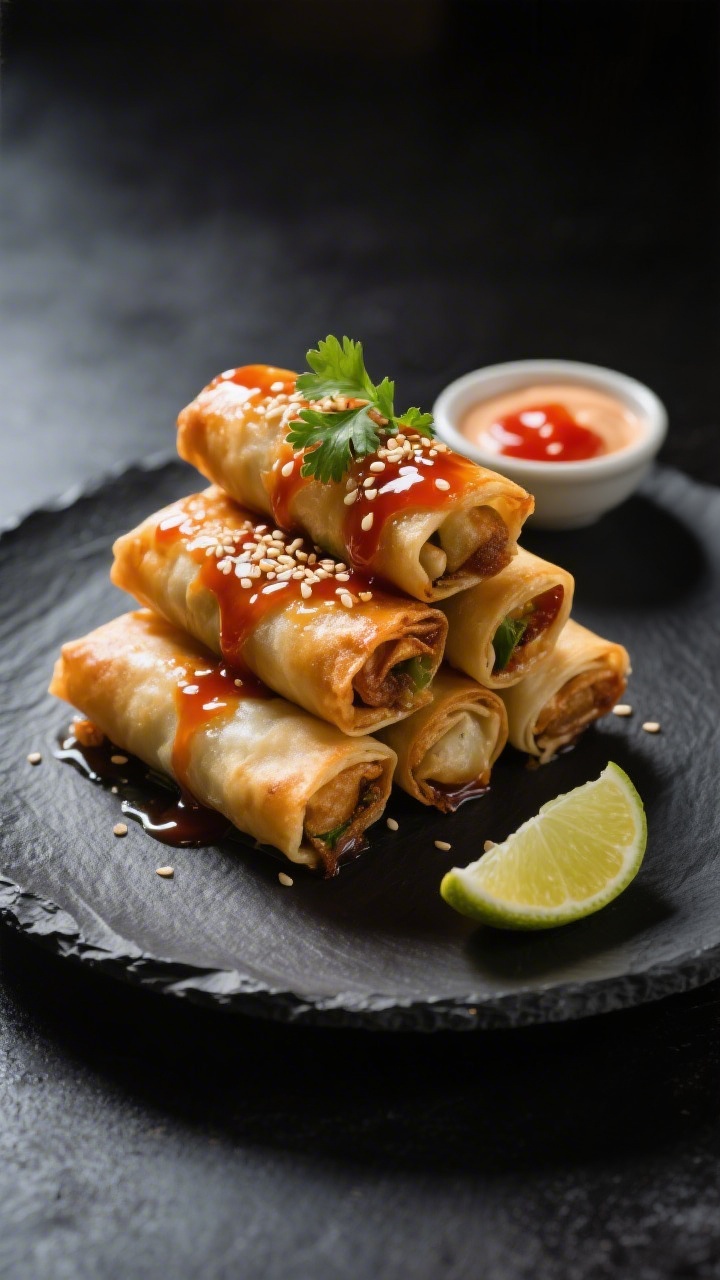
- Perfect for dipping: Pairs beautifully with sweet chili sauce, soy-ginger dip, hoisin, or peanut sauce.
What You’ll Need
- Frozen spring rolls: Any brand, any filling. Mini or regular size both work.
- Neutral oil spray (optional): Avocado, canola, or olive oil spray for extra crispness.
- Dipping sauces: Sweet chili sauce, soy sauce with a splash of rice vinegar, hoisin, sriracha mayo, or peanut sauce.
- Optional garnishes: Sliced green onions, sesame seeds, lime wedges, or cilantro.
Instructions
- Preheat the air fryer: Set to 375°F (190°C) for regular spring rolls or 360°F (182°C) for mini ones. Preheating helps them get crisp faster.
- Prep the basket: Lightly spray the basket or use a perforated parchment liner rated for air fryers to prevent sticking.
Don’t overspray—too much oil can soften the wrappers.
- Arrange the spring rolls: Place frozen spring rolls in a single layer with a little space between each one. Don’t stack or crowd; good airflow equals better crunch.
- Optional light oil mist: Give the tops a quick, light spritz of oil for extra blistering and color. This step is optional but helpful for thicker wrappers.
- Air fry: Cook regular-size rolls for 10–12 minutes, flipping halfway.
For mini rolls, cook 7–9 minutes, flipping at the 4-minute mark. Add 1–2 minutes if they’re not quite golden.
- Check doneness: You want a deep golden color and audible crispness. If the filling includes meat, ensure it’s hot in the center.
A quick thermometer check should read at least 165°F (74°C).
- Rest briefly: Let them sit for 2 minutes after cooking. This helps the shell firm up and keeps the filling from scorching your mouth.
- Serve: Plate with your favorite dips and garnishes. Enjoy immediately for peak crunch.
Storage Instructions
- Leftovers: Let spring rolls cool completely, then store in an airtight container in the fridge for up to 3 days.
- Reheat: Air fry at 360°F (182°C) for 3–5 minutes until crisp again.
Avoid the microwave—it makes them soggy.
- Freezing after cooking: Not ideal. The texture won’t be as crisp after a second freeze. It’s best to cook only what you’ll eat.
Health Benefits
- Less oil, fewer calories: Air frying uses a fraction of the oil compared to deep frying, which can reduce overall calories and saturated fat.
- Customizable dips: Choose lower-sugar or low-sodium sauces to keep the meal lighter.
Try a simple soy-ginger-lime dip for a flavor boost without heavy calories.
- Veggie-forward options: Vegetable spring rolls add fiber and micronutrients. Pair with a salad or steamed veggies to round out the meal.
- Better portion control: Air frying small batches helps you make just enough and avoid overeating.
Pitfalls to Watch Out For
- Crowding the basket: This traps steam and softens the wrappers. Cook in batches if needed.
- Skipping the flip: Not turning them halfway can lead to pale spots and uneven crisping.
- Too much oil spray: A heavy coat can make the surface greasy instead of crisp.
Aim for a light mist.
- Wrong temperature: Too low and they dry out before browning; too high and the shell burns while the center stays cool. Stick to the recommended range and adjust by brand.
- Not preheating: Starting cold often leads to a softer exterior. Preheating improves texture.
Variations You Can Try
- Garlic-sesame finish: Toss hot spring rolls with a tiny drizzle of sesame oil, minced garlic, and sesame seeds for a fragrant finish.
- Spicy upgrade: Brush with a thin layer of sriracha or chili crisp before the last 2 minutes of cooking for a spicy glaze.
- Lemon-pepper crunch: Sprinkle lemon pepper seasoning right after cooking for a bright, zesty twist.
- Dipping trio: Serve with sweet chili, soy-ginger, and peanut sauce to cover sweet, salty, and savory notes.
- Meal idea: Turn them into a light meal with a crunchy slaw, steamed jasmine rice, and a quick cucumber salad.
FAQ
Do I need to thaw frozen spring rolls before air frying?
No.
Cook them straight from the freezer. Thawing can make the wrappers soggy and prone to tearing.
What temperature works best?
For most brands, 375°F (190°C) works well for regular-size rolls and 360°F (182°C) for mini rolls. If your air fryer runs hot, reduce by 10–15 degrees.
How long should I cook them?
Regular spring rolls typically take 10–12 minutes, while mini rolls need 7–9 minutes.
Flip halfway and add a minute or two if needed for more color.
Can I stack or layer them to fit more?
Avoid stacking. Air needs to circulate around each roll for even crisping. If you’re feeding a crowd, cook in batches and keep the first batch warm at 200°F (93°C).
Why are mine not crispy?
Common issues include crowding, skipping preheat, or using too much oil spray.
Also check that you’re not cooking at too low a temperature.
Can I make this with egg rolls instead?
Yes. Egg rolls are usually larger and thicker. Air fry at 380°F (193°C) for about 12–14 minutes, flipping halfway, and check the center for heat.
What dips pair best?
Sweet chili sauce is classic.
Soy sauce with rice vinegar and a pinch of sugar, hoisin, sriracha mayo, or peanut sauce are all great choices.
Are air-fried spring rolls healthier than deep-fried?
Generally yes, because they use less oil and absorb fewer calories. Still, check the nutrition label, especially for sodium.
My filling is leaking—what happened?
Tiny tears in the wrapper can cause leaks, especially if the rolls rub against each other. Handle gently, avoid overcrowding, and don’t overcook.
Can I cook different types at the same time?
You can, but choose similar sizes.
If some are mini and others are large, start the bigger ones first and add the minis later so they finish together.
Final Thoughts
Air fryer frozen spring rolls are the no-fuss way to get crispy, satisfying bites anytime. With a quick preheat, a single layer, and a halfway flip, you’ll get reliable, golden results. Keep a few bags in the freezer, set out your favorite dips, and you’ll always have a crowd-pleasing snack or easy side ready to go.
Simple, fast, and consistently delicious—exactly what weeknight cooking should be.

Air Fryer Frozen Spring Rolls – Crispy, Fast, and Foolproof
Ingredients
- Frozen spring rolls: Any brand, any filling. Mini or regular size both work.
- Neutral oil spray (optional): Avocado, canola, or olive oil spray for extra crispness.
- Dipping sauces: Sweet chili sauce, soy sauce with a splash of rice vinegar, hoisin, sriracha mayo, or peanut sauce.
- Optional garnishes: Sliced green onions, sesame seeds, lime wedges, or cilantro.
Instructions
- Preheat the air fryer: Set to 375°F (190°C) for regular spring rolls or 360°F (182°C) for mini ones. Preheating helps them get crisp faster.
- Prep the basket: Lightly spray the basket or use a perforated parchment liner rated for air fryers to prevent sticking.Don’t overspray—too much oil can soften the wrappers.
- Arrange the spring rolls: Place frozen spring rolls in a single layer with a little space between each one. Don’t stack or crowd; good airflow equals better crunch.
- Optional light oil mist: Give the tops a quick, light spritz of oil for extra blistering and color. This step is optional but helpful for thicker wrappers.
- Air fry: Cook regular-size rolls for 10–12 minutes, flipping halfway.For mini rolls, cook 7–9 minutes, flipping at the 4-minute mark. Add 1–2 minutes if they’re not quite golden.
- Check doneness: You want a deep golden color and audible crispness. If the filling includes meat, ensure it’s hot in the center.A quick thermometer check should read at least 165°F (74°C).
- Rest briefly: Let them sit for 2 minutes after cooking. This helps the shell firm up and keeps the filling from scorching your mouth.
- Serve: Plate with your favorite dips and garnishes. Enjoy immediately for peak crunch.
Printable Recipe Card
Want just the essential recipe details without scrolling through the article? Get our printable recipe card with just the ingredients and instructions.