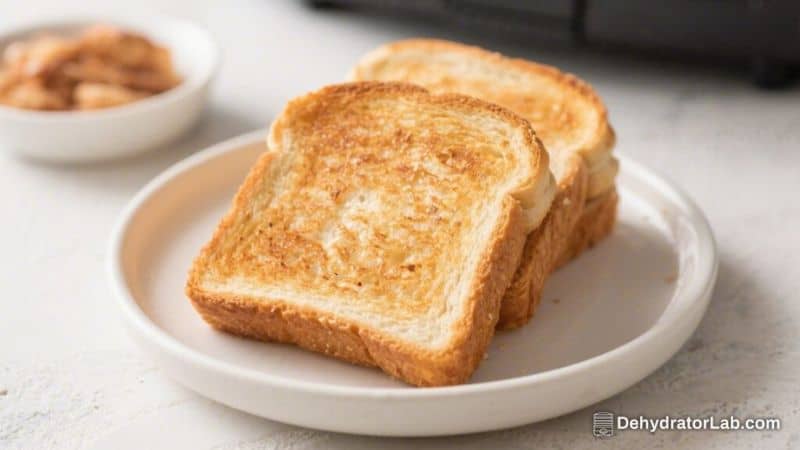
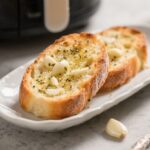
If you’ve got a bag of frozen garlic bread and an air fryer, you’re minutes away from a golden, garlicky side that tastes fresh-baked. No preheating the oven, no guesswork—just crispy edges and a soft, buttery center every time. This method is perfect for busy weeknights, last-minute dinners, or when pasta night needs something extra.
You’ll get consistent results with less mess, and it works for slices, halves, or garlic knots. Once you try it, you may never go back to the oven.
In this article:
Why This Recipe Works
Air fryers circulate hot air rapidly, which gives garlic bread a crisp exterior while keeping the inside soft and tender. You don’t have to thaw anything—frozen pieces go straight in, saving time and preventing sogginess.
The air fryer also heats up faster than a full oven, so you’re eating sooner. Plus, you can cook in small batches, which is ideal if you only need a few slices.
Shopping List
- Frozen garlic bread (sliced loaf, Texas toast, baguette halves, or garlic knots)
- Optional add-ons:
- Shredded mozzarella or Parmesan
- Fresh parsley or dried Italian seasoning
- Crushed red pepper flakes
- Olive oil or melted butter (for brushing, if desired)
- Minced fresh garlic (for extra punch)
Instructions
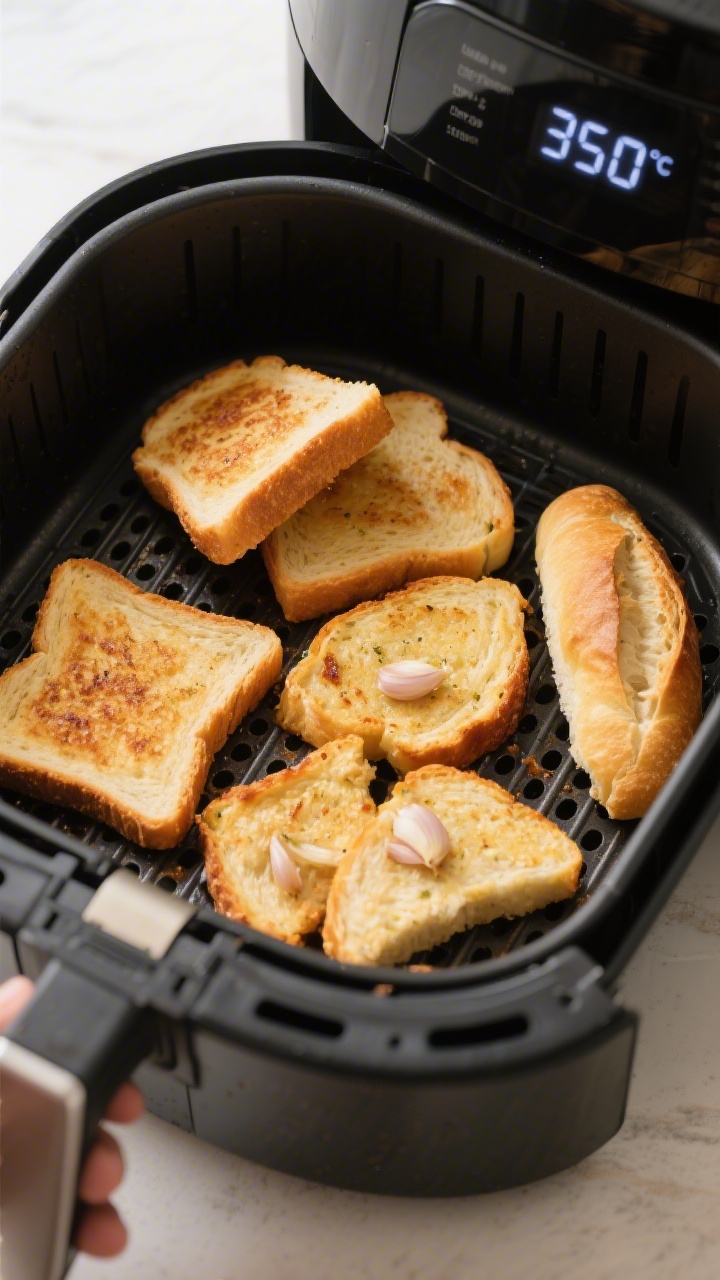
- Preheat the air fryer: Set to 350°F (175°C). Some models don’t need preheating, but a quick 2–3 minutes helps with even browning.
- Arrange the bread: Place frozen garlic bread in a single layer in the basket.
Don’t overlap the slices. For large baguette halves, cut to fit if necessary.
- Cook time baseline: Air fry for 5–7 minutes for regular slices or Texas toast. For thick baguette halves, plan on 8–10 minutes.
Garlic knots usually take 6–8 minutes.
- Check halfway: At the 3–4 minute mark, peek and rotate or flip the bread if your air fryer has one-sided heating. This prevents burnt edges and pale centers.
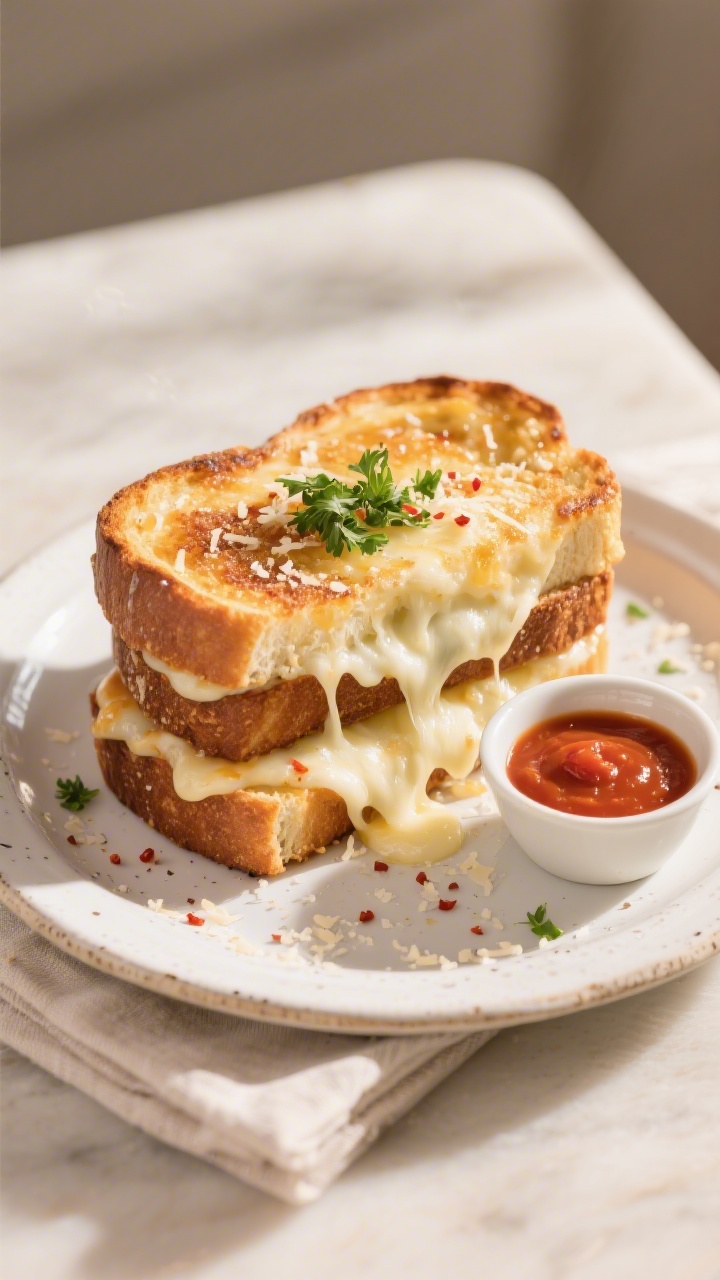
- Customize (optional): During the last 1–2 minutes, add mozzarella or Parmesan so it melts without burning. Sprinkle parsley or red pepper flakes after cooking.
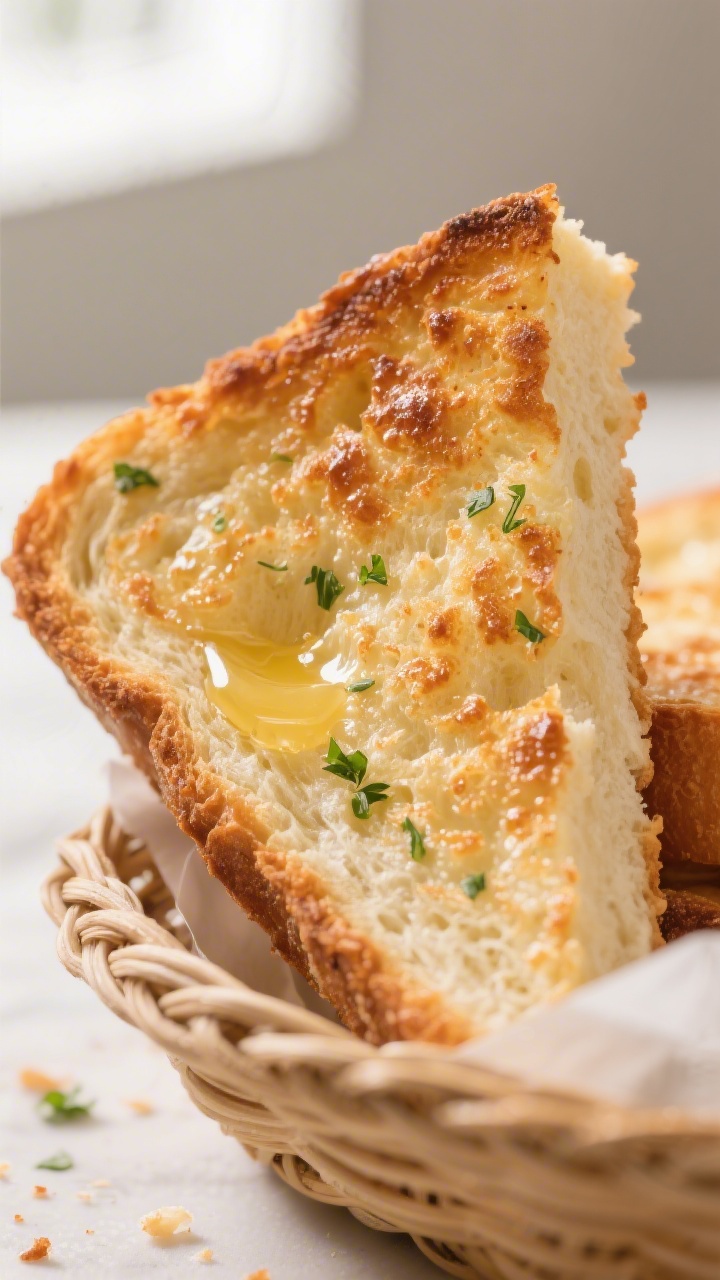
- Test for doneness: You’re looking for golden-brown edges and a center that feels soft when pressed.
If it’s pale, add 1–2 more minutes.
- Serve hot: Let the bread rest for 1 minute to avoid scorching your mouth, then slice if needed and serve immediately.
Storage Instructions
Air-fried garlic bread is best eaten fresh for maximum crunch. If you have leftovers, cool them completely, then store in an airtight container at room temperature for up to 1 day or in the fridge for up to 3 days. Reheat in the air fryer at 320°F (160°C) for 2–4 minutes until crisp.
Avoid microwaving—it makes the bread chewy and soggy.
Health Benefits
- Portion control: The air fryer lets you cook only what you need, which can help avoid overeating an entire loaf.
- Less oil needed: Many frozen garlic breads are already buttery, so the air fryer crisps without extra fat.
- Garlic perks: Garlic contains compounds like allicin, which may support heart health and immune function.
- Customization: You can choose whole-grain garlic bread or add herbs for flavor without extra calories.
That said, garlic bread is still a treat. If you want a lighter option, pair it with a big salad or lean protein to balance the meal.
What Not to Do
- Don’t overcrowd the basket. Overlapping slices block airflow and cause uneven cooking.
- Don’t crank the heat too high. Temperatures above 370°F (188°C) can burn the edges before the center is warm.
- Don’t thaw first. Frozen bread holds its structure better and toasts more evenly.
- Don’t walk away. Garlic bread can go from golden to burnt fast. Check early, especially with a new brand.
- Don’t add cheese too soon. It will scorch.
Add during the last 1–2 minutes for perfect melt.
Variations You Can Try
- Cheesy garlic bread: Top with mozzarella and a little Parmesan in the final 2 minutes.
- Herb boost:</-strong> Brush lightly with olive oil and sprinkle dried oregano, basil, or Italian seasoning after cooking.
- Garlic upgrade: Rub a cut clove of fresh garlic over the hot bread for extra aroma.
- Spicy kick: Add crushed red pepper flakes or a drizzle of chili oil before serving.
- Pesto finish: Spread a thin layer of pesto on top after air frying for a bright, herby twist.
- Everything seasoning: Sprinkle everything bagel seasoning right after cooking for crunch and flavor.
- Gluten-free option: Use a gluten-free frozen garlic bread brand and follow the same timing.
FAQ
Do I need to line the air fryer basket with foil or parchment?
Not usually. Most frozen garlic bread has enough fat to prevent sticking. If you want to use parchment, choose air-fryer-safe sheets with perforations.
Avoid foil if your manufacturer warns against it. Always leave space for air to circulate.
Can I make it extra crispy?
Yes. Add 1–2 minutes at the end or bump the temp to 360°F (182°C) for the final minute.
Watch closely so it doesn’t burn. Thinner slices crisp faster than thick halves.
What if my garlic bread is not pre-buttered?
Brush lightly with melted butter or olive oil, then add minced garlic and a pinch of salt. Air fry as directed.
For richness, finish with Parmesan in the last minute.
How do I cook two batches back-to-back?
The second batch will cook faster because the basket is already hot. Start checking 1–2 minutes earlier than the first batch. Rotate the slices halfway for even browning.
Can I cook from refrigerated instead of frozen?
Yes, but reduce the time by 1–2 minutes.
Chilled bread heats faster and can over-toast if you use the frozen timing.
Why is my bread soggy in the middle?
It’s likely overcrowding or too low temperature. Space the pieces out and use 350°F (175°C). For thick halves, cook a bit longer and check the center.
A quick flip at the halfway point helps.
Is Texas toast different from regular slices?
Texas toast is thicker and usually has more butter and seasoning. Expect it to need an extra minute compared to thin slices. It also benefits from a halfway flip for even browning.
How do I keep the garlic from burning?
If you add fresh minced garlic, nestle it under the butter or cheese, or add it in the last 1–2 minutes.
High heat and direct exposure can make garlic bitter.
Can I reheat restaurant garlic bread in the air fryer?
Absolutely. Reheat at 320°F (160°C) for 2–4 minutes until warm and crisp. Wrap loosely in foil if it’s very dry to prevent over-browning, then uncover for the last minute.
What should I serve with air fryer garlic bread?
It pairs well with pasta, soups, salads, and grilled proteins.
Try it with tomato basil soup, Caesar salad, baked ziti, or roasted chicken. It’s also great for sopping up pan sauces.
In Conclusion
Air Fryer Frozen Garlic Bread is fast, reliable, and delicious. With a few simple tweaks—like flipping halfway or adding cheese at the end—you’ll get bakery-style results at home.
Keep a box in the freezer, and you’ll always have a crowd-pleasing side ready in minutes. Simple method, big payoff, and no oven required.
Air Fryer Frozen Garlic Bread – Crispy, Buttery, Ready in Minutes
Ingredients
- Frozen garlic bread (sliced loaf, Texas toast, baguette halves, or garlic knots)
- Optional add-ons:
- Shredded mozzarella or Parmesan
- Fresh parsley or dried Italian seasoning
- Crushed red pepper flakes
- Olive oil or melted butter (for brushing, if desired)
- Minced fresh garlic (for extra punch)
Instructions
- Preheat the air fryer: Set to 350°F (175°C). Some models don’t need preheating, but a quick 2–3 minutes helps with even browning.
- Arrange the bread: Place frozen garlic bread in a single layer in the basket.Don’t overlap the slices. For large baguette halves, cut to fit if necessary.
- Cook time baseline: Air fry for 5–7 minutes for regular slices or Texas toast. For thick baguette halves, plan on 8–10 minutes.Garlic knots usually take 6–8 minutes.
- Check halfway: At the 3–4 minute mark, peek and rotate or flip the bread if your air fryer has one-sided heating. This prevents burnt edges and pale centers.
- Customize (optional): During the last 1–2 minutes, add mozzarella or Parmesan so it melts without burning. Sprinkle parsley or red pepper flakes after cooking.
- Test for doneness: You’re looking for golden-brown edges and a center that feels soft when pressed.If it’s pale, add 1–2 more minutes.
- Serve hot: Let the bread rest for 1 minute to avoid scorching your mouth, then slice if needed and serve immediately.
Printable Recipe Card
Want just the essential recipe details without scrolling through the article? Get our printable recipe card with just the ingredients and instructions.