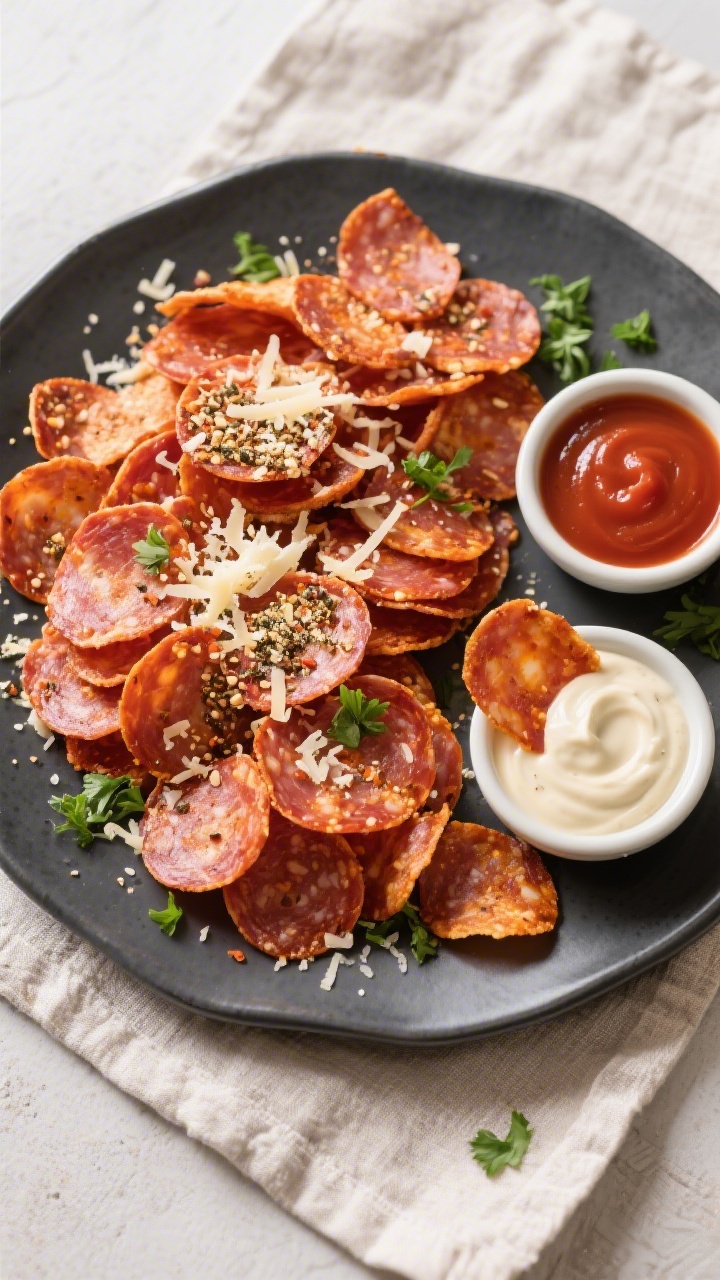
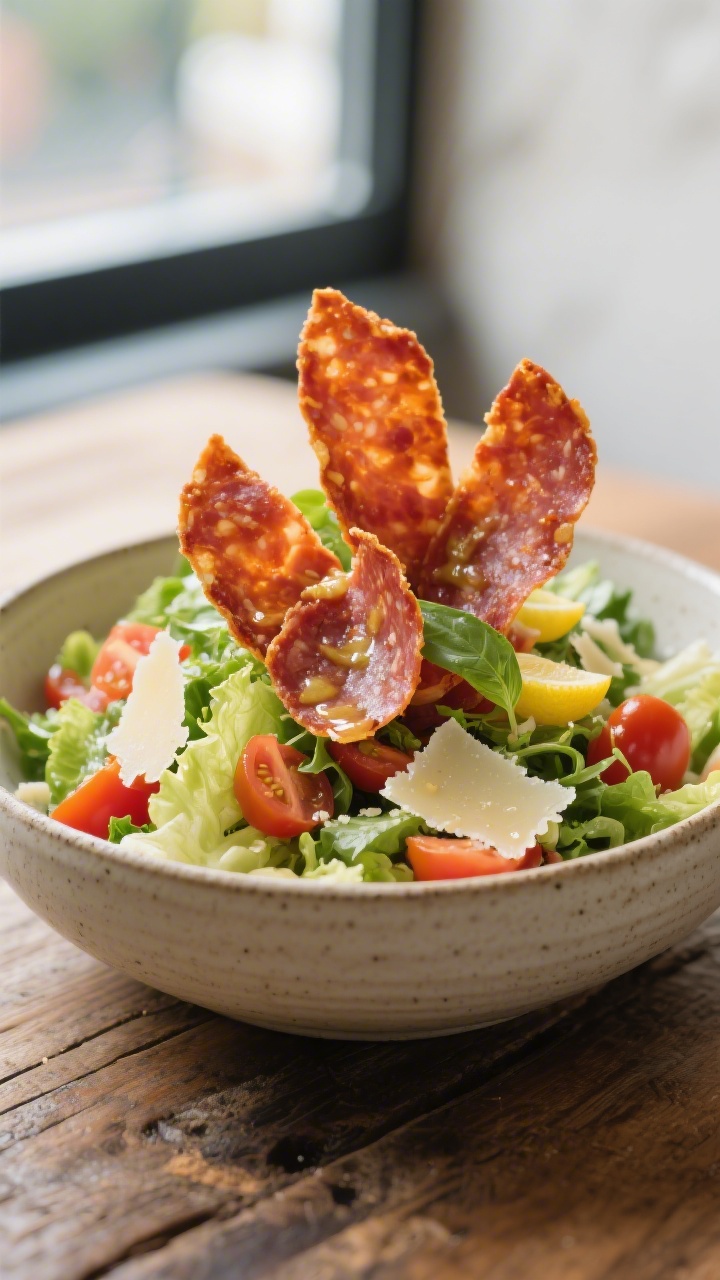
If you love salty, crunchy snacks, these air fryer pepperoni chips might become your new go-to. They’re quick to make, big on flavor, and surprisingly versatile. You can snack on them plain, pair them with dips, or use them as a crunchy topping for salads and soups.
Best of all, they take just a few minutes and require almost no cleanup. It’s the kind of recipe that fits busy weeknights, game days, or whenever a craving hits.
In this article:
What Makes This Special
These pepperoni chips deliver instant satisfaction with almost no effort. They crisp up beautifully in the air fryer and keep their bold, smoky flavor.
Unlike baked versions, they cook evenly and fast without heating up your whole kitchen. They’re also naturally low-carb and gluten-free, which makes them a crowd-pleaser for different diets. With just one main ingredient and a handful of optional add-ons, this is the definition of simple done right.
What You’ll Need
- Pepperoni slices (regular or turkey pepperoni; standard thin slices work best)
- Optional seasonings:
- Freshly ground black pepper
- Crushed red pepper flakes
- Garlic powder or onion powder
- Italian seasoning
- Smoked paprika
- Optional finishing touches:
- Grated Parmesan
- Everything bagel seasoning
- Chopped fresh parsley
- For dipping (optional):
- Warm marinara
- Ranch dressing
- Whipped ricotta or herbed cream cheese
- Honey mustard
- Equipment: Air fryer, tongs, paper towels, and a plate or wire rack
Step-by-Step Instructions
- Preheat the air fryer to 375°F (190°C) for 3–5 minutes.
A hot basket helps the pepperoni crisp faster.
- Prep the basket with a light spritz of oil or use a perforated parchment liner. This helps minimize sticking and makes cleanup easy.
- Arrange the pepperoni in a single layer. Leave a little space between slices so air can circulate.
Work in batches if needed.
- Season lightly if you’d like. A tiny pinch of garlic powder, black pepper, or smoked paprika goes a long way. Skip added salt—the pepperoni is already salty.
- Air fry for 3–5 minutes. Start checking at the 3-minute mark.
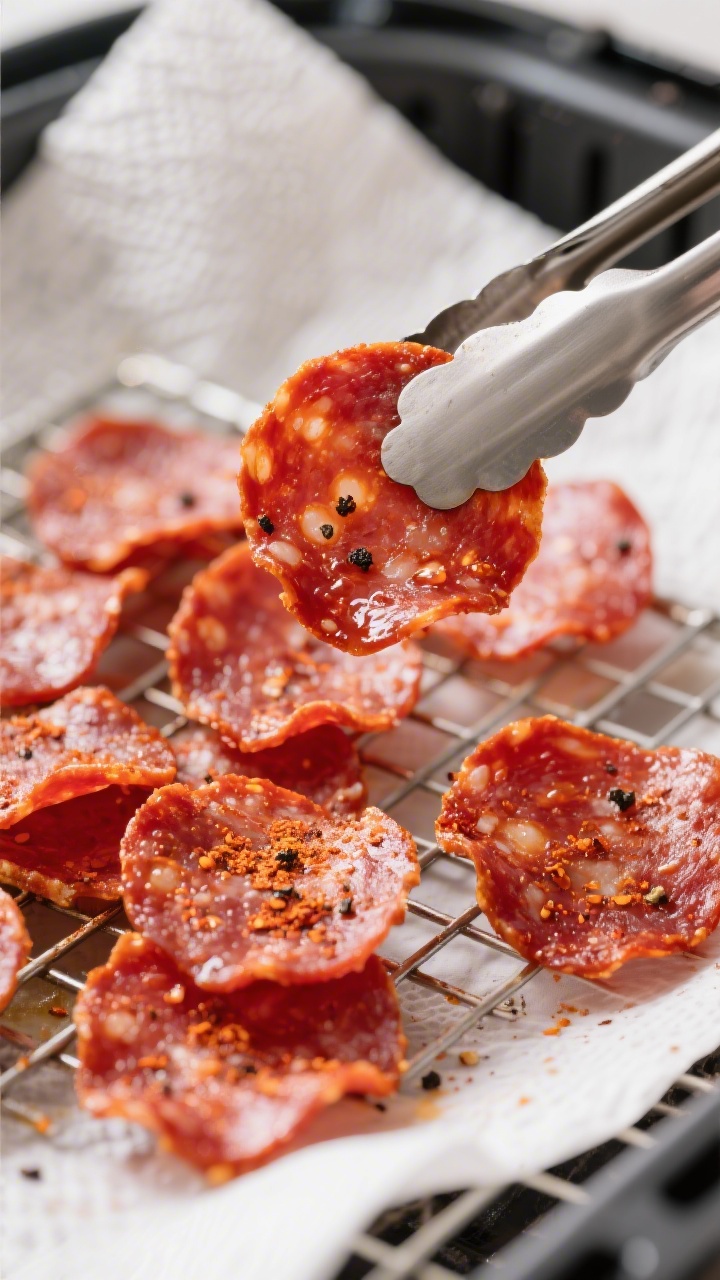
The chips are done when the edges are curled and the slices look deep red and crisp.
- Blot the excess oil. Use tongs to transfer chips onto paper towels or a wire rack and gently pat them to remove extra grease. This keeps them ultra-crunchy.
- Add finishing touches like a sprinkle of Parmesan or everything seasoning while the chips are still warm so it sticks.
- Cool briefly for 2–3 minutes. They crisp up even more as they cool.
Serve with your favorite dip and enjoy.
How to Store
Let chips cool completely before storing. If they’re warm, trapped steam can soften them. Store in an airtight container at room temperature for up to 3 days.
If they lose crunch, pop them back in the air fryer at 350°F (175°C) for 1–2 minutes to refresh. Avoid refrigerating—they can absorb moisture and turn chewy.
Benefits of This Recipe
- Fast and effortless: From start to snack in under 10 minutes.
- Low-carb and gluten-free: Works for a range of eating styles without complicated swaps.
- Minimal cleanup: One basket, a paper towel, and you’re done.
- Customizable: Season them sweet, spicy, smoky, or cheesy to fit your mood.
- Multi-use: Great as a snack, crunchy salad topper, or pizza-inspired garnish for soups and pasta bakes.
Pitfalls to Watch Out For
- Overcrowding the basket: This traps steam and leads to soggy slices. Keep a single layer with space.
- Walking away: Pepperoni goes from perfect to burnt fast.
Check at 3 minutes and adjust based on thickness.
- Too much seasoning: Pepperoni is already salty. Use a light hand and avoid extra salt.
- Skipping the blot: Not draining excess oil can make chips greasy and less crisp.
- Using thick-cut slices: They can stay chewy. If using thick pepperoni, add 1–2 minutes and flip halfway.
Alternatives
- Turkey pepperoni: Leaner and slightly less oily, with a similar crunch and flavor.
- Salami or chorizo slices: Different spice profiles; adjust cook time since fat content varies.
- Cheese crisps combo: Place a small mound of shredded Parmesan or mozzarella on the pepperoni before air frying for an extra-cheesy chip.
- Sweet-heat version: Lightly brush with hot honey before cooking or drizzle after for sticky-sweet spice.
- Herb and lemon zest:</-strong> Dust with Italian seasoning and a little lemon zest after cooking for a bright finish.
FAQ
Can I make these in the oven instead of an air fryer?
Yes.
Arrange the pepperoni on a parchment-lined baking sheet and bake at 400°F (200°C) for 6–10 minutes. Watch closely near the end. Blot the oil and cool to crisp up.
Why are my pepperoni chips chewy?
They likely need more time or better airflow.
Make sure they’re in a single layer with space between slices, and cook a bit longer. Also, let them cool on a rack and blot well to remove excess oil.
Do I need to flip the slices?
Not always. In many air fryers, the hot air circulates evenly.
If your model browns unevenly or you’re using thicker slices, flip at the halfway point for consistent crisping.
Which brand or type of pepperoni works best?
Standard thin-sliced pepperoni crisps most predictably. Artisan or thick-cut styles can work but may need an extra minute or two. Turkey pepperoni is great if you want a leaner option with less residual oil.
How do I keep them crispy for a party?
Store them in a loosely covered bowl or on a wire rack so they don’t steam.
If they soften, give them a 1-minute refresh in the air fryer right before serving.
Are these suitable for keto or low-carb diets?
Yes. Pepperoni chips are naturally low in carbs. Just watch any dipping sauces for added sugars.
Can I season them with cheese without a mess?
Yes.
Sprinkle finely grated Parmesan right after cooking while the chips are still hot, so it sticks without melting messily in the basket.
What dips pair well with pepperoni chips?
Try warm marinara, ranch, basil pesto, whipped ricotta, garlic aioli, or a creamy blue cheese dip. The salty, savory flavor pairs well with creamy or tangy dips.
In Conclusion
Air fryer pepperoni chips are the perfect example of simple ingredients making a big impact. They’re crispy, bold, and ready in minutes with almost zero fuss.
Keep a pack of pepperoni on hand and you’ve got a crowd-pleasing snack whenever you need it. Season them your way, serve with your favorite dip, and enjoy that irresistible crunch every time. Round out your snack board with Bacon Chips and Cheese Chips.

Air Fryer Pepperoni Chips – Crispy, Savory, and Ready in Minutes
Ingredients
- Pepperoni slices (regular or turkey pepperoni; standard thin slices work best)
- Optional seasonings: Freshly ground black pepper
- Crushed red pepper flakes
- Garlic powder or onion powder
- Italian seasoning
- Smoked paprika
- Optional finishing touches: Grated Parmesan
- Everything bagel seasoning
- Chopped fresh parsley
- For dipping (optional): Warm marinara
- Ranch dressing
- Whipped ricotta or herbed cream cheese
- Honey mustard
- Equipment: Air fryer, tongs, paper towels, and a plate or wire rack
Instructions
- Preheat the air fryer to 375°F (190°C) for 3–5 minutes.A hot basket helps the pepperoni crisp faster.
- Prep the basket with a light spritz of oil or use a perforated parchment liner. This helps minimize sticking and makes cleanup easy.
- Arrange the pepperoni in a single layer. Leave a little space between slices so air can circulate.Work in batches if needed.
- Season lightly if you’d like. A tiny pinch of garlic powder, black pepper, or smoked paprika goes a long way. Skip added salt—the pepperoni is already salty.
- Air fry for 3–5 minutes. Start checking at the 3-minute mark.The chips are done when the edges are curled and the slices look deep red and crisp.
- Blot the excess oil. Use tongs to transfer chips onto paper towels or a wire rack and gently pat them to remove extra grease. This keeps them ultra-crunchy.
- Add finishing touches like a sprinkle of Parmesan or everything seasoning while the chips are still warm so it sticks.
- Cool briefly for 2–3 minutes. They crisp up even more as they cool.Serve with your favorite dip and enjoy.
Printable Recipe Card
Want just the essential recipe details without scrolling through the article? Get our printable recipe card with just the ingredients and instructions.