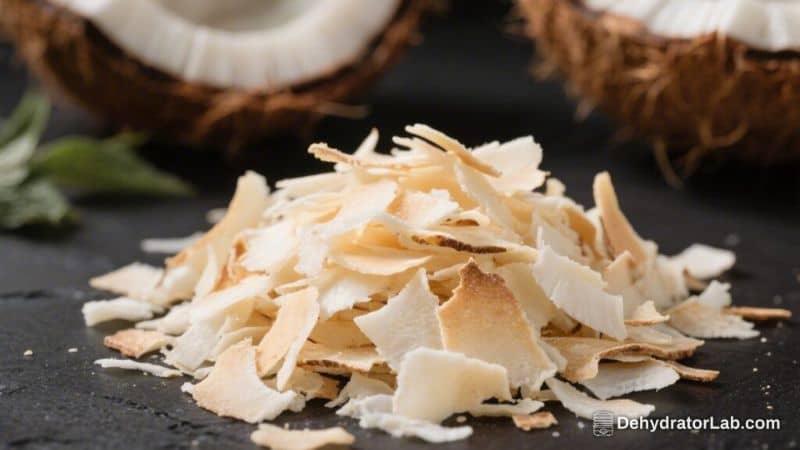
If you love the gentle sweetness of coconut and want a crunchy topping for your breakfasts, desserts, or snacks, dehydrated coconut flakes are a great choice. They’re incredibly easy to make at home, and you can customize them with a touch of sweetness or spice if you like. Whether you’ve got fresh coconuts or a bag of unsweetened chips, this method keeps things straightforward.
You’ll get light, crisp flakes that store well and add flavor and texture to just about anything. Let’s make a batch you’ll want to keep on hand.
In this article:
What Makes This Special
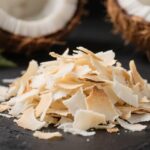
Dehydrated coconut flakes are all about pure coconut flavor with a satisfying crunch. Unlike toasted coconut, these flakes stay light in color and keep more of their natural sweetness.
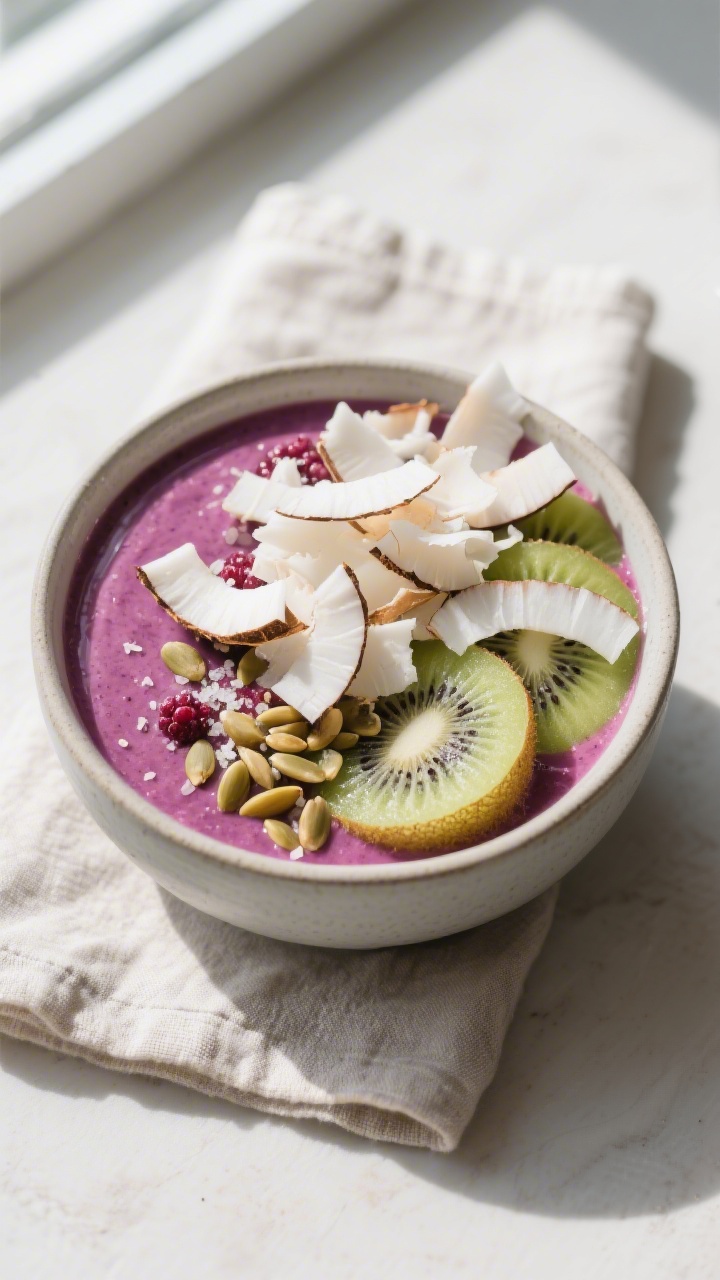
They’re versatile too—great on yogurt, granola, smoothie bowls, curries, baked goods, or even straight out of the jar.
Another perk: they’re budget-friendly and easy to scale. You can make a small batch for snacking or a big one for meal prep. And because they’re dried low and slow, they last for weeks without losing texture.
What You’ll Need
- Unsweetened coconut flakes or chips (wide flakes work best; shredded coconut also works)
- Optional flavor boosters:
- Pinch of sea salt
- 1–2 teaspoons maple syrup, honey, or coconut sugar for a light sweetness
- 1 teaspoon vanilla extract
- 1/2 teaspoon ground cinnamon or cardamom
- 1–2 teaspoons melted coconut oil for a richer flavor
- Dehydrator with trays and mesh liners (preferred) or an oven that can go as low as 170°F/75°C
- Parchment paper or silicone baking mats (if using an oven)
- Airtight containers or glass jars for storage
Step-by-Step Instructions
- Prep your coconut. If using bagged unsweetened flakes, measure out the amount you want to dry.
If starting with fresh coconut, crack it open, remove the meat, peel the brown skin if you prefer, and slice into thin, wide flakes. Aim for even thickness so they dry at the same rate.
- Optional seasoning. In a large bowl, toss the flakes with a small amount of melted coconut oil and your chosen add-ins. Keep it light—too much liquid slows drying.
A pinch of salt and a drop of vanilla go a long way.
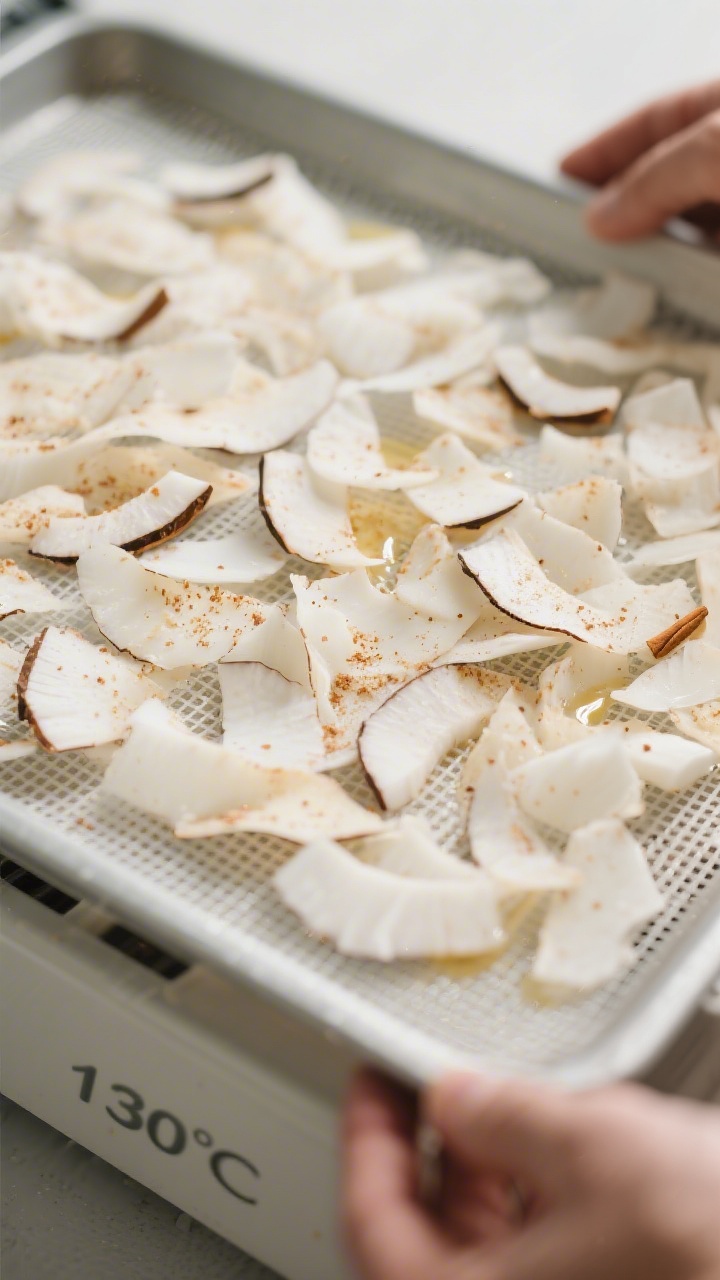
- Arrange on trays. Spread the coconut in a single, even layer. Avoid clumps. If using a dehydrator, place on mesh-lined trays.
For the oven, line baking sheets with parchment or a silicone mat.
- Set your temperature. For a dehydrator, set to 125–135°F (52–57°C). For an oven, use the lowest setting, ideally 170°F (75°C). If your oven runs hot, prop the door open slightly to increase air circulation and keep the temperature down.
- Dehydrate until crisp. Dry for 2–4 hours in a dehydrator, or 45–90 minutes in the oven, depending on flake thickness and humidity.
Stir or rotate trays halfway through for even drying.
- Check for doneness. The flakes should feel dry, brittle, and snap cleanly. If they bend, they need more time. Test a few after cooling for 5 minutes—warm flakes can seem crisp when they’re not fully dry.
- Cool completely. Let the flakes cool on the trays before storing.
Trapping residual heat or steam in a container can cause sogginess.
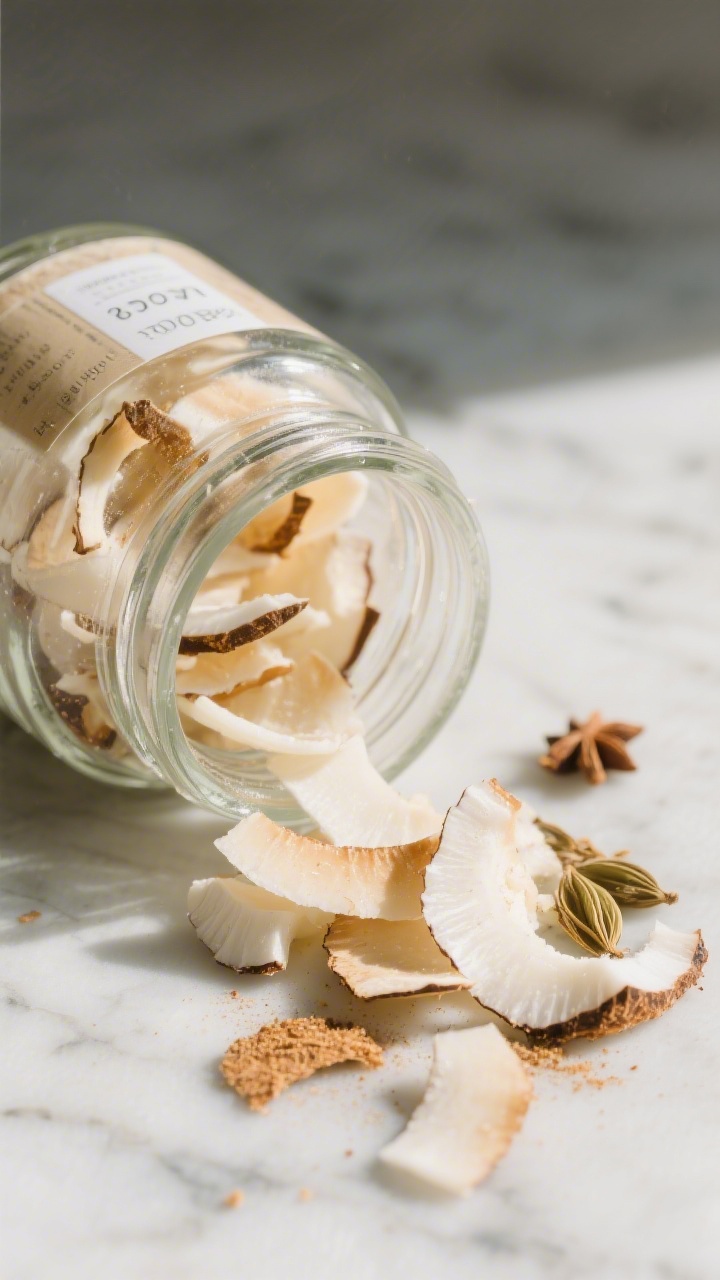
- Store properly. Transfer to airtight jars or containers. Label with the date, and keep them in a cool, dry cupboard.
Storage Instructions
- Pantry: Store in an airtight container for 4–6 weeks, away from heat and light.
- Refrigerator: Extends freshness to about 2–3 months. Make sure the container is tightly sealed to prevent moisture absorption.
- Freezer: For long-term storage, freeze up to 6 months.
Use a freezer-safe bag with most of the air pressed out. Thaw at room temperature with the bag sealed to prevent condensation.
- Keep it dry: Add a small food-safe desiccant pack to jars if you live in a humid climate.
Why This is Good for You
Coconut flakes are rich in healthy fats, especially medium-chain triglycerides (MCTs), which can help you feel fuller longer. They also provide fiber, which supports digestion and healthy cholesterol levels.
You’ll get small amounts of minerals like manganese and copper, which play roles in metabolism and antioxidant support.
Making them at home lets you control additives. That means no unnecessary sugar or preservatives. If you choose to add a touch of sweetener, you can decide how much and what kind.
Pitfalls to Watch Out For
- Under-drying: If the flakes are chewy or bendy after cooling, they aren’t done.
This leads to stale texture and shorter shelf life.
- Overcrowding trays: Piles of coconut trap moisture and dry unevenly. Stick to a single layer.
- High oven heat: Too hot and you’ll toast or burn the edges. Keep it low, and check often.
- Storing while warm: Steam builds inside containers and softens the flakes.
Always cool fully first.
- Moist add-ins: Liquid sweeteners can clump or slow drying. Use small amounts and spread well.
Alternatives
- Toasted Coconut: If you prefer a golden, toasty flavor, bake at 300°F (150°C) for 5–10 minutes, stirring once or twice. This makes a fragrant, crunchy topping with a nutty note.
- Shredded Coconut: Works the same way but dries faster.
Good for mixing into granola or cookie dough.
- Sweetened Version: Toss flakes with 1–2 teaspoons maple syrup or coconut sugar per cup of coconut for a lightly sweet result. Dry as directed.
- Spiced Flakes: Try cinnamon, cardamom, or pumpkin pie spice. A tiny pinch of salt sharpens the flavor.
- Savory Snack: For a crunchy salad topper, season with smoked paprika, a touch of lime zest, and a pinch of salt before dehydrating.
FAQ
Can I use fresh coconut instead of store-bought flakes?
Yes.
Slice the fresh coconut meat into thin flakes for even drying. Fresh coconut contains more moisture, so expect a longer drying time—often closer to 3–5 hours in a dehydrator. Make sure the slices are uniform and in a single layer.
Do I need a dehydrator?
No.
An oven set to its lowest temperature works well. Keep an eye on the flakes and stir a couple of times to prevent uneven drying. If you can, prop the oven door open slightly to improve airflow.
How do I know when the flakes are fully dry?
They should be crisp and snap when bent.
Let a few cool completely and test them. If they still feel slightly soft or chewy, continue drying in 10–15 minute increments and check again.
Will they stay white, or do they brown?
At low temperatures, flakes will stay pale and creamy in color. Browning happens at higher heat and indicates toasting rather than dehydrating.
If you want a pure white look and a delicate flavor, keep temperatures low.
Can I sweeten them without making them sticky?
Use a very light coating—no more than 1–2 teaspoons of liquid sweetener per cup of coconut—and spread the flakes well. You can also use powdered coconut sugar for a drier finish. Make sure to dry until fully crisp.
What can I use dehydrated coconut flakes for?
They’re great on yogurt, oatmeal, smoothie bowls, chia pudding, fruit salads, and ice cream.
Add them to trail mix, granola, and cookies, or sprinkle on curries and rice dishes for texture. They also make a handy, portable snack.
My flakes turned soft after a few days. What happened?
Moisture likely got into the container.
Spread the flakes on a tray and re-dry them at low heat until crisp, then cool completely and store in a truly airtight container. Adding a desiccant pack can help in humid climates.
Are dehydrated coconut flakes the same as coconut chips?
They’re similar. “Coconut chips” usually refer to wider, thicker pieces, while “flakes” can be thinner. Both can be dehydrated or toasted, and both work in most of the same ways.
Wrapping Up
Dehydrated coconut flakes are simple to make, easy to store, and endlessly useful.
With just a few ingredients and low heat, you’ll end up with crisp, lightly sweet flakes that brighten breakfasts, snacks, and desserts. Keep a jar in your pantry, experiment with a few flavor twists, and enjoy the satisfying crunch whenever you want it.
Dehydrated Coconut Flakes – Simple, Crunchy, and Naturally Sweet
Ingredients
- Unsweetened coconut flakes or chips (wide flakes work best; shredded coconut also works)
- Optional flavor boosters: Pinch of sea salt
- 1–2 teaspoons maple syrup, honey, or coconut sugar for a light sweetness
- 1 teaspoon vanilla extract
- 1/2 teaspoon ground cinnamon or cardamom
- 1–2 teaspoons melted coconut oil for a richer flavor
- Dehydrator with trays and mesh liners (preferred) or an oven that can go as low as 170°F/75°C
- Parchment paper or silicone baking mats (if using an oven)
- Airtight containers or glass jars for storage
Instructions
- Prep your coconut. If using bagged unsweetened flakes, measure out the amount you want to dry.If starting with fresh coconut, crack it open, remove the meat, peel the brown skin if you prefer, and slice into thin, wide flakes. Aim for even thickness so they dry at the same rate.
- Optional seasoning. In a large bowl, toss the flakes with a small amount of melted coconut oil and your chosen add-ins. Keep it light—too much liquid slows drying.A pinch of salt and a drop of vanilla go a long way.
- Arrange on trays. Spread the coconut in a single, even layer. Avoid clumps. If using a dehydrator, place on mesh-lined trays.For the oven, line baking sheets with parchment or a silicone mat.
- Set your temperature. For a dehydrator, set to 125–135°F (52–57°C). For an oven, use the lowest setting, ideally 170°F (75°C). If your oven runs hot, prop the door open slightly to increase air circulation and keep the temperature down.
- Dehydrate until crisp. Dry for 2–4 hours in a dehydrator, or 45–90 minutes in the oven, depending on flake thickness and humidity.Stir or rotate trays halfway through for even drying.
- Check for doneness. The flakes should feel dry, brittle, and snap cleanly. If they bend, they need more time. Test a few after cooling for 5 minutes—warm flakes can seem crisp when they’re not fully dry.
- Cool completely. Let the flakes cool on the trays before storing.Trapping residual heat or steam in a container can cause sogginess.
- Store properly. Transfer to airtight jars or containers. Label with the date, and keep them in a cool, dry cupboard.
Related reading: dehydrated canned tuna, dehydrated chicken noodle soup, and best fruits to dehydrate.
Printable Recipe Card
Want just the essential recipe details without scrolling through the article? Get our printable recipe card with just the ingredients and instructions.