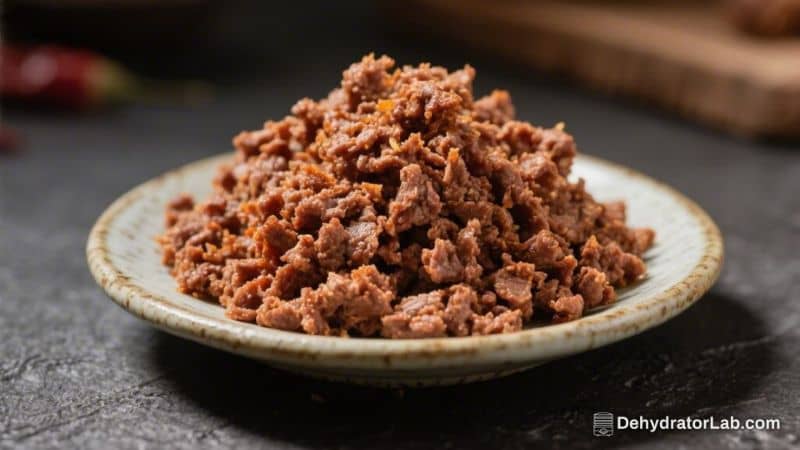
Dehydrated cooked ground beef is a smart trick for meal prep, camping, backpacking, and quick weeknight dinners. You cook it once, dry it, and then store it for months. When you’re ready to eat, just rehydrate and add it to soups, pasta, tacos, or rice bowls.
It saves freezer space, reduces food waste, and keeps your protein ready to go. If you’ve ever wondered how to make meat last longer without sacrificing flavor, this method is worth learning.
In this article:
Why This Recipe Works
Cooking the beef before dehydrating removes excess fat and moisture, which helps it dry faster and store better. Lean ground beef (90–95%) is best because fat can go rancid and shorten shelf life. Rinsing the cooked beef in hot water reduces grease even more, leading to cleaner flavor and better rehydration.
Adding a little breadcrumb “binder” helps the meat rehydrate to a tender, crumbled texture instead of staying tough. When stored properly, you get a shelf-stable, protein-packed base that’s ready in minutes.
Shopping List
- Lean ground beef (90–95% lean) – 1 to 2 pounds
- Salt – to season lightly
- Onion powder and garlic powder – optional, for simple seasoning
- Plain dry breadcrumbs – 1 to 2 tablespoons per pound (optional but helpful)
- Water or beef broth – for rehydration later
- Dehydrator with mesh liners (or oven with lowest setting)
- Sheet pans and parchment (if using oven)
- Vacuum sealer or airtight jars/mylar bags for storage
- Oxygen absorbers (optional, for long-term storage)
How to Make It
- Choose lean beef. Start with 90–95% lean ground beef. Higher fat content makes drying harder and storage less stable.
- Brown the meat. Break the beef into small crumbles in a skillet over medium heat.
Season lightly with salt, onion powder, and garlic powder. Cook until no pink remains and the juices run clear.
- Drain and rinse. Pour the cooked beef into a fine strainer and drain well. Rinse quickly with very hot water to remove excess fat.
This step improves shelf life and texture.
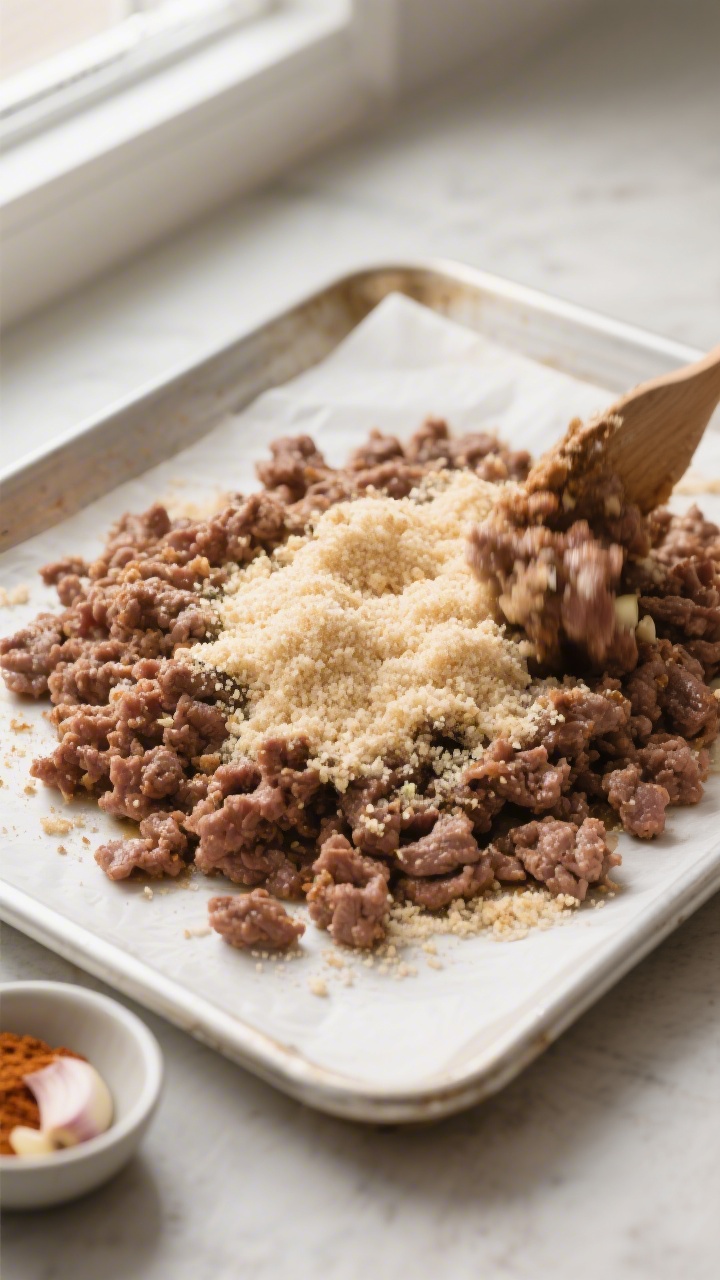
- Add the binder (optional but recommended). While the meat is still warm, toss in 1–2 tablespoons of plain dry breadcrumbs per pound. Mix to distribute. This helps the crumbles rehydrate better later.
- Pre-dry on paper towels. Spread the meat on paper towels and pat dry to remove surface moisture.
- Set up the dehydrator. Line trays with mesh sheets to keep small pieces from falling through.
Spread the beef in a single, even layer. Avoid clumps for faster, safer drying.
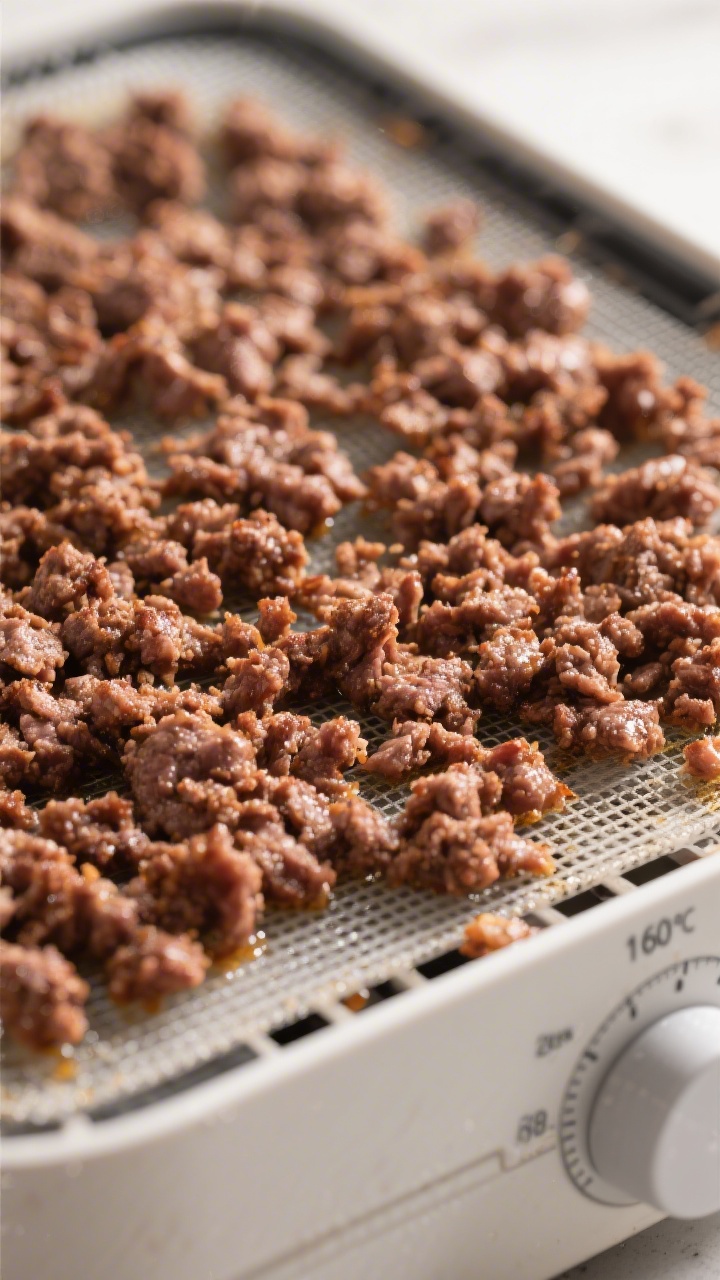
- Dehydrate at 160°F (71°C). Dry for 4–8 hours, depending on your machine and humidity. Stir and rotate trays every 1–2 hours for even drying.
- Test for doneness. The beef should be dry, firm, and crumbly with no soft spots or grease beads.
If you squeeze a piece, it shouldn’t release moisture or oil.
- Cool and condition. Let the meat cool to room temperature. Then “condition” by loosely packing it in a clean jar for 2–3 days, shaking daily. If you see condensation, return it to the dehydrator.
- Package for storage. Store in airtight containers or vacuum-sealed bags.
For longer storage, add an oxygen absorber and keep in a cool, dark place.
Keeping It Fresh
Short term: In an airtight jar or bag at room temperature, dehydrated ground beef stays fresh for about 1–2 months. Keep it away from heat and sunlight.
Medium term: Vacuum-sealed with an oxygen absorber, it can last 3–6 months in the pantry. A cool closet or cupboard is ideal.
Long term: For the longest life, store sealed packages in the freezer.
There’s almost no moisture left to freeze, so texture won’t suffer, and you can easily get 1 year or more.
Check regularly: If you ever see moisture, smell rancidity, or notice off colors, discard it. Proper drying and low-fat meat are key to safe storage.
Why This is Good for You
- High in protein: Great for fueling hikes, workouts, or busy weeks without constant cooking.
- Low waste: Helps you use bulk buys efficiently and avoid last-minute takeout.
- Fast meals: Rehydrates in minutes, so soups, sauces, and tacos come together quickly.
- Portion control: You can pack exact amounts for meal prep or backpacking.
- Shelf-stable backup: Handy for power outages, travel, or simple pantry planning.
What Not to Do
- Don’t use high-fat beef. Excess fat hinders dehydration and can spoil faster.
- Don’t skip cooking. Dehydrating raw ground beef is unsafe. Always cook thoroughly first.
- Don’t overcrowd trays. Thick layers trap moisture and lead to uneven drying.
- Don’t store while warm. Packing warm meat creates condensation and mold risk.
- Don’t oversalt. Salt concentrates during drying.
Keep seasoning light.
Variations You Can Try
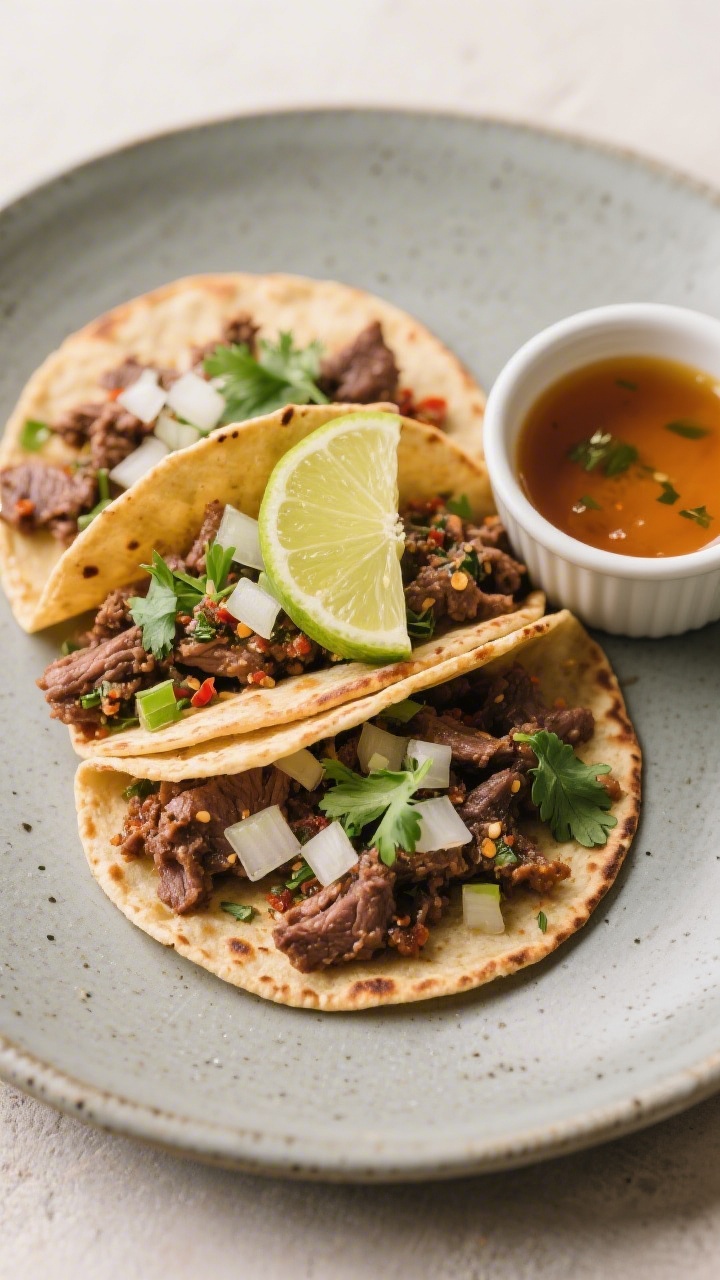
- Simple taco beef: Season with mild chili powder, cumin, and oregano before drying. Keep spices light to avoid bitterness.
- Italian-style: Add a pinch of fennel, basil, and black pepper. Perfect for pasta and marinara.
- Garlic-herb: Use garlic powder, parsley, and thyme.
Great in soups and grain bowls.
- Broth-boosted rehydration: Rehydrate with warm beef or chicken broth for deeper flavor.
- Mix-and-match blends: Combine with dehydrated veggies (onions, peppers, corn) in a jar for instant camp meals.
FAQ
How do I rehydrate dehydrated ground beef?
Cover the dried beef with hot water or broth in a 1:1 ratio by volume. Let it soak for 10–15 minutes, then simmer 5–10 minutes until tender. Drain excess liquid if needed and season to taste.
Can I use an oven instead of a dehydrator?
Yes.
Set the oven to its lowest temperature (ideally 170°F/77°C). Spread the meat thinly on parchment-lined sheet pans and prop the door open slightly for airflow. Dry for 4–6 hours, rotating pans and stirring occasionally.
Do I really need the breadcrumbs?
No, but they help.
A small amount acts like a sponge during rehydration, bringing back a tender, ground-meat texture. Without it, the meat can be a bit chewier, especially if it’s very lean.
How long does dehydrated ground beef last?
In airtight containers at room temp, expect 1–2 months. Vacuum-sealed with oxygen absorbers, 3–6 months in a cool pantry.
In the freezer, a year or more. Always inspect before use.
Is it safe to season the meat before dehydrating?
Light seasoning is fine. Avoid heavy sugar or very salty marinades, which can affect drying and flavor concentration.
Keep spices simple and add more after rehydration if needed.
What dishes work best with it?
It’s great in chili, ramen, pasta sauce, shepherd’s pie, taco filling, fried rice, burrito bowls, and omelets. Anywhere you’d use cooked crumbled beef, this will fit right in after rehydration.
Can I dehydrate other meats this way?
Yes, but follow safe handling. Use lean ground turkey, chicken, or venison, cook thoroughly, rinse, and dry at safe temperatures.
Lean and fully cooked is the rule.
What if my dehydrated beef feels oily?
It likely had too much fat or wasn’t rinsed well. You can still use it promptly, but don’t store it long term. Next time, choose leaner beef and rinse with hot water after cooking.
How can I tell if it’s fully dry?
The crumbles should be hard, dry, and slightly brittle with no soft or cool spots when you break them.
No visible grease should bead on the surface, and pieces shouldn’t clump together.
Do I need to pressure can dehydrated beef?
No. Dehydrated beef is meant for dry storage in airtight containers. Pressure canning is a different process and not necessary here.
Wrapping Up
Dehydrated cooked ground beef is a practical, budget-friendly way to keep quality protein on hand.
With lean meat, thorough cooking, careful drying, and smart storage, you’ll have a reliable base for countless meals. It rehydrates fast, tastes great, and fits into busy routines, camping kits, and long-term pantry plans. Make a batch once, and you’ll wonder why you didn’t start sooner.
Dehydrated Cooked Ground Beef – Lightweight, Shelf-Stable Protein for Busy Days
Ingredients
- Lean ground beef (90–95% lean) – 1 to 2 pounds
- Salt – to season lightly
- Onion powder and garlic powder – optional, for simple seasoning
- Plain dry breadcrumbs – 1 to 2 tablespoons per pound (optional but helpful)
- Water or beef broth – for rehydration later
- Dehydrator with mesh liners (or oven with lowest setting)
- Sheet pans and parchment (if using oven)
- Vacuum sealer or airtight jars/mylar bags for storage
- Oxygen absorbers (optional, for long-term storage)
Instructions
- Choose lean beef. Start with 90–95% lean ground beef. Higher fat content makes drying harder and storage less stable.
- Brown the meat. Break the beef into small crumbles in a skillet over medium heat.Season lightly with salt, onion powder, and garlic powder. Cook until no pink remains and the juices run clear.
- Drain and rinse. Pour the cooked beef into a fine strainer and drain well. Rinse quickly with very hot water to remove excess fat.This step improves shelf life and texture.
- Add the binder (optional but recommended). While the meat is still warm, toss in 1–2 tablespoons of plain dry breadcrumbs per pound. Mix to distribute. This helps the crumbles rehydrate better later.
- Pre-dry on paper towels. Spread the meat on paper towels and pat dry to remove surface moisture.
- Set up the dehydrator. Line trays with mesh sheets to keep small pieces from falling through.Spread the beef in a single, even layer. Avoid clumps for faster, safer drying.
- Dehydrate at 160°F (71°C). Dry for 4–8 hours, depending on your machine and humidity. Stir and rotate trays every 1–2 hours for even drying.
- Test for doneness. The beef should be dry, firm, and crumbly with no soft spots or grease beads.If you squeeze a piece, it shouldn’t release moisture or oil.
- Cool and condition. Let the meat cool to room temperature. Then “condition” by loosely packing it in a clean jar for 2–3 days, shaking daily. If you see condensation, return it to the dehydrator.
- Package for storage. Store in airtight containers or vacuum-sealed bags.For longer storage, add an oxygen absorber and keep in a cool, dark place.
Printable Recipe Card
Want just the essential recipe details without scrolling through the article? Get our printable recipe card with just the ingredients and instructions.