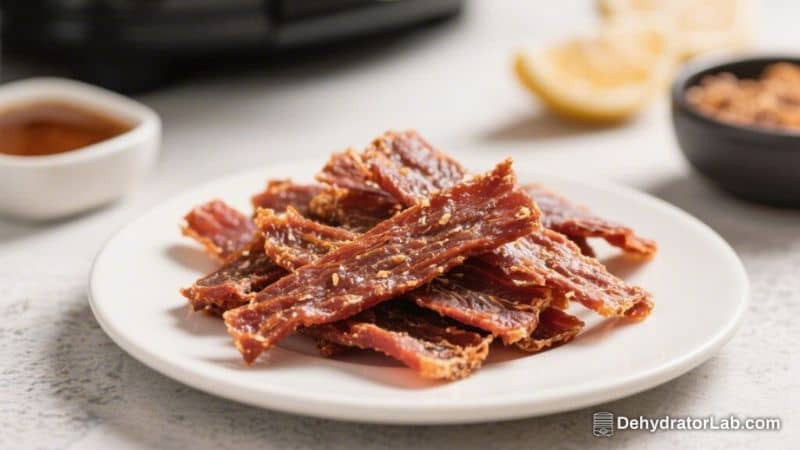
If you love jerky but want something leaner and easier to make at home, this Air Fryer Turkey Jerky hits the spot. It turns simple turkey slices into chewy, flavorful snacks with minimal mess and no dehydrator required. The air fryer keeps things quick and consistent, so you can have a batch ready in an afternoon.
It’s perfect for road trips, post-workout bites, or keeping in your bag for a high-protein snack. Once you try it, you might skip store-bought jerky for good.
In this article:
Why This Recipe Works
- Lean protein, big flavor: Turkey breast or tenderloin is naturally low in fat, which helps the jerky dry evenly without getting greasy.
- Air fryer efficiency: Consistent airflow speeds up drying compared to an oven and gives you more control over texture.
- Balanced marinade: A mix of salty, sweet, tangy, and umami flavors seasons the turkey all the way through and keeps it tender as it dries.
- Customizable: You can go smoky, spicy, sweet, or savory with a few simple swaps.
Ingredients
- 1.5 pounds turkey breast or tenderloin (trimmed of any silver skin or excess fat)
- 1/4 cup low-sodium soy sauce (or coconut aminos for gluten-free)
- 2 tablespoons Worcestershire sauce
- 1 tablespoon maple syrup or honey (adds subtle sweetness and helps browning)
- 1 tablespoon apple cider vinegar (for acidity and tenderness)
- 1 teaspoon liquid smoke (optional, for classic jerky flavor)
- 1 teaspoon onion powder
- 1 teaspoon garlic powder
- 1 teaspoon smoked paprika
- 1/2 teaspoon freshly ground black pepper
- 1/2 teaspoon red pepper flakes (optional, for heat)
Step-by-Step Instructions
- Partially freeze the turkey: Place the turkey in the freezer for 30–45 minutes. Slightly firm meat is much easier to slice thinly and evenly.
- Slice evenly: Using a sharp knife, slice the turkey into 1/8–1/4-inch thick strips.
For chewier jerky, cut with the grain; for more tender, cut against the grain.
- Make the marinade: In a bowl, whisk soy sauce, Worcestershire, maple syrup, vinegar, liquid smoke (if using), onion powder, garlic powder, smoked paprika, black pepper, and red pepper flakes.
- Marinate thoroughly: Add the turkey strips to a zip-top bag or shallow container. Pour in the marinade, press out air, and seal. Refrigerate for at least 6 hours, ideally 12–18 hours, turning once or twice for even coverage.
- Drain and pat dry: Remove turkey from the marinade and pat the strips dry with paper towels. Dry surfaces equal better drying and texture in the air fryer.
- Preheat the air fryer: Set to 180°F–200°F (82°C–93°C) if your air fryer goes that low.
If not, use the lowest setting available. Let it preheat for 3–5 minutes.
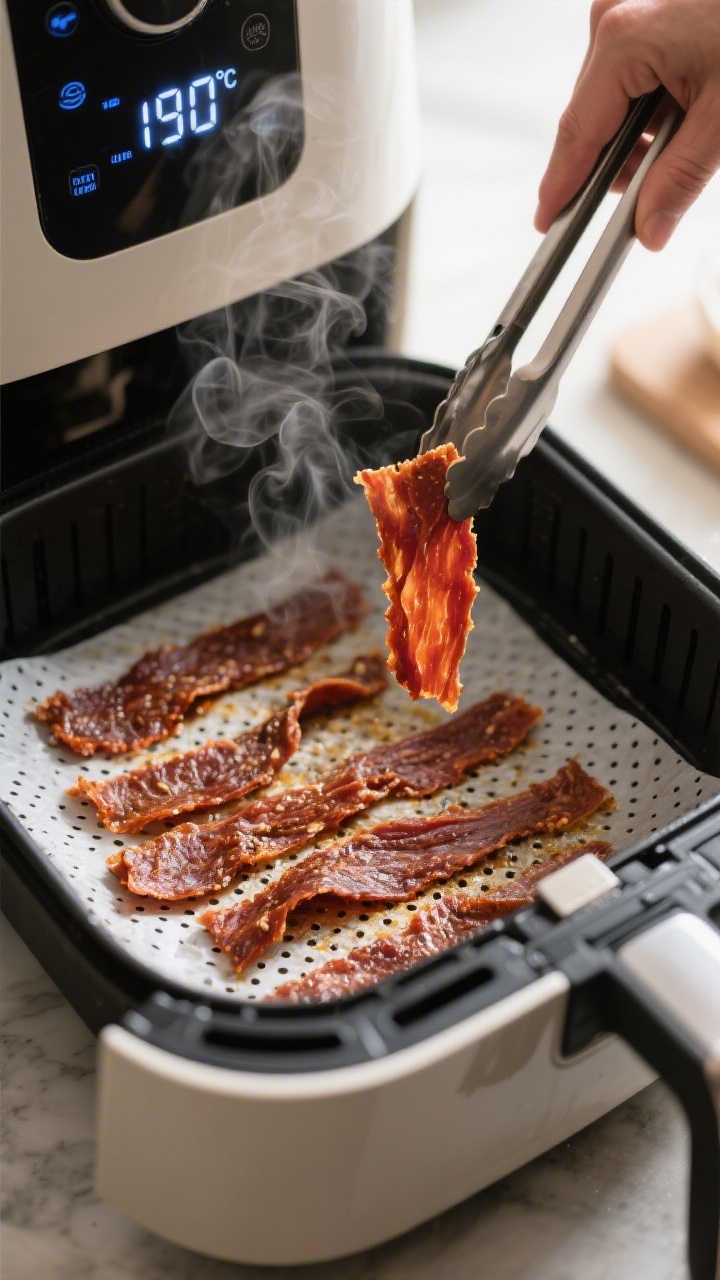
- Arrange the strips: Place turkey in a single layer in the basket or on racks, leaving space between pieces. Use parchment with holes or a light coat of oil on the grate to prevent sticking.
- Air fry low and slow: Cook at 180°F–200°F for 2–3 hours, flipping every 30–45 minutes and rotating racks if your air fryer has tiers. Time varies by thickness, moisture, and your machine’s airflow.
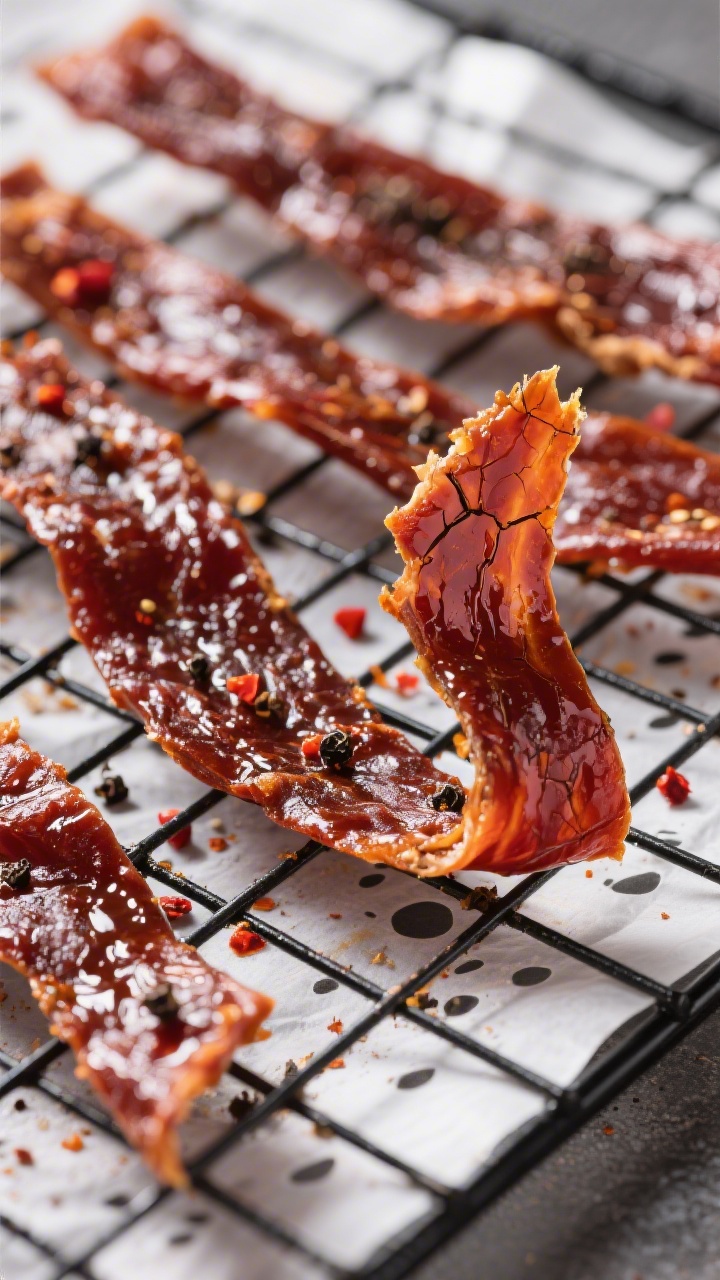
- Check for doneness: Jerky is ready when it’s dry to the touch, deepened in color, and bends without snapping.
It should crack slightly along the surface when folded but not break cleanly.
- Cool completely: Let the jerky cool on racks for 30–60 minutes. Cooling helps it finish drying and sets the texture.
- Condition the jerky (recommended): Place cooled jerky loosely in a jar or container for 24 hours, shaking once or twice. If any condensation appears, return jerky to the air fryer for 15–30 minutes more at low temp.
Storage Instructions
- Short-term: Store in an airtight container or zip-top bag at room temperature for up to 3 days in a cool, dry place.
- Refrigerate: Keeps well for 2 weeks in a sealed container.
Add a small food-safe desiccant packet if you have one.
- Freeze: For longer storage (up to 3 months), freeze in vacuum-sealed bags or double-bagged zip-top bags. Thaw in the fridge overnight.
- Keep it dry: If you notice moisture in the container, re-dry the jerky in the air fryer at the lowest temp for 10–20 minutes and cool again.
Why This is Good for You
- High protein, low fat: Turkey jerky delivers satisfying protein without the heaviness of red meat or added oils.
- Lower sugar than store-bought: You control the sweetener, so you avoid overly sugary commercial versions.
- Fewer preservatives: No mystery ingredients or artificial flavors—just a clean, balanced marinade.
- Great for portion control: Because it’s flavorful and chewy, a little goes a long way to curb cravings.
Pitfalls to Watch Out For
- Too thick or uneven slices: This leads to uneven drying—some pieces get tough while others stay soft. Aim for consistent thickness.
- Skipping the pat-dry step: Excess marinade slows drying and can leave a sticky surface.
- Overcrowding the basket: Air needs to circulate.
Work in batches for the best texture.
- Too high heat: High temperatures cook the turkey instead of drying it, causing toughness and uneven results.
- Underdrying: Jerky that’s still moist won’t store well. Always cool completely and check for flexibility with slight cracking.
Recipe Variations
- Sweet & Smoky: Add 1 extra tablespoon maple syrup and 1/2 teaspoon extra liquid smoke; sprinkle with a pinch of brown sugar before drying.
- Spicy Sriracha: Stir 1–2 tablespoons sriracha into the marinade and add 1/2 teaspoon cayenne.
- Lemon Pepper: Swap apple cider vinegar for lemon juice. Add 1 teaspoon lemon zest and 1 teaspoon coarse black pepper.
- Ginger Teriyaki: Add 1 tablespoon grated fresh ginger and 1 tablespoon mirin.
Cut the maple syrup to 1 teaspoon.
- Herb & Garlic: Add 1 teaspoon dried Italian herbs and increase garlic powder to 1.5 teaspoons.
FAQ
Can I use ground turkey instead of sliced?
Yes, but the process is different. Mix ground turkey with the seasonings, press it to 1/8–1/4 inch thick between parchment sheets, score into strips, and air fry on perforated parchment. It dries faster but has a different texture, more like formed jerky.
Do I need curing salt?
Not for short-term storage and refrigeration.
Curing salt helps with color, flavor, and longer shelf life, but this recipe is designed for fridge or freezer storage and gets eaten quickly. If you add curing salt, follow the manufacturer’s usage amounts.
What if my air fryer doesn’t go below 200°F?
Use the lowest setting and check more often. Prop the lid slightly open or open the basket briefly every 20–30 minutes to release steam, which encourages drying over cooking.
How do I know it’s done?
Bend a cooled piece.
It should be dry, slightly pliable, and show fine cracks when folded, but it shouldn’t snap. If it feels soft or spongy, keep drying in 15–20 minute intervals.
Can I make it without soy?
Yes. Use coconut aminos and increase salt slightly to taste, since coconut aminos are sweeter and milder.
You can also add a splash of fish sauce for deeper umami.
Why is my jerky tough?
Slices may be too thick, or the heat was too high. Cutting against the grain also yields a more tender chew. Next time, lower the temp, slice thinner, and ensure an even thickness.
Is turkey jerky safe at these temperatures?
Safety depends on time and moisture reduction.
Drying at 180°F–200°F for several hours reduces water activity. If you’re concerned, you can briefly heat the marinated strips in a 275°F oven until they reach 165°F internally, then transfer to the air fryer to finish drying.
Wrapping Up
Air Fryer Turkey Jerky is a simple, satisfying way to stock up on a clean, high-protein snack without special equipment. With a good marinade, even slices, and low-and-slow drying, you’ll get chewy, flavorful results every time.
Customize the seasoning to your taste, make a big batch, and keep it on hand for busy days. Once you dial in your air fryer’s timing, this becomes a reliable go-to you’ll make again and again.
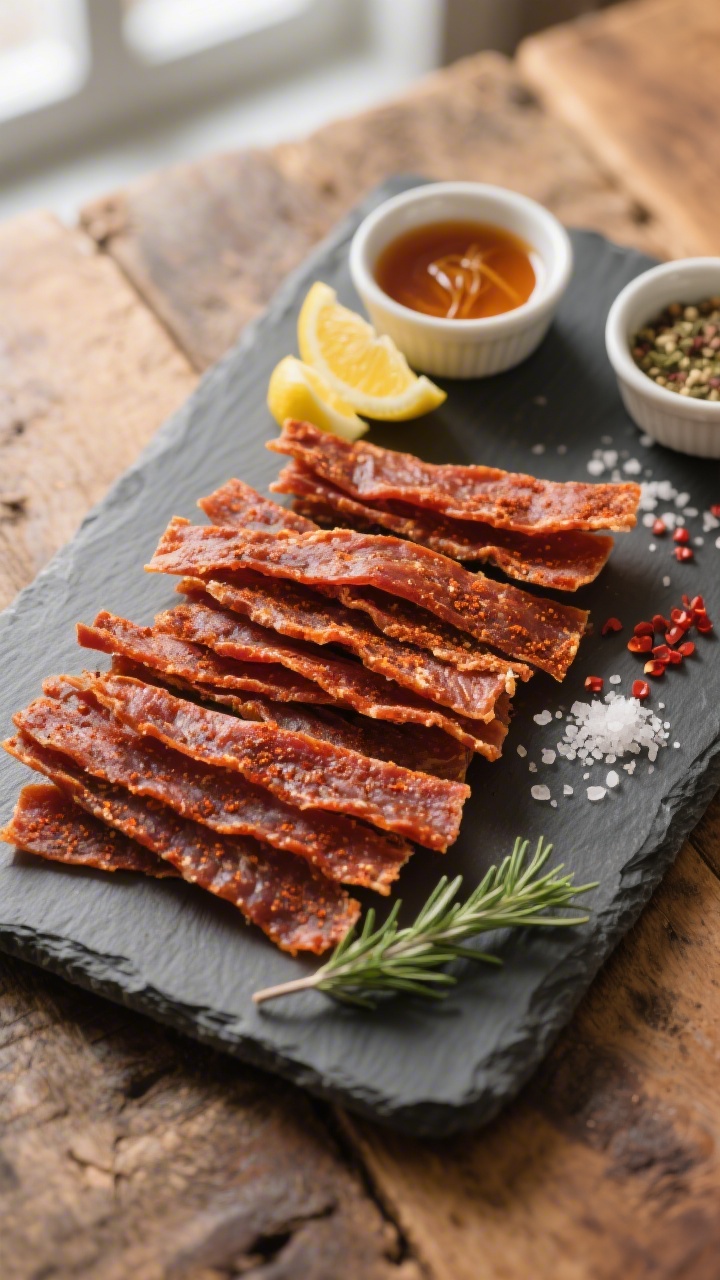
Air Fryer Turkey Jerky – Lean, Savory, and Surprisingly Simple
Ingredients
- 1.5 pounds turkey breast or tenderloin (trimmed of any silver skin or excess fat)
- 1/4 cup low-sodium soy sauce (or coconut aminos for gluten-free)
- 2 tablespoons Worcestershire sauce
- 1 tablespoon maple syrup or honey (adds subtle sweetness and helps browning)
- 1 tablespoon apple cider vinegar (for acidity and tenderness)
- 1 teaspoon liquid smoke (optional, for classic jerky flavor)
- 1 teaspoon onion powder
- 1 teaspoon garlic powder
- 1 teaspoon smoked paprika
- 1/2 teaspoon freshly ground black pepper
- 1/2 teaspoon red pepper flakes (optional, for heat)
Instructions
- Partially freeze the turkey: Place the turkey in the freezer for 30–45 minutes. Slightly firm meat is much easier to slice thinly and evenly.
- Slice evenly: Using a sharp knife, slice the turkey into 1/8–1/4-inch thick strips.For chewier jerky, cut with the grain; for more tender, cut against the grain.
- Make the marinade: In a bowl, whisk soy sauce, Worcestershire, maple syrup, vinegar, liquid smoke (if using), onion powder, garlic powder, smoked paprika, black pepper, and red pepper flakes.
- Marinate thoroughly: Add the turkey strips to a zip-top bag or shallow container. Pour in the marinade, press out air, and seal. Refrigerate for at least 6 hours, ideally 12–18 hours, turning once or twice for even coverage.
- Drain and pat dry: Remove turkey from the marinade and pat the strips dry with paper towels. Dry surfaces equal better drying and texture in the air fryer.
- Preheat the air fryer: Set to 180°F–200°F (82°C–93°C) if your air fryer goes that low.If not, use the lowest setting available. Let it preheat for 3–5 minutes.
- Arrange the strips: Place turkey in a single layer in the basket or on racks, leaving space between pieces. Use parchment with holes or a light coat of oil on the grate to prevent sticking.
- Air fry low and slow: Cook at 180°F–200°F for 2–3 hours, flipping every 30–45 minutes and rotating racks if your air fryer has tiers. Time varies by thickness, moisture, and your machine’s airflow.
- Check for doneness: Jerky is ready when it’s dry to the touch, deepened in color, and bends without snapping.It should crack slightly along the surface when folded but not break cleanly.
- Cool completely: Let the jerky cool on racks for 30–60 minutes. Cooling helps it finish drying and sets the texture.
- Condition the jerky (recommended): Place cooled jerky loosely in a jar or container for 24 hours, shaking once or twice. If any condensation appears, return jerky to the air fryer for 15–30 minutes more at low temp.
Printable Recipe Card
Want just the essential recipe details without scrolling through the article? Get our printable recipe card with just the ingredients and instructions.