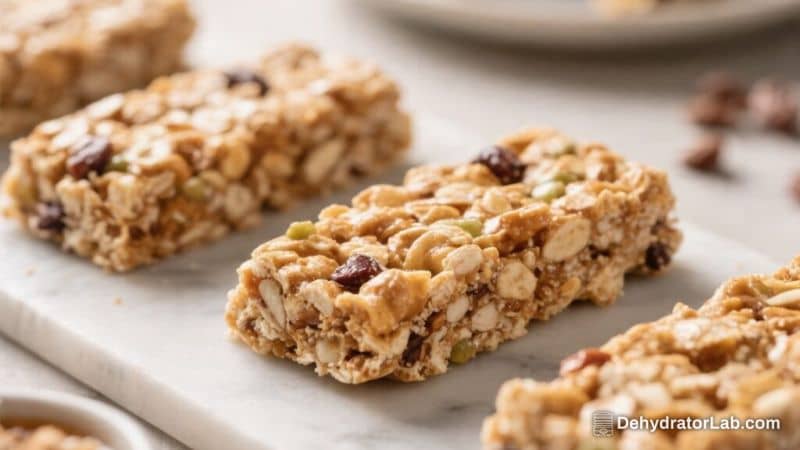
Imagine making a fresh batch of protein bars in under 20 minutes with a soft, chewy center and a lightly crisp top. No long baking times, no mystery ingredients, and no chalky aftertaste. These Air Fryer Protein Bars are quick, easy, and totally customizable to your taste.
They’re perfect for busy mornings, post-workout snacks, or that 3 p.m. slump. If you’ve ever wanted a high-protein snack that actually tastes good, this is it.
In this article:
What Makes This Special
Most homemade protein bars can be dry or crumbly, but the air fryer changes that. It gives the bars a gentle, even heat that keeps the inside moist while setting the edges.
You also save time—no need to heat up the whole kitchen or wait for a full bake. Plus, you can tailor the flavor, sweetness, and texture to your needs, whether you prefer peanut butter and chocolate chips or almond butter with dried cherries. It’s convenient, budget-friendly, and way better than most packaged options.
Ingredients
- 1 cup rolled oats (quick oats work too)
- 1/2 cup vanilla or chocolate protein powder (whey, pea, or your favorite)
- 1/2 cup natural nut butter (peanut, almond, or cashew)
- 1/3 cup honey or maple syrup
- 1/4 cup milk of choice (dairy or non-dairy), plus more as needed
- 1 large egg (optional for extra binding and protein)
- 1 teaspoon vanilla extract
- 1/2 teaspoon ground cinnamon (optional)
- 1/4 teaspoon fine salt
- 1/4 cup dark chocolate chips or chopped dark chocolate (optional)
- 2 tablespoons chia seeds or flaxseed meal (optional for fiber)
Instructions
- Prep the pan: Line a small, air-fryer-safe pan or dish with parchment.
A 6–7 inch square pan or mini loaf pan works well. Lightly spray with oil for easy release.
- Mix dry ingredients: In a bowl, combine oats, protein powder, cinnamon, salt, and optional chia or flax. Stir to distribute evenly.
- Stir wet ingredients: In another bowl, whisk nut butter, honey or maple, milk, vanilla, and egg (if using) until smooth.
Warm the nut butter for 10–15 seconds in the microwave if it’s too thick.
- Combine: Pour the wet mixture into the dry and fold until a thick dough forms. If it seems crumbly, add 1–2 tablespoons more milk. If it’s too loose, add a tablespoon of oats.
- Add mix-ins: Fold in chocolate chips or any extras you like.
Don’t overmix—just enough to spread them out.
- Press and shape: Transfer the dough to your lined pan. Press into an even layer, about 3/4 to 1 inch thick. Smooth the top with a spatula.
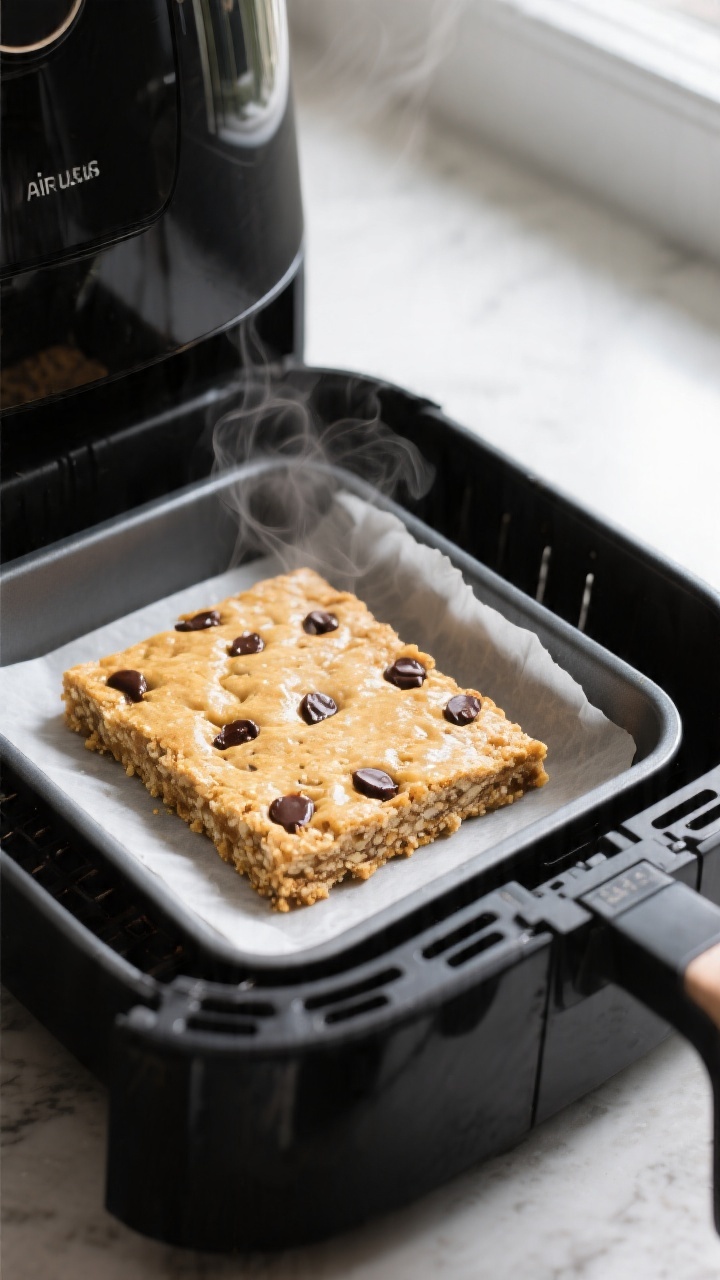
- Preheat the air fryer: Set to 320°F (160°C) for 3 minutes to warm up.
- Cook: Air fry at 320°F (160°C) for 10–12 minutes.
Start checking at 9 minutes. The edges should look set and lightly golden, and the center should spring back when pressed.
- Cool completely: Remove the pan and let cool in the pan for 10 minutes, then lift out by the parchment. Cool fully before slicing.
This is key for clean cuts and the right texture.
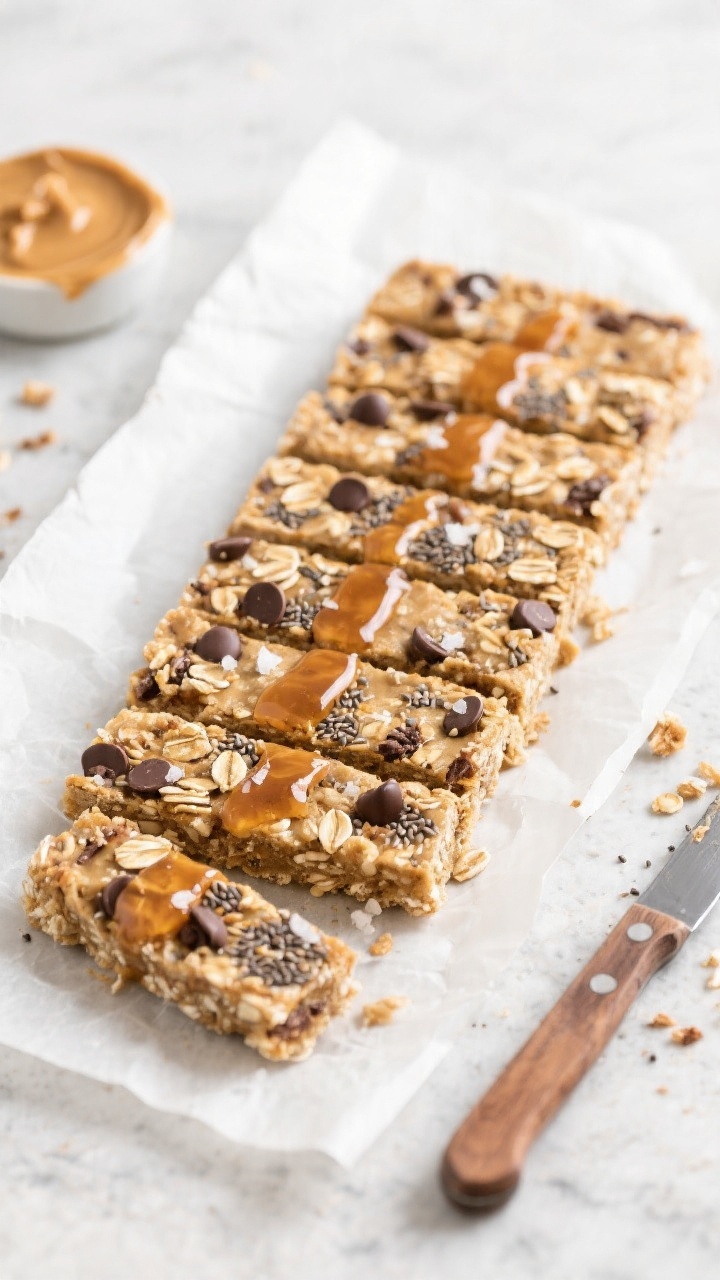
- Slice and serve: Cut into 6–8 bars. Enjoy right away or store for later.
Keeping It Fresh
Let the bars cool completely before storing. Moisture trapped by heat leads to soggy bars and short shelf life.
For short-term storage, keep bars in an airtight container at room temperature for up to 3 days. For longer storage, refrigerate for up to 1 week. For the best texture, let refrigerated bars sit out for 10 minutes before eating.
Want to meal prep? Freeze for up to 2 months. Wrap bars individually, then place them in a freezer bag.
Thaw overnight in the fridge or at room temperature for 30–45 minutes.
Health Benefits
- High protein: Protein powder plus nut butter and optional egg gives a satisfying, long-lasting snack.
- Balanced carbs and fiber: Oats and seeds help stabilize energy and support digestion.
- Better fats: Nut butter provides monounsaturated fats that support heart health and keep you full.
- Lower added sugar: You control the sweetness. Using dark chocolate and a modest amount of honey or maple keeps it reasonable.
- Customizable for dietary needs: Choose plant-based protein and non-dairy milk for a dairy-free option; use certified gluten-free oats if needed.
Common Mistakes to Avoid
- Using too much protein powder: This can make the bars chalky and dry. Keep it to about one-third of the dry mix.
- Skipping the cool-down: Cutting while warm causes crumbling.
Cooling lets the bars set properly.
- Overcooking: Air fryers vary. Check early and often. Bars continue to firm as they cool.
- Not adjusting moisture: Different protein powders absorb differently.
If the dough looks dry, add a splash of milk; if too wet, add oats.
- Piling the dough too thick: Very thick bars cook unevenly. Aim for under 1 inch thick.
Variations You Can Try
- Almond Joy Style: Almond butter, chocolate protein, shredded coconut, and chopped almonds.
- PB&J: Peanut butter base with freeze-dried strawberries or a few swirls of low-sugar jam.
- Cinnamon Raisin: Vanilla protein, extra cinnamon, raisins, and a drizzle of maple on top after cooking.
- Mocha Crunch: Chocolate protein, a teaspoon of instant espresso, and cacao nibs.
- Seed Boost: Add pumpkin and sunflower seeds for extra crunch and minerals.
- Vegan Option: Use plant-based protein, non-dairy milk, and skip the egg. Add 1 tablespoon flaxseed meal plus 2 tablespoons water to help bind.
- Low-Sugar: Reduce honey/maple to 2–3 tablespoons and add a few drops of liquid stevia or monk fruit to taste.
FAQ
Can I make these without oats?
Yes.
Replace oats with fine almond flour for a grain-free version. Start with 1 cup almond flour and add more as needed to form a thick dough. The texture will be softer and slightly more delicate.
Which protein powder works best?
Whey blends give the chewiest texture.
Pea or brown rice protein also works but may absorb more liquid. If using plant-based protein, add an extra splash of milk and check for dryness before cooking.
Do I need the egg?
No. The egg adds structure and extra protein, but the bars hold without it.
If skipping, consider adding 1 tablespoon flaxseed meal mixed with 2 tablespoons water to help bind.
How do I prevent sticking in the air fryer?
Use a parchment-lined, air-fryer-safe pan or dish. Avoid putting loose batter directly on the basket. A little oil spray on the parchment helps with easy lifting and clean edges.
Can I double the recipe?
Yes, but cook in batches to avoid thick layers that won’t set evenly.
Keep each batch under 1 inch thick for even cooking.
What if my bars turn out dry?
Add a tablespoon or two of milk next time, or reduce cook time by 1–2 minutes. You can also increase nut butter slightly or reduce the protein powder by a couple of tablespoons.
How many grams of protein per bar?
It depends on your protein powder and portion size. With a typical whey protein (about 20–24g per scoop) and making 8 bars, expect roughly 8–12g protein per bar.
For exact numbers, plug your ingredients into a nutrition calculator.
Can I use steel-cut oats?
Not as-is. They won’t soften enough in this quick cook. Use rolled or quick oats.
If steel-cut is your only option, grind them into a coarse flour first.
Final Thoughts
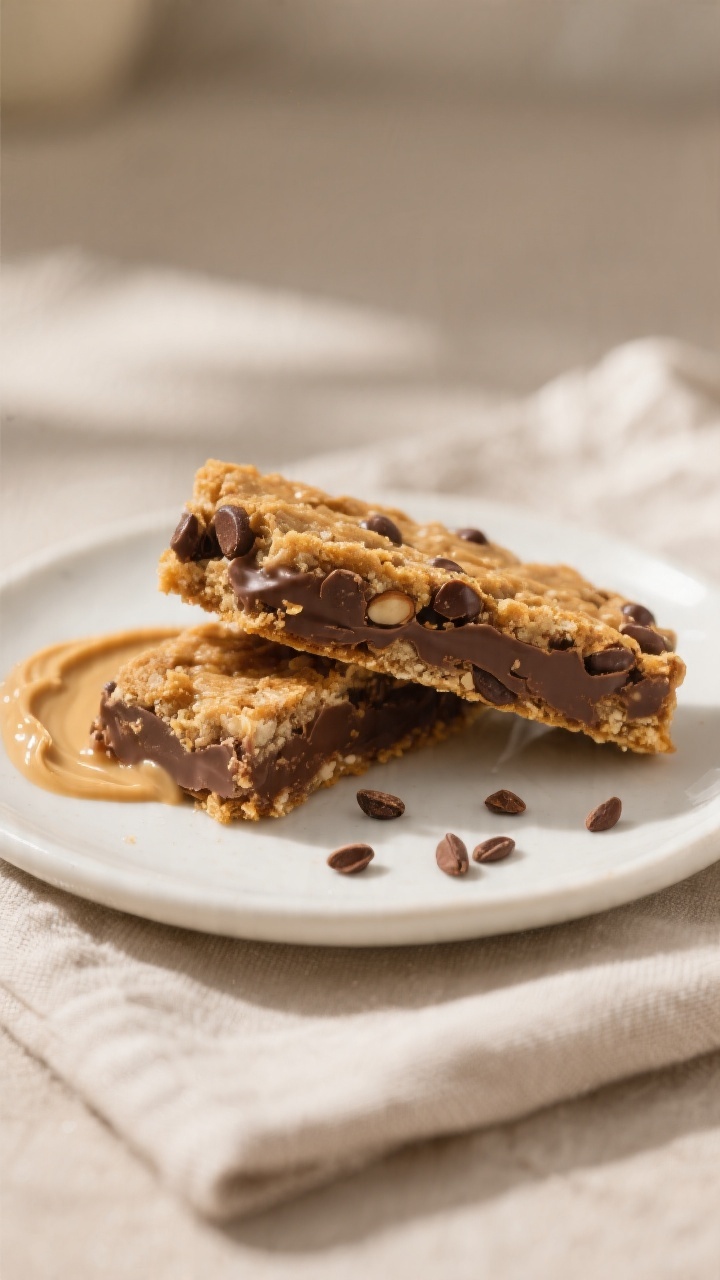
Air Fryer Protein Bars are a smart, fast way to level up your snack game without spending a fortune on store-bought options. With a few pantry staples and 15 minutes, you’ll have chewy, satisfying bars you can actually look forward to eating. Keep the base recipe handy, then tweak the flavors to match your mood.
Once you find your favorite combo, these will be a weekly staple you won’t want to skip.
Air Fryer Protein Bars – Simple, Chewy, and Ready Fast
Ingredients
- 1 cup rolled oats (quick oats work too)
- 1/2 cup vanilla or chocolate protein powder (whey, pea, or your favorite)
- 1/2 cup natural nut butter (peanut, almond, or cashew)
- 1/3 cup honey or maple syrup
- 1/4 cup milk of choice (dairy or non-dairy), plus more as needed
- 1 large egg (optional for extra binding and protein)
- 1 teaspoon vanilla extract
- 1/2 teaspoon ground cinnamon (optional)
- 1/4 teaspoon fine salt
- 1/4 cup dark chocolate chips or chopped dark chocolate (optional)
- 2 tablespoons chia seeds or flaxseed meal (optional for fiber)
Instructions
- Prep the pan: Line a small, air-fryer-safe pan or dish with parchment.A 6–7 inch square pan or mini loaf pan works well. Lightly spray with oil for easy release.
- Mix dry ingredients: In a bowl, combine oats, protein powder, cinnamon, salt, and optional chia or flax. Stir to distribute evenly.
- Stir wet ingredients: In another bowl, whisk nut butter, honey or maple, milk, vanilla, and egg (if using) until smooth.Warm the nut butter for 10–15 seconds in the microwave if it’s too thick.
- Combine: Pour the wet mixture into the dry and fold until a thick dough forms. If it seems crumbly, add 1–2 tablespoons more milk. If it’s too loose, add a tablespoon of oats.
- Add mix-ins: Fold in chocolate chips or any extras you like.Don’t overmix—just enough to spread them out.
- Press and shape: Transfer the dough to your lined pan. Press into an even layer, about 3/4 to 1 inch thick. Smooth the top with a spatula.
- Preheat the air fryer: Set to 320°F (160°C) for 3 minutes to warm up.
- Cook: Air fry at 320°F (160°C) for 10–12 minutes.Start checking at 9 minutes. The edges should look set and lightly golden, and the center should spring back when pressed.
- Cool completely: Remove the pan and let cool in the pan for 10 minutes, then lift out by the parchment. Cool fully before slicing.This is key for clean cuts and the right texture.
- Slice and serve: Cut into 6–8 bars. Enjoy right away or store for later.
Related reading: air fryer durian chips, air fryer freeze-dried strawberry, and dehydrating without a dehydrator.
Printable Recipe Card
Want just the essential recipe details without scrolling through the article? Get our printable recipe card with just the ingredients and instructions.