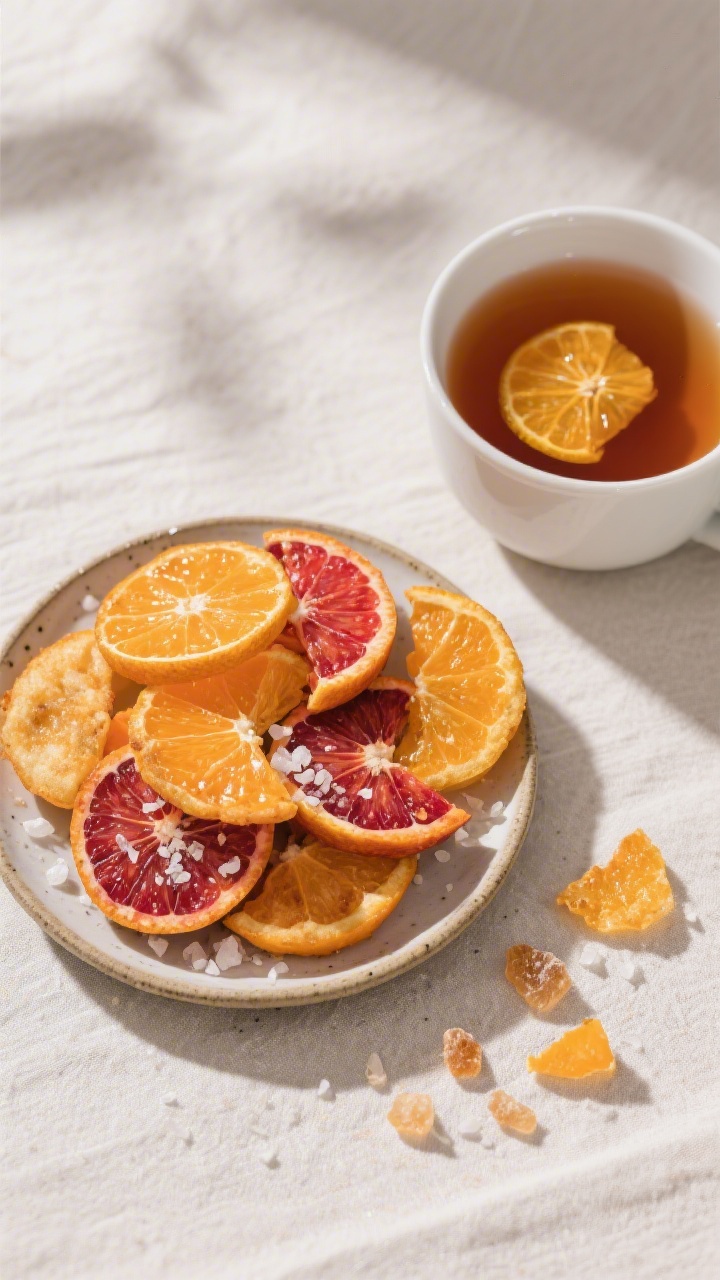
If you’ve ever wanted a snack that feels special but takes almost no effort, air fryer orange slices are it. They’re lightly caramelized, a little chewy, and full of bright citrus flavor. You can eat them as a snack, float them in tea, use them as a cocktail garnish, or crumble them over yogurt and granola.
The air fryer makes them fast and consistent, and you don’t need much more than oranges and a touch of sweetness. Once you try them, you’ll find yourself making a batch whenever there’s a couple of oranges on the counter.
In this article:
What Makes This Special
This recipe turns simple oranges into something snack-worthy with very little work. The air fryer gently dries and caramelizes the slices, so they become concentrated in flavor and slightly crisp at the edges.
You can keep them plain, or add a hint of spice or sweetness to match your mood. They look beautiful, store well, and work for everything from snacking to decorating cakes. It’s a quick, low-mess method that feels fancy without trying.
Shopping List
- Oranges (navel, Cara Cara, blood oranges, or mandarins)
- Honey or maple syrup (optional, for a light glaze)
- Granulated sugar or turbinado sugar (optional, for extra crunch)
- Ground cinnamon or cardamom (optional, for warm spice)
- Sea salt (a tiny pinch to enhance flavor, optional)
- Nonstick spray or a little neutral oil (optional, to prevent sticking)
How to Make It
- Choose your oranges. Pick firm, fresh oranges with smooth skin.
Thin-skinned varieties like mandarins will crisp faster; thicker-skinned navel or Cara Cara oranges hold their shape well.
- Wash and dry. Rinse the oranges and dry them thoroughly. You’ll be eating the peel, so clean them well.
- Slice evenly. Cut crosswise into 1/8 to 1/4-inch rounds. Thinner slices = crisper chips; thicker slices stay a bit chewy.
- Optional: Pat dry. Blot both sides with a paper towel to remove excess juice. This helps them crisp instead of steam.
- Preheat the air fryer. Set to 300°F (150°C).
Preheating gives you more even results.
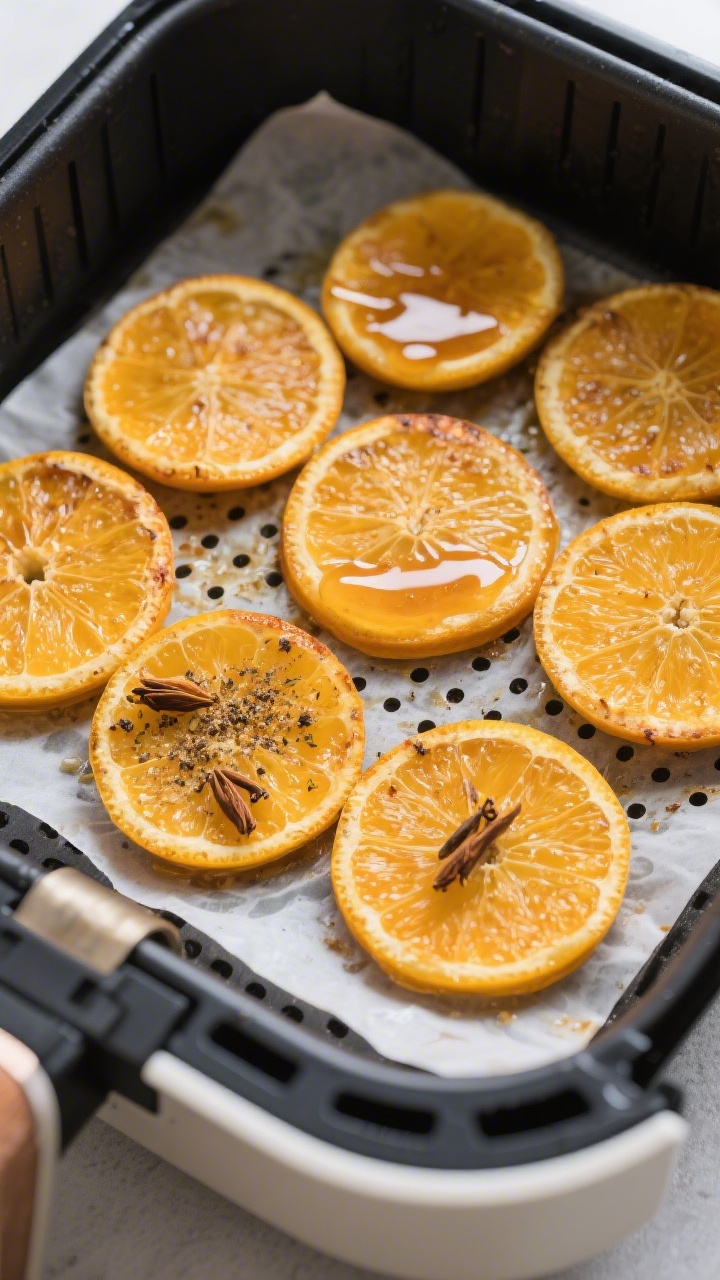
- Lightly oil the basket. A quick mist of nonstick spray or a rub of neutral oil helps prevent sticking. If your air fryer has a tray, line it with perforated parchment designed for air fryers.
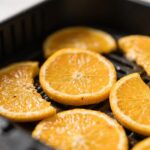
- Arrange the slices. Lay the orange slices in a single layer without overlap. Work in batches if needed.
- Flavor options. For a plain version, skip this step.
For glazed: brush lightly with honey or maple syrup. For spiced: dust with a pinch of cinnamon or cardamom. For sparkle: sprinkle a bit of turbinado sugar on top.
- Air fry. Cook at 300°F (150°C) for 14–22 minutes, flipping once halfway.
Timing varies by thickness and air fryer model. Look for dry, translucent centers and lightly browned edges.
- Final crisp. If they’re close but not quite there, reduce heat to 270°F (130°C) and cook 3–5 more minutes to avoid burning the sugars.
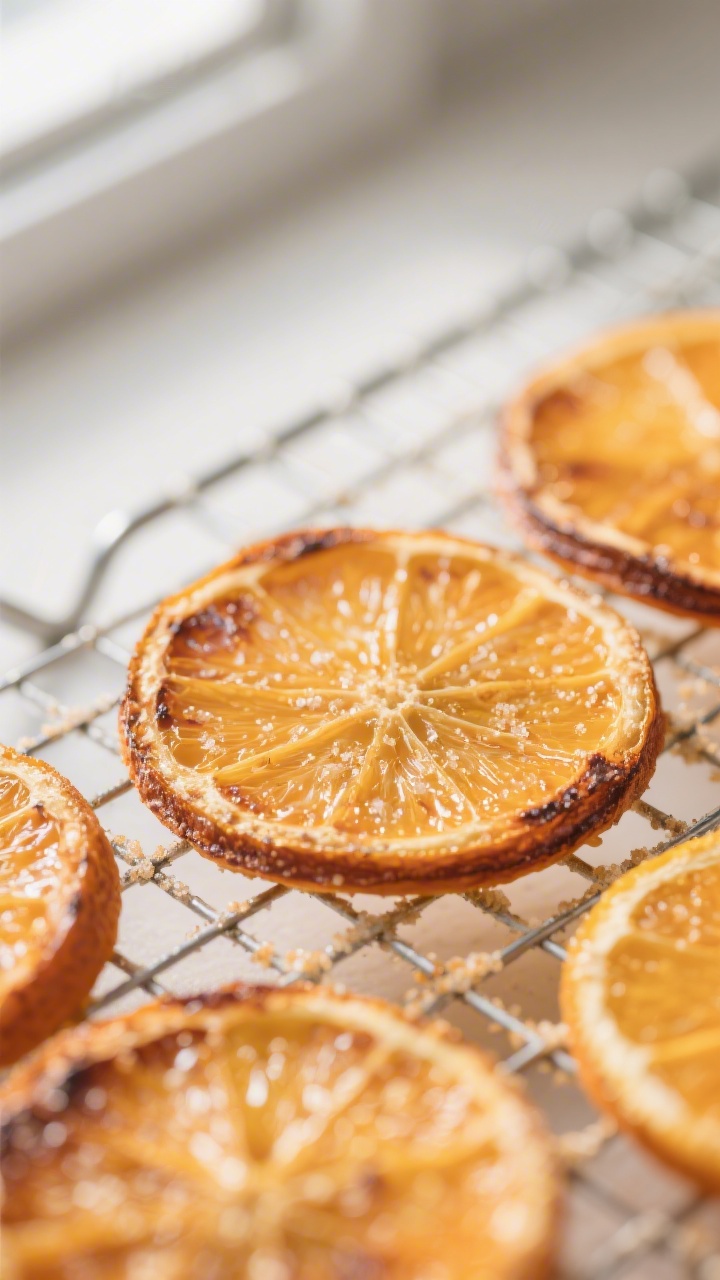
- Cool completely. Remove slices and cool on a wire rack. They will firm up as they cool.
If any are still tacky, return them to the air fryer for a few more minutes.
- Serve or store. Enjoy right away, or keep for later following the storage tips below.
How to Store
- Room temperature: Store fully cooled slices in an airtight container with a small piece of parchment between layers. They’ll keep for up to 1 week.
- Extended storage: Add a food-safe desiccant packet to the container, or include a teaspoon of uncooked rice in a separate little pouch to absorb moisture. This helps maintain crispness.
- Re-crisp: If they soften, pop them back in the air fryer at 270°F (130°C) for 3–4 minutes, then cool on a rack.
- Freezer: Not ideal for crisp slices.
Freezing introduces moisture and can make them chewy after thawing.
Benefits of This Recipe
- Fast and low-effort: Much quicker than oven-drying or dehydrating, with easy cleanup.
- Naturally sweet: Oranges caramelize on their own, so you can skip added sugar.
- Versatile uses: Snack, garnish, cocktail topper, tea infuser, or dessert decoration.
- Customizable: Works with spices, sweeteners, or even a pinch of flaky salt for contrast.
- Kid-friendly: Fun to make and eat, with a bright, familiar flavor.
What Not to Do
- Don’t overcrowd the basket. Overlapping slices steam and turn soggy.
- Don’t skip drying. Excess surface juice slows down crisping.
- Don’t crank the heat too high. Temperatures above 320°F (160°C) can burn sugars before the centers dry.
- Don’t walk away at the end. The last few minutes determine perfect doneness vs. scorched edges.
- Don’t store warm. Any residual warmth traps steam and softens the slices.
Alternatives
- Different citrus: Try lemons, limes, or grapefruits. Lemons get tart and candy-like; blood oranges look jewel-toned.
- Savory twist: Dust with smoked paprika and a tiny pinch of sea salt for a cocktail garnish with bite.
- Herbal: Add a whisper of ground ginger or crushed fennel seed for a fragrant variation.
- Chocolate-dipped: Once cooled, dip half of each slice in melted dark chocolate and let set. The bitter chocolate pairs beautifully with citrus.
- Sugar-free: Skip all sweeteners and spices for a pure, clean orange flavor.
- Granola topper: Crumble the slices into shards and mix with nuts and seeds for a crunchy citrus boost.
FAQ
How thin should I slice the oranges?
Aim for 1/8 to 1/4 inch.
Thinner slices become crisper and more chip-like. Thicker slices stay chewier and a bit juicier. Try a mix and see what you like.
Can I use the peel?
Yes, the peel is part of the charm.
It becomes aromatic and slightly bitter in a good way. If you prefer less bitterness, use thinner slices or choose sweeter varieties like Cara Cara oranges.
Why are my slices burning at the edges?
The heat may be too high or the basket too close to the heating element. Lower to 270–300°F, flip halfway, and watch closely in the last 3–5 minutes.
A light brush of honey can also protect the edges and promote even browning.
How do I know when they’re done?
Look for translucent centers with little to no visible moisture and light browning on the edges. They should feel dry when touched with tongs. They’ll firm up further as they cool on a rack.
Can I make these without any added sugar?
Absolutely.
Oranges have plenty of natural sweetness. If you want extra gloss or caramelization, a tiny drizzle of honey or maple helps, but it’s optional.
What’s the best orange to use?
Navel and Cara Cara oranges hold their shape and taste sweet. Blood oranges bring a stunning color and a slightly berry-like note.
Mandarins crisp quickly and are great for snacking.
Can I use an oven instead of an air fryer?
Yes. Bake on a parchment-lined sheet at 225–250°F (110–120°C) for 60–90 minutes, flipping once, until dry and lightly browned. Keep an eye on them near the end.
Do I need to peel the oranges first?
No.
Keep the peel for structure, flavor, and looks. If you want only the flesh, segment the oranges and reduce the cook time, but they’ll be more delicate and less crisp.
How can I use these beyond snacking?
Try them as a garnish on cakes, cheeseboards, or cocktails. Float a slice in hot tea or mulled wine, crumble over ice cream, or mix shards into trail mix.
Why are my slices still soft after cooling?
They likely needed a few more minutes to dry or were sliced too thick.
Return them to the air fryer at 270°F for 3–5 minutes and cool again on a rack.
In Conclusion
Air fryer orange slices are simple, sunny, and surprisingly useful. With just a few oranges and a bit of time, you get a snack that feels special and works in countless ways. Keep them plain for everyday nibbling or dress them up with warm spices or a hint of sugar.
Make a small batch to test your favorite thickness and timing, then scale up once you’ve got the texture just right. This is one of those easy recipes you’ll keep coming back to whenever you want something bright, crisp, and homemade.
Air Fryer Orange Slices – Bright, Crispy, and Naturally Sweet
Ingredients
- Oranges (navel, Cara Cara, blood oranges, or mandarins)
- Honey or maple syrup (optional, for a light glaze)
- Granulated sugar or turbinado sugar (optional, for extra crunch)
- Ground cinnamon or cardamom (optional, for warm spice)
- Sea salt (a tiny pinch to enhance flavor, optional)
- Nonstick spray or a little neutral oil (optional, to prevent sticking)
Instructions
- Choose your oranges. Pick firm, fresh oranges with smooth skin.Thin-skinned varieties like mandarins will crisp faster; thicker-skinned navel or Cara Cara oranges hold their shape well.
- Wash and dry. Rinse the oranges and dry them thoroughly. You’ll be eating the peel, so clean them well.
- Slice evenly. Cut crosswise into 1/8 to 1/4-inch rounds. Thinner slices = crisper chips; thicker slices stay a bit chewy.
- Optional: Pat dry. Blot both sides with a paper towel to remove excess juice. This helps them crisp instead of steam.
- Preheat the air fryer. Set to 300°F (150°C).Preheating gives you more even results.
- Lightly oil the basket. A quick mist of nonstick spray or a rub of neutral oil helps prevent sticking. If your air fryer has a tray, line it with perforated parchment designed for air fryers.
- Arrange the slices. Lay the orange slices in a single layer without overlap. Work in batches if needed.
- Flavor options. For a plain version, skip this step.For glazed: brush lightly with honey or maple syrup. For spiced: dust with a pinch of cinnamon or cardamom. For sparkle: sprinkle a bit of turbinado sugar on top.
- Air fry. Cook at 300°F (150°C) for 14–22 minutes, flipping once halfway.Timing varies by thickness and air fryer model. Look for dry, translucent centers and lightly browned edges.
- Final crisp. If they’re close but not quite there, reduce heat to 270°F (130°C) and cook 3–5 more minutes to avoid burning the sugars.
- Cool completely. Remove slices and cool on a wire rack. They will firm up as they cool.If any are still tacky, return them to the air fryer for a few more minutes.
- Serve or store. Enjoy right away, or keep for later following the storage tips below.
Printable Recipe Card
Want just the essential recipe details without scrolling through the article? Get our printable recipe card with just the ingredients and instructions.