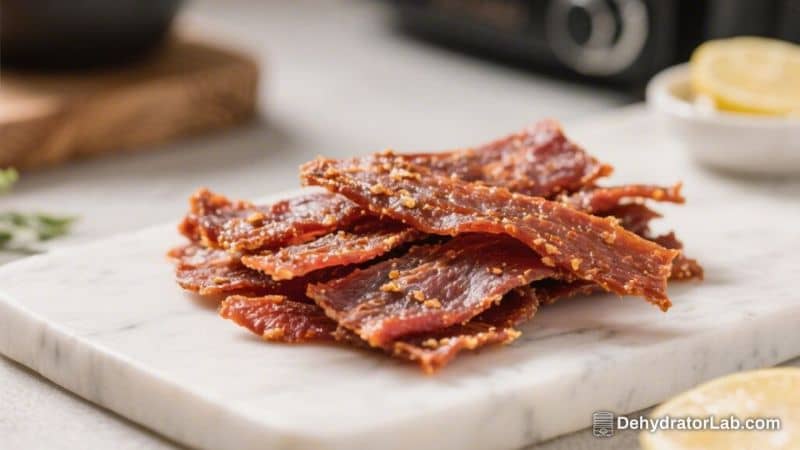
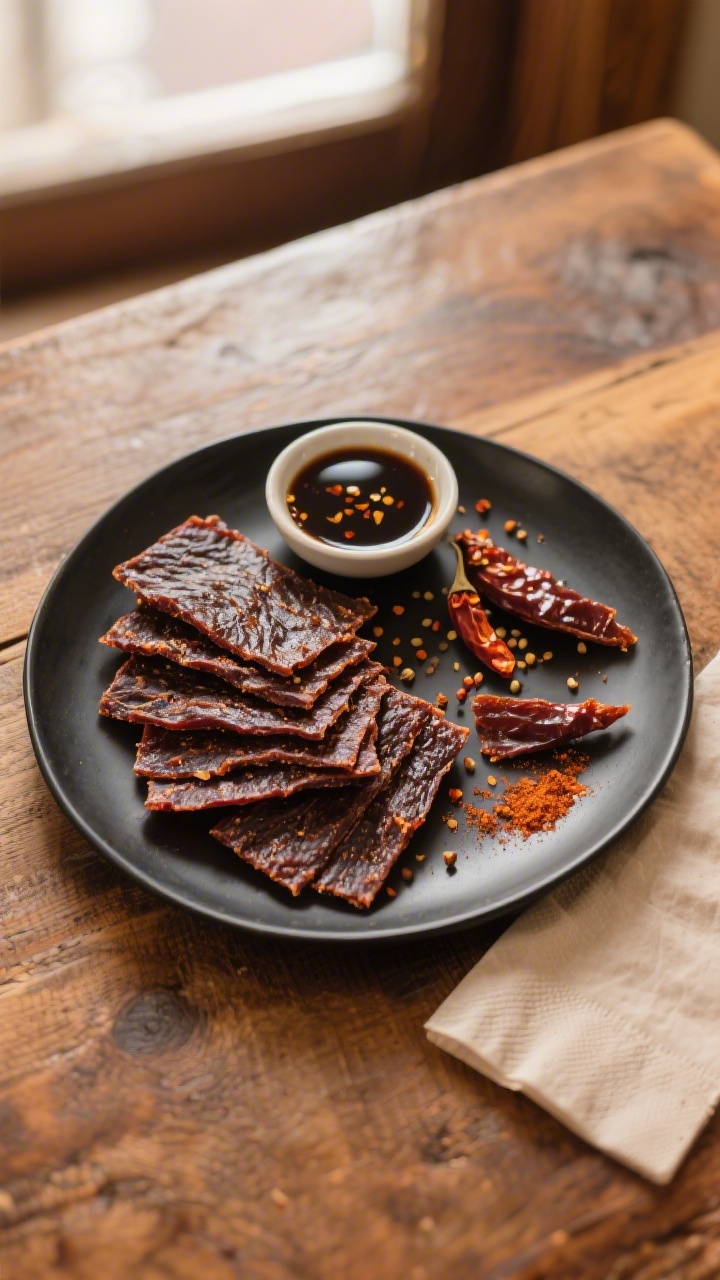
If you love jerky but want to cut back on salt, this air fryer low sodium jerky hits the spot. It’s chewy, savory, and full of flavor—without the heavy sodium you find in most store-bought versions. You don’t need special tools or hours of babysitting either.
Your air fryer handles the drying, and a simple marinade does the rest. It’s perfect for meal prep, hiking snacks, or keeping in your bag for a quick protein boost.
In this article:
What Makes This Special
This recipe trims the salt but not the taste. Traditional jerky is often loaded with soy sauce and cure mixes, which can push sodium levels through the roof.
Here, we lean on bold spices, acid, a touch of sweetness, and umami to deliver satisfying depth without relying on salt. The air fryer speeds up the drying time and gives you consistent results in a home kitchen.
It’s also budget-friendly and customizable. You can use lean cuts of beef, turkey, or even mushrooms for a plant-based option.
Plus, everything is pantry-driven and easy to adjust to your taste.
What You’ll Need
- 1.5 to 2 pounds lean beef (top round, eye of round, or sirloin tip), trimmed of fat
- 2 tablespoons low-sodium tamari or coconut aminos (for umami with less salt)
- 2 tablespoons apple cider vinegar (or rice vinegar)
- 1 tablespoon Worcestershire sauce (look for low-sodium if available)
- 1 tablespoon maple syrup or honey (balances the acidity and heat)
- 1 tablespoon avocado or olive oil
- 1 teaspoon smoked paprika
- 1 teaspoon onion powder
- 1 teaspoon garlic powder
- 1/2 teaspoon freshly ground black pepper
- 1/2 teaspoon chipotle powder or chili powder (optional for heat)
- 1/4 teaspoon ground cumin (optional, adds warmth)
- Nonstick spray (for the air fryer basket or racks)
- Zip-top bag or shallow dish (for marinating)
- Paper towels (to blot moisture before drying)
How to Make It
- Partially freeze the meat for clean slicing. Place the beef in the freezer for 60–90 minutes until firm but not solid. This helps you get thin, even slices.
- Slice thin and consistent. Cut against the grain for tender jerky, about 1/8 to 1/4 inch thick. Thinner slices dry faster; just keep them uniform.
- Mix the low-sodium marinade. In a bowl, whisk tamari or coconut aminos, vinegar, Worcestershire, maple syrup, oil, smoked paprika, onion powder, garlic powder, pepper, and optional spices.
- Marinate thoroughly. Add beef to the bag or dish, coat well, and refrigerate for at least 6 hours, ideally overnight.
Longer time equals deeper flavor without adding salt.
- Pat dry for better texture. Remove slices and blot with paper towels. Less surface moisture helps the jerky dry evenly.
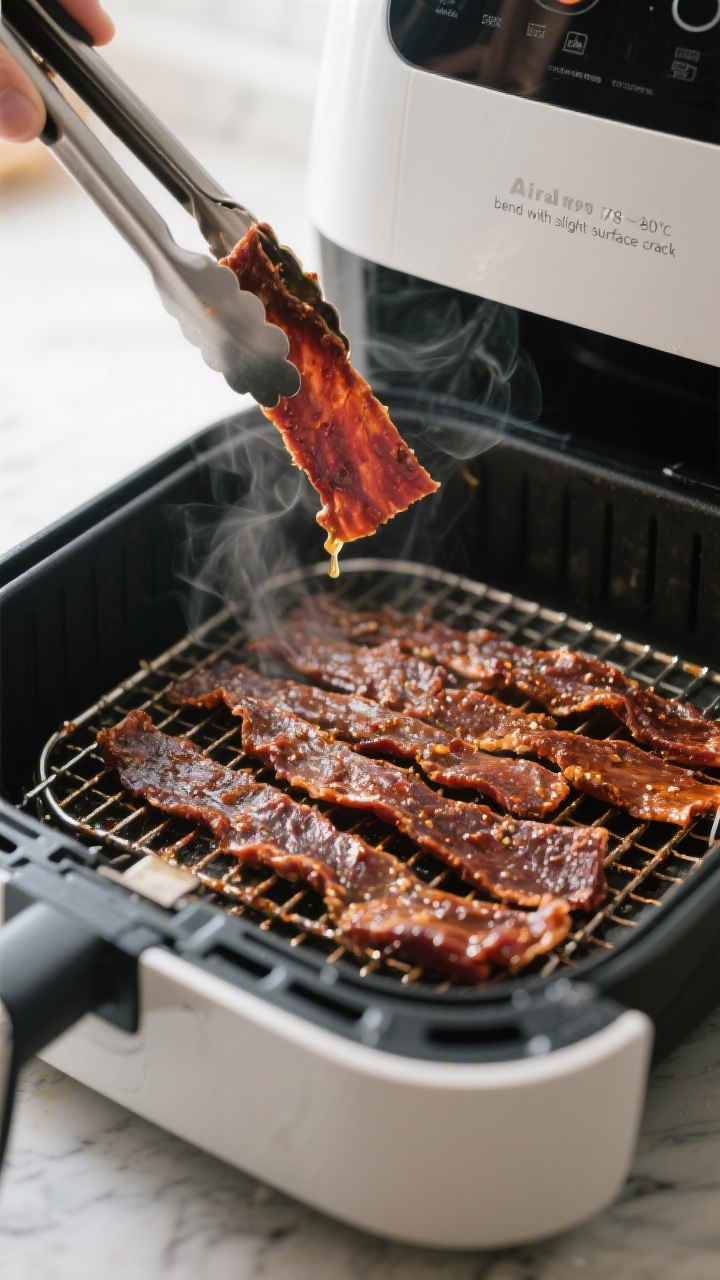
- Preheat your air fryer to 175–180°F (80–82°C). If your model doesn’t go that low, use the lowest setting and check often. Lightly spray the basket or racks.
- Arrange in a single layer. Lay slices flat without overlapping.
Use racks if you have them to maximize space and airflow.
- Air fry low and slow. Dry for 2.5 to 4 hours, flipping halfway. Timing varies by thickness, air fryer model, and humidity. Rotate racks if needed.
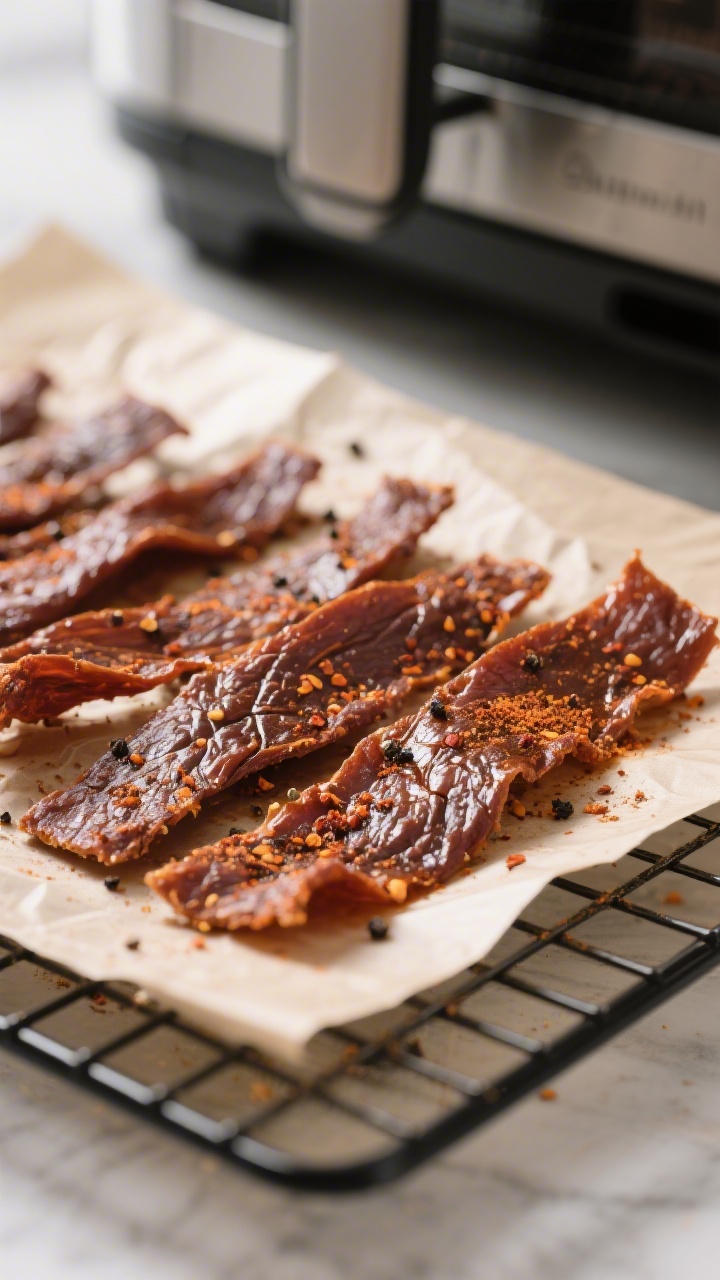
- Check for doneness. The jerky should be dry to the touch, darkened, and flexible.
Bend a piece; it should crack slightly along the surface but not snap cleanly.
- Cool completely. Let the jerky rest on a rack for 30–60 minutes. Cooling sets the texture and prevents condensation in storage.
Storage Instructions
- Short-term: Store in an airtight container or zip-top bag at room temperature for up to 3 days.
- Refrigeration: Keeps well for 2 weeks. Add a paper towel to the container to catch moisture, and change it if it becomes damp.
- Freezing: For longer storage (up to 3 months), freeze in airtight bags.
Thaw in the fridge for best texture.
- Moisture control: If you have food-safe desiccant packs, toss one into the storage container to help keep things dry.
Benefits of This Recipe
- Lower sodium, great flavor: You control the salt by using low-sodium ingredients and bold spices.
- High protein, portable snack: Perfect for workouts, road trips, and busy days.
- Faster than an oven or dehydrator: The air fryer speeds up drying while keeping good airflow.
- Customizable: Adjust heat, sweetness, and spices to your taste without affecting the method.
- Budget-friendly: Making jerky at home is often cheaper than premium store-bought packs.
Pitfalls to Watch Out For
- Too thick or uneven slices: They dry unevenly. Partially freezing the meat helps you slice consistently.
- Overcrowding the basket: Overlapping pieces steam instead of dry. Use racks or cook in batches.
- Skipping the pat-dry step: Extra moisture delays drying and can lead to a leathery exterior with a soft center.
- Temperature too high: Hotter settings can cook the meat rather than dehydrate it, causing tough or brittle jerky.
- Under-drying: Jerky that’s still damp won’t store well.
Test a piece by bending and checking for that slight crack.
Recipe Variations
- Sweet Heat: Add 1 extra tablespoon of maple syrup and 1/2 teaspoon cayenne or red pepper flakes.
- Smoky BBQ: Use 1 teaspoon smoked paprika plus 1/2 teaspoon ground mustard and 1 teaspoon low-sodium tomato paste in the marinade.
- Ginger Teriyaki-Inspired: Add 1 teaspoon grated fresh ginger and 1/2 teaspoon toasted sesame oil. Use coconut aminos for lower sodium.
- Herb & Pepper: Add 1 teaspoon cracked black pepper and 1 teaspoon dried thyme or rosemary.
- Turkey or Chicken: Swap beef for thinly sliced turkey or chicken breast. Drying time may be slightly shorter—watch closely.
- Mushroom Jerky (Vegan): Use thick-sliced portobellos.
Marinate gently and dry at the same temp; timing will be shorter.
How Do I Slice Against the Grain?
Look for the muscle fibers running in one direction and cut perpendicular to those lines. Cutting against the grain shortens the fibers and makes the jerky easier to chew. If you prefer a chewier bite, slice with the grain instead.
Can I Make This Without Any Soy?
Yes.
Use coconut aminos for a naturally lower-sodium, soy-free option. You can also add a dash of mushroom powder for extra umami without salt.
What If My Air Fryer Doesn’t Go Below 200°F (93°C)?
Use the lowest setting and crack the air fryer door slightly with a heat-safe utensil to reduce heat buildup, if your model allows. Check doneness early and often.
Alternatively, set your oven to its lowest temperature and prop the door open an inch.
How Do I Know It’s Dry Enough?
When bent, a finished piece should flex and show small surface cracks but not snap. If it snaps cleanly, it’s too dry; if it doesn’t crack at all and feels moist, give it more time. Always cool and re-check texture before storing.
Is Cure or Nitrates Necessary?
For short-term storage and refrigeration, cure isn’t required.
If you plan to store jerky at room temperature for longer periods, traditional curing methods offer extra safety. This low-sodium version is best kept refrigerated or frozen.
How Much Sodium Is in This Recipe?
It depends on the exact brands and amounts used. Using low-sodium tamari or coconut aminos and low-sodium Worcestershire keeps it significantly below typical jerky levels.
For precise numbers, plug your ingredients into a nutrition calculator.
Can I Skip the Sweetener?
Yes. The maple or honey balances acidity and heat, and it helps browning, but it’s optional. If you skip it, consider increasing the vinegar slightly or adding a pinch more spices for roundness.
Final Thoughts
Air fryer low sodium jerky gives you control over flavor, texture, and nutrition—all with simple ingredients and a hands-off process.
With a good marinade, careful slicing, and a low, steady dry, you’ll get a snack that tastes bold without relying on salt. Keep a batch on hand for busy days, and tweak the spices until it’s exactly how you like it. Once you make your own, the store-bought kind won’t stand a chance.
Air Fryer Low Sodium Jerky – Easy, Flavorful, and Better for You
Ingredients
- 1.5 to 2 pounds lean beef (top round, eye of round, or sirloin tip), trimmed of fat
- 2 tablespoons low-sodium tamari or coconut aminos (for umami with less salt)
- 2 tablespoons apple cider vinegar (or rice vinegar)
- 1 tablespoon Worcestershire sauce (look for low-sodium if available)
- 1 tablespoon maple syrup or honey (balances the acidity and heat)
- 1 tablespoon avocado or olive oil
- 1 teaspoon smoked paprika
- 1 teaspoon onion powder
- 1 teaspoon garlic powder
- 1/2 teaspoon freshly ground black pepper
- 1/2 teaspoon chipotle powder or chili powder (optional for heat)
- 1/4 teaspoon ground cumin (optional, adds warmth)
- Nonstick spray (for the air fryer basket or racks)
- Zip-top bag or shallow dish (for marinating)
- Paper towels (to blot moisture before drying)
Instructions
- Partially freeze the meat for clean slicing. Place the beef in the freezer for 60–90 minutes until firm but not solid. This helps you get thin, even slices.
- Slice thin and consistent. Cut against the grain for tender jerky, about 1/8 to 1/4 inch thick. Thinner slices dry faster; just keep them uniform.
- Mix the low-sodium marinade. In a bowl, whisk tamari or coconut aminos, vinegar, Worcestershire, maple syrup, oil, smoked paprika, onion powder, garlic powder, pepper, and optional spices.
- Marinate thoroughly. Add beef to the bag or dish, coat well, and refrigerate for at least 6 hours, ideally overnight.Longer time equals deeper flavor without adding salt.
- Pat dry for better texture. Remove slices and blot with paper towels. Less surface moisture helps the jerky dry evenly.
- Preheat your air fryer to 175–180°F (80–82°C). If your model doesn’t go that low, use the lowest setting and check often. Lightly spray the basket or racks.
- Arrange in a single layer. Lay slices flat without overlapping.Use racks if you have them to maximize space and airflow.
- Air fry low and slow. Dry for 2.5 to 4 hours, flipping halfway. Timing varies by thickness, air fryer model, and humidity. Rotate racks if needed.
- Check for doneness. The jerky should be dry to the touch, darkened, and flexible.Bend a piece; it should crack slightly along the surface but not snap cleanly.
- Cool completely. Let the jerky rest on a rack for 30–60 minutes. Cooling sets the texture and prevents condensation in storage.
Printable Recipe Card
Want just the essential recipe details without scrolling through the article? Get our printable recipe card with just the ingredients and instructions.