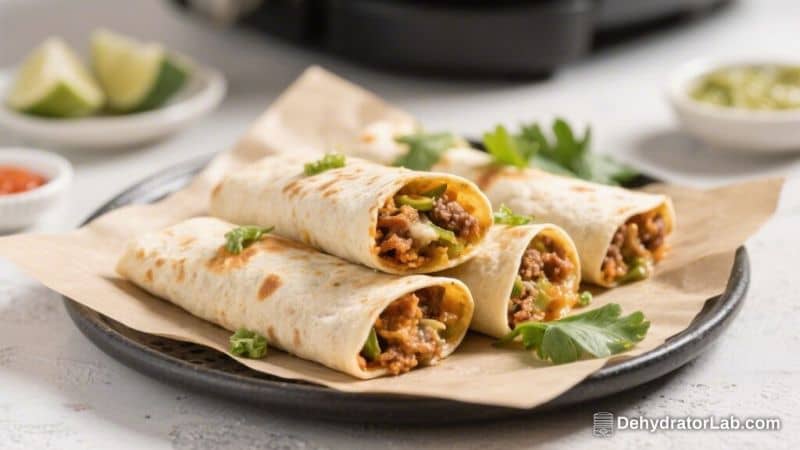
No need to wait for takeout when you can make golden, crispy chimichangas right from your freezer. The air fryer turns frozen chimichangas into crunchy, satisfying handheld meals in minutes. You’ll get a crisp shell, hot filling, and a dinner that feels way more special than its effort level.
Add your favorite toppings and you’ve got a weeknight win or a fast game-day bite. This method is simple, repeatable, and tastes great every single time.
In this article:
Why This Recipe Works
Frozen chimichangas are already cooked; they just need to heat through and crisp up. The air fryer circulates hot air, which creates that crunchy exterior without deep-frying.
There’s no thawing required, and the results are more consistent than the oven or microwave. Plus, you can make a small batch for one or enough for a crowd, with minimal cleanup.
Shopping List
- Frozen chimichangas (any brand or filling you like: beef, chicken, bean and cheese, etc.)
- Cooking oil spray (avocado or olive oil spray preferred)
- Optional toppings:
- Salsa or pico de gallo
- Sour cream or Greek yogurt
- Guacamole or sliced avocado
- Shredded lettuce
- Diced tomatoes, onions, cilantro
- Hot sauce
- Shredded cheese or queso
- Lime wedges
- Optional sides:
- Mexican rice
- Refried or black beans
- Corn salad or simple slaw
Instructions
- Preheat the air fryer to 375°F (190°C) for 3–5 minutes. A hot basket helps crisp the tortilla.
- Prep the chimichangas.
Remove any outer plastic and paper. Lightly spray all sides with cooking oil for extra crunch and color.
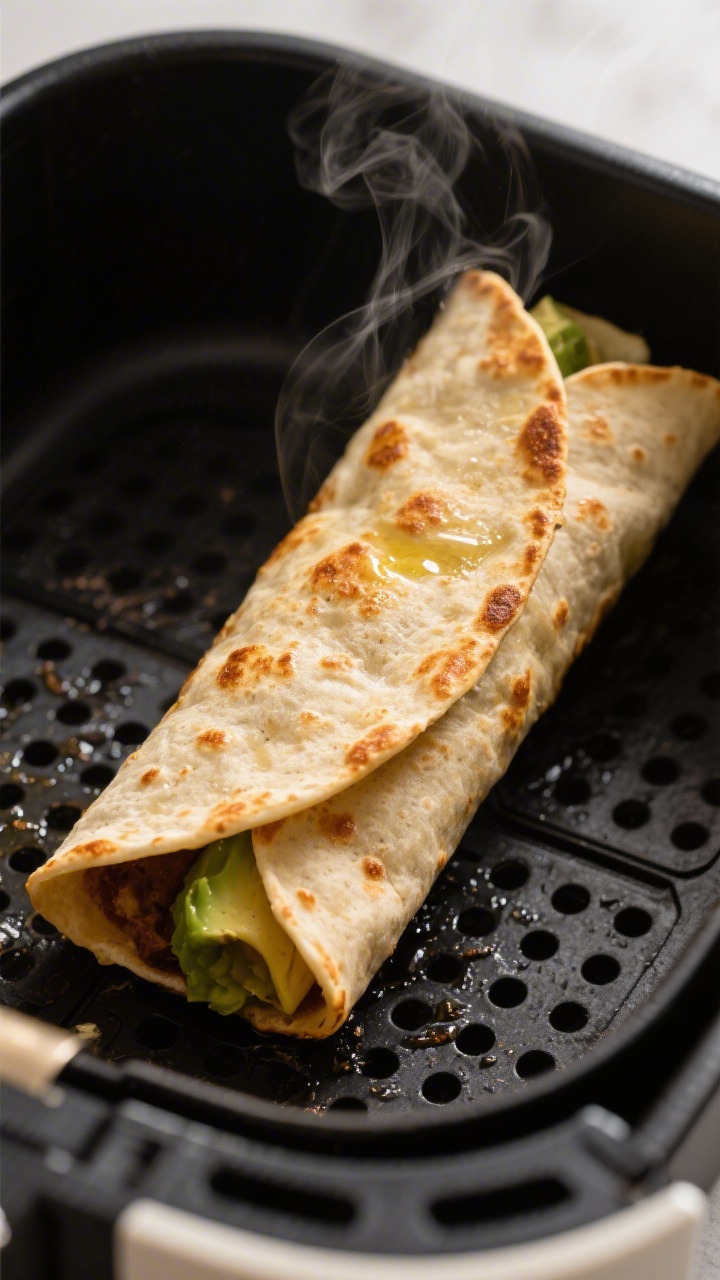
- Arrange in the basket. Place chimichangas seam-side down in a single layer with space between each one.
Don’t stack.
- Air fry for 10 minutes at 375°F (190°C).
- Flip and continue for another 5–8 minutes, until the exterior is deep golden and the filling is hot. Thicker or larger chimichangas may need up to 20 minutes total.
- Check doneness. Use an instant-read thermometer if you have one: the center should reach at least 165°F (74°C).
If not, add 2–3 more minutes.
- Rest briefly for 2–3 minutes. This helps the filling settle and avoids steam burns.
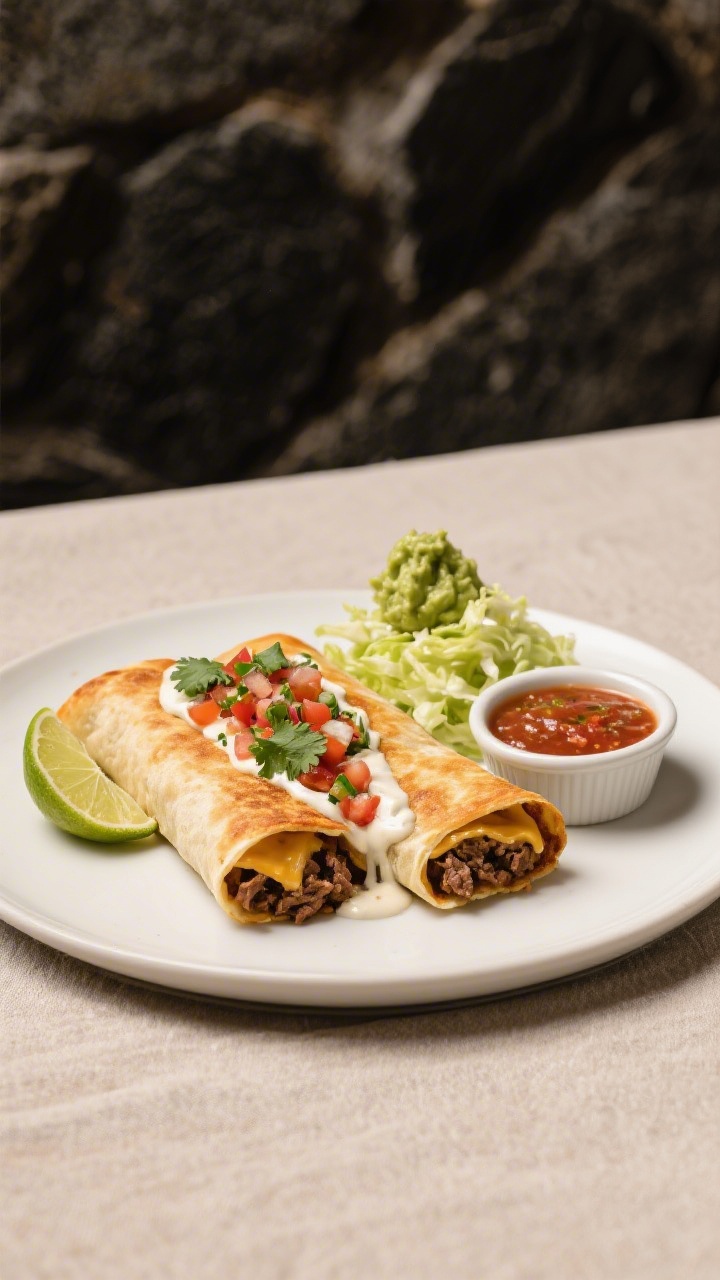
- Serve with your favorite toppings and sides. Add a squeeze of lime and a sprinkle of cilantro for freshness.
How to Store
If you have leftovers, let them cool completely.
Store in an airtight container in the fridge for up to 3 days. Reheat in the air fryer at 350°F (175°C) for 5–7 minutes to re-crisp. For longer storage, freeze leftovers in a zip-top bag for up to 2 months.
Reheat from frozen at 350°F (175°C) for 10–12 minutes, flipping once.
Benefits of This Recipe
- Fast and convenient: From freezer to plate in about 15–20 minutes.
- Consistent crunch: The air fryer delivers that fried texture without deep oil.
- Customizable: Works with beef, chicken, pork, or vegetarian chimichangas.
- Minimal cleanup: One basket, a pair of tongs, and you’re done.
- Great for portion control: Make 1 or make 6—same method, same results.
What Not to Do
- Don’t overcrowd the basket. Crowding traps steam and leads to soggy tortillas.
- Don’t skip the flip. Turning halfway ensures even browning and heating.
- Don’t over-spray.
A light coat of oil helps; too much can make the shell greasy.
- Don’t blast at max heat. Extremely high temps can over-brown the outside before the center is hot.
- Don’t skip resting. Hot fillings can burn and may leak if you bite in too soon.
Recipe Variations
- Cheesy finish: In the last 2 minutes, sprinkle shredded cheese over the top to melt.
- Smothered style: After air frying, ladle warm enchilada sauce or queso over the chimichangas and serve with a fork and knife.
- Breakfast chimichanga: If your store carries frozen breakfast versions, serve with salsa verde, sour cream, and hot sauce.
- Street-style topping: Add chopped onions, cilantro, a squeeze of lime, and a drizzle of crema.
- Spicy upgrade: Brush lightly with chipotle oil before cooking, or finish with pickled jalapeños.
- Crispier shell: Cook 2–3 extra minutes, watching closely to avoid over-browning.
FAQ
Can I cook frozen chimichangas without oil?
Yes.
They’ll still crisp, but a light spray helps the tortillas brown evenly and get extra crunchy. If you skip oil, you may need 1–2 more minutes.
What temperature works best?
For most brands, 375°F (190°C) strikes the right balance between browning and heating through. If your air fryer runs hot, drop to 360°F (182°C) and add a minute or two.
Do I need to thaw them first?
No.
Cook straight from frozen. Thawing can make the tortillas soggy and unevenly heated.
How do I keep the tortilla from splitting?
Place chimichangas seam-side down, avoid overcrowding, and don’t cook at very high heat. Resting after cooking also helps prevent the filling from bursting out when you cut or bite into them.
How long should I cook mini chimichangas?
Mini or snack-size versions usually take 8–12 minutes total.
Start checking at 8 minutes, flipping halfway.
What if the center is still cold?
Lower the temperature to 350°F (175°C) and cook 3–5 more minutes to heat the center without over-browning the outside. Using an instant-read thermometer helps confirm 165°F (74°C).
Can I reheat leftovers in the microwave?
You can, but the tortilla will soften. For best texture, use the air fryer at 350°F (175°C) for 5–7 minutes.
Do I need to line the basket?
Not required.
If you prefer easier cleanup, use perforated parchment made for air fryers. Avoid solid liners that block airflow.
Which brands work best?
Most mainstream brands crisp well in the air fryer. Choose your favorite filling and size; adjust time slightly based on thickness and your specific model.
Can I cook multiple batches?
Yes.
Keep cooked chimichangas warm in a 200°F (93°C) oven while you finish the rest. Don’t stack them, or they’ll steam and soften.
Wrapping Up
Air Fryer Frozen Chimichangas are the easiest path to a crispy, satisfying meal with barely any effort. A light spray of oil, a flip halfway, and a short rest are the keys.
Set out toppings, let everyone build their own plate, and enjoy a fast dinner that tastes like you worked way harder than you did. Keep a box in the freezer and you’re always 20 minutes from crunchy comfort.

Air Fryer Frozen Chimichangas – Crispy, Quick, and Easy
Ingredients
- Frozen chimichangas (any brand or filling you like: beef, chicken, bean and cheese, etc.)
- Cooking oil spray (avocado or olive oil spray preferred)
- Optional toppings: Salsa or pico de gallo
- Sour cream or Greek yogurt
- Guacamole or sliced avocado
- Shredded lettuce
- Diced tomatoes, onions, cilantro
- Hot sauce
- Shredded cheese or queso
- Lime wedges
- Optional sides: Mexican rice
- Refried or black beans
- Corn salad or simple slaw
Instructions
- Preheat the air fryer to 375°F (190°C) for 3–5 minutes. A hot basket helps crisp the tortilla.
- Prep the chimichangas.Remove any outer plastic and paper. Lightly spray all sides with cooking oil for extra crunch and color.
- Arrange in the basket. Place chimichangas seam-side down in a single layer with space between each one.Don’t stack.
- Air fry for 10 minutes at 375°F (190°C).
- Flip and continue for another 5–8 minutes, until the exterior is deep golden and the filling is hot. Thicker or larger chimichangas may need up to 20 minutes total.
- Check doneness. Use an instant-read thermometer if you have one: the center should reach at least 165°F (74°C).If not, add 2–3 more minutes.
- Rest briefly for 2–3 minutes. This helps the filling settle and avoids steam burns.
- Serve with your favorite toppings and sides. Add a squeeze of lime and a sprinkle of cilantro for freshness.
Printable Recipe Card
Want just the essential recipe details without scrolling through the article? Get our printable recipe card with just the ingredients and instructions.