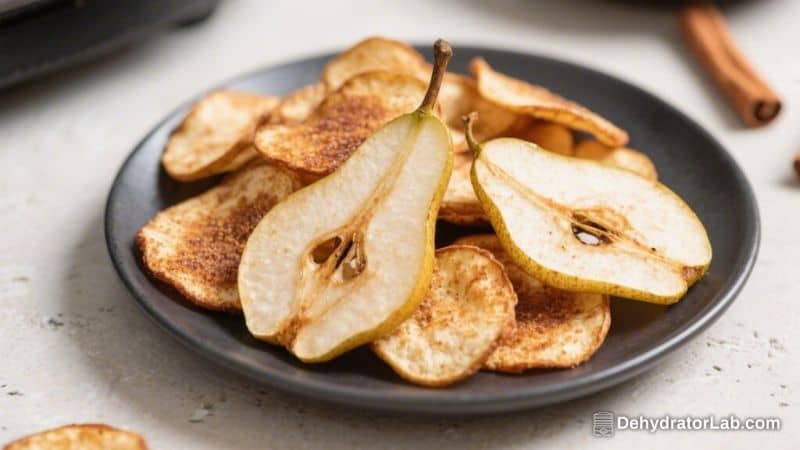
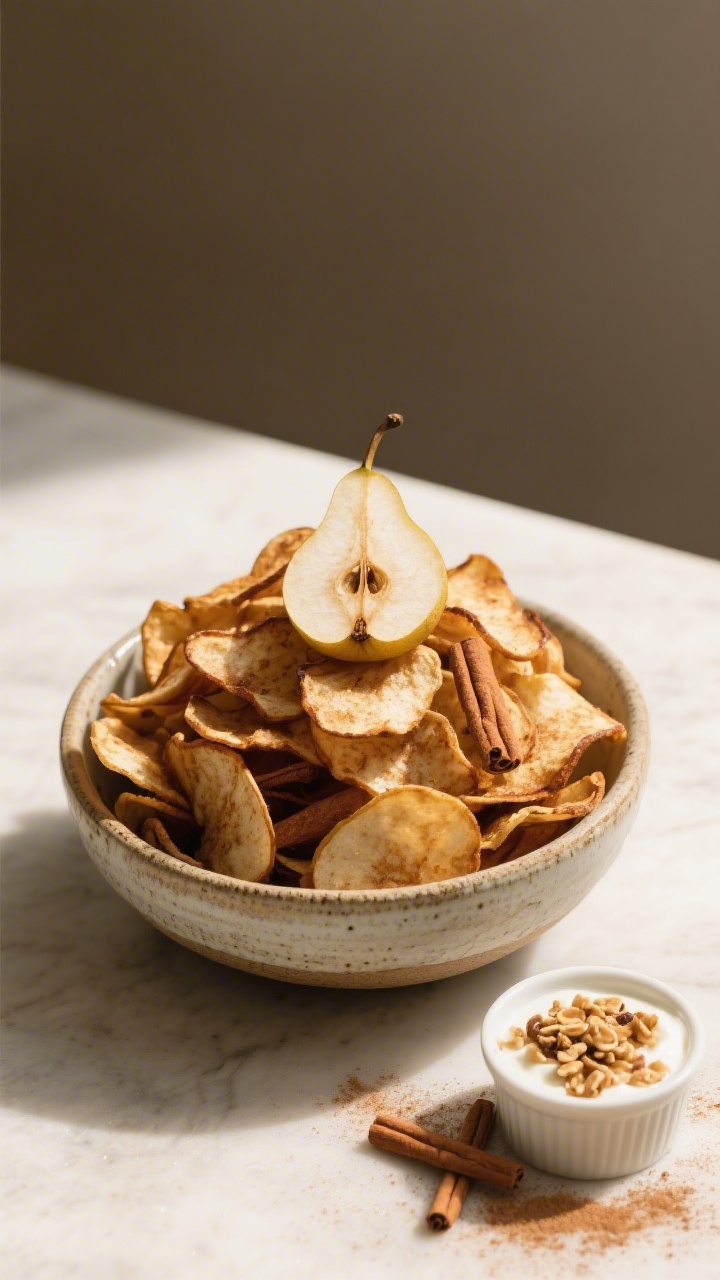
If you love a snack that’s naturally sweet, crunchy, and easy to make, these air fryer cinnamon pear chips are your new go-to. They take just a few minutes of prep and turn simple pears into something you’ll actually crave. No fancy steps, no hard-to-find ingredients—just a handful of pantry basics.
They’re great for snacking, topping yogurt, or packing in lunchboxes. And yes, they make your kitchen smell amazing.
In this article:
What Makes This Recipe So Good
- Fast and simple: Slicing pears thinly is the only real work. The air fryer does the rest in under 20 minutes per batch.
- All-natural sweetness: Pears caramelize as they cook, so you don’t need much sugar—if any.
- Perfectly crisp edges: The air fryer’s hot, circulating air gives you that crunchy texture without deep frying.
- Flexible flavors: Stick with cinnamon, or try pumpkin spice, cardamom, or ginger.
- Kid-approved: They taste like a treat but are made from whole fruit.
Ingredients
- 2–3 ripe but firm pears (Bosc or Anjou work best)
- 1 teaspoon ground cinnamon
- 1–2 teaspoons maple syrup or honey (optional, for extra sweetness)
- 1 teaspoon lemon juice (to help prevent browning)
- Pinch of fine sea salt
- Neutral oil spray (optional, for extra crispness)
How to Make It
- Pick the right pears: Choose pears that are firm to the touch with just a little give.
Overripe pears get mushy and won’t crisp well.
- Wash and prep: Rinse and dry the pears. You can keep the skin on. Core them or slice around the core: either way works.
- Slice thin and even: Use a sharp knife or mandoline.
Aim for 1/8-inch (3 mm) slices. Even thickness = even crisping.
- Season lightly: In a bowl, toss slices with lemon juice, cinnamon, and a pinch of salt. If using, drizzle maple syrup or honey and toss again. Don’t overdo the liquid; a light coating is enough.
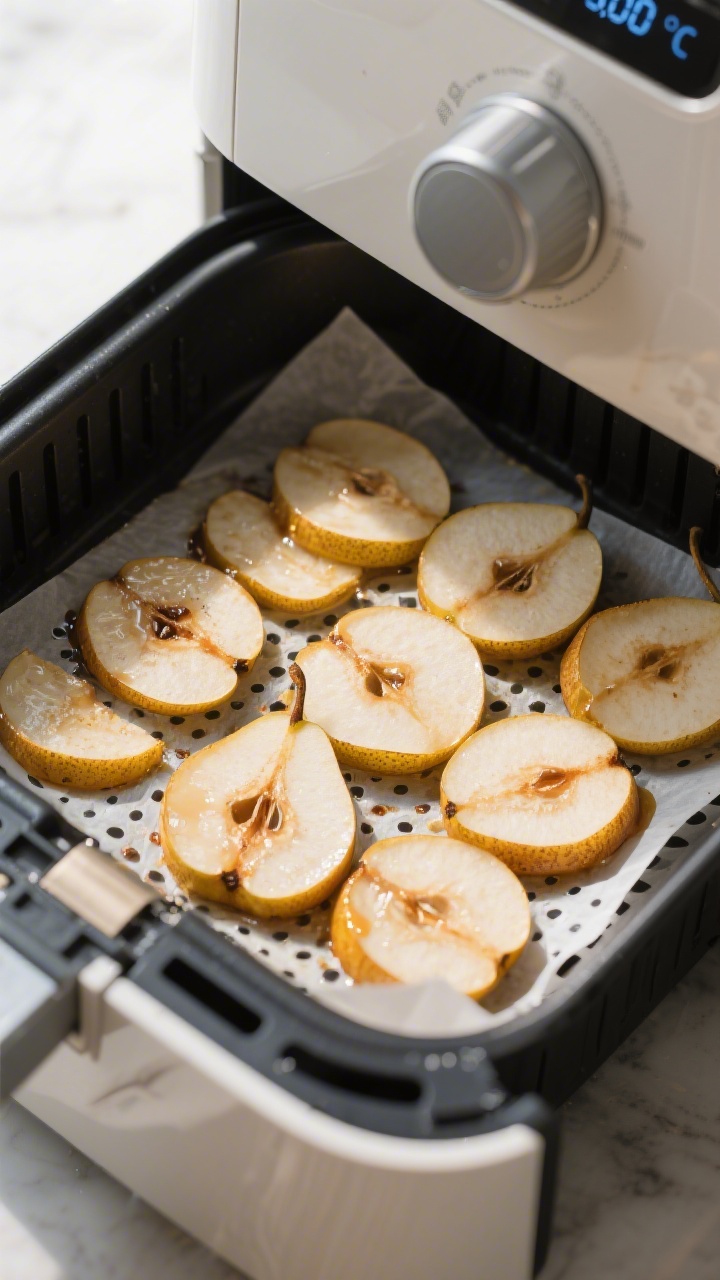
- Preheat the air fryer: Set it to 300°F (150°C).
Lower heat helps the pears dehydrate and crisp without burning.
- Arrange in a single layer: Place slices in the basket or on a perforated parchment sheet. No overlapping—crowding leads to sogginess.
- Air fry the first side: Cook for 8–10 minutes. Keep an eye on them starting around minute 7.
- Flip and finish: Gently flip the slices. Air fry another 6–10 minutes, until the edges are deep golden and the centers look mostly dry.
Time varies by thickness and air fryer model.
- Optional crisp boost: If slices seem soft in the middle, reduce heat to 275°F (135°C) and cook 3–5 more minutes.
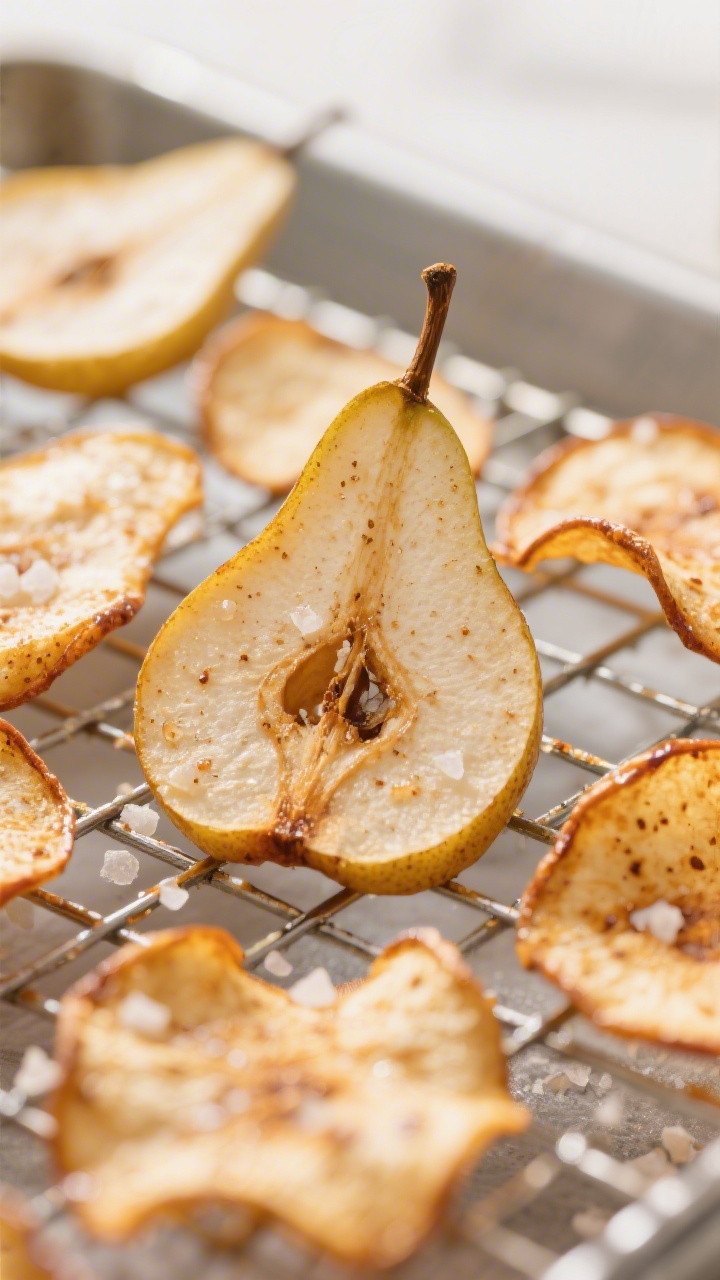
- Cool to crisp: Transfer chips to a wire rack. They’ll firm up as they cool. Wait at least 10 minutes before storing.
Keeping It Fresh
- Cool completely before storing.
Any warmth trapped in the container creates steam and softens the chips.
- Store in an airtight container at room temperature for up to 5 days.
- Add a small packet of food-safe desiccant or a few grains of uncooked rice in a sachet if your kitchen is humid.
- If they lose crispness, pop them back in the air fryer at 275°F (135°C) for 2–3 minutes, then cool again.
Why This is Good for You
- Whole-fruit fiber: Pears are naturally high in fiber, especially with the skin on, which helps with digestion and keeps you full.
- Lower sugar than packaged snacks: You control the sweetness. Most of the flavor comes from the fruit and spice.
- No frying oil needed: You get the crunch without heavy oils or additives.
- Warm spices, simple ingredients: Cinnamon adds flavor without calories, and it pairs perfectly with pears.
What Not to Do
- Don’t slice too thick: Thick slices won’t dry out and can turn leathery instead of crisp.
- Don’t skip space: Overlapping in the basket traps moisture and leads to soggy chips.
- Don’t blast the heat: Higher temperatures may burn the edges before the centers dry.
- Don’t drown them in syrup: Excess liquid causes sticking and slows down crisping.
- Don’t store while warm: Steam softens chips quickly and makes them chewy.
Alternatives
- Spice swaps: Try pumpkin pie spice, chai spice, cardamom, or a pinch of ginger and nutmeg.
- Flavor twists: Add a light dusting of coconut sugar, vanilla powder, or a tiny pinch of cayenne for a sweet-heat vibe.
- Pear varieties: Bosc are firm and hold shape, Anjou are slightly softer and sweeter, and Bartletts work if they’re just barely ripe.
- Dehydrator method: Dry at 135°F (57°C) for 4–6 hours for an even drier, longer-lasting chip.
- Oven method: Bake at 225°F (110°C) on parchment-lined sheets for 1.5–2.5 hours, flipping halfway. Prop the oven door slightly ajar to let moisture escape.
- Add-ons: After crisping, sprinkle with a touch of flaky salt, dip half in melted dark chocolate, or crumble over yogurt and granola.
FAQ
Do I have to peel the pears?
No.
The skin adds color, fiber, and a little extra texture. Just wash the pears well. If you prefer a smoother bite, you can peel them, but it’s not necessary.
How do I keep the slices from sticking?
Lightly spritz the basket or parchment with oil, or use perforated parchment made for air fryers.
Avoid heavy oil; a little goes a long way.
Why aren’t my chips getting crispy?
They’re likely cut too thick, or the basket is crowded. Lower the temperature slightly and extend the time, flipping once or twice. Cooling on a rack helps them crisp up at the end.
Can I make these without any sweetener?
Absolutely.
Many pears are sweet enough on their own. Cinnamon alone gives plenty of flavor. If your pears are less sweet, a small drizzle of maple or honey helps with caramelization.
How thin should I slice the pears?
Aim for about 1/8 inch (3 mm).
A mandoline gives the most consistent results. Thinner slices crisp faster but can burn if you don’t watch them near the end.
Can I double the recipe?
Yes, but cook in batches. Keep finished chips on a rack while the next batch cooks.
Don’t stack them in the basket or they’ll steam.
Are these chips good for kids’ lunches?
They’re great. Pack them in a small airtight container and add a napkin or paper towel to absorb moisture. They hold well for a few hours.
What’s the best way to prevent browning?
A quick toss with lemon juice does the trick.
It’s subtle and won’t overpower the flavor, especially once the cinnamon is added.
Wrapping Up
Air fryer cinnamon pear chips turn a couple of simple pears into a crunchy, aromatic snack with minimal effort. The steps are straightforward, the ingredients are basic, and the results are reliably good. Keep a batch on hand for mid-afternoon cravings, quick breakfast toppings, or a sweet bite after dinner.
Once you make them, you’ll start eyeing every pear at the market with chip potential. For more pantry-spice snacks, try our Pear Chips, Apple Chips, or warm Spiced Apple Chips.

Air Fryer Cinnamon Pear Chips – Light, Crispy, and Comforting
Ingredients
- 2–3 ripe but firm pears (Bosc or Anjou work best)
- 1 teaspoon ground cinnamon
- 1–2 teaspoons maple syrup or honey (optional, for extra sweetness)
- 1 teaspoon lemon juice (to help prevent browning)
- Pinch of fine sea salt
- Neutral oil spray (optional, for extra crispness)
Instructions
- Pick the right pears: Choose pears that are firm to the touch with just a little give.Overripe pears get mushy and won’t crisp well.
- Wash and prep: Rinse and dry the pears. You can keep the skin on. Core them or slice around the core: either way works.
- Slice thin and even: Use a sharp knife or mandoline.Aim for 1/8-inch (3 mm) slices. Even thickness = even crisping.
- Season lightly: In a bowl, toss slices with lemon juice, cinnamon, and a pinch of salt. If using, drizzle maple syrup or honey and toss again. Don’t overdo the liquid; a light coating is enough.
- Preheat the air fryer: Set it to 300°F (150°C).Lower heat helps the pears dehydrate and crisp without burning.
- Arrange in a single layer: Place slices in the basket or on a perforated parchment sheet. No overlapping—crowding leads to sogginess.
- Air fry the first side: Cook for 8–10 minutes. Keep an eye on them starting around minute 7.
- Flip and finish: Gently flip the slices. Air fry another 6–10 minutes, until the edges are deep golden and the centers look mostly dry.Time varies by thickness and air fryer model.
- Optional crisp boost: If slices seem soft in the middle, reduce heat to 275°F (135°C) and cook 3–5 more minutes.
- Cool to crisp: Transfer chips to a wire rack. They’ll firm up as they cool. Wait at least 10 minutes before storing.
Printable Recipe Card
Want just the essential recipe details without scrolling through the article? Get our printable recipe card with just the ingredients and instructions.