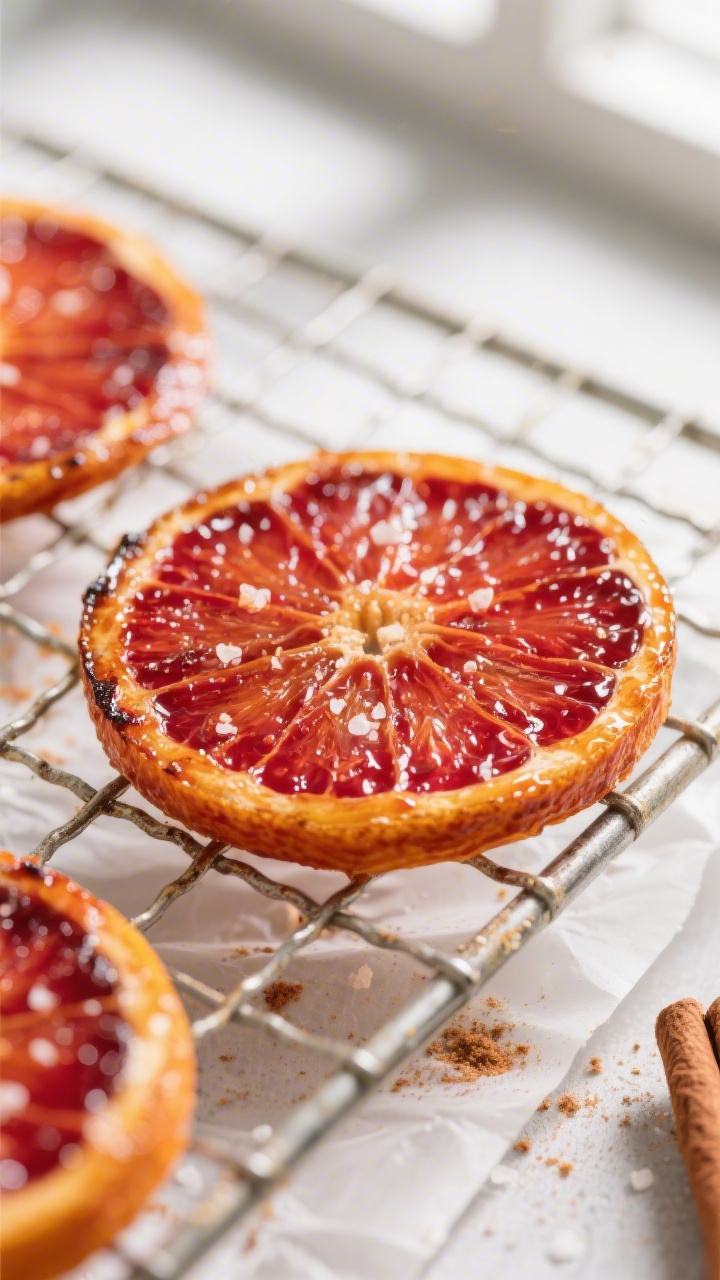
Bright, tangy, and a little bit fancy—blood orange slices made in the air fryer are a simple treat that looks like it came from a specialty shop. You get lightly caramelized edges, a chewy center, and that gorgeous ruby color preserved in every slice. They’re perfect for snacking, garnishing cocktails, topping cakes or yogurt, or packing into a gift jar.
Best of all, they take minutes to prep and only a short time to cook. If you’ve ever wanted a low-effort way to make something that feels special, this is it.
In this article:
What Makes This Special
Blood oranges have a distinct flavor—sweet with a hint of raspberry—that becomes even richer when gently dehydrated in an air fryer. You end up with slices that are part candy, part dried fruit, and fully snackable.
The air fryer speeds up the process while keeping the slices vibrant and not overly dried out. You can keep them plain, dust them with a little sugar, or add a touch of spice for a cozy, citrusy bite. They’re versatile, fast, and reliable—no dehydrator required.
Ingredients
- 3–4 medium blood oranges (firm and ripe)
- 1–2 tablespoons granulated sugar (optional, for light sweetness and caramelization)
- 1 teaspoon honey or maple syrup (optional glaze)
- 1/4 teaspoon ground cinnamon (optional)
- Pinch of flaky sea salt (optional, to balance sweetness)
- Nonstick spray or a small amount of neutral oil (to prevent sticking)
Instructions
- Preheat the air fryer. Set it to 300°F (150°C).
A moderate temperature helps dry the slices without burning the edges.
- Prep the oranges. Wash and dry the blood oranges. Using a sharp knife, slice them into thin rounds, about 1/8 inch (3 mm) thick. Thinner slices will dry faster and crisp more evenly.
- Blot excess moisture. Lay slices on a clean kitchen towel or paper towels.
Gently press another towel on top to absorb surface juice. This helps them caramelize instead of steam.
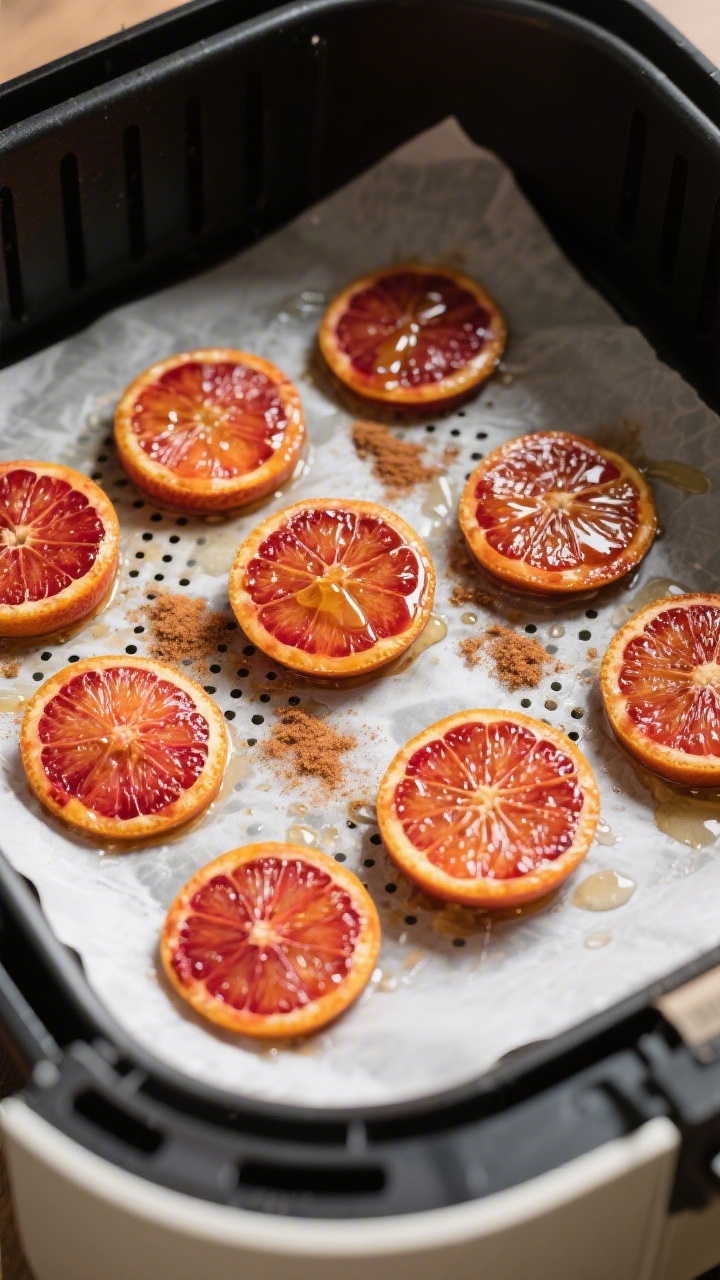
- Lightly oil the basket. Mist the air fryer basket with nonstick spray or rub with a drop of neutral oil. You can also use a piece of parchment cut to fit the basket with holes for airflow.
- Arrange the slices. Place orange rounds in a single layer, with slight spacing.
Avoid stacking or overlap.
- Add flavor (optional). If using, sprinkle a little sugar and cinnamon over the slices. For a glossy finish, whisk the honey or maple syrup with a teaspoon of warm water and brush it on lightly. Add a pinch of flaky salt if you like a sweet-salty contrast.
- Air fry in stages. Cook for 12–15 minutes, checking at the 10-minute mark.
Flip slices halfway for even drying. If edges brown too fast, lower to 280°F (138°C).
- Adjust to your texture. For chewier slices, pull them when they feel mostly dry but still slightly pliable in the middle. For a crisper, chip-like texture, cook 3–6 minutes longer, watching closely to avoid scorching.
- Cool to set. Transfer slices to a wire rack.
They’ll firm up as they cool. Taste and adjust seasoning with a tiny sprinkle of sugar or salt if needed.
- Repeat with remaining slices. Keep batches consistent in thickness and spacing for predictable results.
Keeping It Fresh
Let slices cool completely before storing—any trapped steam will soften them. For chewy slices, store in an airtight container at room temperature for up to 1 week.
For crisper slices, add a small piece of parchment and a food-safe desiccant pack if you have one. If they soften over time, pop them back in the air fryer at 250°F (120°C) for 2–3 minutes to revive the texture.
Benefits of This Recipe
- Fast and low-effort: Prep takes minutes, and the air fryer speeds up dehydration.
- No specialty gear: You get that candied-dried vibe without a dehydrator.
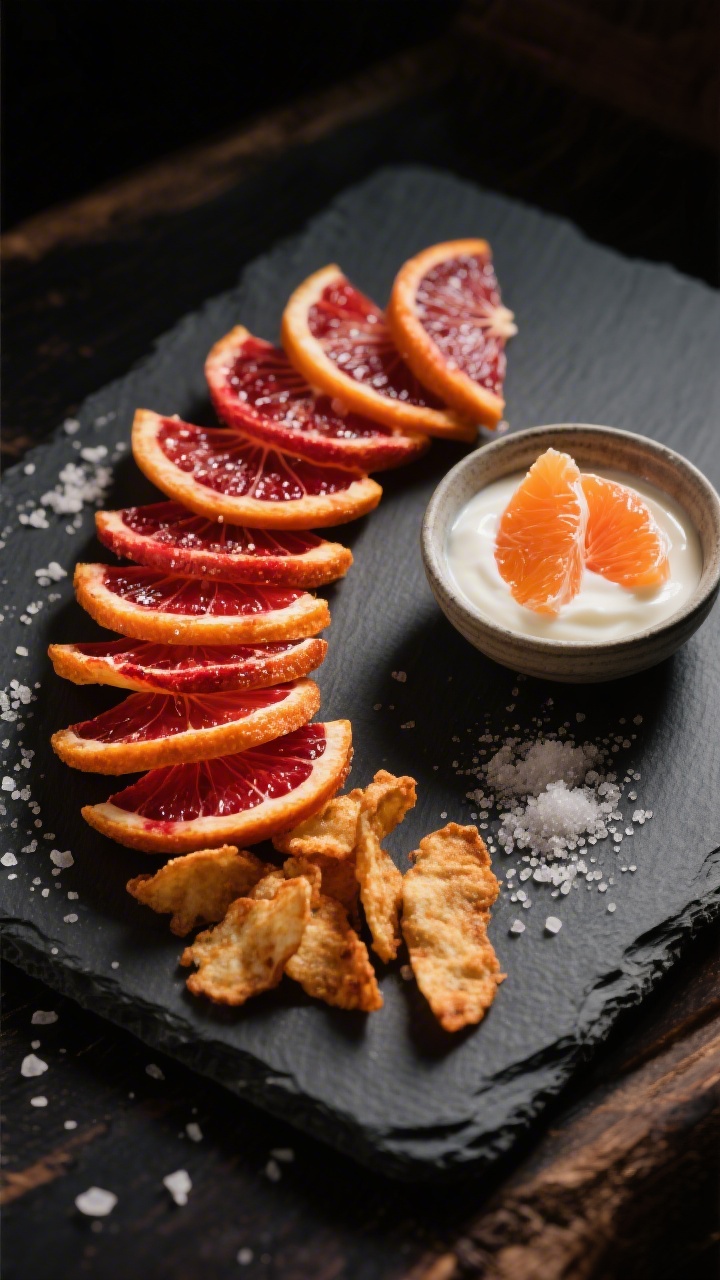
- Versatile use: Great for snacks, garnishes, charcuterie boards, cocktails, mocktails, cakes, and oatmeal.
- Naturally stunning: The ruby flesh stays vibrant, adding color and flair with almost no work.
- Easy to customize: Keep it plain, add spice, or sweeten lightly—your call.
What Not to Do
- Don’t slice too thick. Thick rounds take longer to dry and can burn on the edges before the centers dehydrate.
- Don’t overcrowd the basket. Overlap blocks airflow and leads to steaming instead of crisping.
- Don’t crank the heat. High heat turns the edges bitter and dark before the slices dry.
- Don’t skip blotting. Extra moisture prevents caramelization and stretches cook time.
- Don’t store while warm. Warm slices trap moisture and lose their texture.
Alternatives
- Other citrus: Try Cara Cara oranges, navels, mandarins, grapefruit, Meyer lemons, or limes. Adjust time slightly for size and juiciness.
- Flavor twists: Swap cinnamon for cardamom, ginger, or five-spice.
For a floral note, dust with a tiny pinch of vanilla sugar.
- Candied route: For a glossy, candy-like finish, brush both sides with simple syrup (1:1 sugar and water) before air frying on low. They’ll be sweeter and more pliable.
- Savory spin: Skip sugar and add a whisper of chili powder and sea salt. These are great on grilled chicken, salads, or grain bowls.
- Chocolate-dipped: Once cooled, dip half of each slice in melted dark chocolate.
Chill to set for a striking dessert bite.
FAQ
Do I need to peel the oranges?
No. Keep the peel on for structure, color, and a slight bitter note that balances the sweetness. If you dislike the peel, you can trim the outer edge after cooking, but the slices will be more fragile.
Why are my slices browning too fast?
The heat is likely too high, or the slices are too close to the heating element.
Drop the temp to 280°F (138°C), move the basket lower if possible, and check every few minutes. A light mist of oil can also reduce scorching.
How thin should I slice them?
About 1/8 inch (3 mm) is ideal. Too thin and they can become brittle or burn; too thick and they’ll stay wet in the center.
A sharp knife or mandoline helps with consistency.
Can I skip the sugar?
Yes. The slices are delicious unsweetened. Sugar adds a little sheen and faster caramelization, but it’s optional.
If skipping, monitor carefully because natural sugars can still brown.
How long do they last?
Chewy slices last up to a week in an airtight container at room temp. Crisper slices are best within 3–5 days, unless stored very dry. For longer storage, freeze in a single layer, then bag; thaw at room temp.
Can I make these in the oven?
Yes.
Bake on a wire rack over a sheet pan at 200–225°F (95–110°C) for 1.5–3 hours, flipping halfway. Timing varies by thickness and juiciness. The air fryer is faster, but the oven works well for big batches.
What can I do with leftovers?
Use them in cocktails, pitchers of sparkling water, overnight oats, yogurt parfaits, cookie platters, grazing boards, or as cake toppers.
You can also grind fully dried slices into a citrus powder for dusting desserts.
My slices are sticky. Is that normal?
A little tackiness is normal, especially with added sugar or honey. Let them cool completely and store with a bit of parchment between layers.
A quick 2–3 minute reheat at low temp helps if they get too sticky.
Can I make them extra crispy like chips?
Yes. Slice a touch thinner, avoid syrup, and cook slightly longer at 280–300°F (138–150°C), flipping as needed. Pull them right when they feel dry; they’ll crisp more as they cool on a rack.
In Conclusion
Air fryer blood orange slices are a small effort with a big payoff—bright color, concentrated flavor, and endless uses.
With just a few oranges and a steady, moderate heat, you get a snack or garnish that looks polished and tastes like sunshine. Keep them simple or dress them up with spice and a little sweetness. Either way, they’re easy to make, fun to share, and hard to stop eating. Pair them with our Orange Slices, Grapefruit Slices, or sweet-tart Cherry Chips for a colorful snack board.

Air Fryer Blood Orange Slices – Crisp, Sweet, and Citrus-Forward
Ingredients
- 3–4 medium blood oranges (firm and ripe)
- 1–2 tablespoons granulated sugar (optional, for light sweetness and caramelization)
- 1 teaspoon honey or maple syrup (optional glaze)
- 1/4 teaspoon ground cinnamon (optional)
- Pinch of flaky sea salt (optional, to balance sweetness)
- Nonstick spray or a small amount of neutral oil (to prevent sticking)
Instructions
- Preheat the air fryer. Set it to 300°F (150°C).A moderate temperature helps dry the slices without burning the edges.
- Prep the oranges. Wash and dry the blood oranges. Using a sharp knife, slice them into thin rounds, about 1/8 inch (3 mm) thick. Thinner slices will dry faster and crisp more evenly.
- Blot excess moisture. Lay slices on a clean kitchen towel or paper towels.Gently press another towel on top to absorb surface juice. This helps them caramelize instead of steam.
- Lightly oil the basket. Mist the air fryer basket with nonstick spray or rub with a drop of neutral oil. You can also use a piece of parchment cut to fit the basket with holes for airflow.
- Arrange the slices. Place orange rounds in a single layer, with slight spacing.Avoid stacking or overlap.
- Add flavor (optional). If using, sprinkle a little sugar and cinnamon over the slices. For a glossy finish, whisk the honey or maple syrup with a teaspoon of warm water and brush it on lightly. Add a pinch of flaky salt if you like a sweet-salty contrast.
- Air fry in stages. Cook for 12–15 minutes, checking at the 10-minute mark.Flip slices halfway for even drying. If edges brown too fast, lower to 280°F (138°C).
- Adjust to your texture. For chewier slices, pull them when they feel mostly dry but still slightly pliable in the middle. For a crisper, chip-like texture, cook 3–6 minutes longer, watching closely to avoid scorching.
- Cool to set. Transfer slices to a wire rack.They’ll firm up as they cool. Taste and adjust seasoning with a tiny sprinkle of sugar or salt if needed.
- Repeat with remaining slices. Keep batches consistent in thickness and spacing for predictable results.
Printable Recipe Card
Want just the essential recipe details without scrolling through the article? Get our printable recipe card with just the ingredients and instructions.