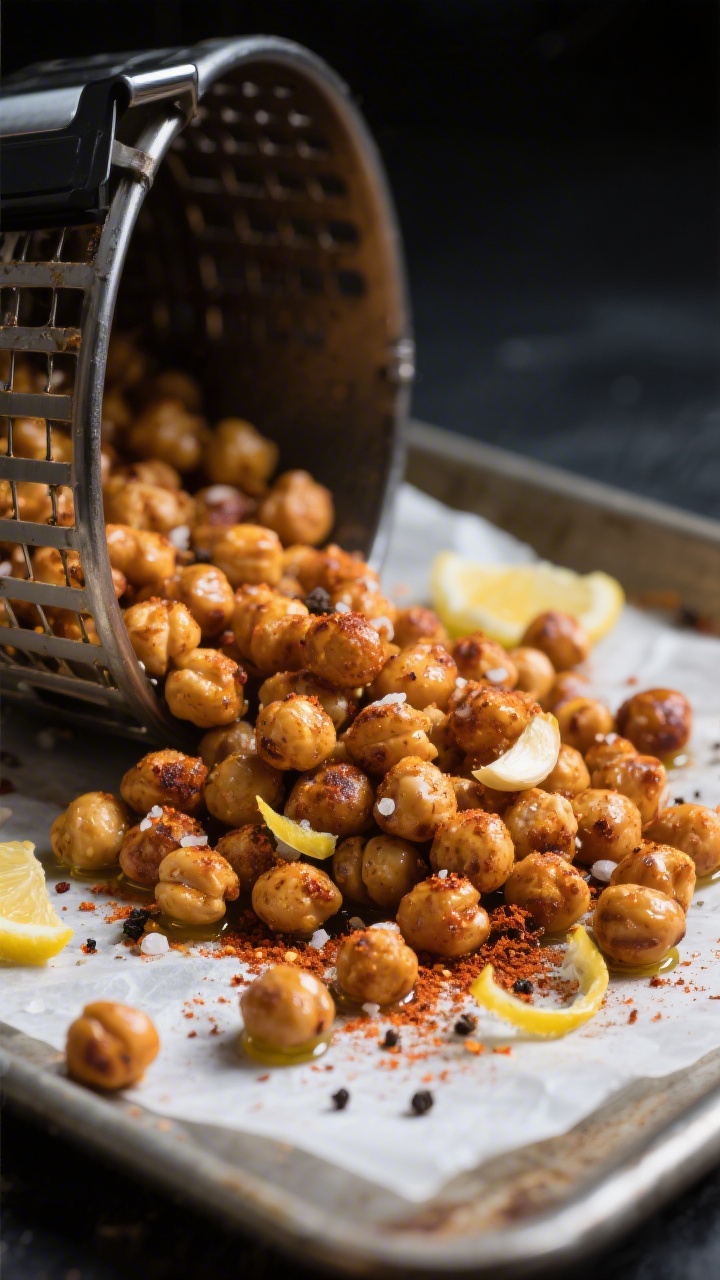
If you want a quick, crunchy snack that’s actually good for you, air fryer chickpeas are a winner. They’re crisp on the outside, tender inside, and endlessly customizable. You only need a few pantry staples and about 15 minutes.
Sprinkle them on salads, serve them with drinks, or nibble by the handful. Once you make them at home, the store-bought versions won’t compare.
In this article:
What Makes This Recipe So Good
- Quick and easy: From open can to crispy snack in under 20 minutes. No preheating the oven for ages.
- Seriously crunchy: The air fryer delivers that perfect snap without deep frying.
- Endlessly customizable: Change the seasoning to match your mood—spicy, smoky, herby, or sweet.
- High-protein snack: Chickpeas are filling, fiber-rich, and a smart alternative to chips.
- Budget-friendly: One can of chickpeas makes a big batch with minimal effort.
What You’ll Need
- 1 (15-ounce) can chickpeas (garbanzo beans), drained and rinsed
- 1 tablespoon olive oil (or avocado oil)
- 1/2 teaspoon fine sea salt
- 1/2 teaspoon garlic powder
- 1/2 teaspoon smoked paprika
- 1/4 teaspoon black pepper
- Optional add-ins: 1/4 teaspoon ground cumin, 1/4 teaspoon chili powder, pinch of cayenne, 1 teaspoon everything bagel seasoning, or 1 teaspoon lemon zest
- Paper towels or a clean kitchen towel for drying
Instructions
- Drain and rinse: Pour the chickpeas into a strainer, rinse under cool water, and shake off excess water.
- Dry well: Spread the chickpeas on paper towels or a clean kitchen towel.
Gently roll them to dry and remove as much moisture as possible. Pick off any loose skins if you like, but it’s optional.
- Preheat the air fryer: Set it to 390°F (200°C) for 3 minutes. Preheating helps the chickpeas crisp faster.
- Season: In a bowl, toss the dried chickpeas with olive oil, salt, garlic powder, smoked paprika, and black pepper.
Make sure every chickpea is coated.
- Load the basket: Add the chickpeas in a single layer. A few overlaps are fine, but avoid crowding to keep them crisp.
- Air fry: Cook for 12–15 minutes, shaking the basket every 5 minutes. They’re done when they’re deep golden and crunchy to the bite.
- Taste and adjust: While still warm, taste and add more salt or spices if needed.
For extra brightness, finish with lemon zest.
- Cool for peak crunch: Spread the chickpeas on a plate or baking sheet and let them cool for 5–10 minutes. They crisp up even more as they cool.
How to Store
- Room temperature: Store completely cooled chickpeas in an airtight container at room temp for up to 3 days. Leave the lid slightly ajar if your climate is humid to prevent sogginess.
- Re-crisping:</-strong> If they soften, air fry at 375°F (190°C) for 3–4 minutes, shaking once.
- Avoid the fridge: Refrigeration adds moisture and makes them chewy faster.
Health Benefits
- Plant-based protein: Chickpeas help keep you full and support muscle repair, especially helpful for meatless meals.
- High in fiber: Good for digestion and steady energy.
Fiber also supports heart health.
- Mineral-rich: Chickpeas offer iron, magnesium, potassium, and folate—key nutrients for energy and nerve function.
- Better-for-you crunch: Air frying uses far less oil than deep frying while delivering a crisp texture.
Common Mistakes to Avoid
- Not drying the chickpeas: Excess moisture leads to steaming, not crisping. Dry them thoroughly.
- Crowding the basket: Too many chickpeas at once make them cook unevenly. Work in batches if needed.
- Skipping the shake: Shaking the basket ensures even browning and prevents hot spots.
- Adding sugar too early: If making a sweet version, add sugar after air frying to avoid burning.
- Under-seasoning: Chickpeas love bold flavors.
Taste and adjust while warm.
Recipe Variations
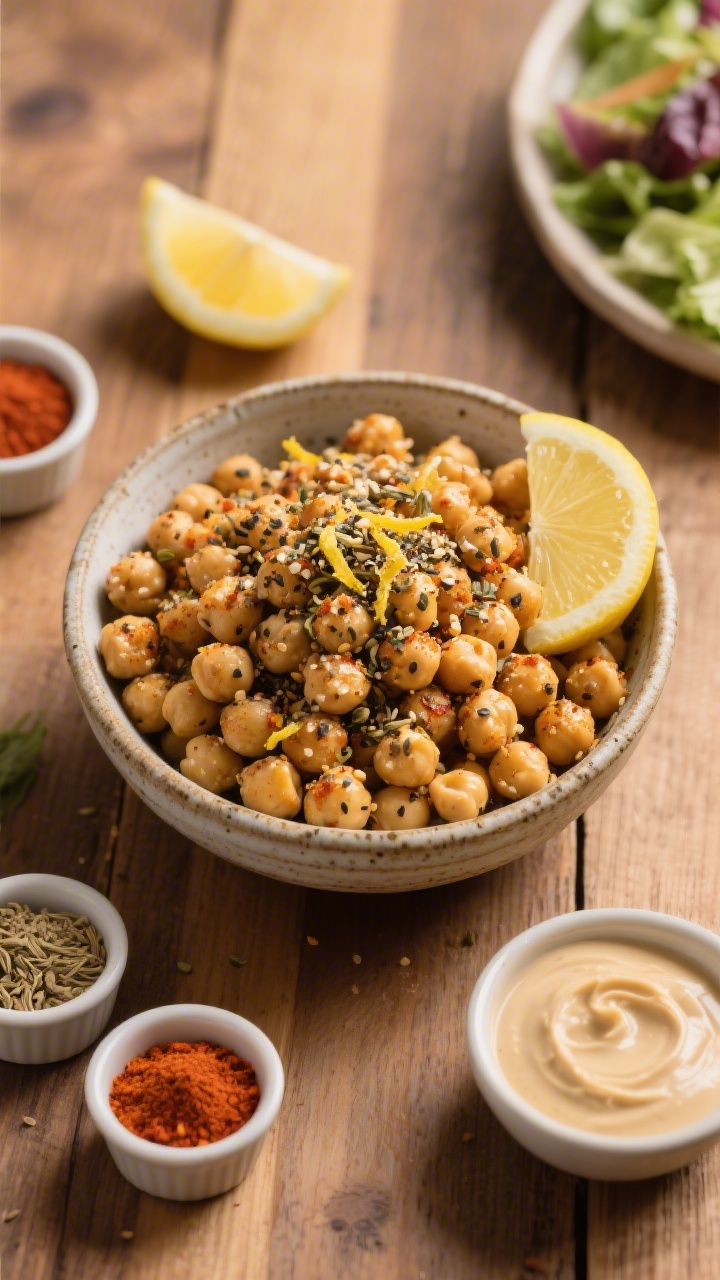
- Smoky BBQ: Add 1 teaspoon brown sugar, 1/2 teaspoon chili powder, and a pinch of cayenne after cooking. Toss with a little extra oil first so it sticks.
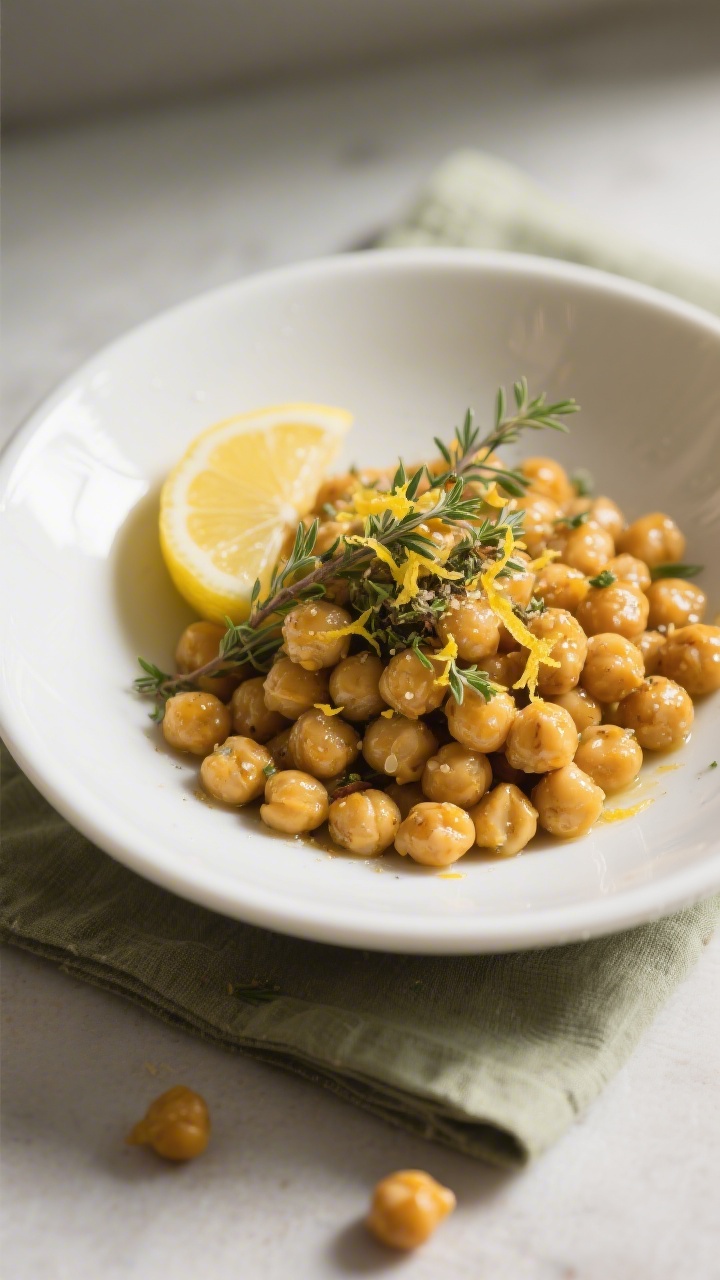
- Lemon Herb: After air frying, toss with lemon zest, dried oregano, and a pinch of thyme. Finish with a light squeeze of lemon juice right before serving.
- Everything Bagel:</-strong> Mix in 1 teaspoon everything bagel seasoning after cooking for a savory, garlicky crunch.
- Buffalo Style: Toss hot chickpeas with 1–2 teaspoons melted butter and 1–2 teaspoons hot sauce.
Return to the air fryer for 2 minutes.
- Sweet Cinnamon Crunch: After cooking, toss with 1 teaspoon maple syrup, 1/2 teaspoon cinnamon, and a pinch of salt. Air fry 1–2 more minutes to set.
- Indian-Inspired: Season with ground cumin, coriander, turmeric, and a pinch of garam masala. Add a squeeze of lime after cooking.
FAQ
Do I have to remove the chickpea skins?
No.
Removing skins can make them slightly crisper, but it’s not required. Drying well and not crowding the basket matter more for texture.
Can I use dried chickpeas instead of canned?
Yes, as long as they’re fully cooked and cooled. Cook dried chickpeas until tender, drain very well, and proceed with the recipe.
You’ll need about 1.5 cups cooked chickpeas to replace one can.
What air fryer temperature works best?
Around 390°F (200°C) is a sweet spot for crispness without burning. If your air fryer runs hot, drop to 375°F (190°C) and add 2–3 minutes.
How do I keep them crunchy for longer?
Let them cool fully before storing and keep them in a breathable container or one with the lid slightly open. Re-crisp in the air fryer for a few minutes if they soften.
Can I make them oil-free?
You can, but they won’t get quite as crispy and seasonings won’t stick as well.
If skipping oil, toss with aquafaba (the liquid from the can) before seasoning to help spices adhere.
Are air fryer chickpeas gluten-free?
Yes, chickpeas are naturally gluten-free. Just double-check spice blends to ensure they’re certified gluten-free and free from additives.
What should I serve them with?
They’re great on salads, grain bowls, and soups, or as a snack with yogurt dip, tahini sauce, or hummus for extra creaminess.
Final Thoughts
Air fryer chickpeas are the kind of snack that checks every box: fast, crunchy, affordable, and adaptable. Keep a can of chickpeas in the pantry and you’re never far from a high-protein bite.
Start with the base recipe, then play with spices until you find your signature mix. Whether you toss them on a salad or eat them warm from the basket, they’re tough to resist—and easy to make again tomorrow. For more crunchy plant-based snacks, try Spicy Chickpeas or Garlic Edamame.

Air Fryer Chickpeas – Crispy, Fast, and Flavor-Packed
Ingredients
- 1 (15-ounce) can chickpeas (garbanzo beans), drained and rinsed
- 1 tablespoon olive oil (or avocado oil)
- 1/2 teaspoon fine sea salt
- 1/2 teaspoon garlic powder
- 1/2 teaspoon smoked paprika
- 1/4 teaspoon black pepper
- Optional add-ins: 1/4 teaspoon ground cumin, 1/4 teaspoon chili powder, pinch of cayenne, 1 teaspoon everything bagel seasoning, or 1 teaspoon lemon zest
- Paper towels or a clean kitchen towel for drying
Instructions
- Drain and rinse: Pour the chickpeas into a strainer, rinse under cool water, and shake off excess water.
- Dry well: Spread the chickpeas on paper towels or a clean kitchen towel.Gently roll them to dry and remove as much moisture as possible. Pick off any loose skins if you like, but it’s optional.
- Preheat the air fryer: Set it to 390°F (200°C) for 3 minutes. Preheating helps the chickpeas crisp faster.
- Season: In a bowl, toss the dried chickpeas with olive oil, salt, garlic powder, smoked paprika, and black pepper.Make sure every chickpea is coated.
- Load the basket: Add the chickpeas in a single layer. A few overlaps are fine, but avoid crowding to keep them crisp.
- Air fry: Cook for 12–15 minutes, shaking the basket every 5 minutes. They’re done when they’re deep golden and crunchy to the bite.
- Taste and adjust: While still warm, taste and add more salt or spices if needed.For extra brightness, finish with lemon zest.
- Cool for peak crunch: Spread the chickpeas on a plate or baking sheet and let them cool for 5–10 minutes. They crisp up even more as they cool.
Printable Recipe Card
Want just the essential recipe details without scrolling through the article? Get our printable recipe card with just the ingredients and instructions.