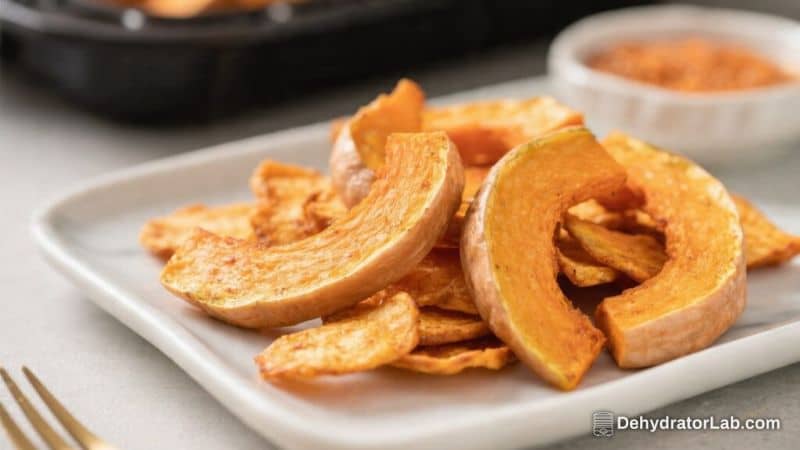
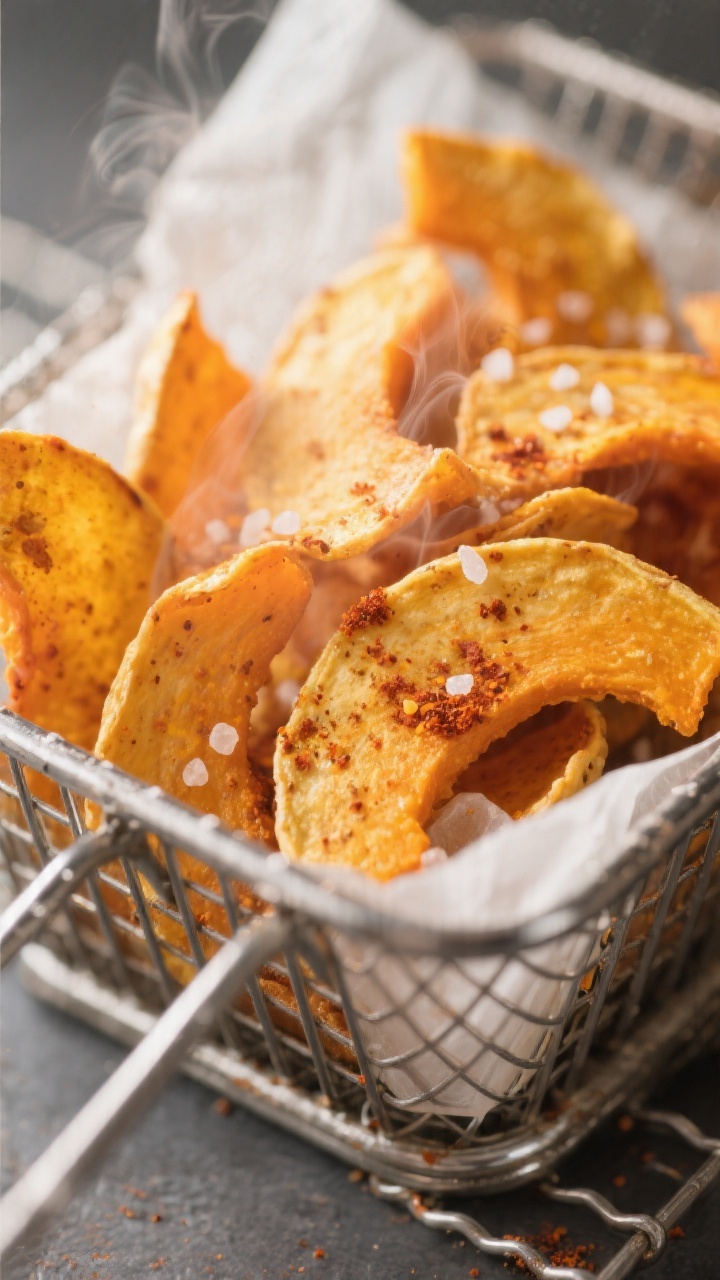
Skip the bagged chips and make these crunchy, slightly sweet Air Fryer Butternut Squash Chips at home. They’re light, flavorful, and surprisingly easy to pull together with just a few pantry staples. You get the best of both worlds: a snack that feels indulgent but is actually wholesome.
Whether you’re craving something salty at 3 p.m. or need a quick side for dinner, these chips deliver. They’re also a fun way to use up that butternut squash sitting on your counter.
In this article:
What Makes This Recipe So Good
- Fast cook time: Thanks to the air fryer, you can have crisp chips in about 15 minutes per batch.
- Simple ingredients: A squash, a little oil, and your favorite seasonings are all you need.
- Balanced flavor: Butternut squash brings natural sweetness that pairs beautifully with salt and spice.
- Customizable: Keep them plain and salty, or go bold with chili-lime, BBQ, or cinnamon sugar.
- Lighter than store-bought: They’re not deep-fried, but still crunchy and satisfying.
What You’ll Need
- 1 medium butternut squash (about 2–3 pounds), peeled and seeded
- 1–2 tablespoons olive oil (or avocado oil)
- 1 teaspoon fine sea salt (plus more to taste)
- 1/2 teaspoon black pepper
- Optional seasonings:
- 1/2 teaspoon smoked paprika
- 1/2 teaspoon garlic powder
- 1/4 teaspoon cayenne or chili powder
- 1 teaspoon everything bagel seasoning
- For sweet chips: 1 teaspoon cinnamon + 1 teaspoon coconut sugar
- Nonstick cooking spray (optional, for the basket)
Instructions
- Prep the squash: Cut off both ends. Use a sharp peeler to remove the skin.
Slice the squash at the neck to separate the long portion from the round bulb. Scoop out the seeds from the bulb with a spoon.
- Slice thin and even: Using a mandoline or a sharp knife, slice the squash into very thin rounds, about 1/16 to 1/8 inch thick. Thinner slices mean crisper chips.
Try to keep them uniform for even cooking.
- Pat dry: Lay slices on a clean kitchen towel or paper towels and pat them dry to remove excess moisture. This step helps them crisp.
- Season: In a large bowl, toss the slices with oil, salt, pepper, and any optional seasonings. Aim for a light, even coating.
Too much oil can make them soggy.
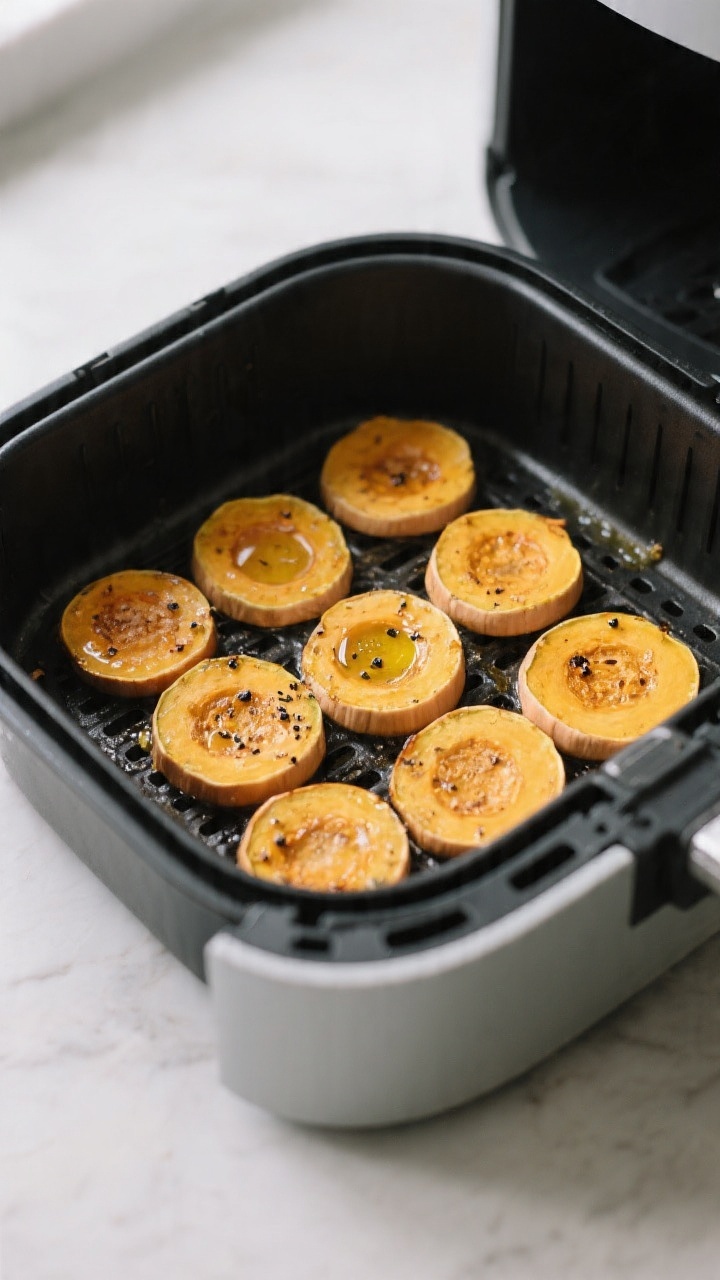
- Preheat the air fryer: Set to 325°F (160°C) for 3–5 minutes. Lightly spray the basket if sticking is a concern.
- Arrange in a single layer: Place slices in the basket without overlapping. Work in batches to avoid crowding.
- Air fry: Cook for 10–14 minutes, shaking or flipping the slices halfway.
Watch closely in the last few minutes—chips can go from golden to too dark quickly. You’re looking for dry, curled edges and light browning.
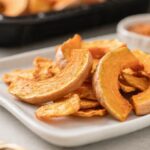
- Crisp and cool: Transfer finished chips to a wire rack or paper towel. They’ll crisp more as they cool for 3–5 minutes.
Taste and add a pinch of salt if needed.
- Repeat: Continue with remaining slices. If any chips are soft, return them to the air fryer for 1–2 minutes.
Storage Instructions
- Room temperature: Store fully cooled chips in an airtight container for up to 2 days. Slip in a small piece of paper towel to absorb moisture.
- Re-crisping: If they soften, air fry at 300°F (150°C) for 2–3 minutes to bring back the crunch.
- Freezing: Not recommended.
Moisture will ruin the texture.
Health Benefits
- Rich in vitamins: Butternut squash is high in vitamin A (as beta-carotene), which supports vision and immune health, and vitamin C for collagen and recovery.
- Fiber for fullness: The natural fiber helps keep you satisfied between meals and supports digestion.
- Lower in fat than fried chips: Air frying uses far less oil than deep-frying, cutting calories while keeping the crunch.
- Minerals and antioxidants: Potassium supports heart health and fluid balance, while plant compounds help combat oxidative stress.
What Not to Do
- Don’t slice thick: Thick slices won’t crisp well and can burn on the edges before the centers dry out.
- Don’t overcrowd the basket: Overlapping slices trap steam and lead to soggy chips.
- Don’t skip drying: Extra moisture is the enemy of crispiness. Pat the slices dry before seasoning.
- Don’t blast the heat: High temperatures can scorch the chips. A moderate 325°F is safer and more consistent.
- Don’t drown in oil: A light coating is plenty.
Too much oil softens the chips.
Recipe Variations
- Smoky BBQ: Toss with smoked paprika, a pinch of brown sugar, garlic powder, onion powder, and a touch of chili powder.
- Chili-Lime: Season with chili powder and cumin, then finish with lime zest and a squeeze of lime juice right after cooking.
- Rosemary Sea Salt: Add finely chopped rosemary and flaky sea salt for a savory, aromatic twist.
- Cinnamon Sugar:</-strong> Use a light oil, toss with cinnamon and coconut sugar after air frying for a crunchy-sweet snack.
- Everything Bagel: Sprinkle everything bagel seasoning before cooking for a toasty, garlicky chip.
- Parmesan Pepper: Dust hot chips with finely grated Parmesan and cracked pepper as soon as they come out.
FAQ
How do I slice the squash safely and evenly?
Use a sharp vegetable peeler to remove the tough skin, then cut the squash into manageable sections. A mandoline with a hand guard gives the thinnest, most even slices. If using a knife, keep the slices as uniform as possible to avoid uneven cooking.
Why are my chips soggy?
They were likely sliced too thick, crowded in the basket, or coated with too much oil.
Try thinner slices, cook in single layers, and use just enough oil to lightly coat. Let chips cool on a rack to prevent trapped steam.
Can I use pre-cut butternut squash?
Yes, if you can find pre-sliced rounds. Cubes won’t work for chips.
If you only have pre-peeled halves, slice them thinly yourself with a mandoline.
Do I need to peel the squash?
Yes. The skin is tough and doesn’t turn pleasant and crisp like the flesh does. Peeling ensures a better texture.
What air fryer temperature works best?
Around 325°F (160°C) is a sweet spot.
It dries the slices without burning them. Higher heat can darken the edges before the centers crisp.
How do I keep the chips from flying around in the air fryer?
Lightly press the slices onto the basket after placing them, and avoid very light parchment. Shaking halfway helps, too.
If your model has a rack insert, use it to hold slices in place.
Can I make them oil-free?
You can, but they’ll be a bit less golden and may cook unevenly. If going oil-free, watch closely and consider a quick spritz of water to help spices stick.
Are these chips keto or paleo?
They’re paleo-friendly. For keto, butternut squash is higher in carbs than many vegetables, so portion sizes matter.
Consider smaller servings or choose a lower-carb veggie if needed.
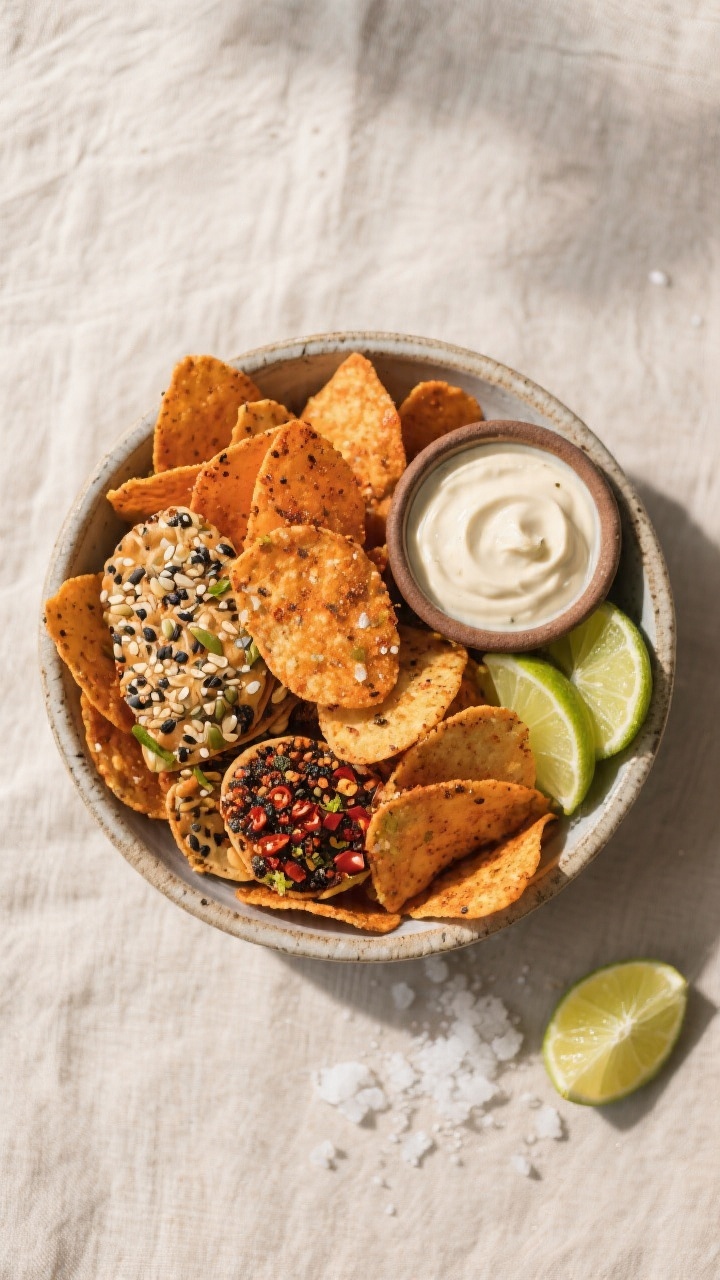
What dips go well with these chips?
Try garlic yogurt dip, spicy mayo, chipotle aioli, guacamole, or a simple tahini-lemon sauce. The natural sweetness pairs well with creamy, tangy dips.
Can I bake these instead of air frying?
Yes. Bake at 325°F (160°C) on parchment-lined sheets in a single layer for 18–28 minutes, flipping once and rotating pans.
Watch closely near the end for even browning.
In Conclusion
Air Fryer Butternut Squash Chips are crisp, lightly sweet, and incredibly simple. With just a few ingredients and a steady temperature, you can make a snack that tastes special without much effort. Keep a bowl on the counter for grazing, or pair them with your favorite dip for movie night.
Once you see how easy they are, you’ll reach for butternut squash as often as you do potatoes. If you enjoyed these, our Air Fryer Acorn Squash Chips and Air Fryer Sunchoke Chips are worth trying next, along with the naturally sweet Air Fryer Parsnip Chips.
Air Fryer Butternut Squash Chips – Crispy, Sweet, and So Simple
Ingredients
- 1 medium butternut squash (about 2–3 pounds), peeled and seeded
- 1–2 tablespoons olive oil (or avocado oil)
- 1 teaspoon fine sea salt (plus more to taste)
- 1/2 teaspoon black pepper
- Optional seasonings: 1/2 teaspoon smoked paprika
- 1/2 teaspoon garlic powder
- 1/4 teaspoon cayenne or chili powder
- 1 teaspoon everything bagel seasoning
- For sweet chips: 1 teaspoon cinnamon + 1 teaspoon coconut sugar
- Nonstick cooking spray (optional, for the basket)
Instructions
- Prep the squash: Cut off both ends. Use a sharp peeler to remove the skin.Slice the squash at the neck to separate the long portion from the round bulb. Scoop out the seeds from the bulb with a spoon.
- Slice thin and even: Using a mandoline or a sharp knife, slice the squash into very thin rounds, about 1/16 to 1/8 inch thick. Thinner slices mean crisper chips.Try to keep them uniform for even cooking.
- Pat dry: Lay slices on a clean kitchen towel or paper towels and pat them dry to remove excess moisture. This step helps them crisp.
- Season: In a large bowl, toss the slices with oil, salt, pepper, and any optional seasonings. Aim for a light, even coating.Too much oil can make them soggy.
- Preheat the air fryer: Set to 325°F (160°C) for 3–5 minutes. Lightly spray the basket if sticking is a concern.
- Arrange in a single layer: Place slices in the basket without overlapping. Work in batches to avoid crowding.
- Air fry: Cook for 10–14 minutes, shaking or flipping the slices halfway.Watch closely in the last few minutes—chips can go from golden to too dark quickly. You’re looking for dry, curled edges and light browning.
- Crisp and cool: Transfer finished chips to a wire rack or paper towel. They’ll crisp more as they cool for 3–5 minutes.Taste and add a pinch of salt if needed.
- Repeat: Continue with remaining slices. If any chips are soft, return them to the air fryer for 1–2 minutes.
Printable Recipe Card
Want just the essential recipe details without scrolling through the article? Get our printable recipe card with just the ingredients and instructions.